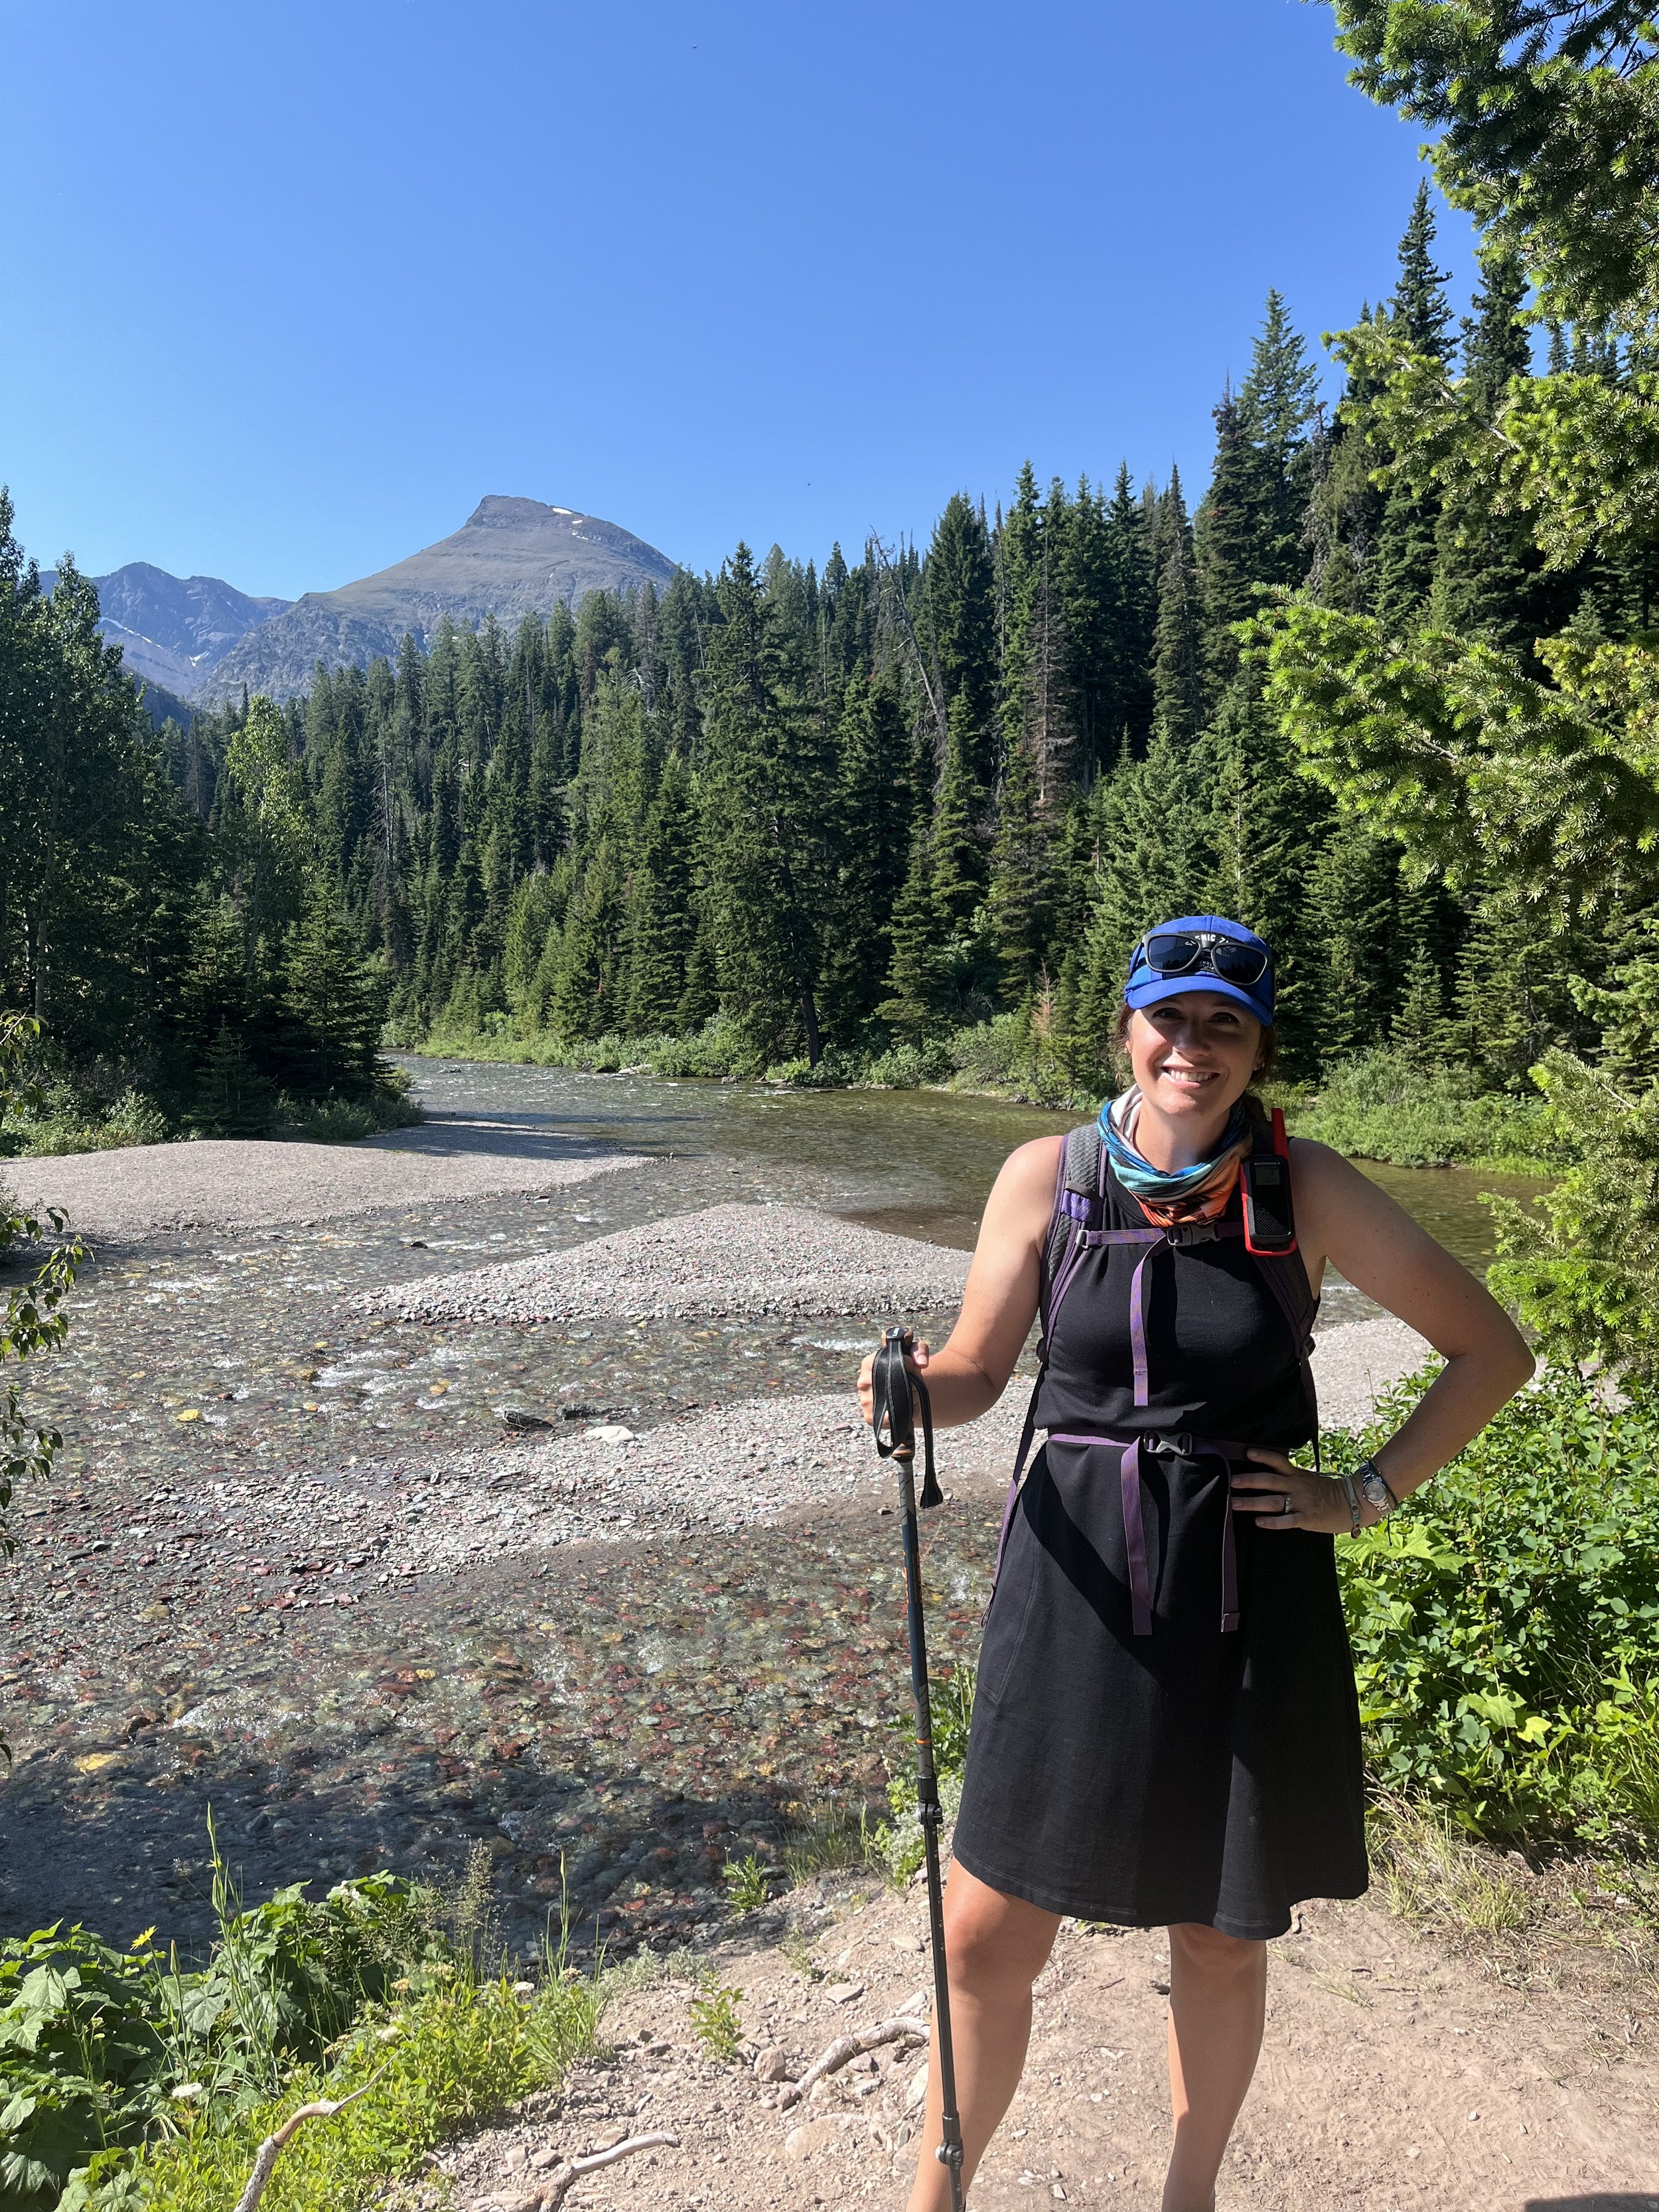
Explore one of the most beautiful trails in New England when you hike Flume Gorge at New Hampshire’s Franconia Notch State Park!
We were blown away by the waterfalls, lush foliage, and covered bridges on this kid-friendly trail, and I’m confident that your family will love it just as much as mine did.
While there are many pretty trails in this part of the United States, Flume Gorge is the standard by which we measured all of the other hikes we did in this area. (Yes, it’s that fantastic!)
In the guide below, you’ll learn everything you need to know in order to plan your hike in Flume Gorge. I’m including information on the reservations, the best time to do the hike, what to bring, and what you’ll see throughout the hike.
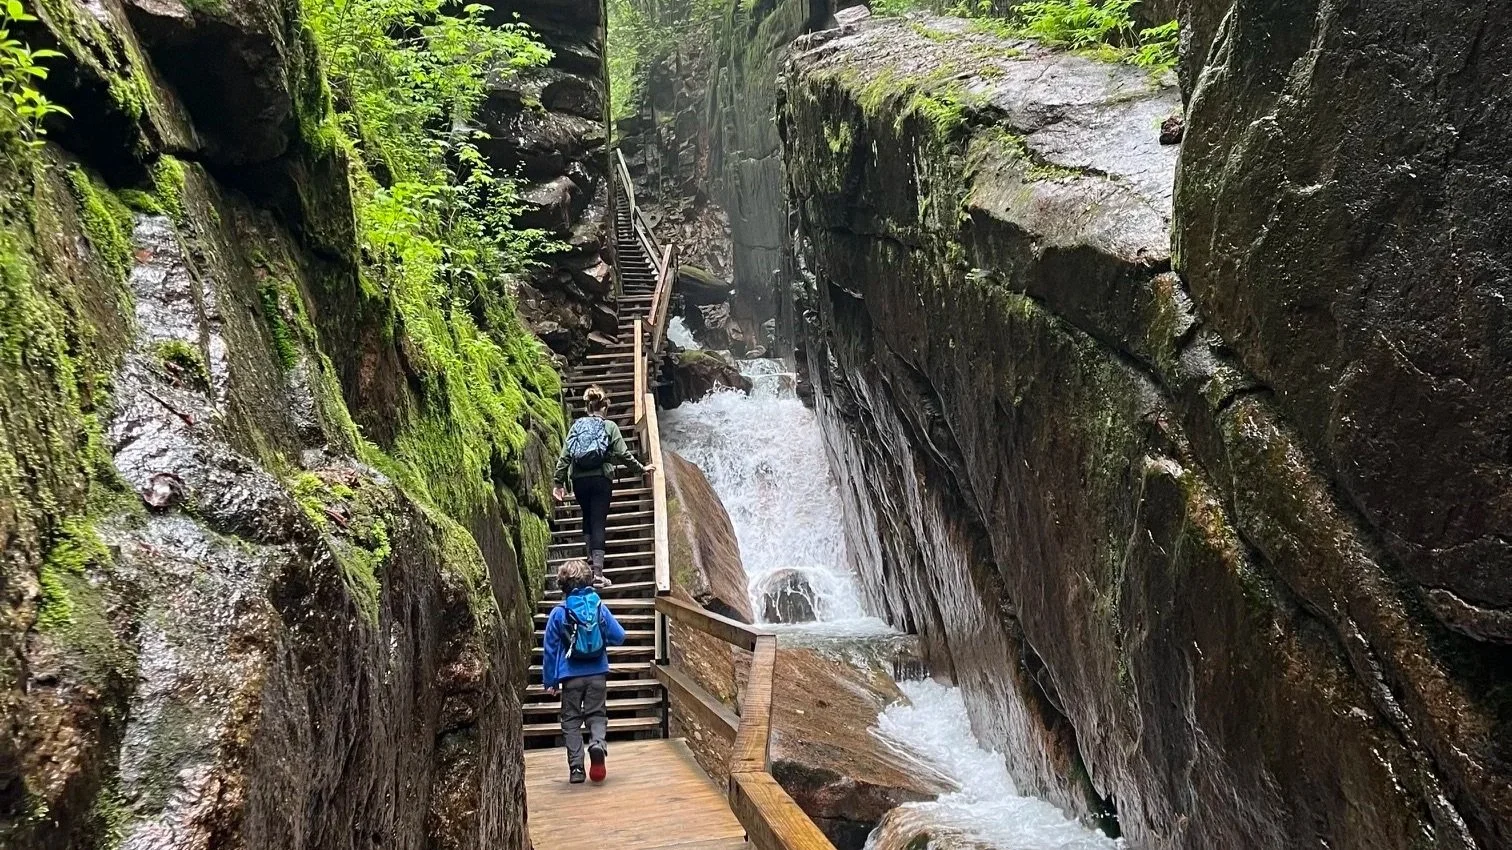
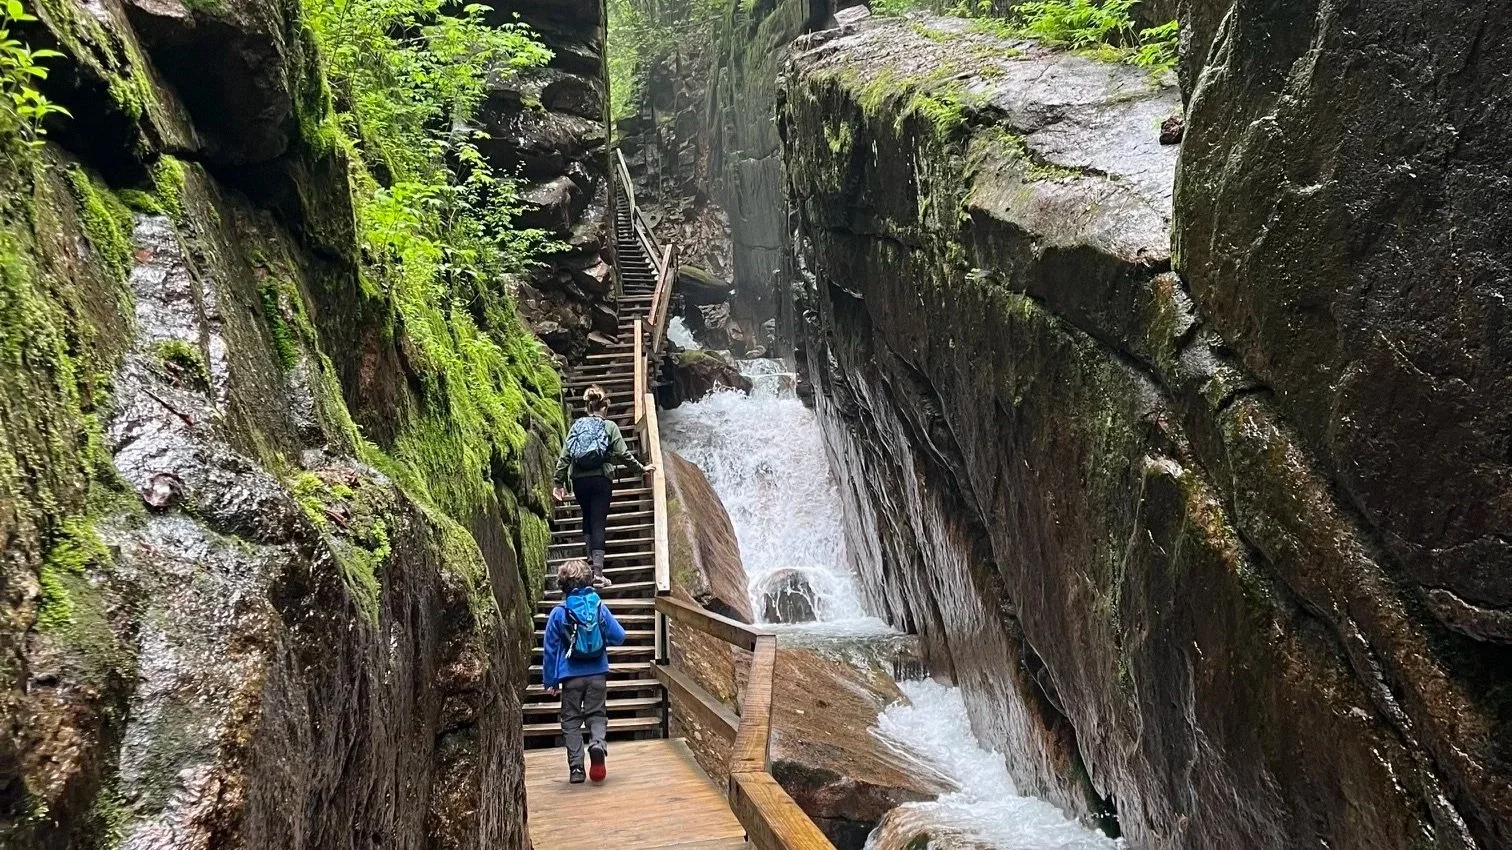
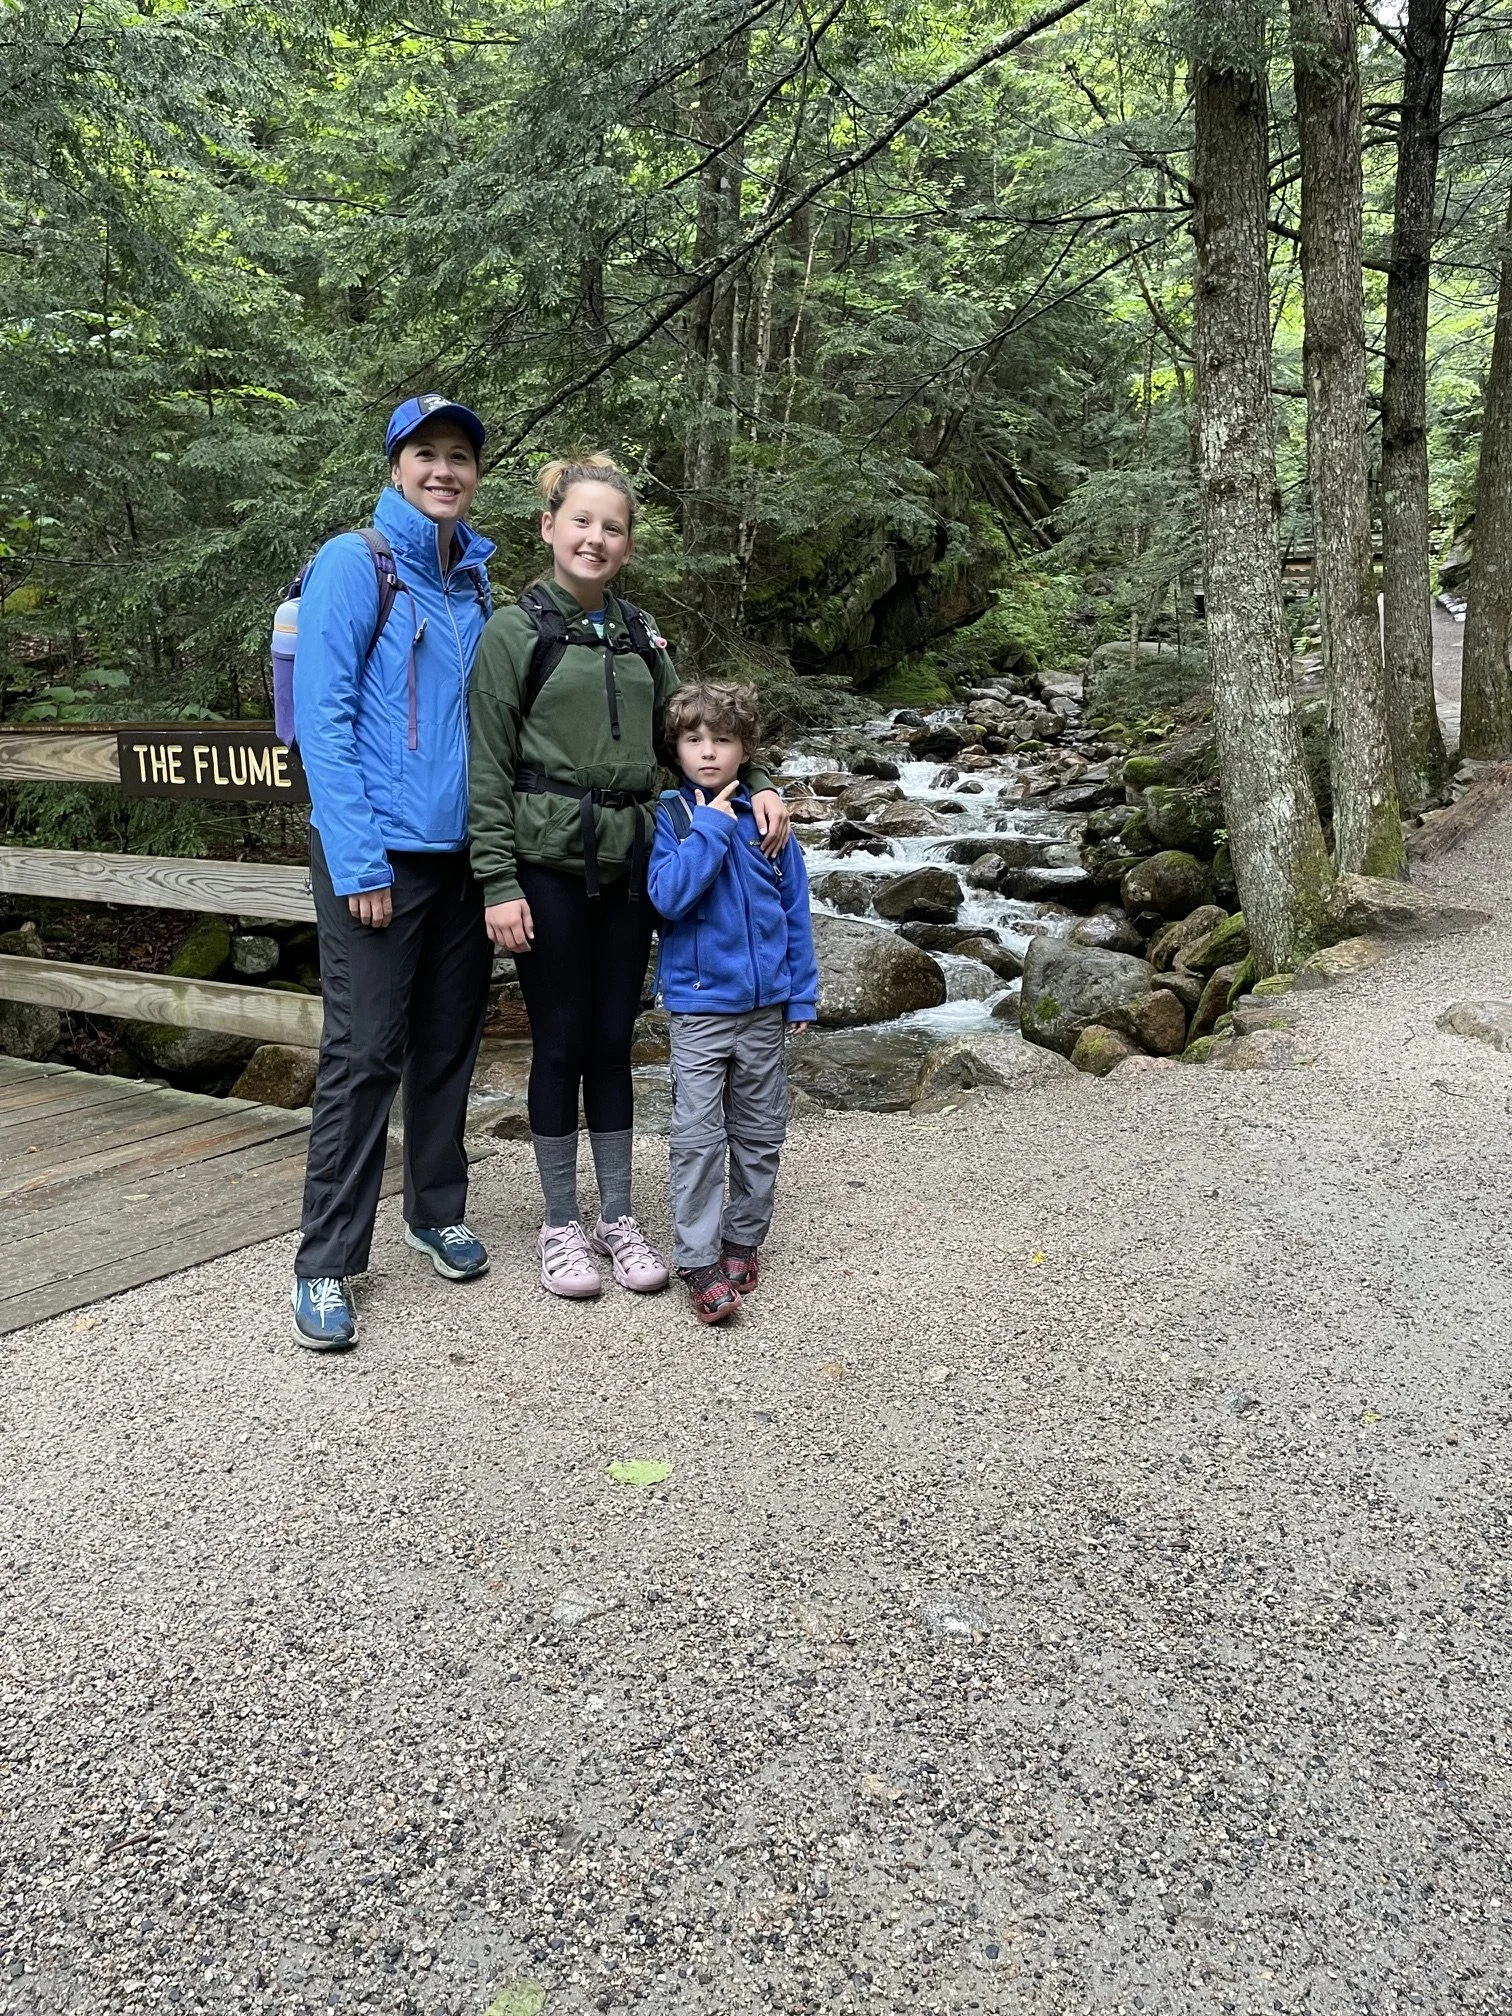
The Camping Kiddos heading into Flume Gorge
This post contains affiliates. If you purchase through the links below, I will receive a commission at no charge to you.
Hike Overview
Trailhead Location: ne
Trail length: 2
Trail difficulty: easy
Elevation gain: 1
Reservations: required
Flume Gorge: An Overview
I don’t know what the most photographic trail is in New Hampshire, but if it isn’t Flume Gorge, there needs to be a recount.
When I was planning our road trip through New England, I stumbled across photos of Flume Gorge, and thought, “there’s no way that isn’t photoshopped.”
But hope also springs eternal around here, so I added the gorge to what I wanted to do while were in New Hampshire and hoped for the best.
I’m happy to report that the Flume Gorge is every bit as beautiful as the photos I’d originally found on the internet, and everything you see in this post hasn’t been edited at all (other than to resize it).
Two things to keep in mind as you prep for you own Flume Gorge hiking experience:
This is a paid hike, and
You will need reservations.
The whole pay-to-hike thing still weirds me out a little as I got into hiking because it was cheap. But, now that I’ve seen Flume Gorge, I understand why they have to charge.
There are many wooden boardwalks and stairways on the trail that I am sure cost a lot to maintain, especially considering how close they are to rapidly flowing water and the overall harsh winters that they have to go through here in New Hampshire.
The reservations also gave me pause since I’m one of those travelers that will loosely figure out what I want to do in an area, and then pick one depending on how I’m feeling each morning of our trip.
Reservations seemed like they’d cramp my style. And, honestly, they kind of did, but it’s such a fun hike, that I would’ve been really disappointed to show up and find out that it was too busy to complete.
At least, the reservations allowed me to have a time that I’d definitely get to do the trail.
I’ve got more on the reservations process below, but just be aware that’s something you’ll need when hiking here in the late spring, summer, and early fall.
Getting to the Flume Gorge Hike
The trailhead is located within Franconia Notch State Park near Lincoln, New Hampshire.
Take Highway 93, also known as Styles Bridges Highway, for 5 miles north of Lincoln.
Highway 93 is a divided 4 lane highway, and easy to drive on this section if you have a camper in tow.
You’ll see signs for Franconia Notch State Park, and specifically, for Flume Gorge as you approach exit 34A.
NOTE: There are other exits further ahead for additional areas of the state park, but you’ll want to take this one for Flume Gorge as it is the closest to the parking area.
Exit 34A will take you to Daniel Webster Highway, which runs parallel to Highway 93. You’ll see the parking area for Flume Gorge less than a mile once you’ve taken the exit.



Parking for Flume Gorge
When you turn into the parking area for Flume Gorge, you should have your pick of spaces as the lot here is large, flat, and paved.
Cars can choose from 8 long rows of parking spots near the visitors center, while RVs, buses, and trucks with trailers can park in one of the 7 extra long parking spaces.
To get to the longer spaces, take the second right turn into the parking area, which will place you in the perfect location to park your RV or bus.
Parking is included in your state park and hiking fee.
There are an additional 9 or so long spaces and around 35 additional car spaces at the northern end of the parking area. To get to these, you’ll need to drive past the Flume Gorge trailhead and loop back towards the exit.
The Pemi Trail and the Franconia Notch Recreation Trail both have trailheads on this end of the parking lot.
FREE New Hampshire planning resources!
From camping reviews to kid-friendly itineraries, you’ll find all of my posts and guides from New Hampshire here.
Flume Gorge Loop Trail, Step-by-Step
TIP: Before you set out on any hike, it’s a good idea to check for any recent updates, trail conditions, and level of difficulty at AllTrails! Purchase your annual subscription here.
From the parking area, head over to the small entrance hut at the Flume Gorge trailhead.
It’s not at the visitors center, but rather is a free standing brown wooden hut next to the turnstile.
NOTE: If you need to use the bathroom before you get onto the trail, there are a couple of options. If you’re starting the hike before the visitors center is open, you can find porta-potties in the parking lot. If the visitors center is open, there are large, clean restrooms inside and to the left of the entrance doors.
You’ll head up to the little kiosk and show the rangers there your reservation sheet or email. There are two windows to help move the line along if it’s busy during your visit.
The ranger will confirm the number of people in your party and your start time, and, if everything is good, you’ll get a map and access to the trail via the turnstile.
Starting the Hike
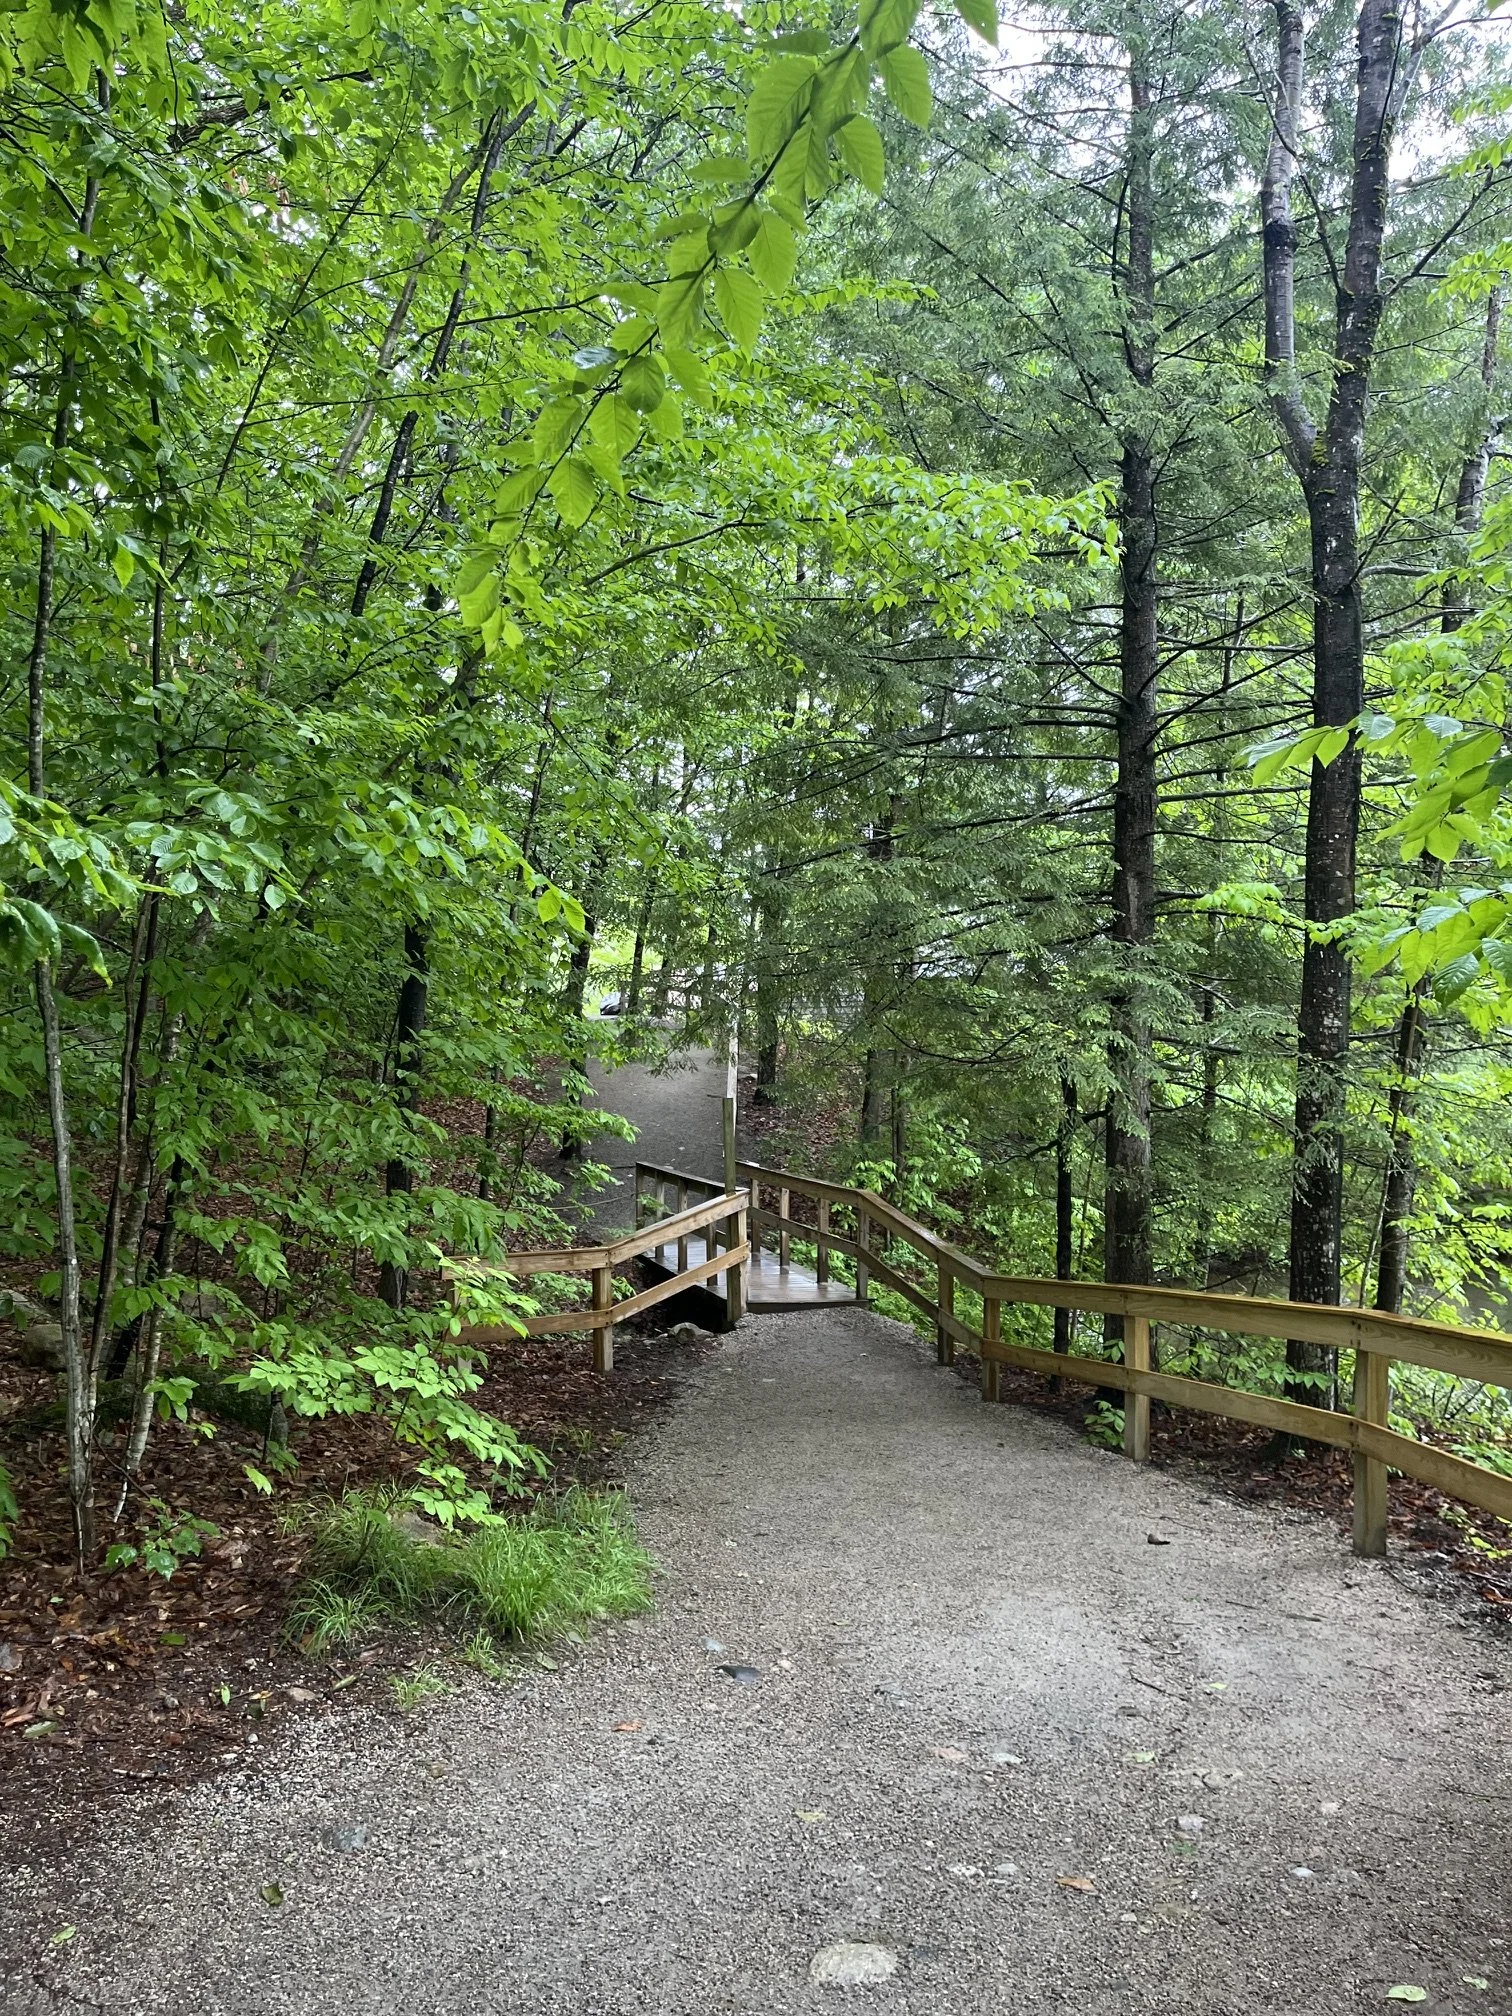
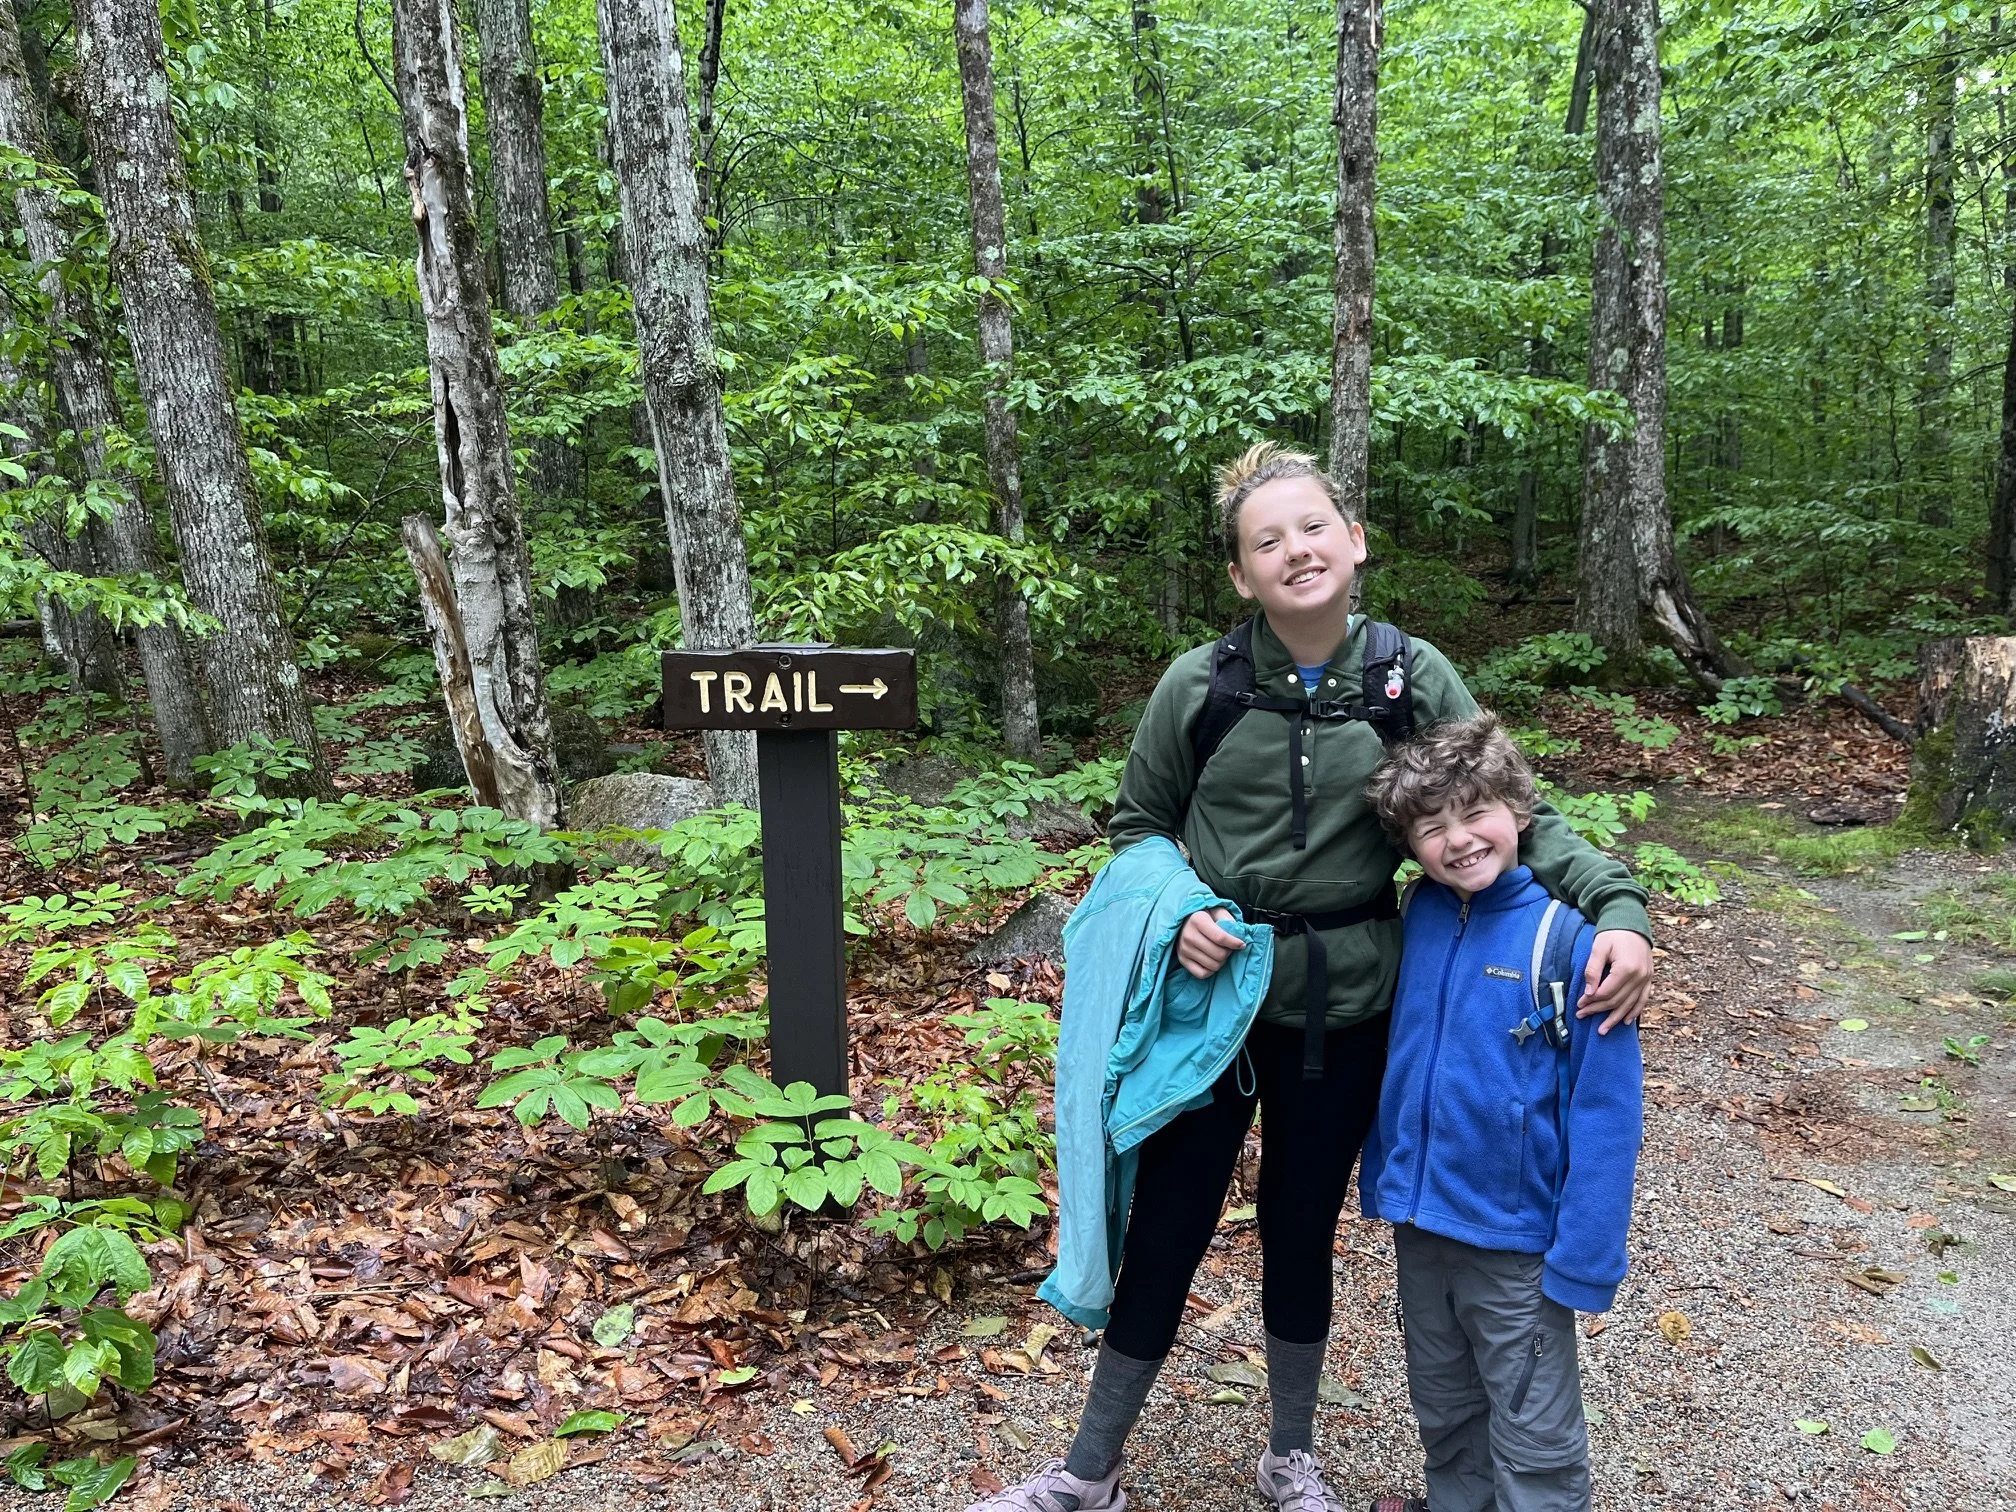
As you start the hike, you’ll pass the side of the visitors center over on your right and then quickly plunge into the forest.
The trail here is well defined and wide with packed gravel. You’ll find helpful wooden signs throughout to ensure you’re headed in the right direction (though, honestly, it would be hard to get lost!).
You’ll pass by the first of several glacial erratics on this loop trail. Glacial erratics are boulders that were picked up by a glacier and then left once the glacier melted.
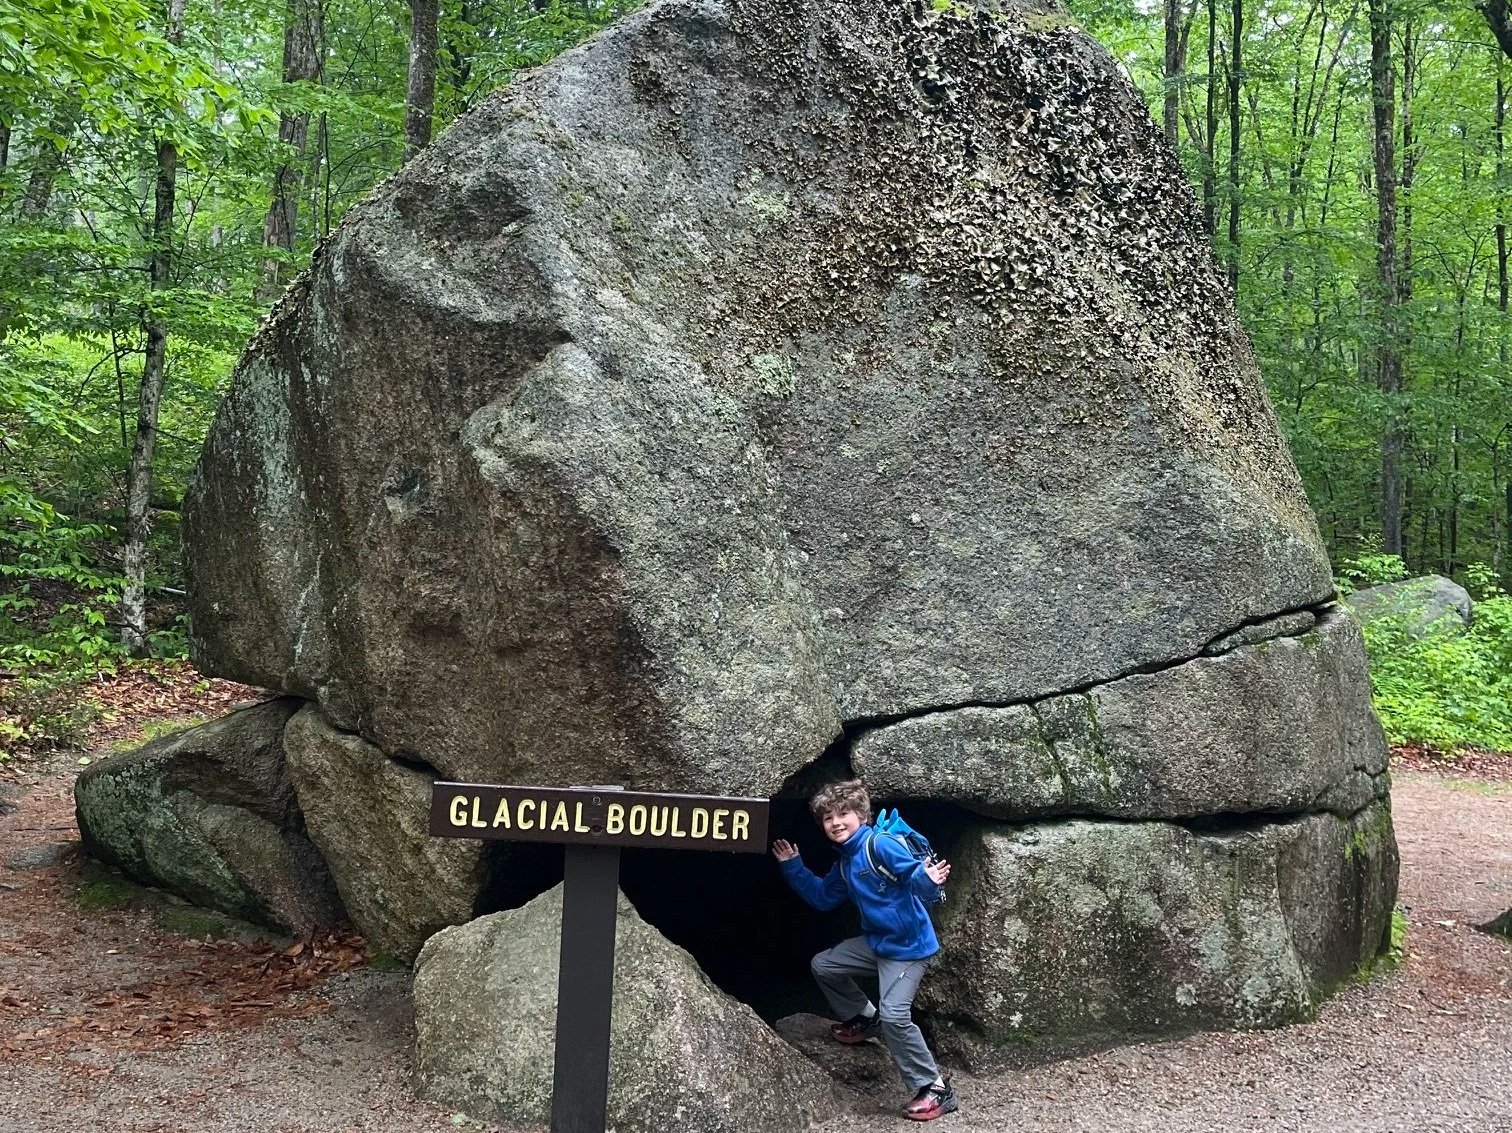
My son with one of the glacial boulders
The trail will parallel the Pemigawasset River for a short stretch. The trail is still packed gravel with a sturdy wooden rail separating hikers from the riverbank.
You will approach the historic covered bridge that’s bright red. You can’t miss it!
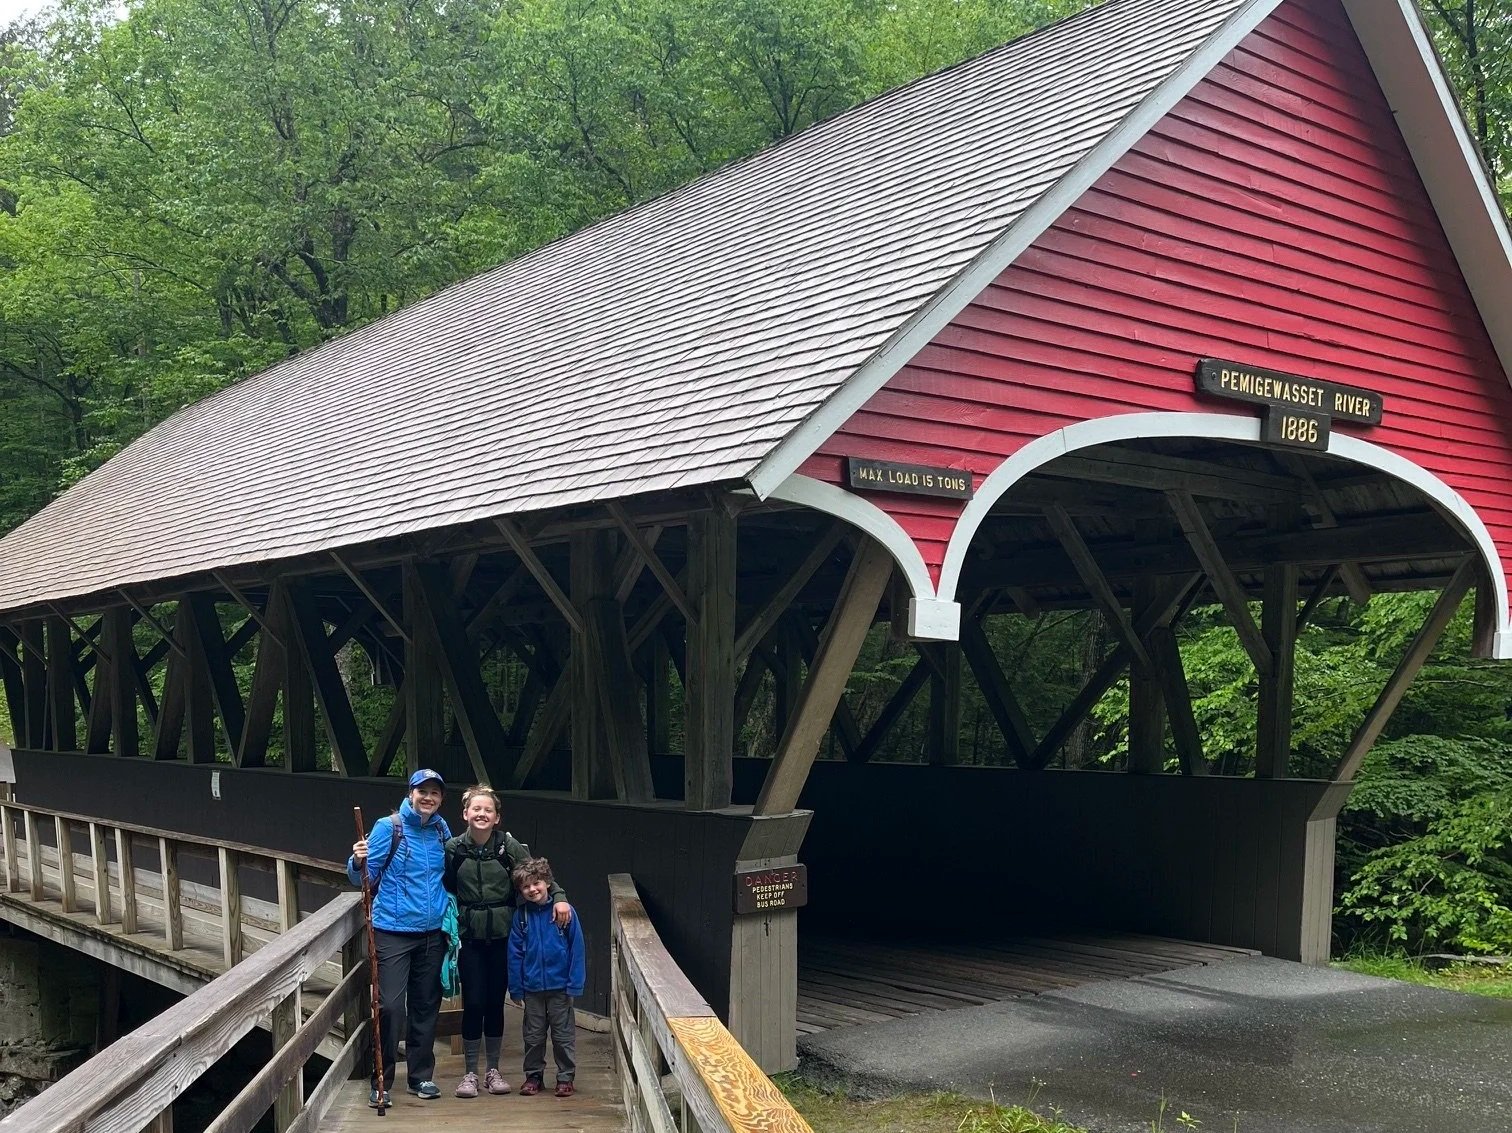
My kids and I on the trail next to the first of 2 covered bridges
It was built in 1886 and allows rangers to access Boulder Cabin. Beyond that, it’s not open for traffic, but there is a small hiking path built into the left side of the bridge.
The Boulder Cabin
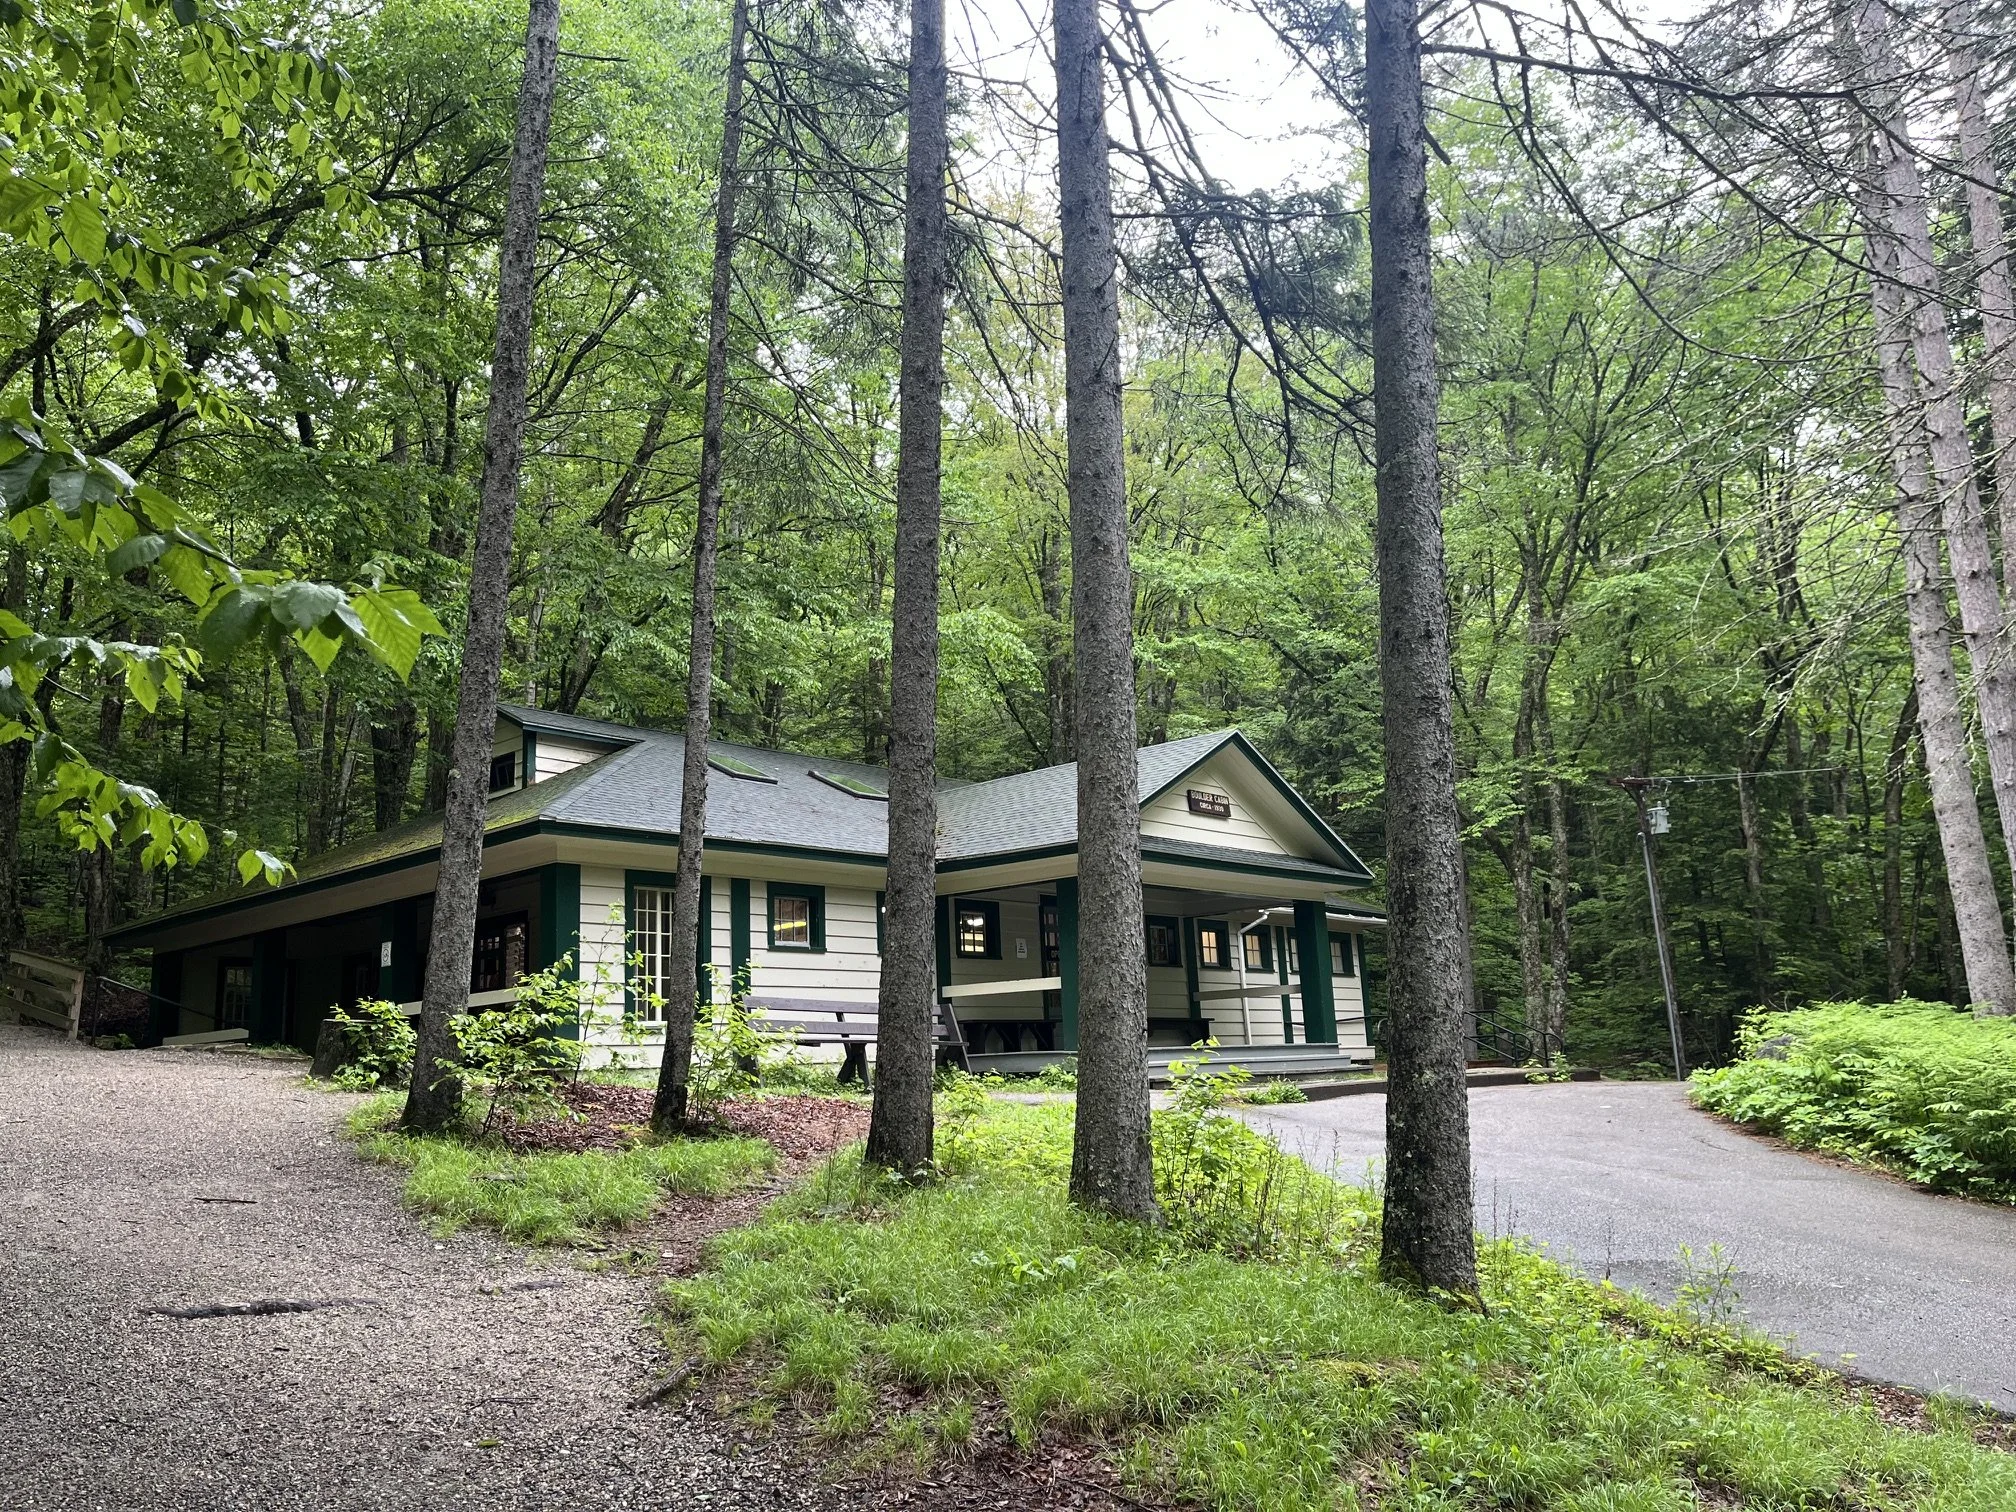
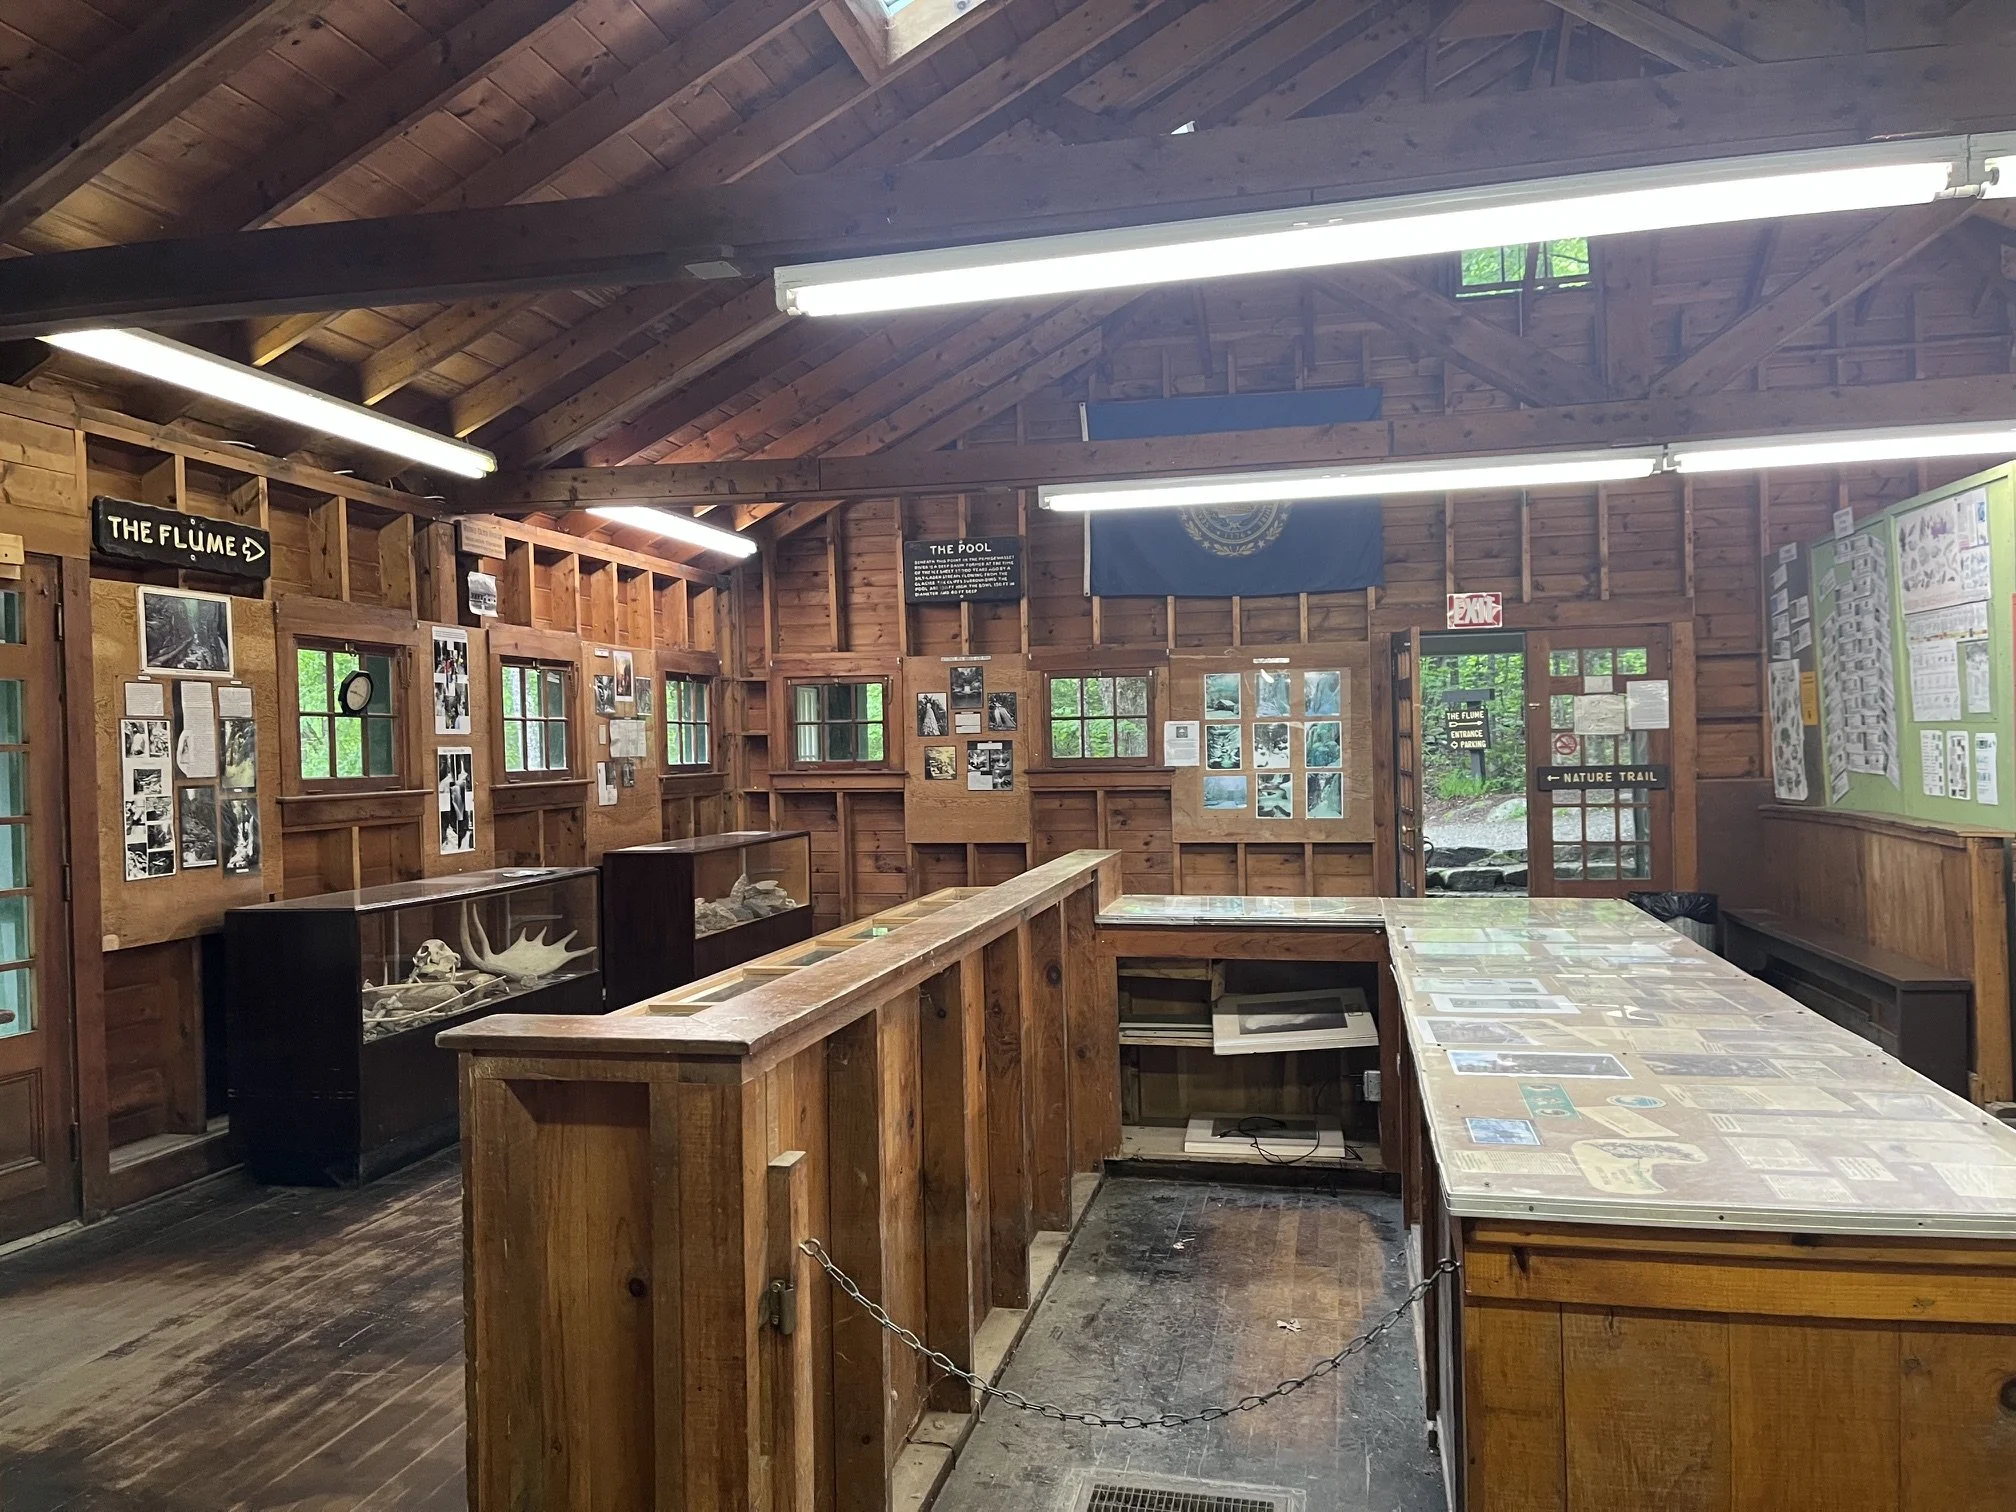
After you pass over the bridge, the trail will begin to slope upwards a bit, and you’ll soon come to the Boulder Cabin.
It will be open, so feel free to go in if you want a quick break from the hike.
Inside, you can read old newspaper clippings and magazine articles about the park’s history, learn about the animals you might see on the trail, and use the restroom.
It’s also a nice spot to wait out a rainstorm if one comes up during your hike. There’s a small porch outside, and the cabin is fully enclosed.
The Flume
This next part of the hike is what you came here for!
While the entire 2 mile loop is beautiful, nothing compares to the Flume, which is a section of the trail that runs between sheer granite cliffs and over Flume Brook.
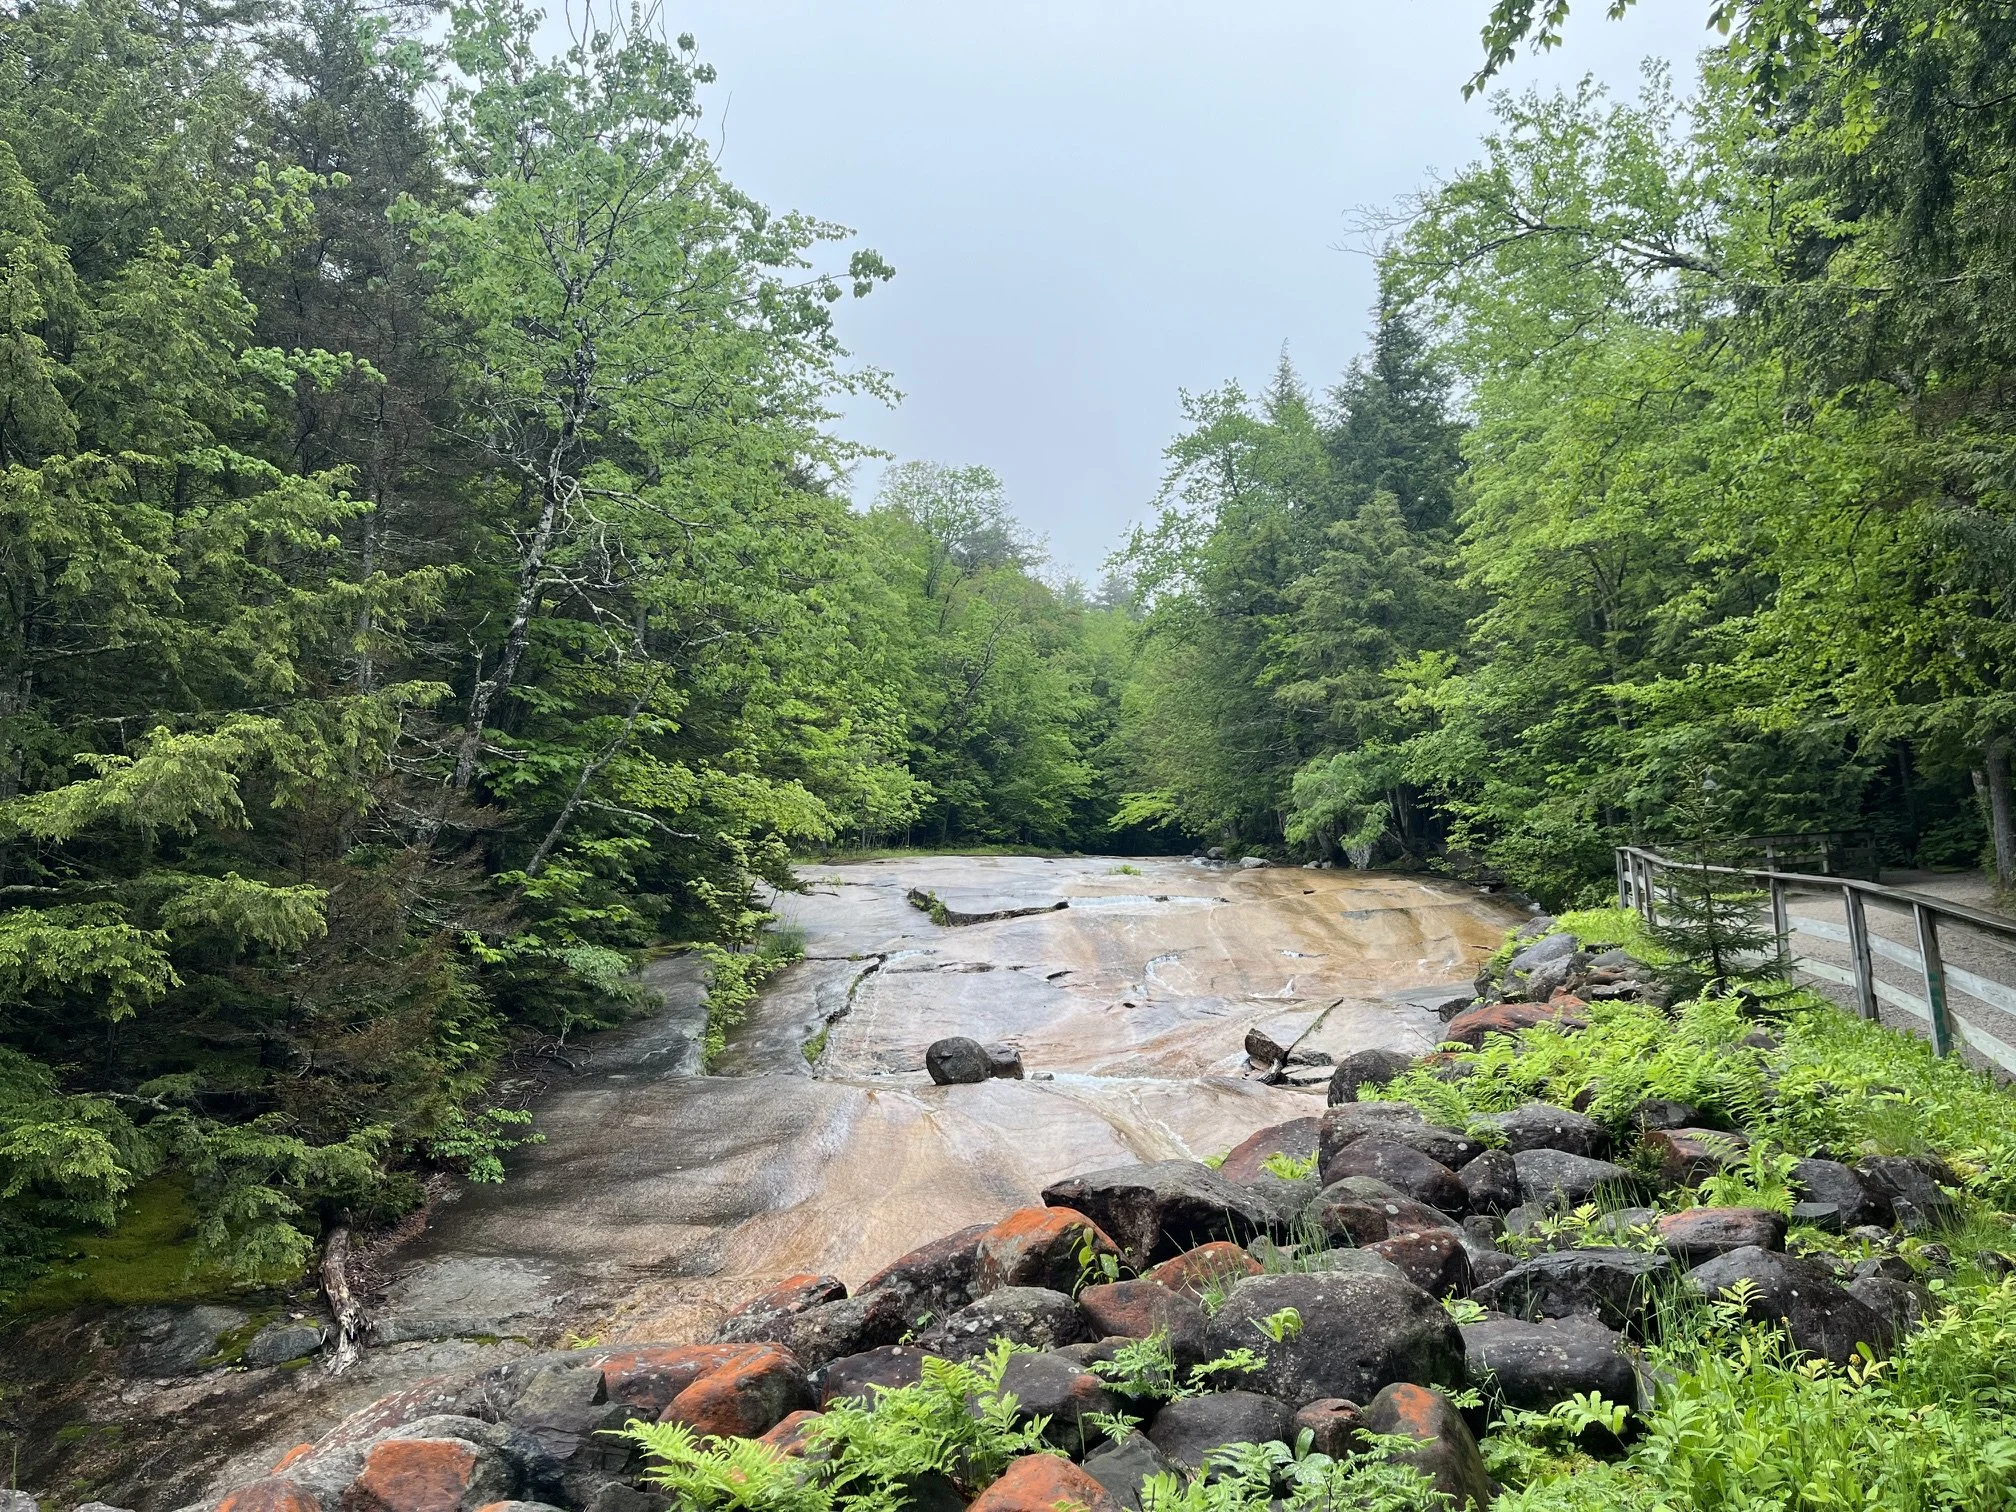
Table Rock
The trail will transition from packed gravel to wooden boardwalk, passing along the creek in the process.
You’ll see the flat, seemingly slideable Table Rock along this section of the trail, which slowly ascends.
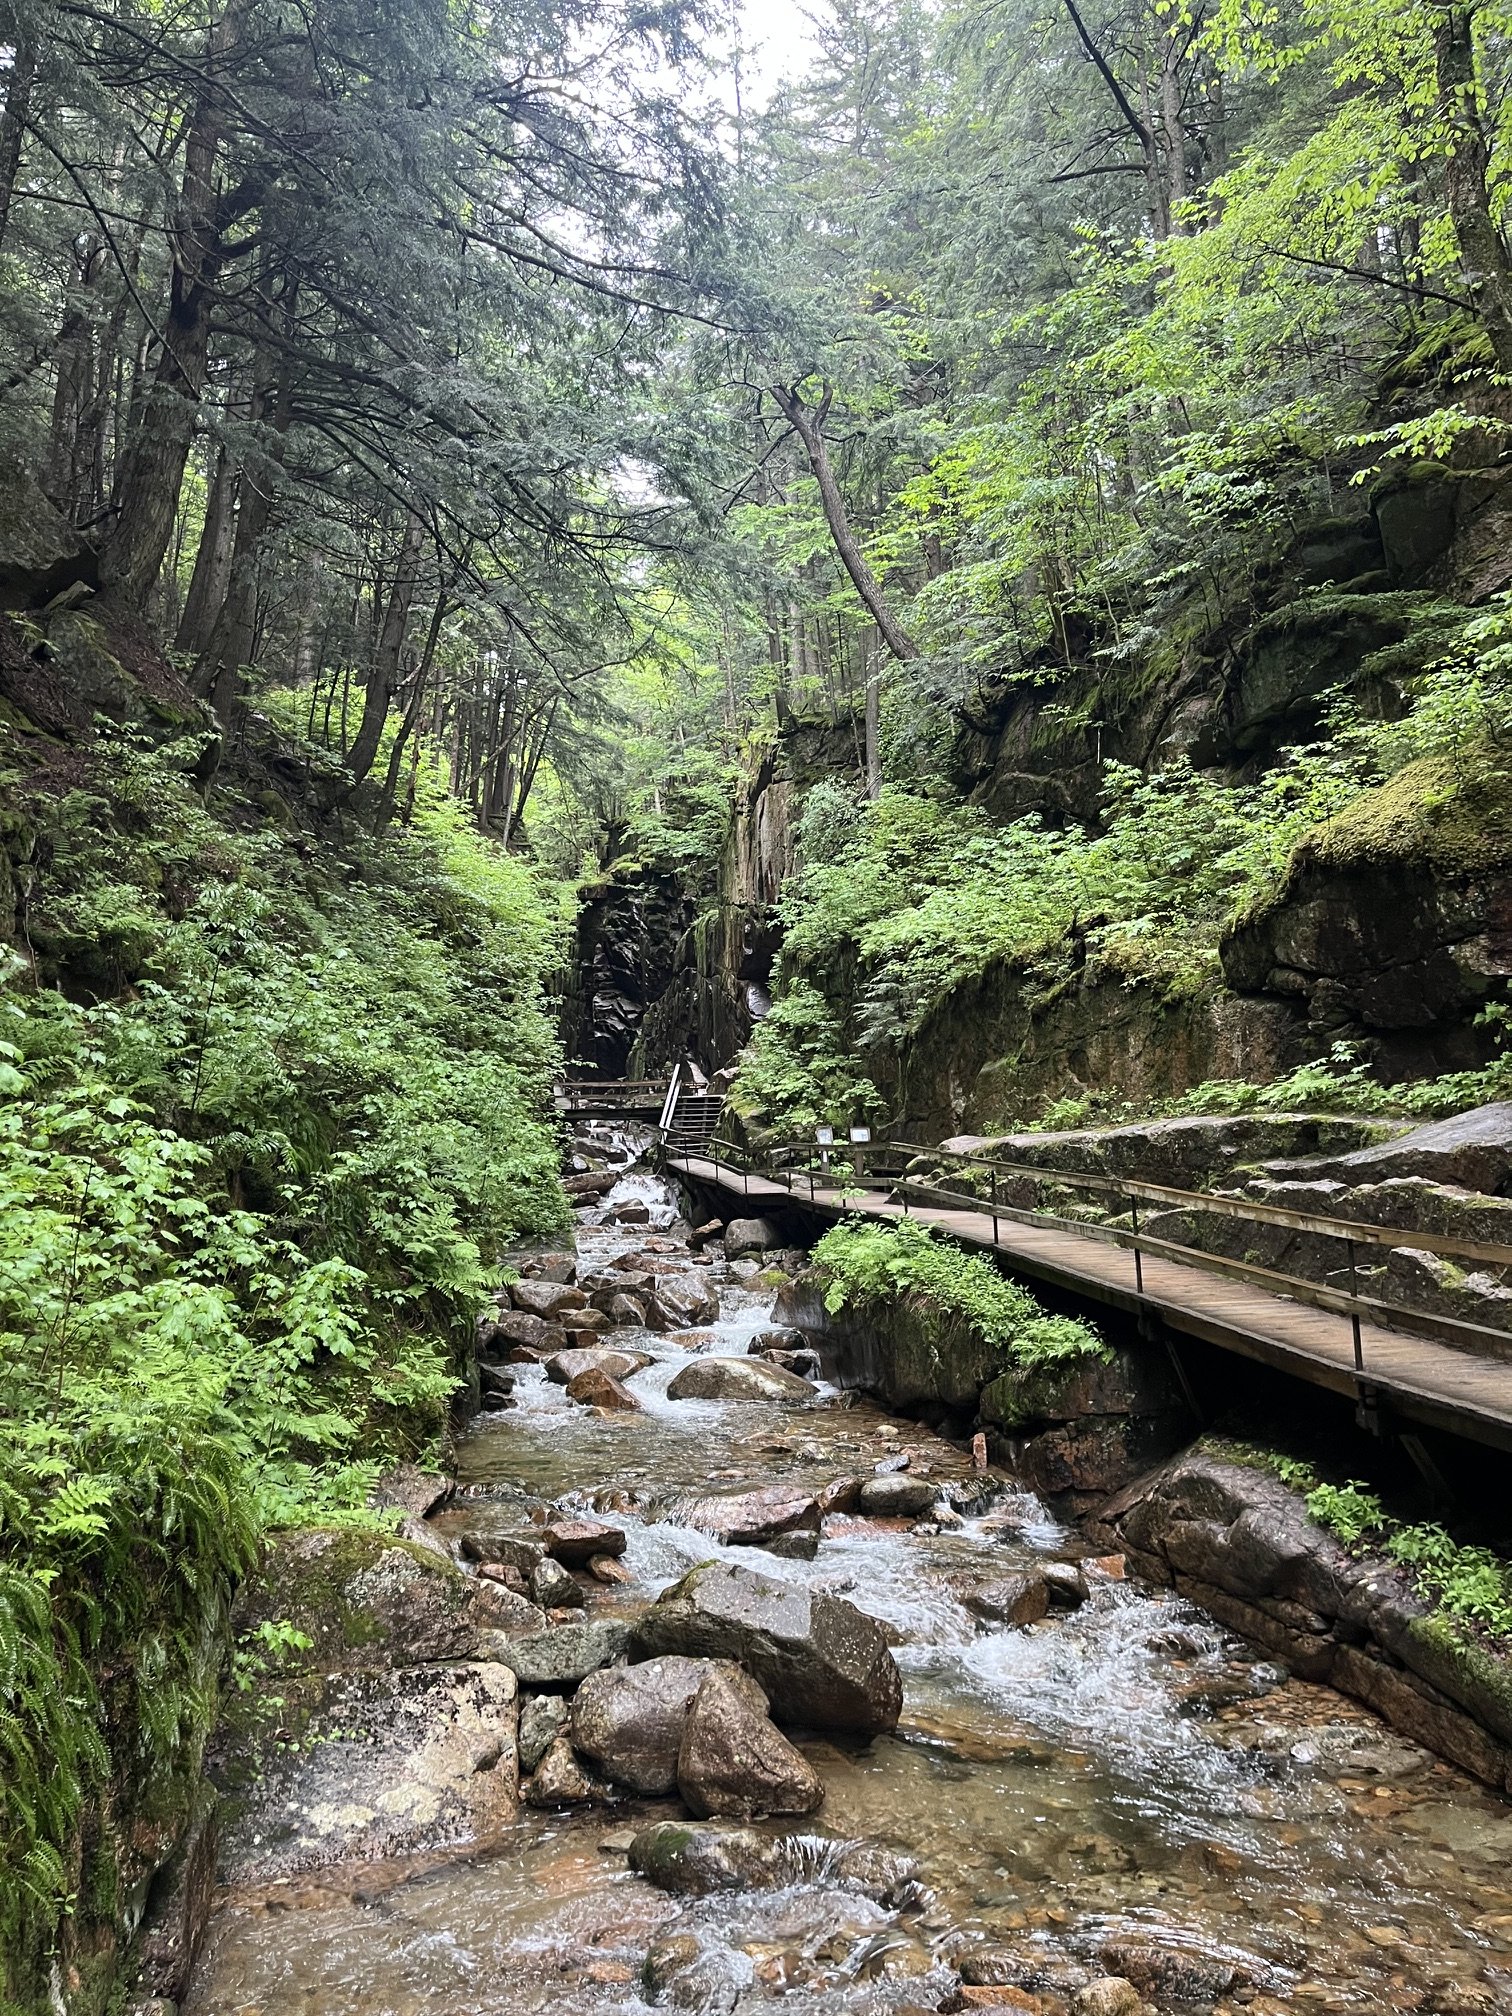
Then, it’s time for the Flume. As you make your way through the gorge, you’ll walk up several sets of stairs as you climb up and through the Flume.
At its closest point, the granite walls are only 12 feet apart!
As you climb along the wooden boardwalk and stairs, you’ll pass hundreds of ferns that are growing along the Flume Gorge.
While this entire hike is very kid-friendly, keep in mind that the wooden stairs here are slippery, so take care with younger visitors.
If your child is scared of heights, you can also peek down through the stairs to see the water rushing underneath your feet.
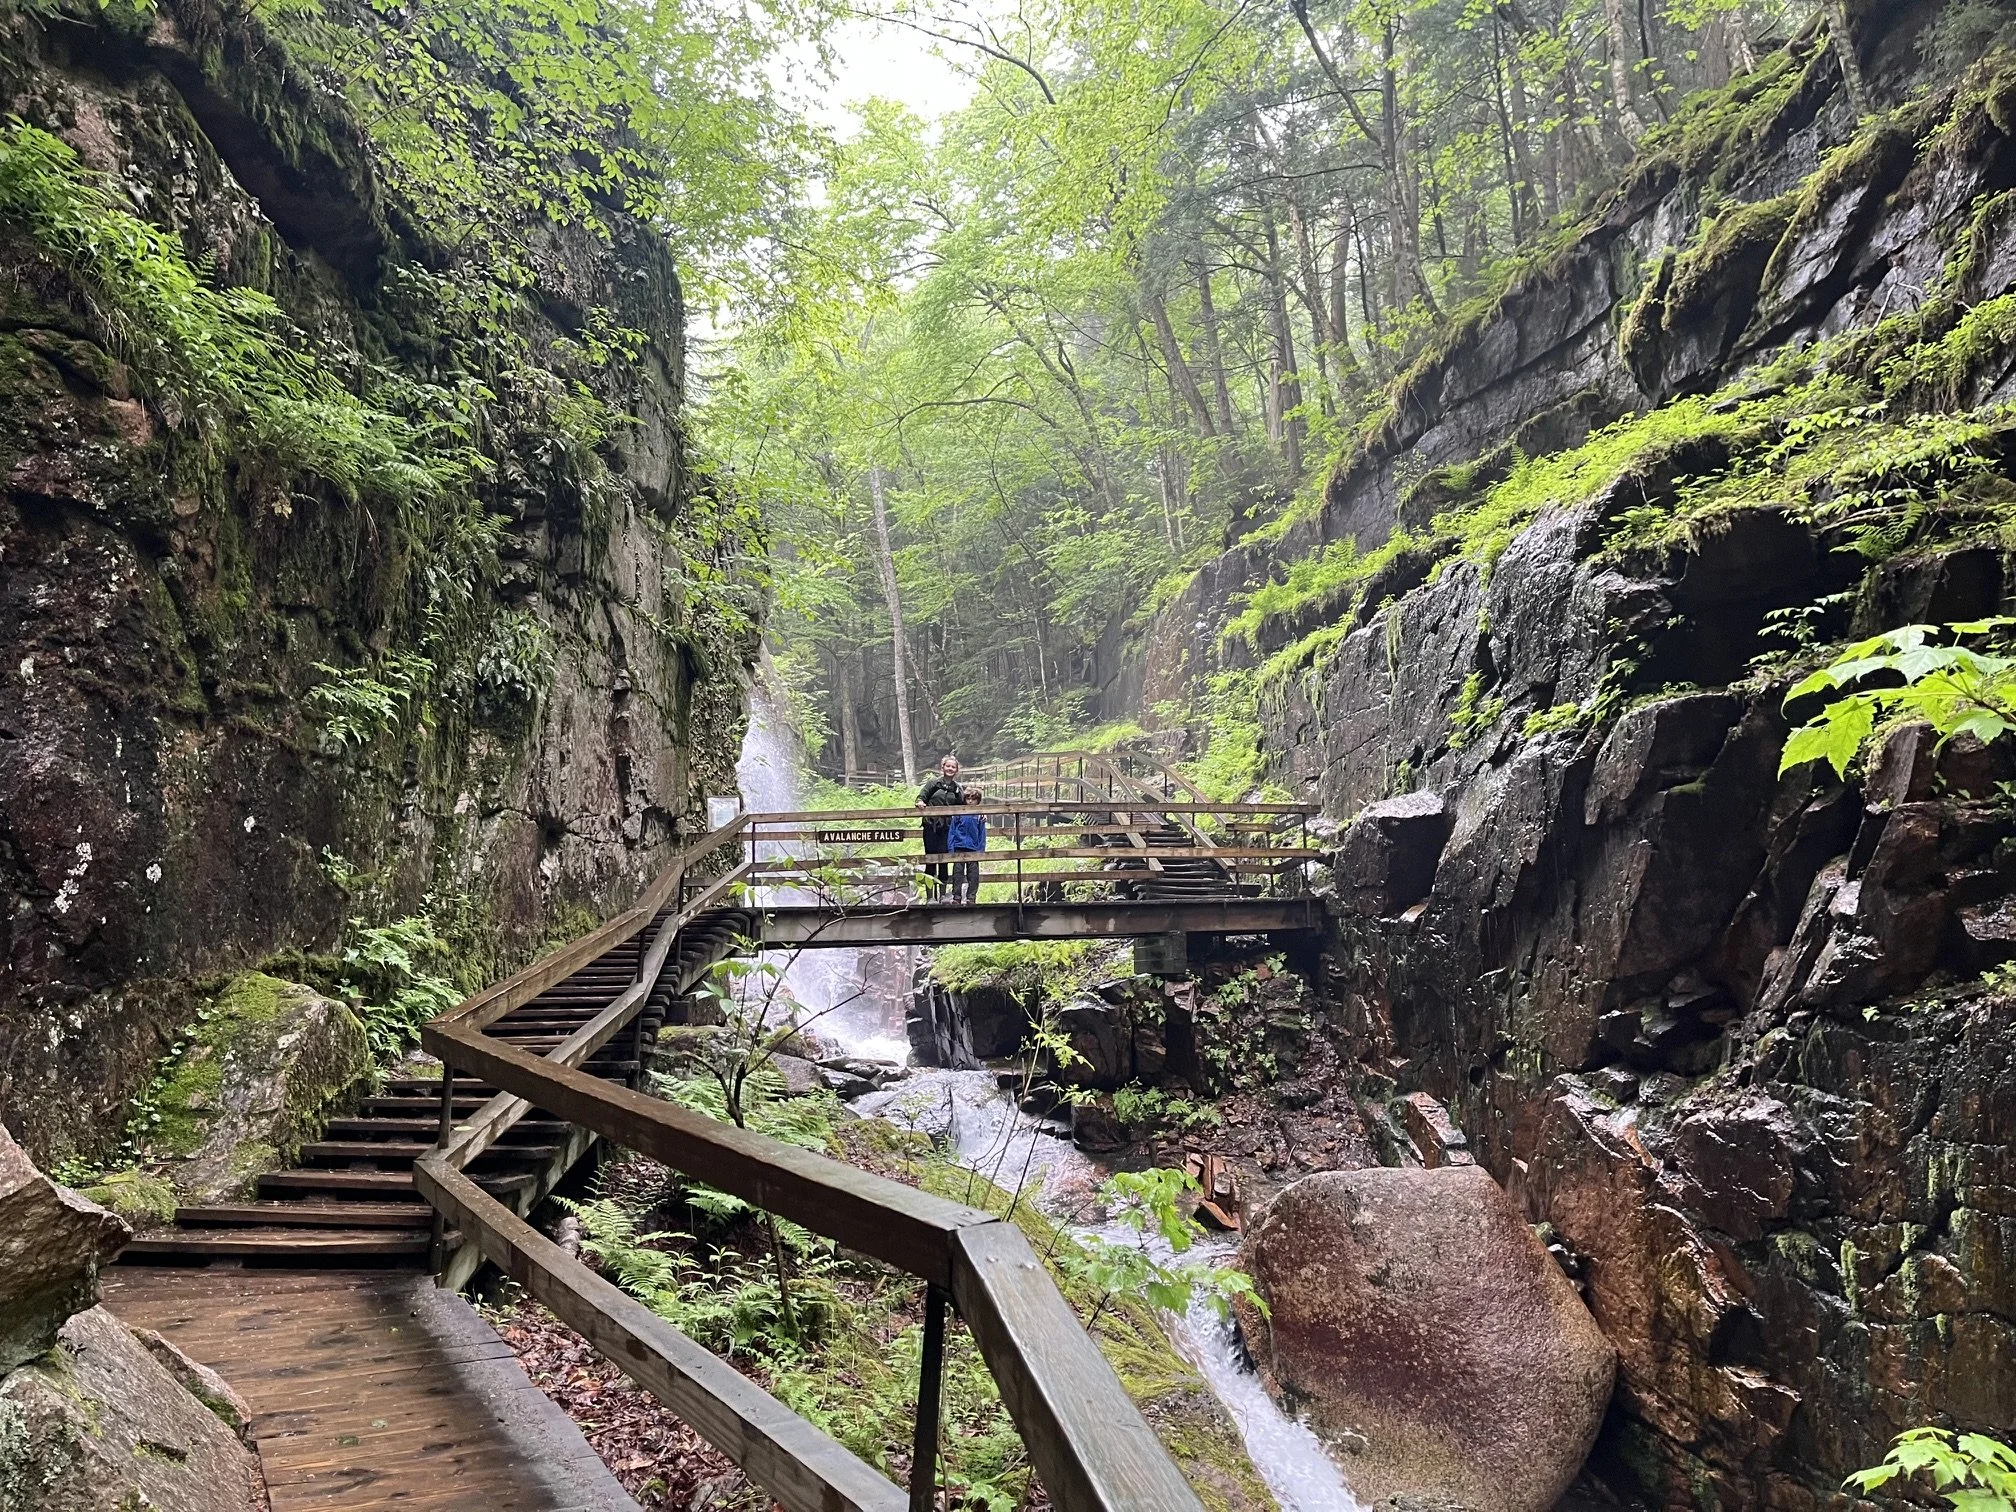
The Camping Kiddos in Flume Gorge near Avalanche Falls
The entire place made us feel as if we’d stepped back in time to some forgotten part of the Jurassic era!
At the top of this section of the hike is the beautiful Avalanche Falls. You’ll have a great vantage point at the highest point on the Flume boardwalk/stairs.
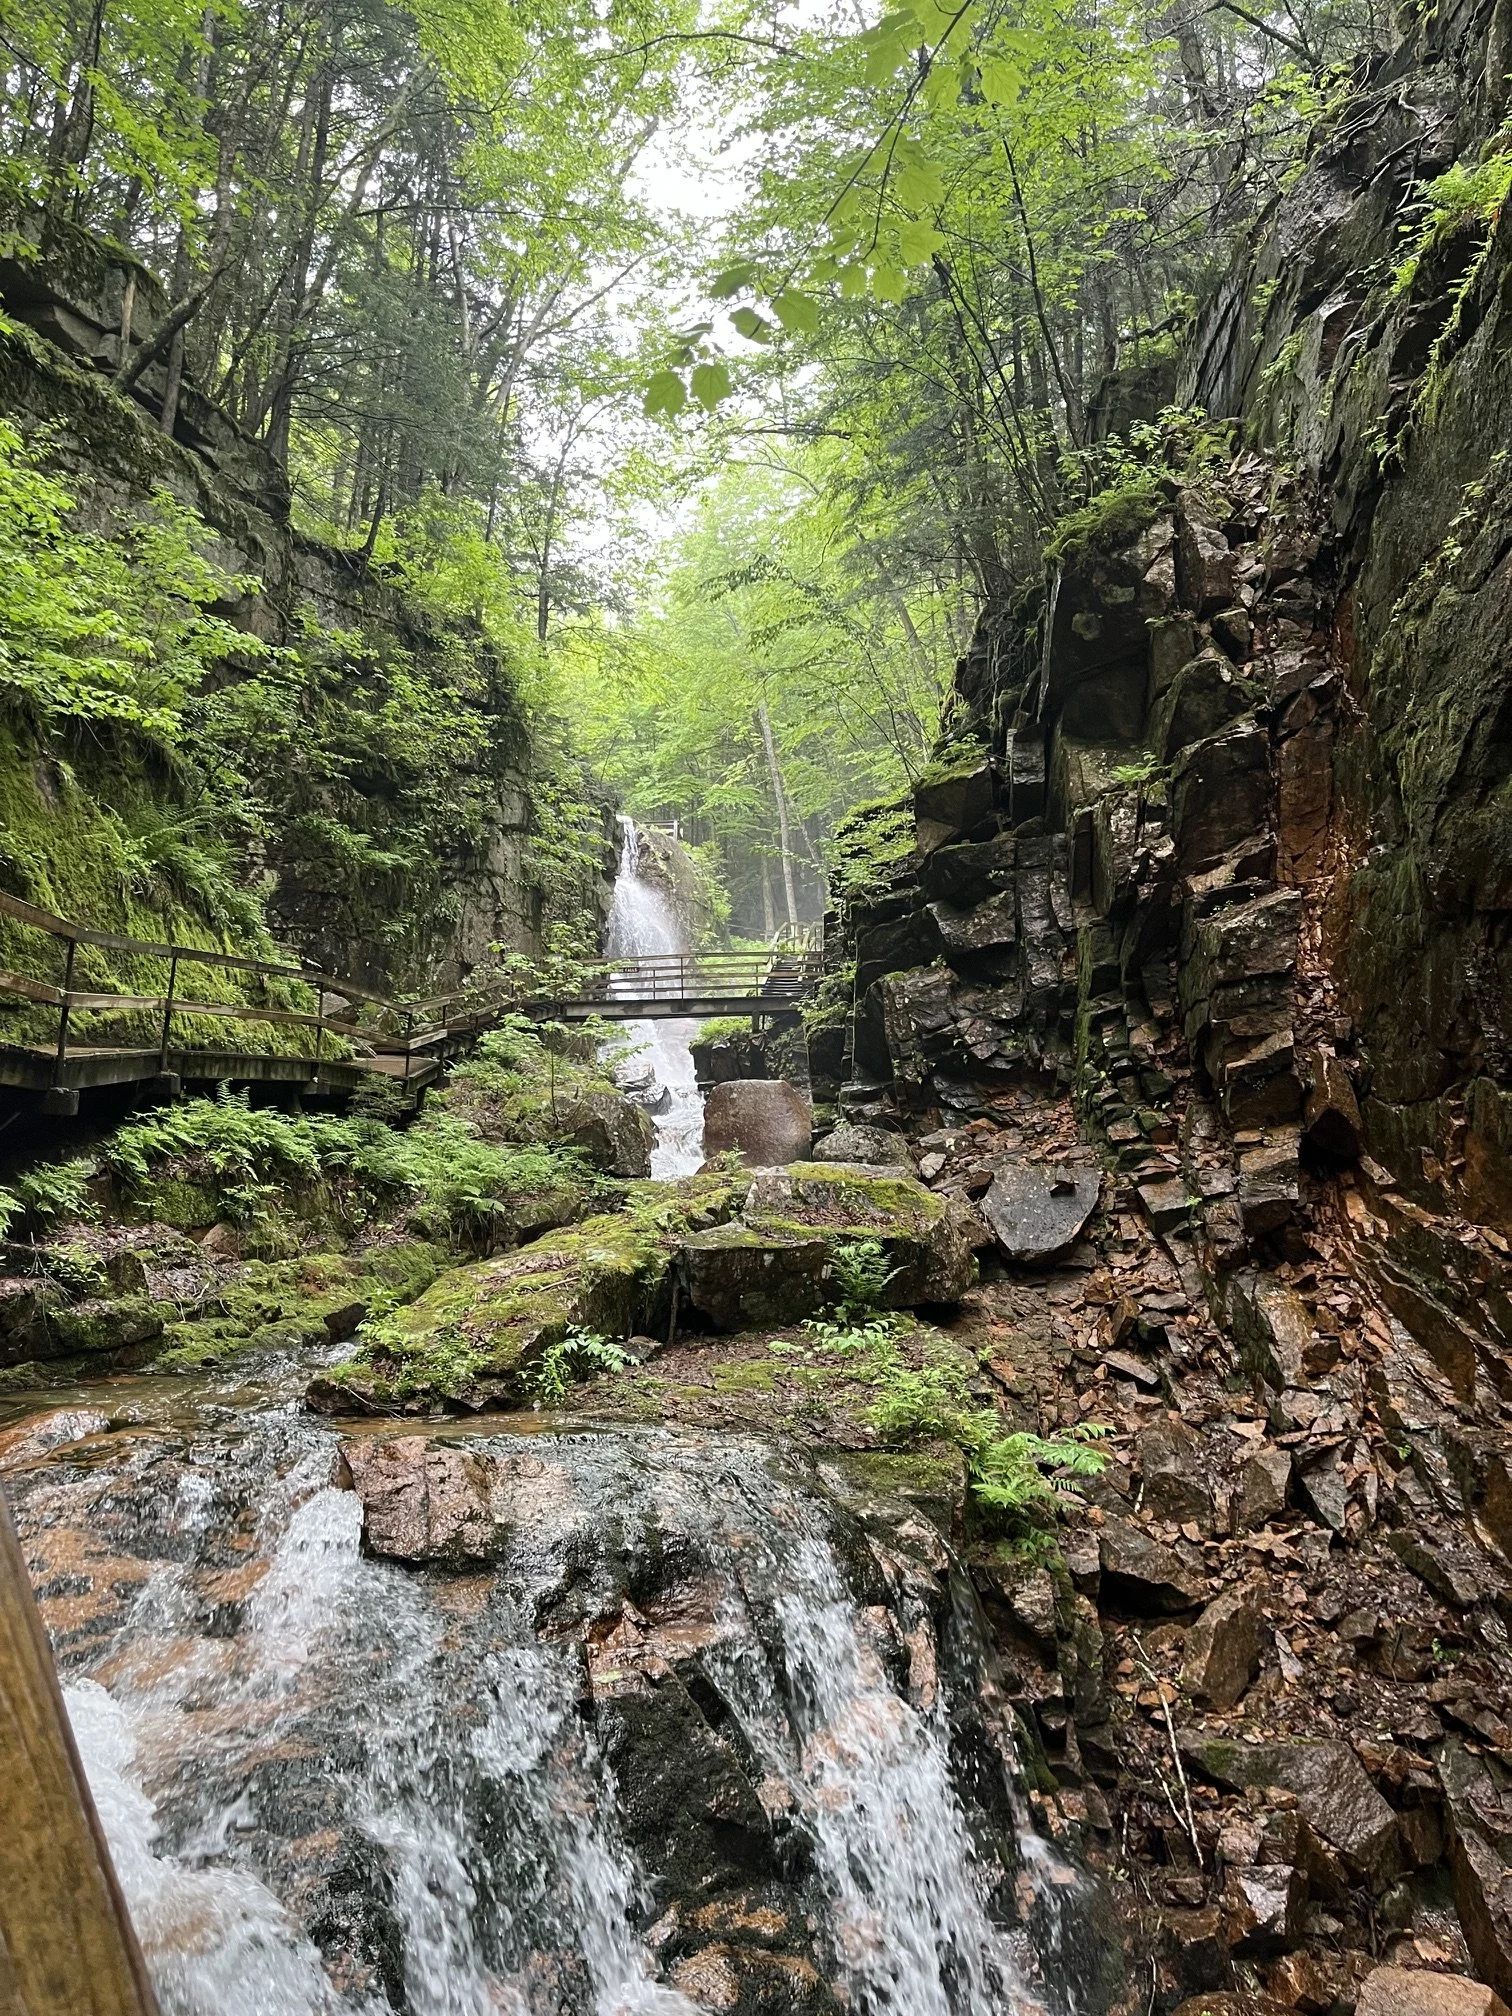
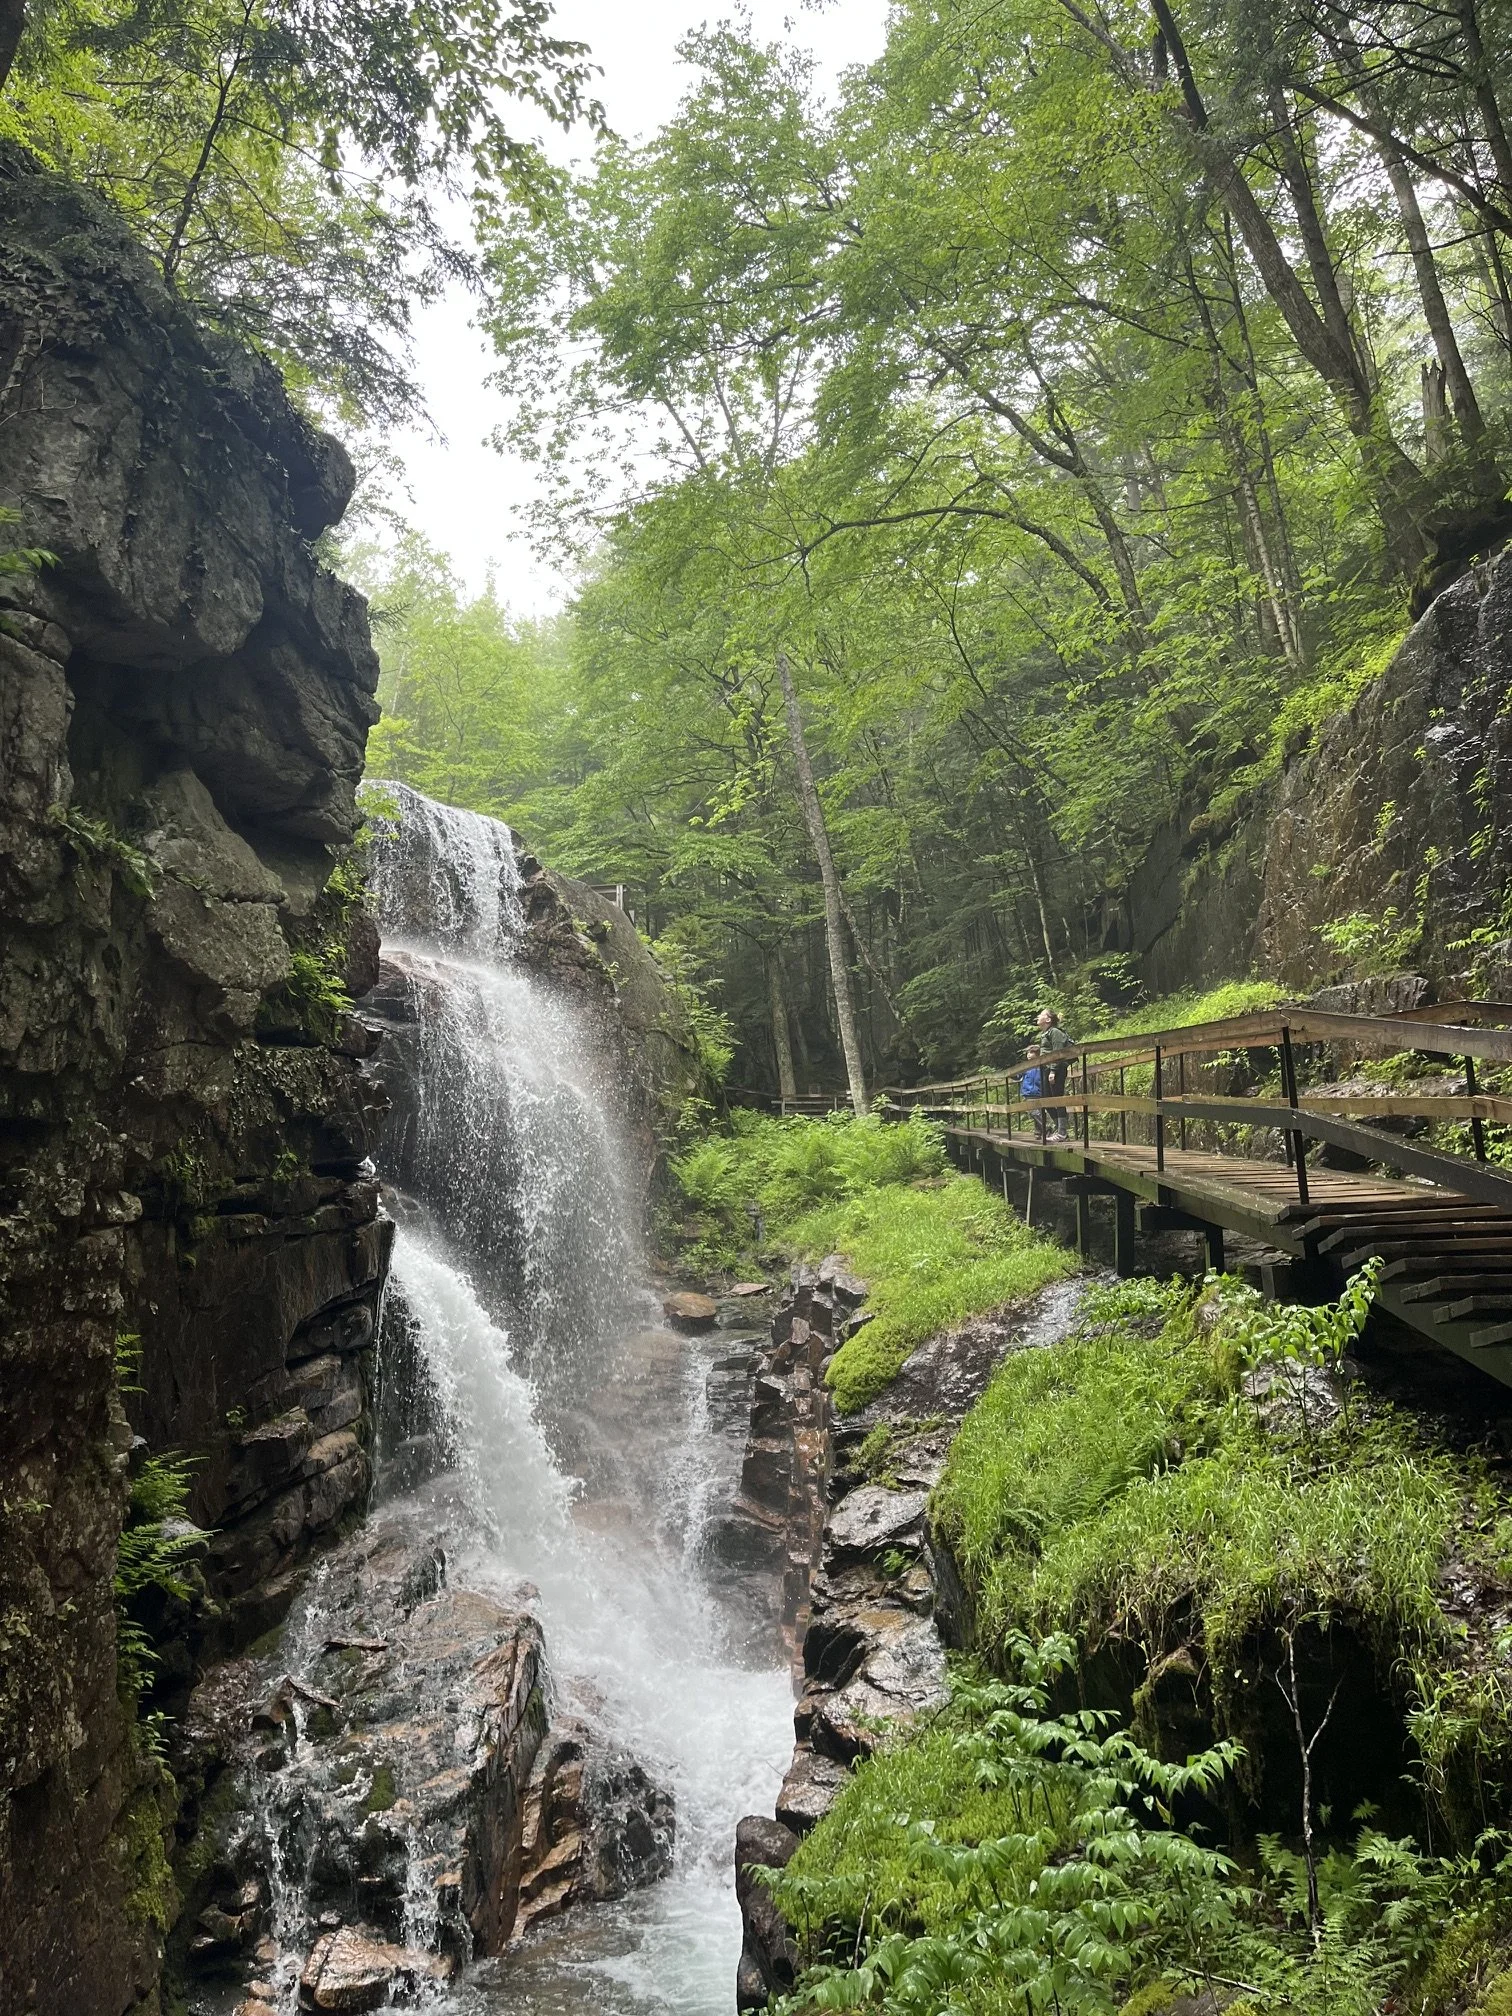
The Pool and Sentinel Pine Bridge
Once you pass Avalanche Falls, you’ll bend back to the left and the trail will take you almost on top of the cascade.
You’ll have a second viewpoint of the Gorge (which isn’t anything as good as what you’ve already seen!) before you make a short climb to a small shelter by the trail.
We got caught in a rainstorm here, so we couldn’t have asked for better timing. We waited it out in the small wooden shelter, which looks like something you’d find along the Appalachian Trail, and then head on when the weather cleared up.
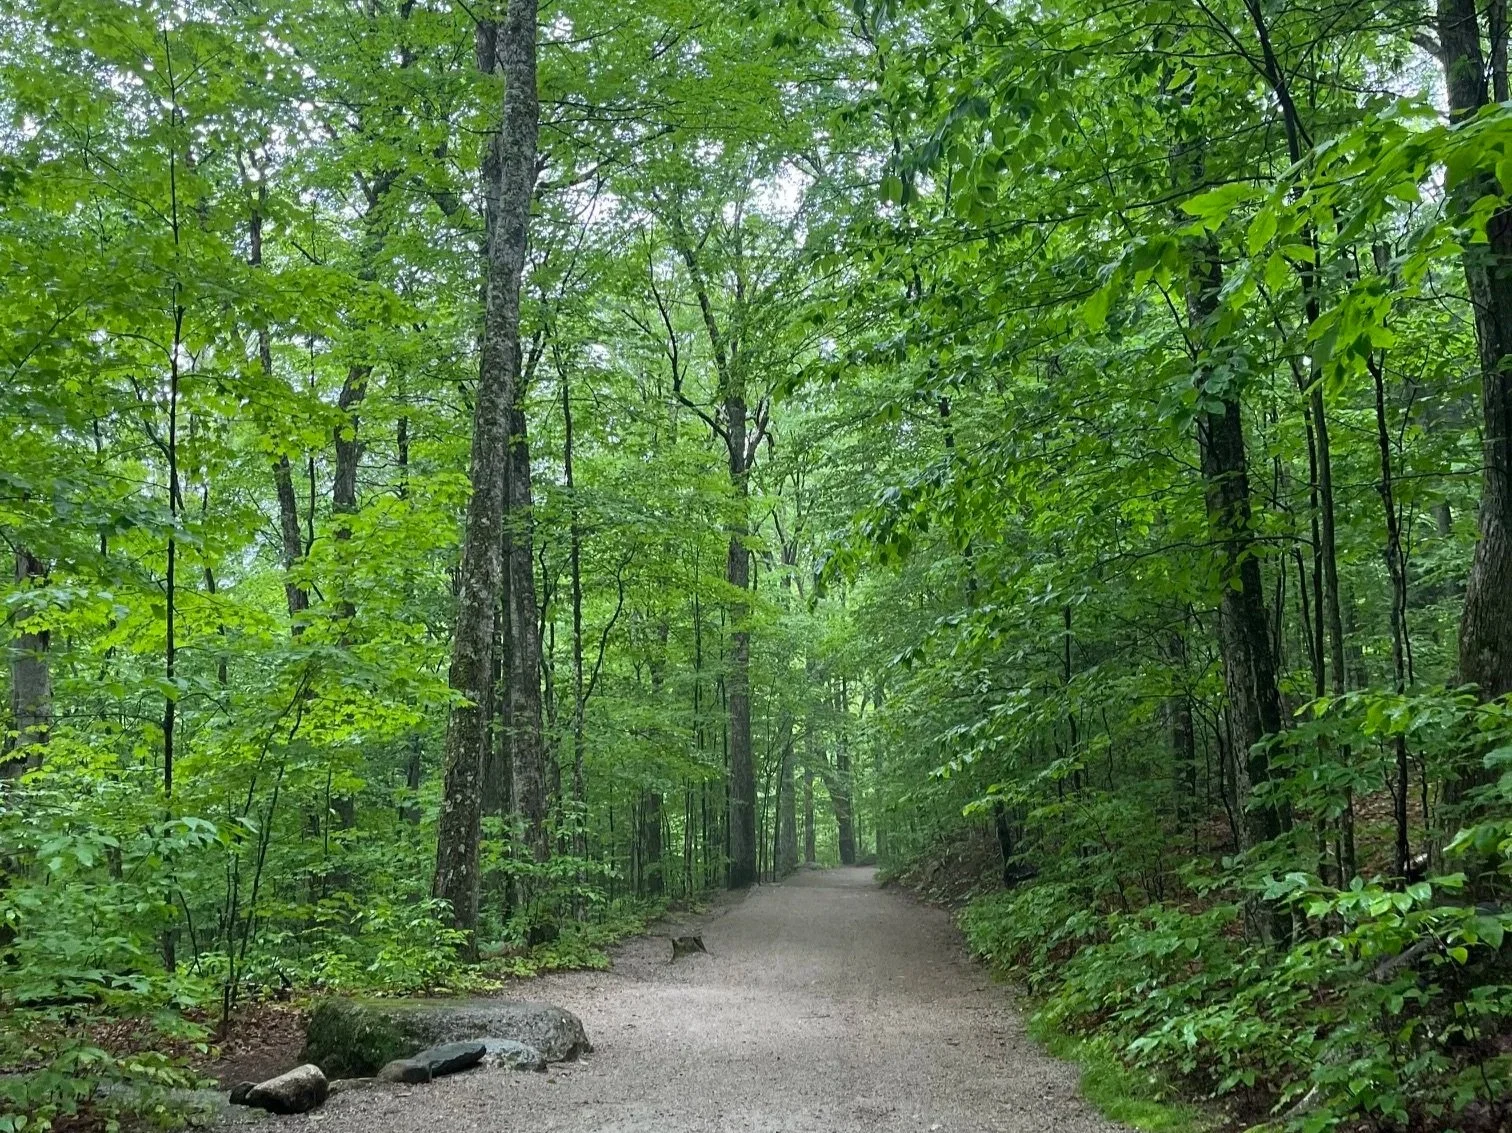
The trail between Flume Gorge and Liberty Gorge
From here, the trail begins to descend slowly, and you’ll pass through Liberty Gorge.
Compared to what you’ve already seen at Flume Gorge, Liberty Gorge isn’t a showstopper. However, Liberty Falls is worth a few moments of your time.
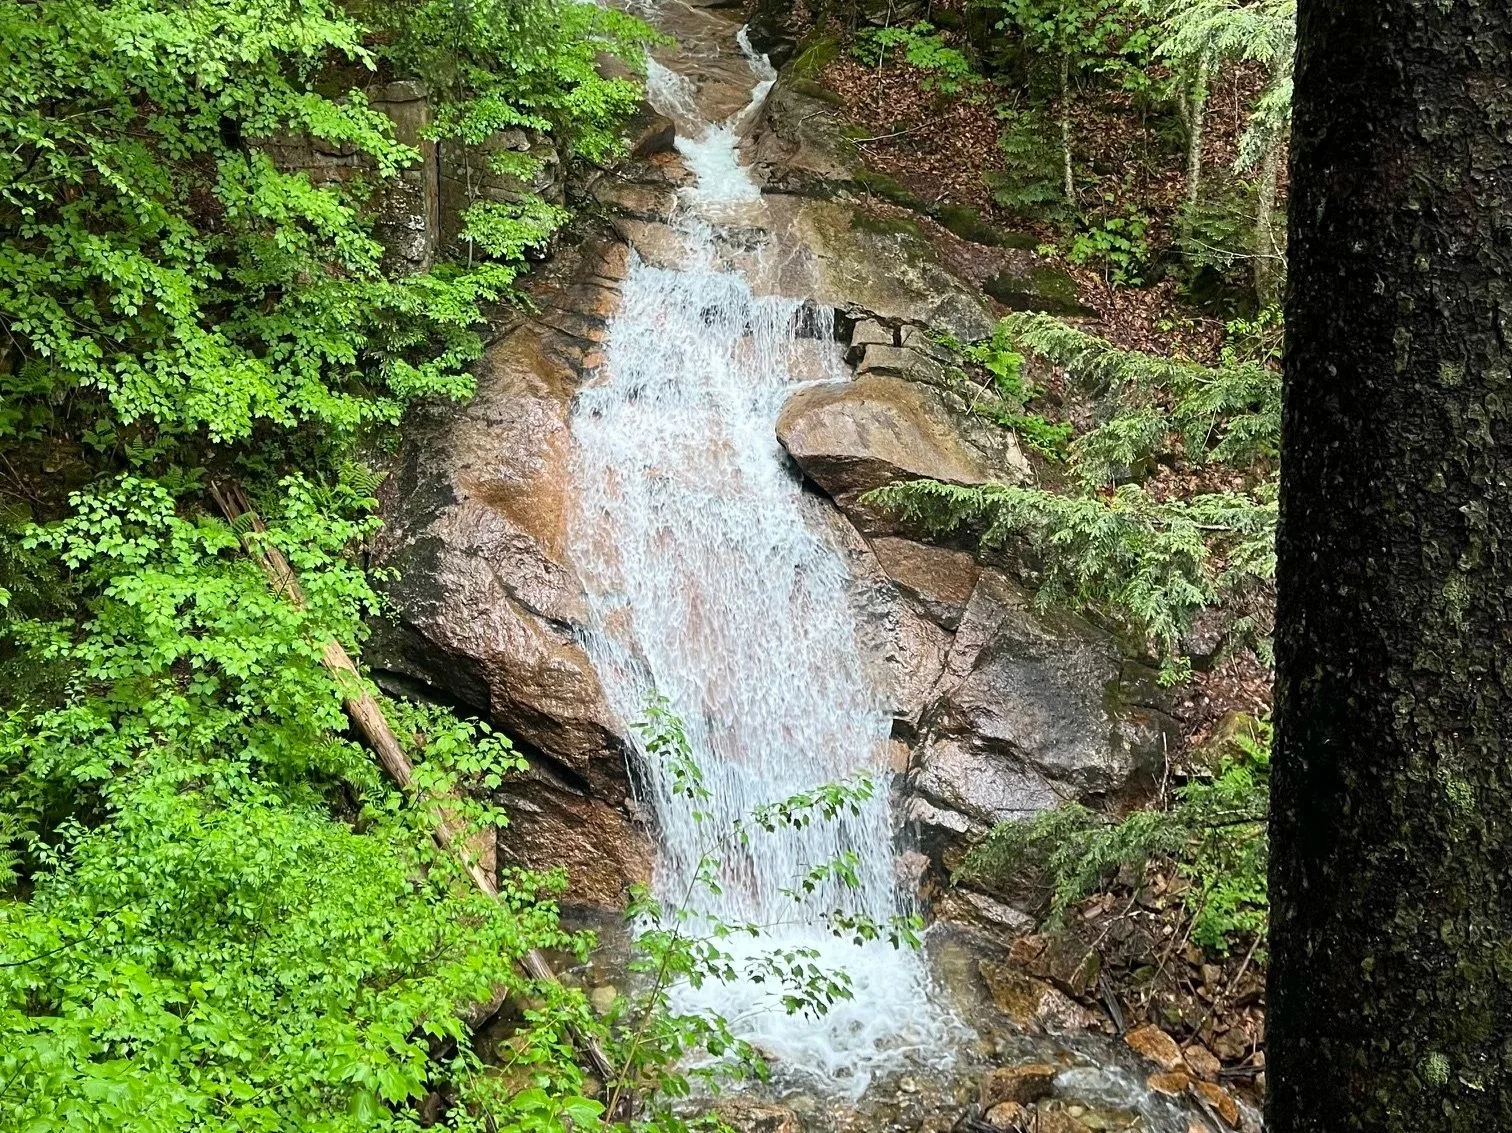
Liberty Falls from the viewpoint on the trail
After the falls, you’ll see the Sentinel Pine Bridge in no time.
You’ll cross the bridge, which is the second covered bridge of the trail, and look down into the creatively named The Pool.
(It’s a pool of water, so the name fits.)
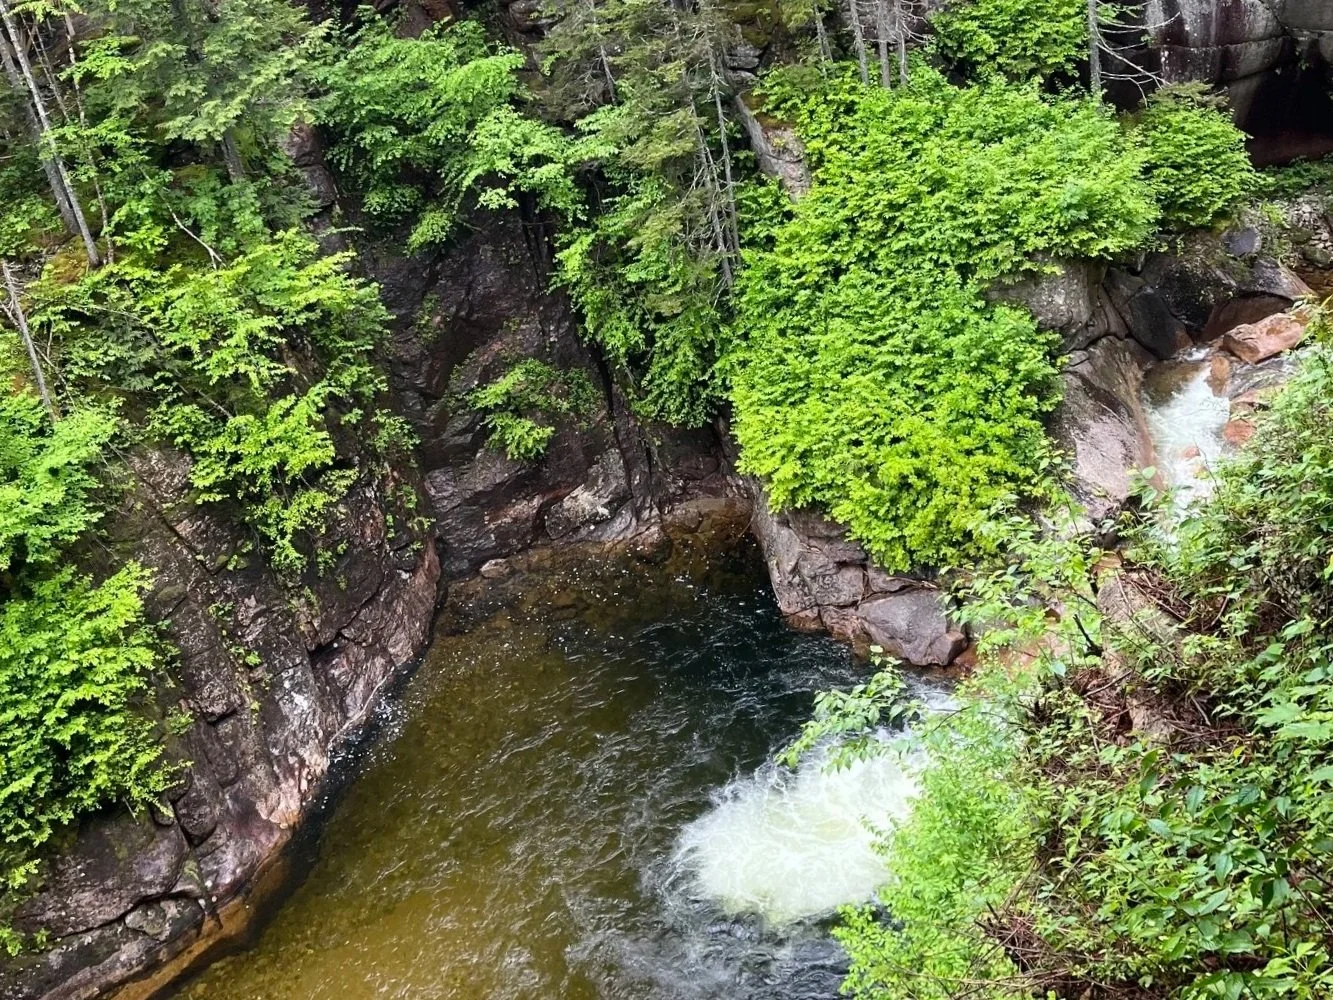
The Pool
The view as you cross the bridge is very pretty, as you’ll be able to see the Pool below you on the left and a feeder stream making its way down the hillside on your right.
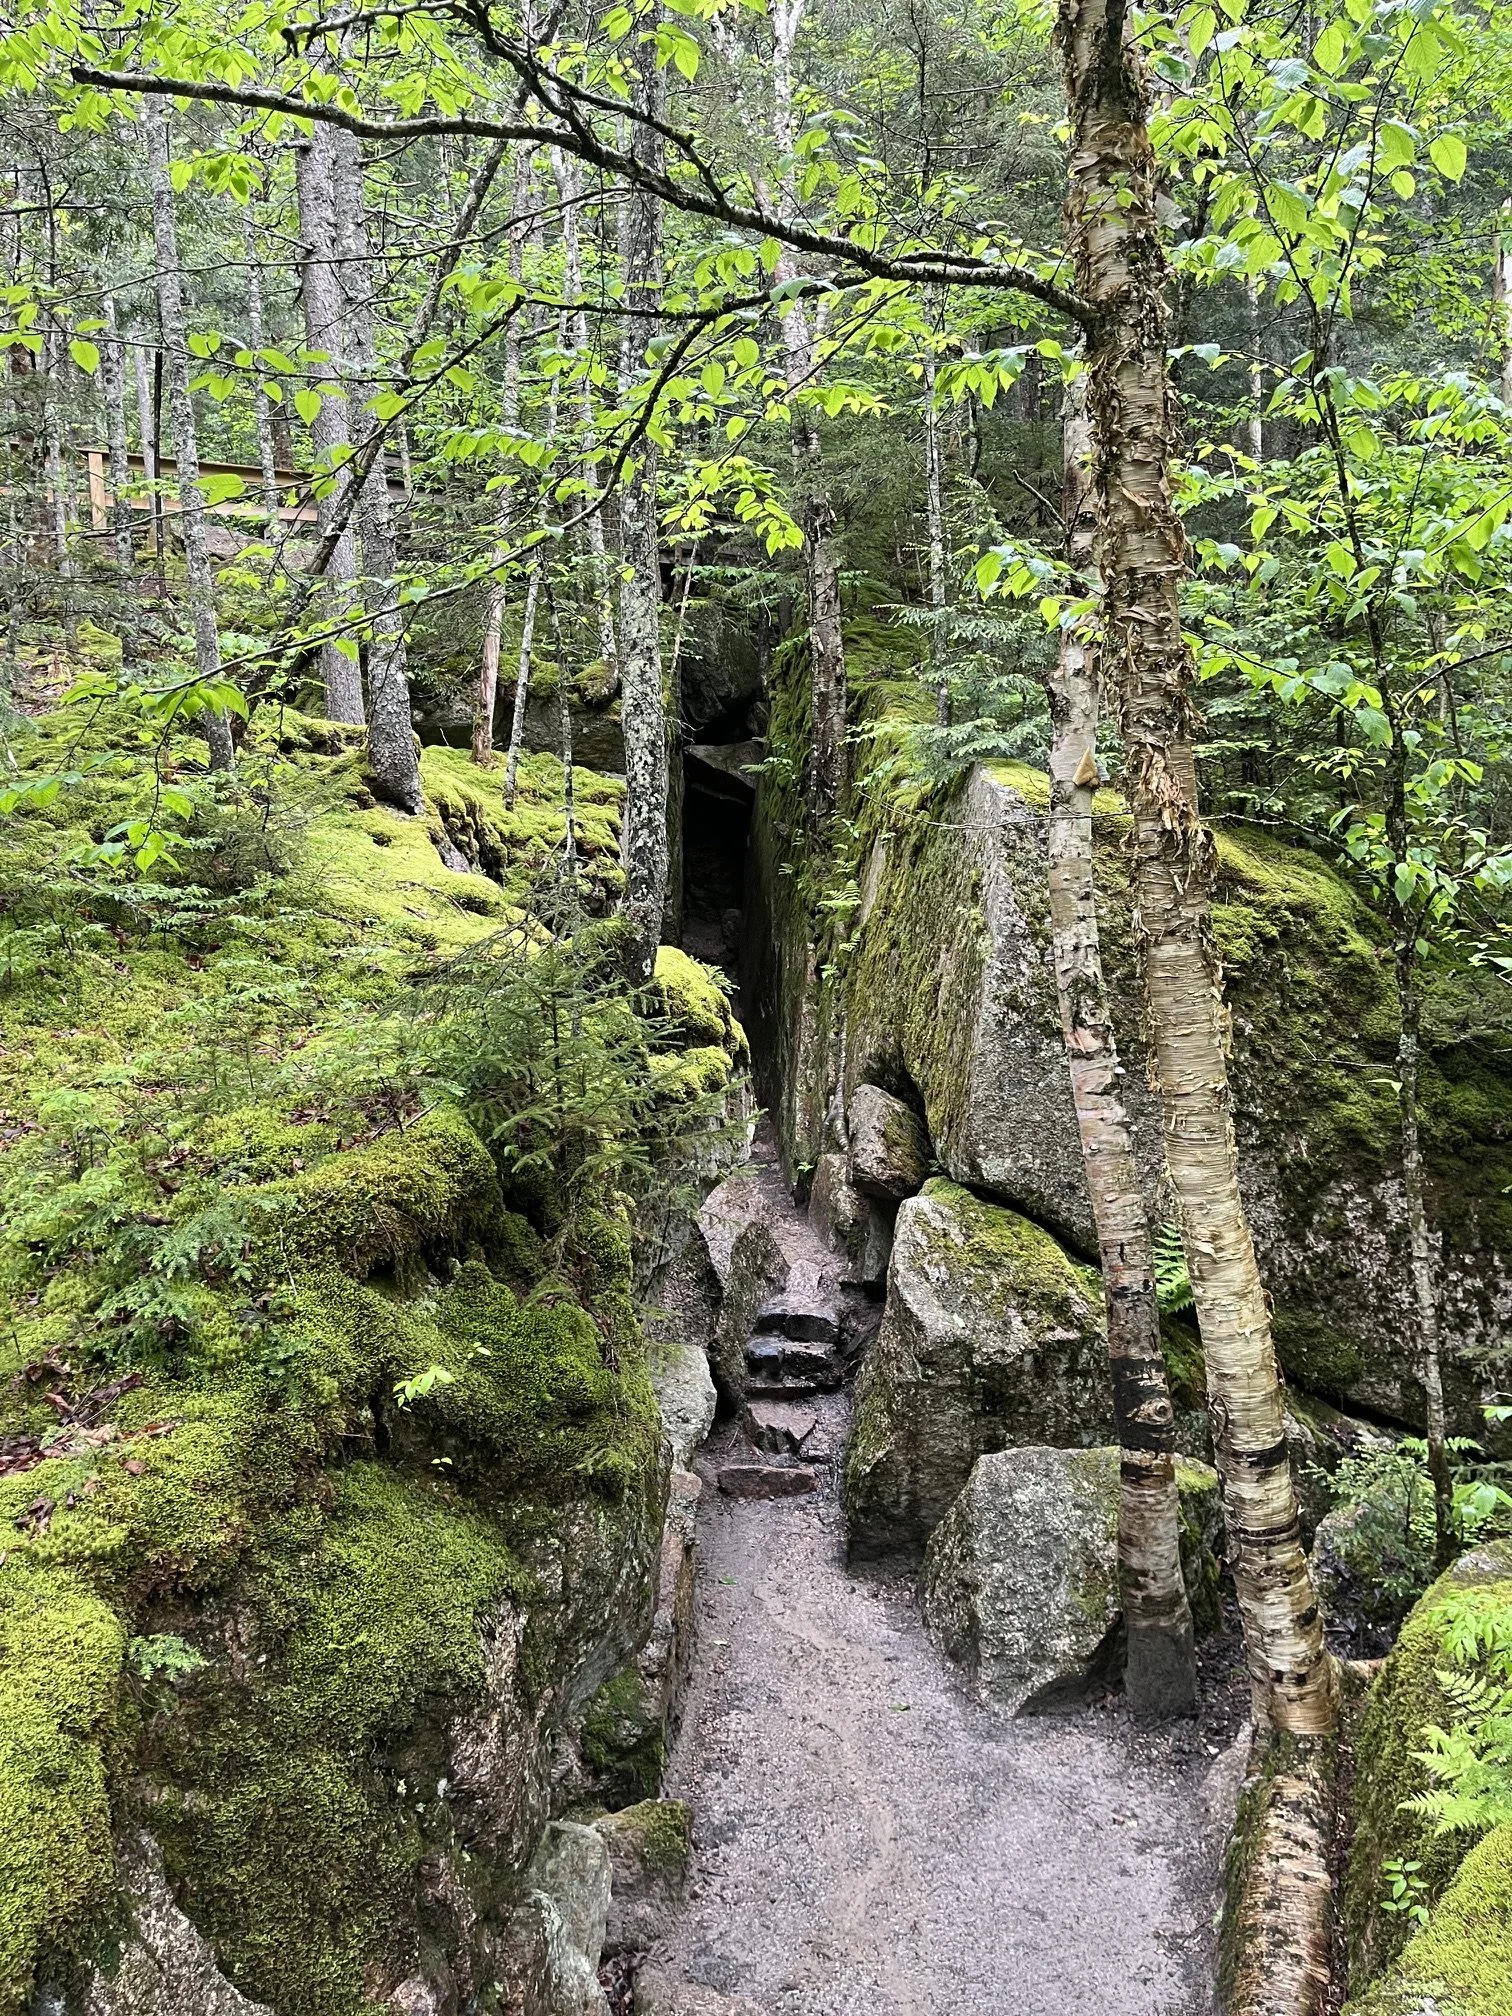
The Wolf’s Den entrance
Almost directly after the bridge, you’ll see a sign that reads “Wolf’s Den.”
This might seem scary, but there aren’t any wolves here!
Instead, this is a short but steep climb through the rocks that will allow you to pop out of the rocks to your right.
It’s so tight in the rocks that it’s one way only, so skip this if you’re claustrophobic.
If you decide to take it on, know that it’s dark inside, so I recommend bringing a headlamp or be willing to feel your way through.
You’ll need to be able to do a series of rock scrambles inside the passageway, too.
If you’re intrigued by the Wolf’s Den, but don’t want to go through, you can walk to the top of the passage and look down into it from the exit.
After the Wolf’s Den, you’ll pass by several more glacial erratics, many of which have trees and plants growing out of them.
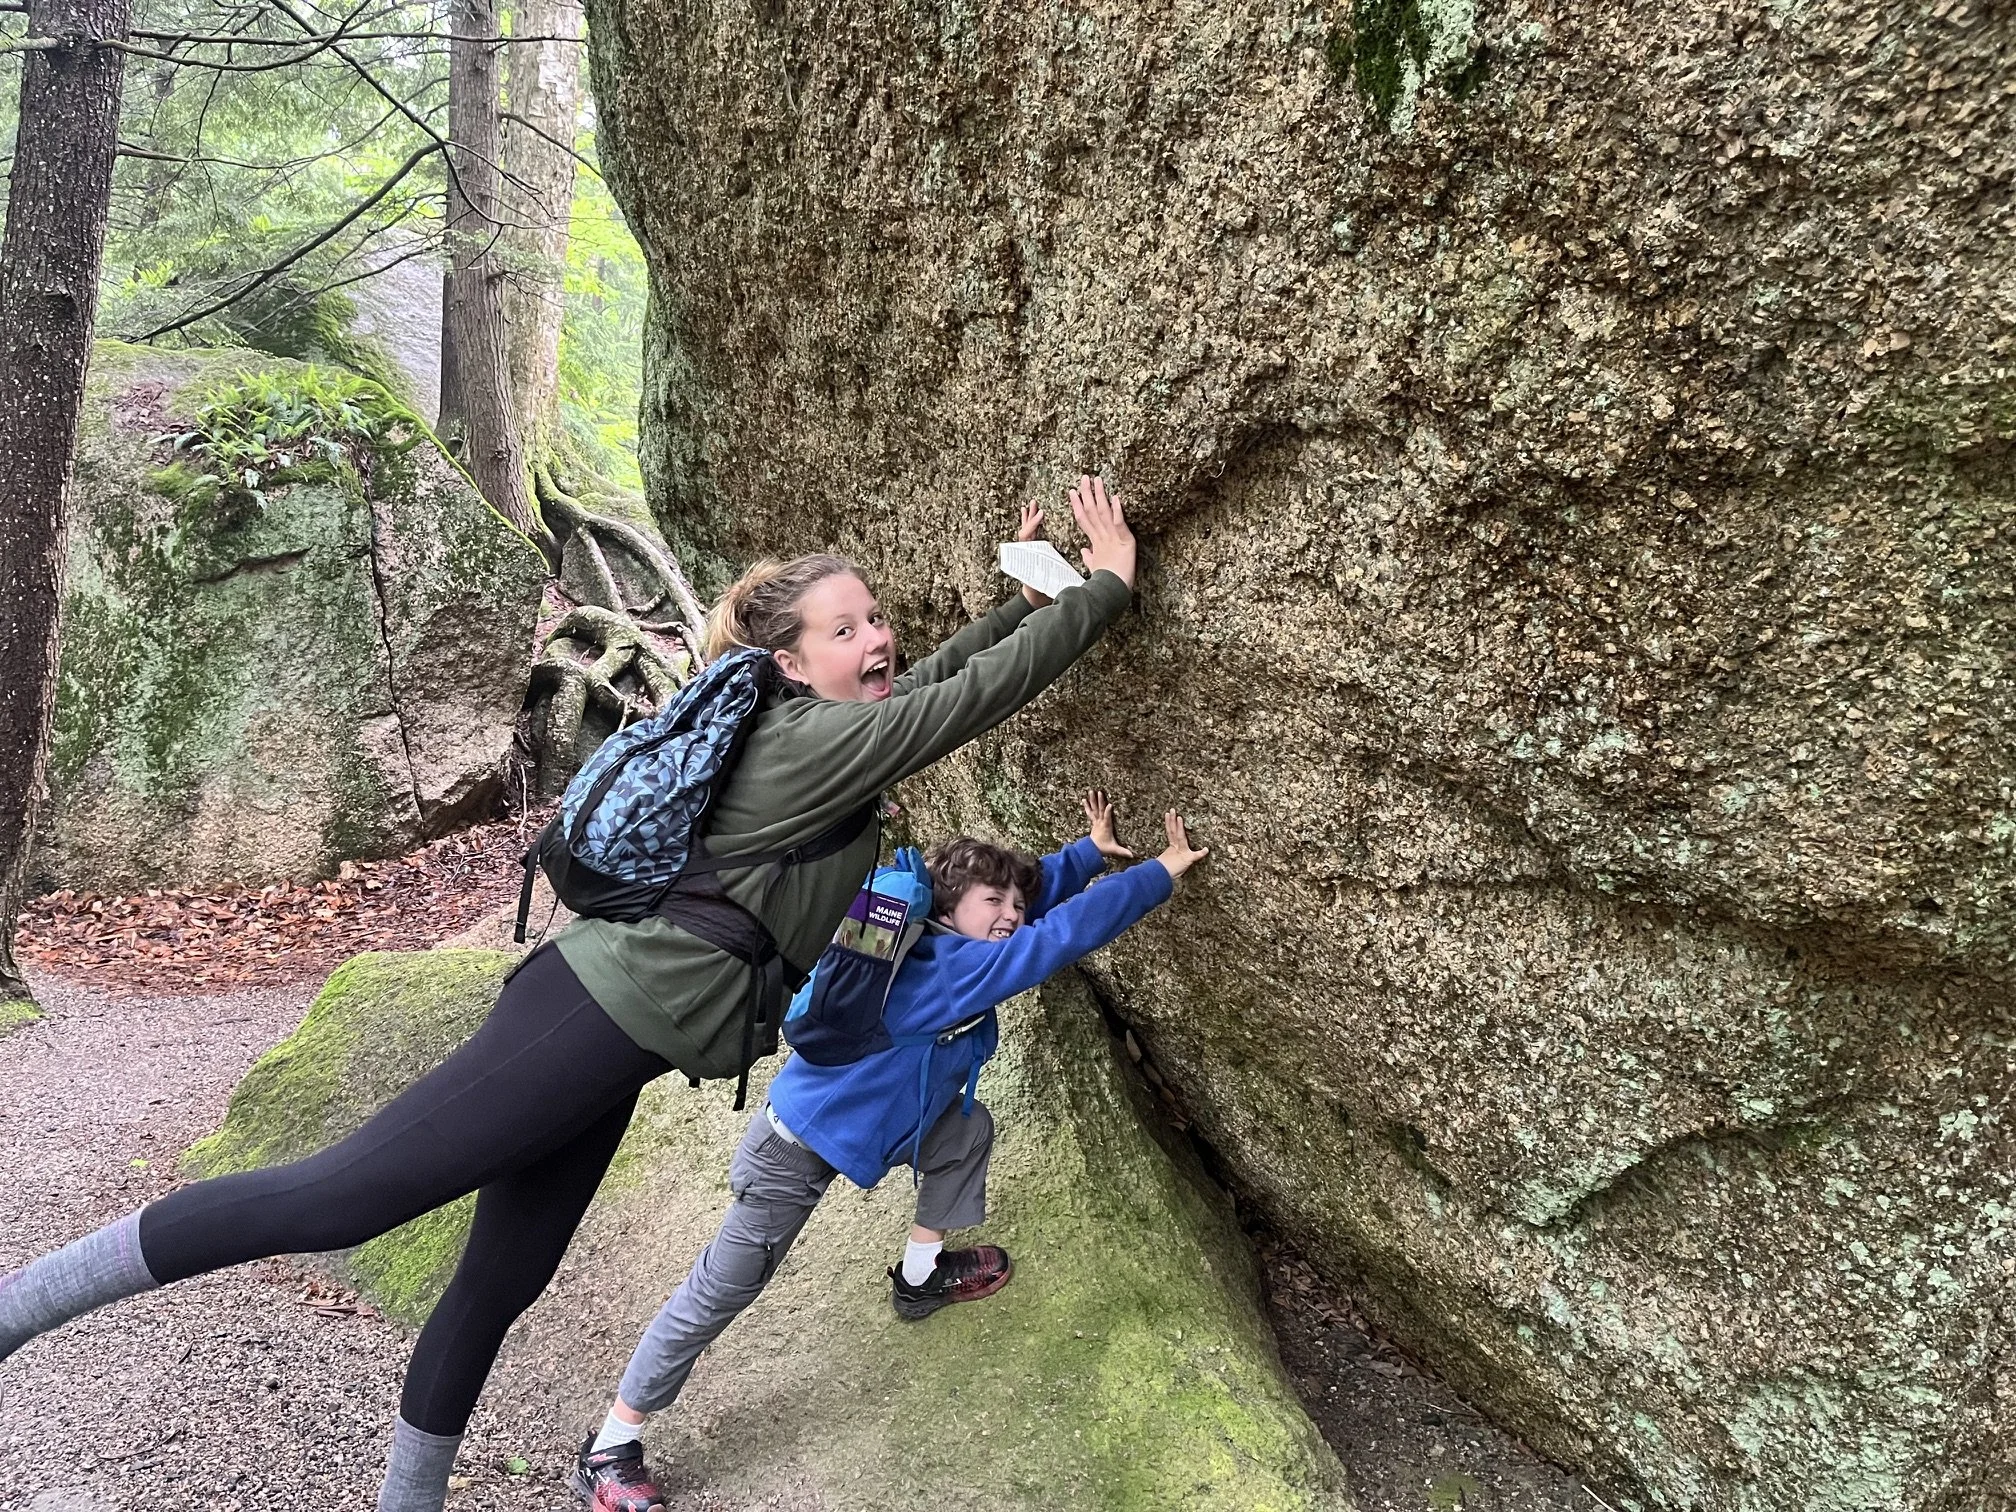
They’re little, but they’re strong!
Returning to the Visitors Center
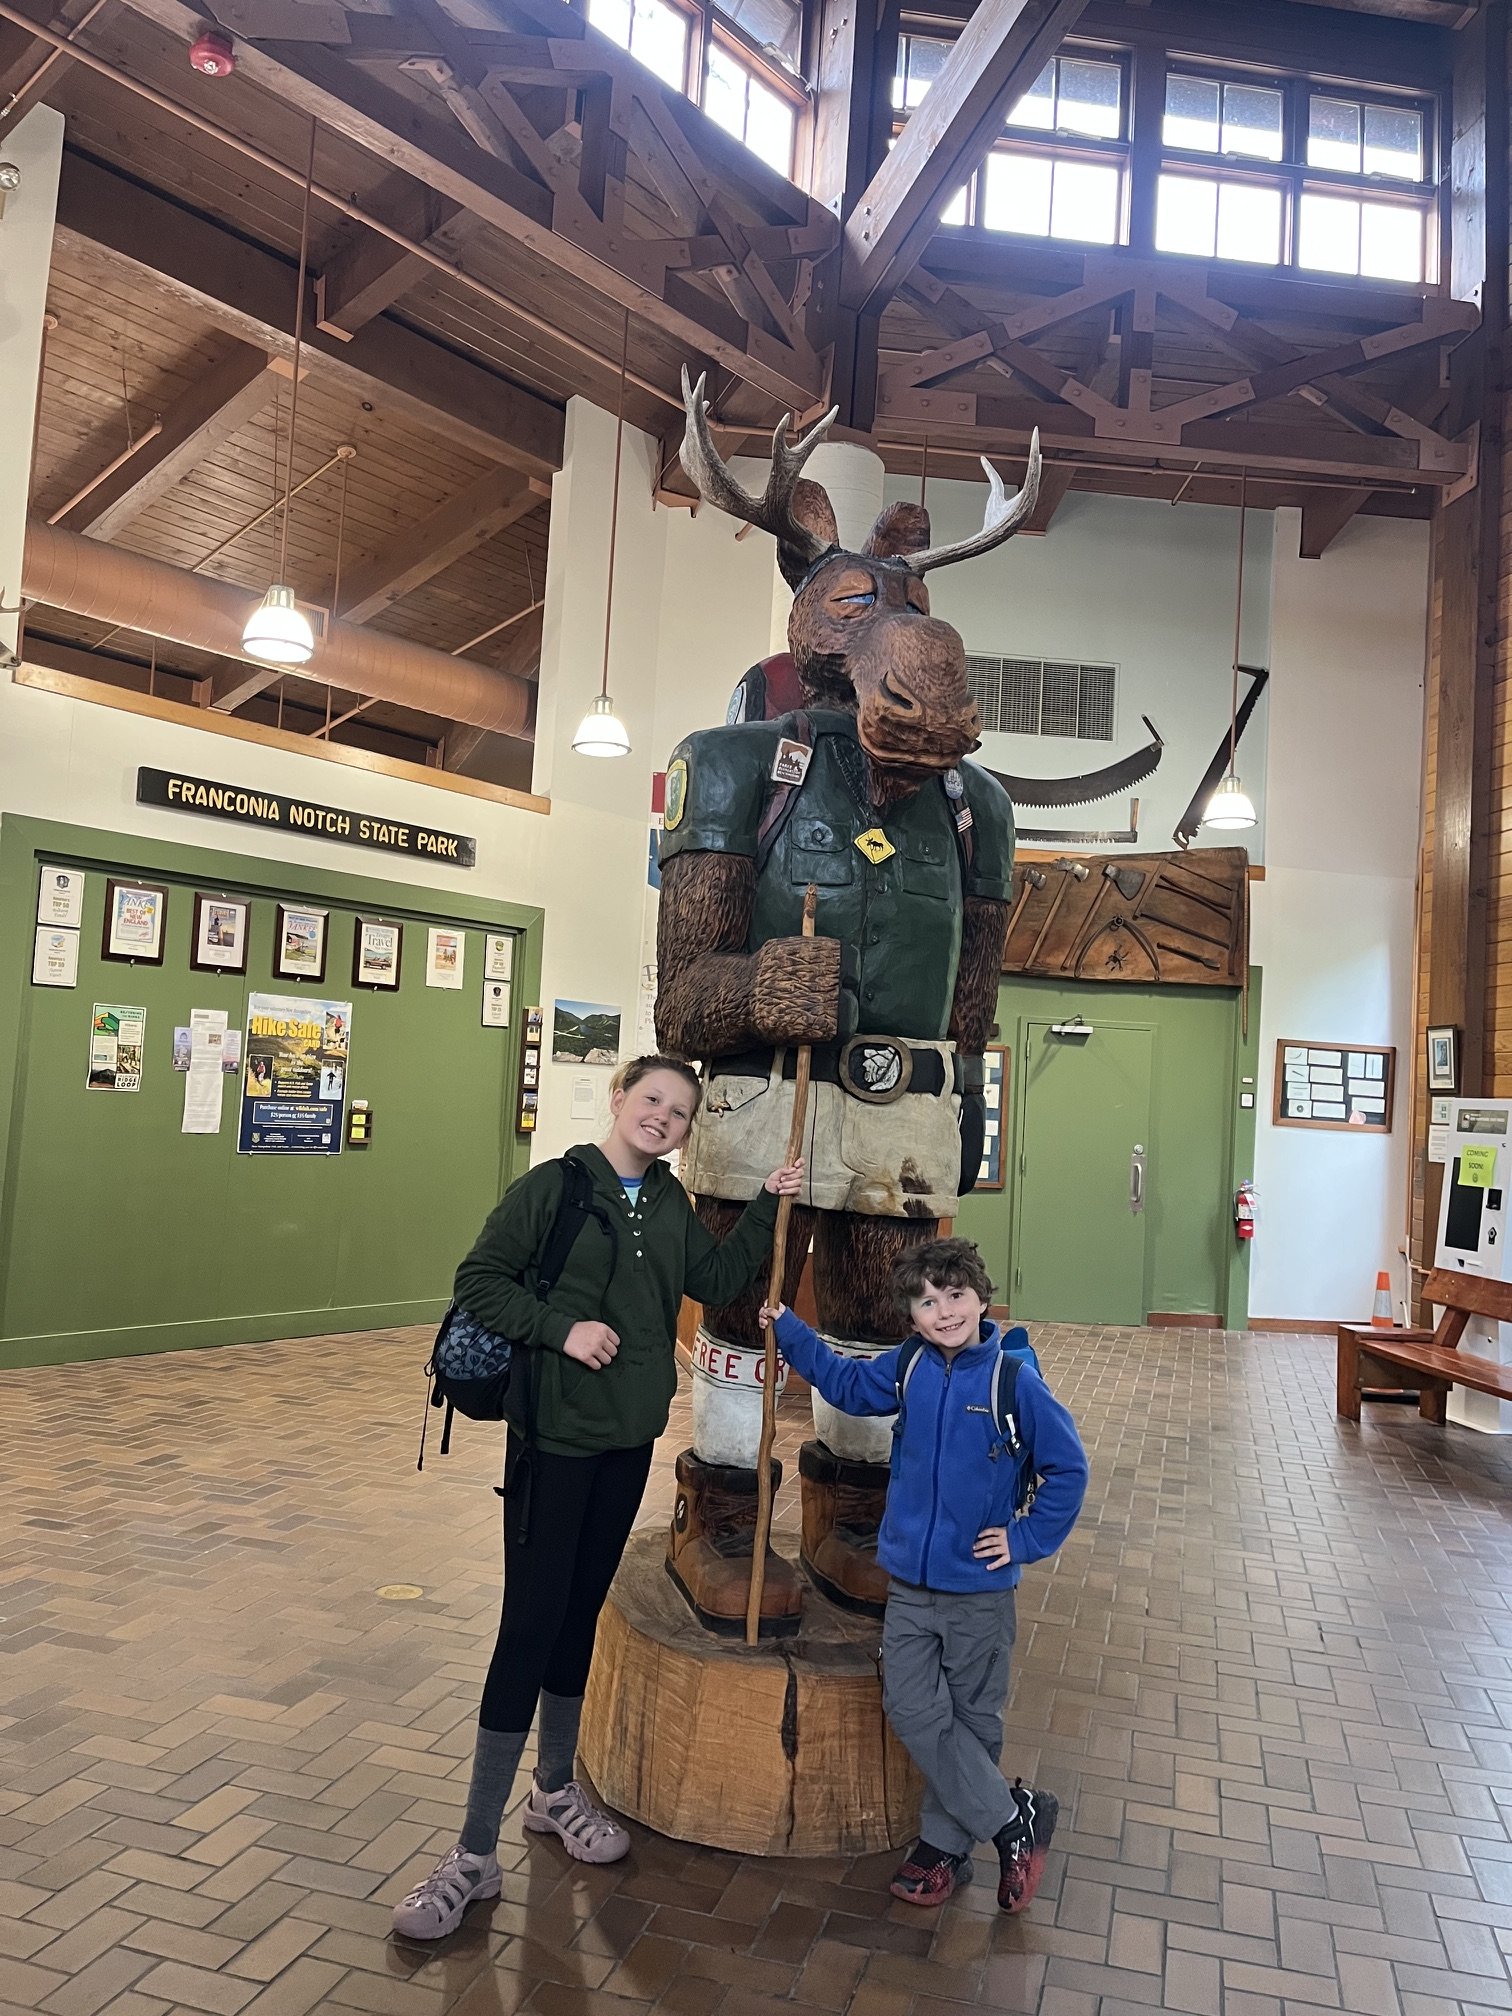
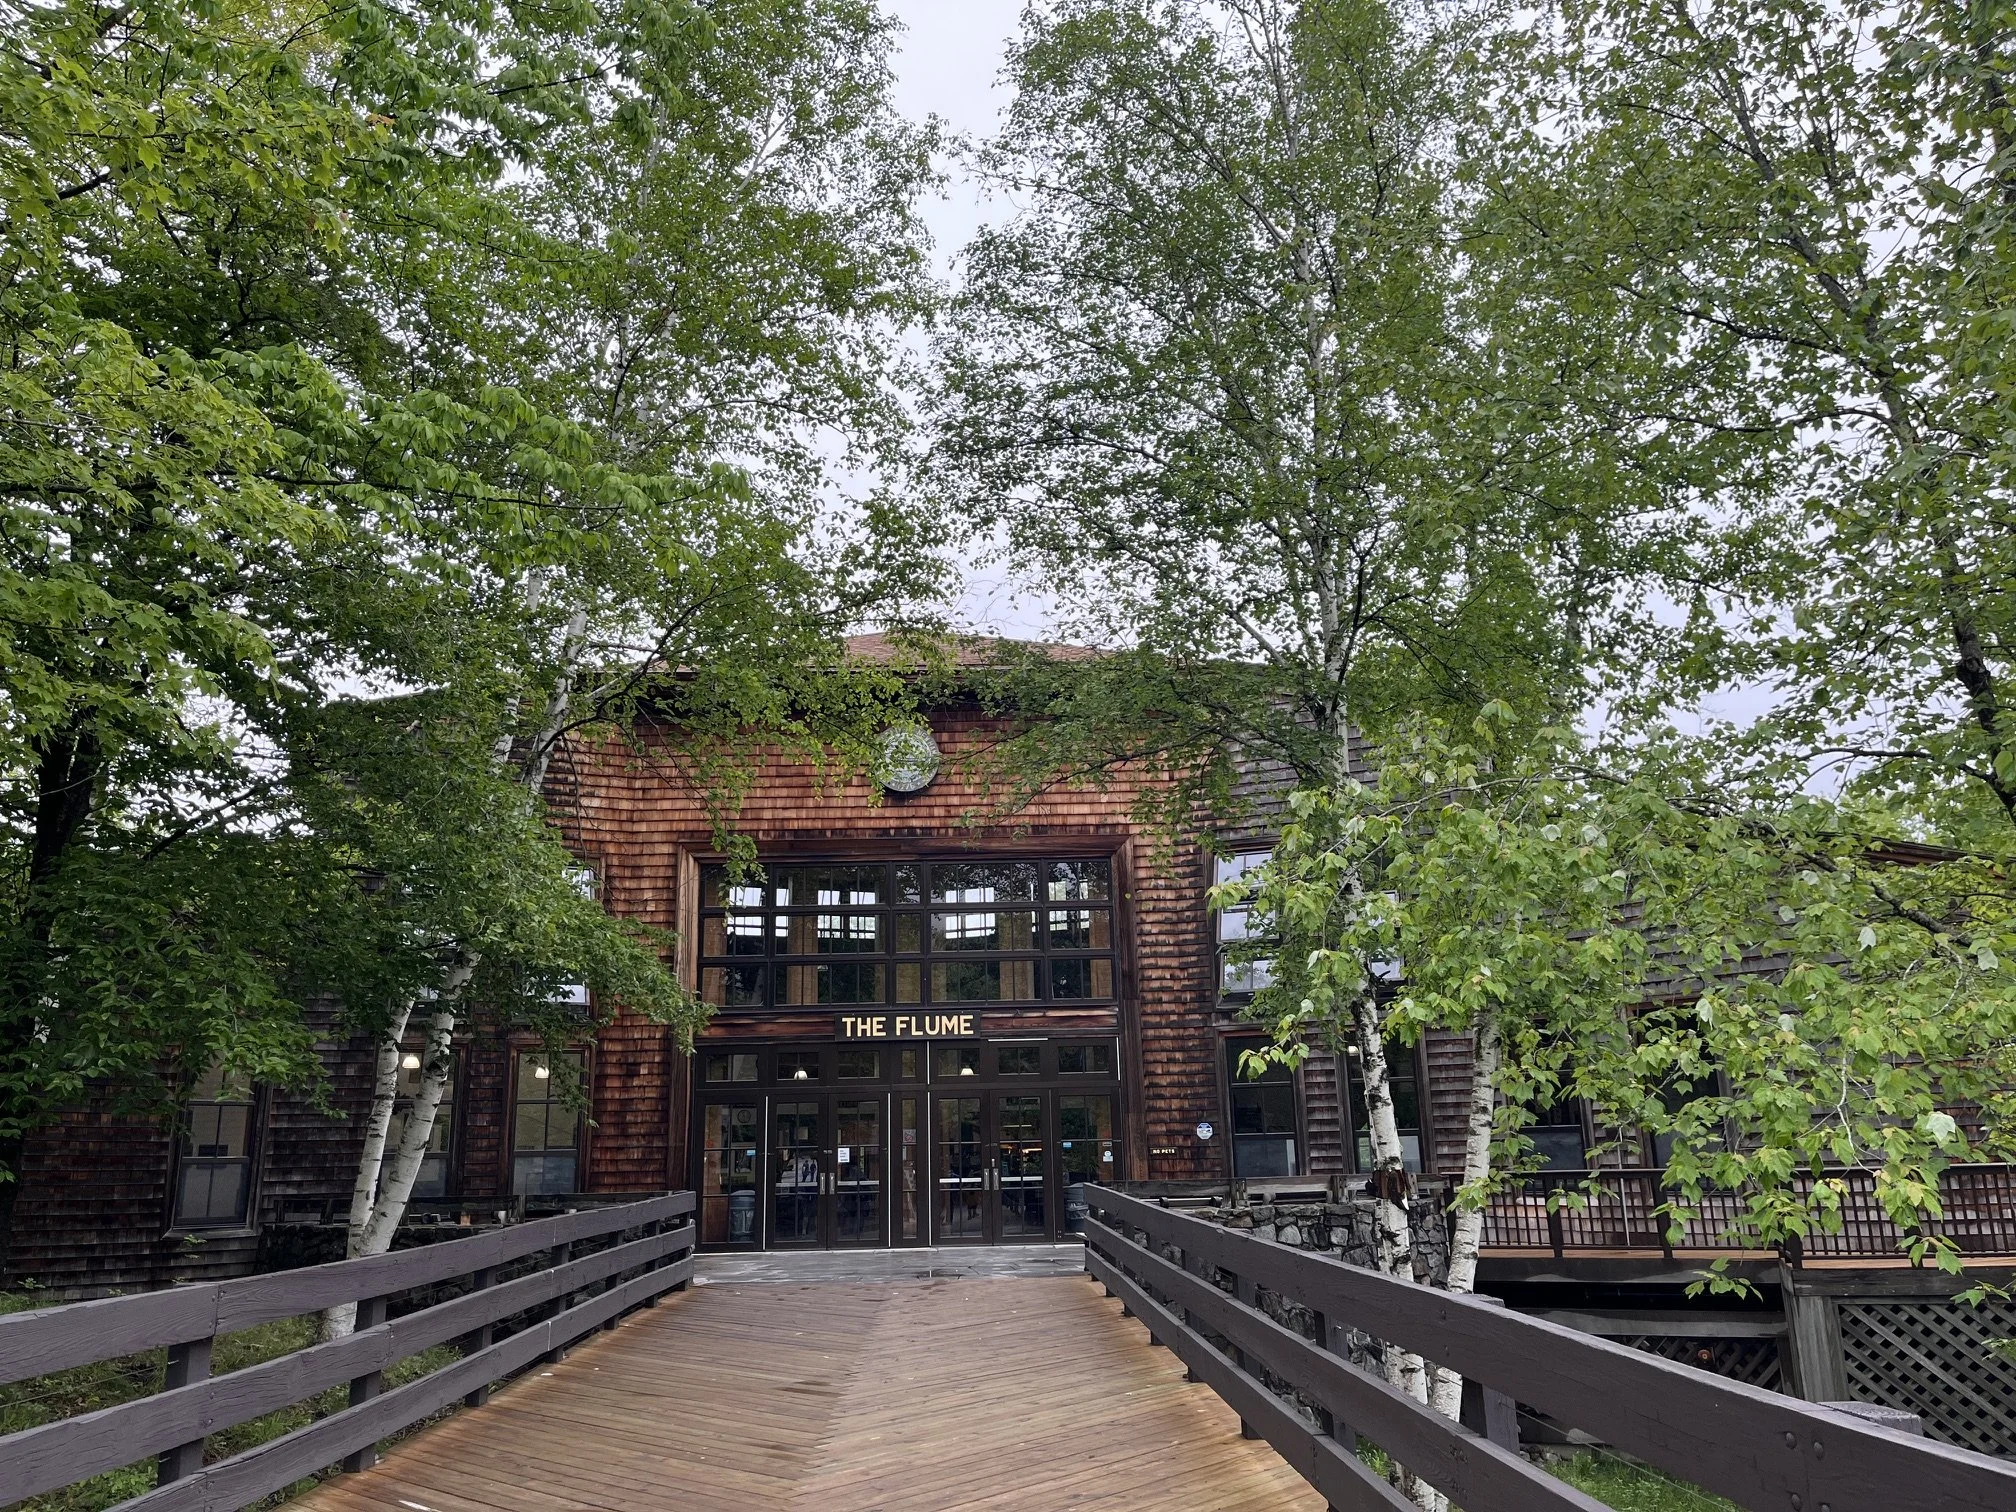
You’ll continue through the forest as you loop back to the right, and the trail will spit you out directly behind the visitors center.
The Flume Gorge loop is one way, so you have no choice but to continue on at this point.
There are bathrooms available at the visitors center back towards the front door.
You can shop for souvenirs, including shirts, magnets, snacks, and toys while you’re here. There’s also a small cafeteria, called the Lafayette Place Food Court, where you can get a hot meal and drinks before you move onto your next adventure.
Tips for Visiting Flume Gorge
Bring water and snacks.
It’s not a long hike, but staying hydrated and full is really important no matter the trail!
Plus, I know how fast my kids can go from happy to hangry while hiking, so we never leave the parking lot without a bag filled with a variety of snacks and plenty of water.
If you didn’t bring any snacks, stop by the visitors center before starting your hike. They have candy bars, popcorn, and other snacks for sale in the souvenir shop.
The food court also has grab and go snacks and drinks.
Wear comfortable shoes.
This isn’t a hard hike, but I still wouldn’t do it in anything less than broken-in tennis shoes.
Hiking shoes or boots are even better, as you’ll get additional joint and muscle support as you’re adventuring around the park.
In the summer months, you could wear Chacos, Tevas, or, my favorite, Keen Newport H2s, which aren’t as hot or constraining as full hiking boots.
Have your reservations in hand.
As I mentioned above, you’ll need a reservation for this hike if you want to guarantee your access. You could just show up, but in-person tickets aren’t guaranteed at any time, and are unlikely during late spring, summer, and fall, especially on weekends and holidays.
You can get the reservations by choosing your date on the calendar on the Franconia Notch State Park website.
From there, you’ll get to choose an arrival time and then pay for your tickets.
Currently, adult (ages 13+) tickets are $18, youth (6-12 years old) are $16, and kids 5 and under are free. Seniors 65 and older and New Hampshire National Guard members are free, too.
There is a helpful counter under each arrival option to let you know how many tickets are already reserved for a specific time period. If you want a quieter time, look for hours that have as close to 350 tickets as possible, which is the max number of slots sold. Then, you’ll know that there aren’t a lot of people going in that time spot.
Another thing to keep in mind about the reservations is that they are not refundable if the weather is bad.
On the day we went, we hiked through a drizzle for the first mile or so. Bring rain jackets, an extra sweater, or whatever you’ll need to make it through the weather on the day of your hike.
Explore more of the park.
While you’re on site, you might as well make a day of it.
The Flume Gorge is the only part of the park that requires any kind of pre-planning, so you’ll have your day free before and after this hike to explore Franconia Notch.
From the same parking area that you’re using for the visitors center and the Flume Gorge trailhead, you can also access the Pemi Trail and the Franconia Notch Multi-Use Trail. Both of these are great if you’re looking for another hike in the same area.
Elsewhere in the park, you can explore the Basin, which is giant pothole of sorts filled with water. It’s an easy walk if you are short on time or energy after the Flume Gorge.
Further up the Parkway, you can visit the Old Man of the Mountain museum and the Ski Museum.
Check ahead for seasonal closures.
The boardwalk sections of this trail ice over during the winter, which would make it too treacherous to complete between late fall and late spring.
For this reason, you can’t purchase tickets during the off-season, though you could hike the sections of the trail that aren’t through the Flume. The gorge itself is blocked off during the winter months, both for safety and for maintenance work.
Final Thoughts on Hiking Flume Gorge in New Hampshire
This hike is one that my kids and I talk about regularly and would go back to do again in a heartbeat.
I think it is the combination of unique scenery and relative ease on the trail that makes it such a memorable one for us!
Usually, those incredible places hidden back in the woods require a half day or longer hike, but this 2-mile loop offers up one of the most picturesque places in all of New Hampshire.
If you’re in this area to do Kancamagus Highway or to visit Mt. Washington, do yourself a favor and add the Flume Gorge to your itinerary, too!