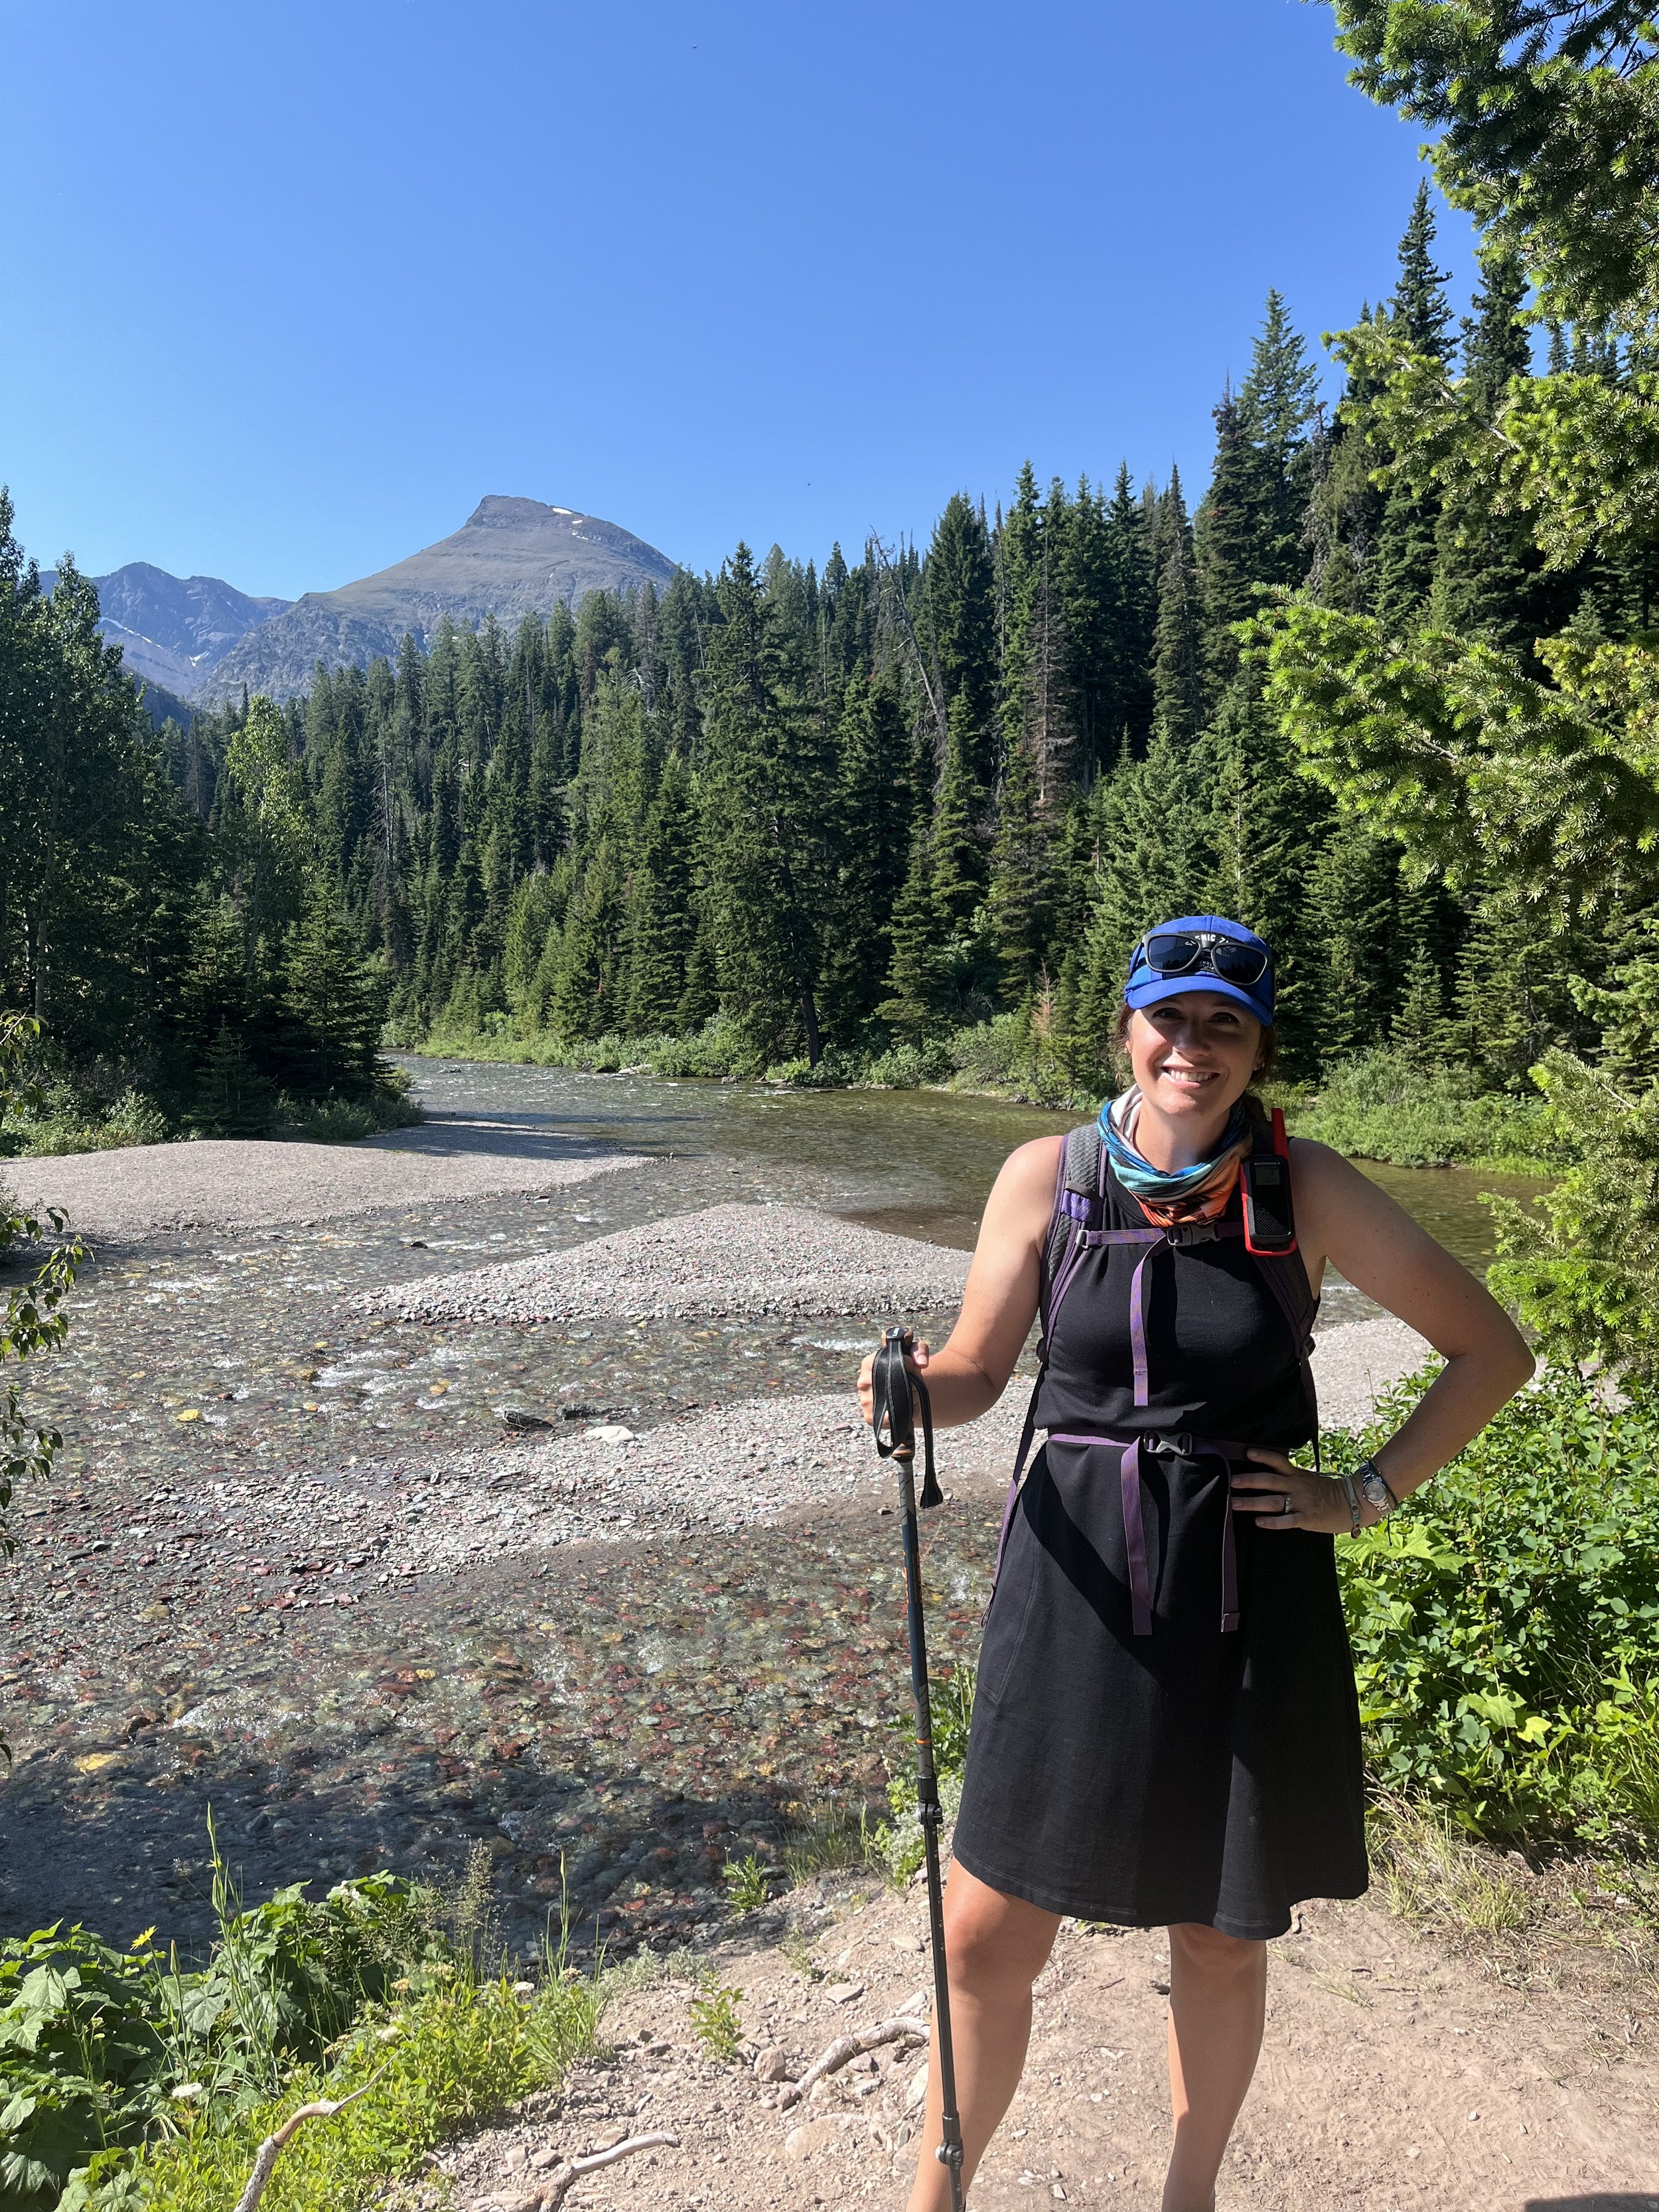
A Guide to Hiking for Beginners on a Budget: How to Start without Spending a Fortune
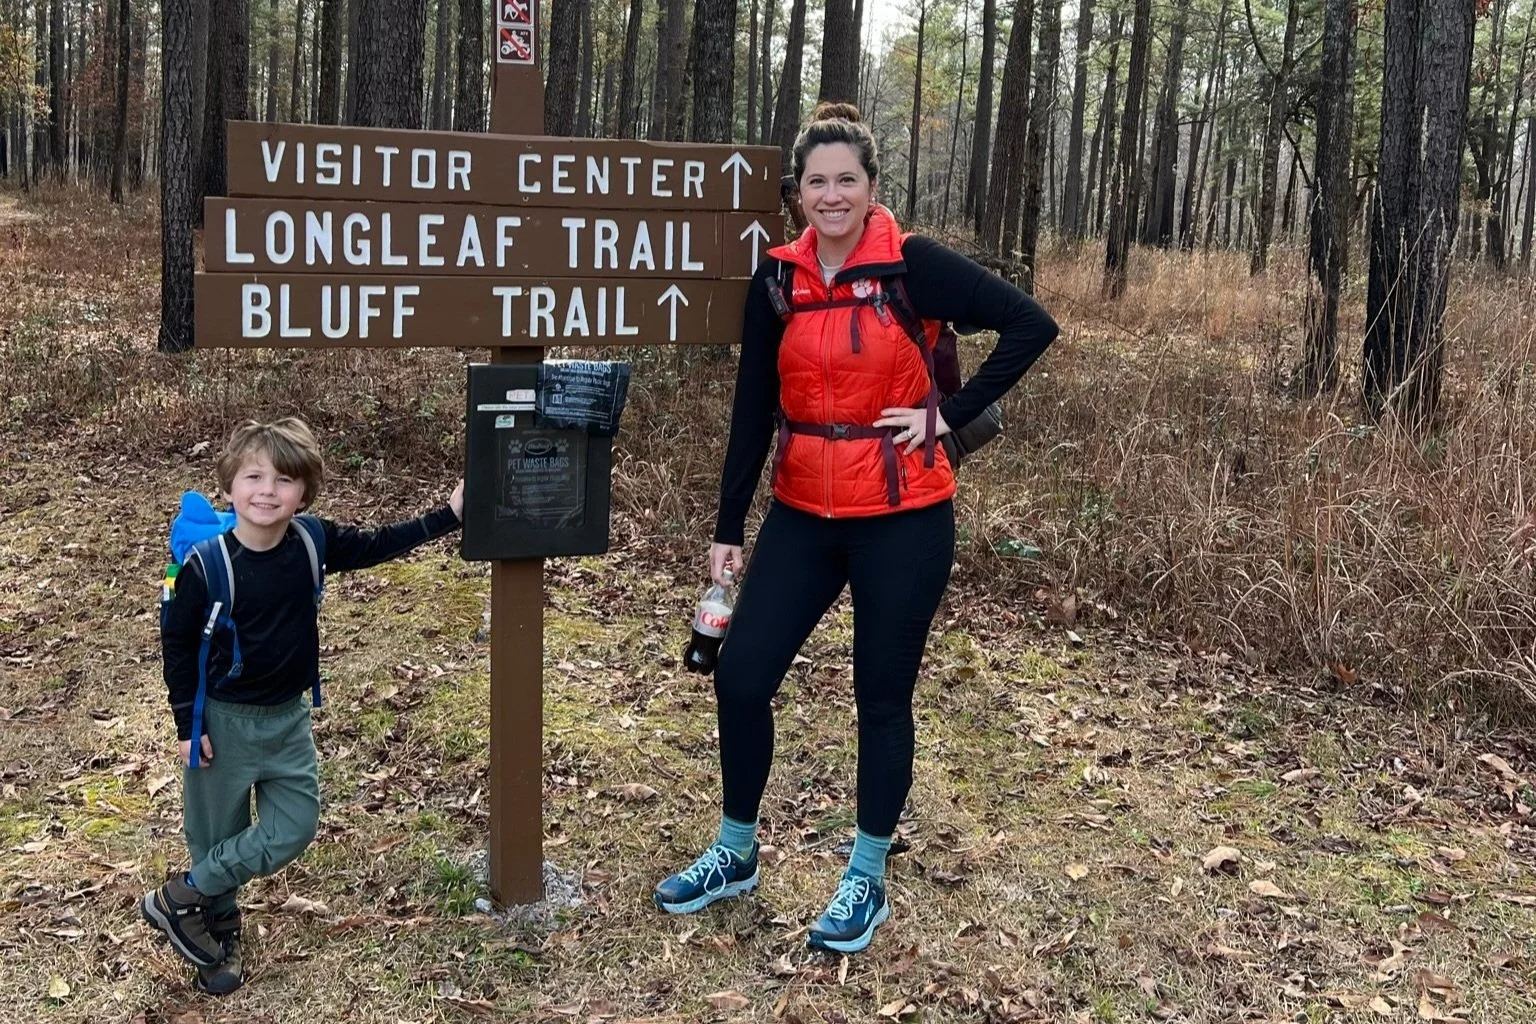
Tackling a trail in Congaree National Park to help build our kiddo’s hiking confidence
Getting into hiking can be daunting, especially for beginners on a budget.
The cost of buying new shoes and clothes, picking out a day pack, and having to learn how to feel confident on a trail can lead a lot of people to never even start hiking.
But, it is a fun, rewarding hobby that honestly doesn’t need a lot of money to get started.
In the guide below, you’ll find everything that you need in order to plan your first hike, including how to pick the best trail for beginners, what to buy (and what to skip) and how to build confidence as a new hiker.
I’ve also included the areas that are best for early upgrades if you decide you like hiking and want to invest more into your new hobby.
This post contains affiliate links. If you choose to purchase through the links, I will receive a small commission at no charge to you.
Hiking as a Beginner: An Intro
Hey, I’m Natalie! My kids and I have camped and hiked in 34 states, and are always looking for new trails to explore both at home in South Carolina and on our travels across the United States.
There are so many (incorrect) notions about what it means to be outdoorsy or a hiker, and think that stops many people from getting into hiking as a hobby.
I should know. I was one of those people!
I’ve always liked being outdoors from the time I was a kid building leaf forts in the forest behind our house.
But I wouldn’t have called myself a “hiker” until well into my adulthood as I thought I needed all of this stuff and all of this experience to earn the label.
I didn’t want to spend hundreds of dollars on a potential new hobby only to find out that I hated it or wasn’t any good at it.
That imposter syndrome can be compounded if you’re trying to get your entire family into hiking.
After all, you might think, how can I teach my kids how to hike if I don’t know what to do or bring?
I’m here today to dispel those myths and help you gain confidence as a hiker so you can get you and your family out on the trail in no time!
How to Pick the Perfect First Trail to Hike
Know yourself.
The biggest thing you’ll need to assess as a beginning hiker is how much you think you can handle, physically.
Of course, someone who is a marathon runner will be able to tackle a different set of starting trails than someone who’s hiking with 2 small kids and a dog for the first time ever.
Keep this idea in mind: “How much hiking would be fun?”
In general, you’ll want to leave the trail feeling like you could’ve gone a little bit further. You don’t want to be doubled over in pain or miserable.
That’s the best way to ensure you never return to the trail.
For example, when I was in high school, my family and I visited Table Rock State Park in South Carolina.
We were from the opposite side of the state and used to flat land, so I don’t know why we chose the 7+ mile hike that even the SC State Parks website calls “very rugged.”
I ended up hugging a tree and bawling when every muscle in my body started yelling an hour or two into the hike. (I have a flair for the dramatic.)
Needless to say, we should’ve evaluated our abilities better!
If you’ve got kids along the for the ride and you’re hoping that hiking will be your family’s new hobby, you want to keep the entire experience light, fun, and happy.
Look for a trail nearby.

The Marsh View Trail, one of our go-to trails in Mount Pleasant, SC, when my kids were little
The best trail for a starting hiker is one that’s convenient to your home, has familiar terrain, and has a few amenities.
Remember, we’re not looking to scale Mount Everest at the start of your hiking experiences; we’re looking to have a blast in nature.
We’re from the flat, coastal area near Charleston, South Carolina, so I wouldn’t ever start my hiking journey on a vacation to the Rocky Mountains.
Instead, I’d pick a short trail close to home and test out the waters, so to speak, on a warm, pleasant spring afternoon. Give yourself the BEST possibility for a fun outcome to your hiking trip.
Planning for a first hike near your house means that you know where the closest stores are if you need last minute items—or if your crew gets bored and wants to go home.
Search online for a trail in your area (or check to see if I have a beginner-friendly trail guide for a hike near you!) and see what city, county, or state parks or recreation areas are nearby.
These are going to be free or low cost areas that will have shorter hiking trails.
We love our nearby state parks as they often have a variety of trails for each skill level.
For example, Oconee State Park (one of our favorites in South Carolina) has everything from the flat loop trail around the lake to the Oconee Connector Passage of the Palmetto Trail.
Even if you’re living in more mountainous places in the United States like Colorado, you’ll find excellent beginner hiking trails like the ones at Ridgway State Park near Montrose, which include flat and even paved options!
Look for amenities.
Don’t go rushing off into the backcountry on your first day out.
Instead, pick a front country hike, preferably one that’s relatively close to civilization.
I’m talking toilets at the trailhead, paved or gravel parking, and a decent enough cell signal that you could get help if you twist your ankle.
Save the trailheads down long, winding, and zero cell signal roads for later on when you’ve had a chance to understand hiking and have all of the appropriate gear, including a small satellite communicator like this Garmin InReach Mini.
(Please note that you, in no way, need to start off hiking with something like the Garmin! You will be within easy reach of rangers and other hikers if you stay on well traveled, easy trails within local and state parks. My kids and I keep the Garmin with us always, but we are often in remote locations. It helps give me peace of mind about hiking with kids if I were to get hurt, too.)
Know how far to hike as a beginner.
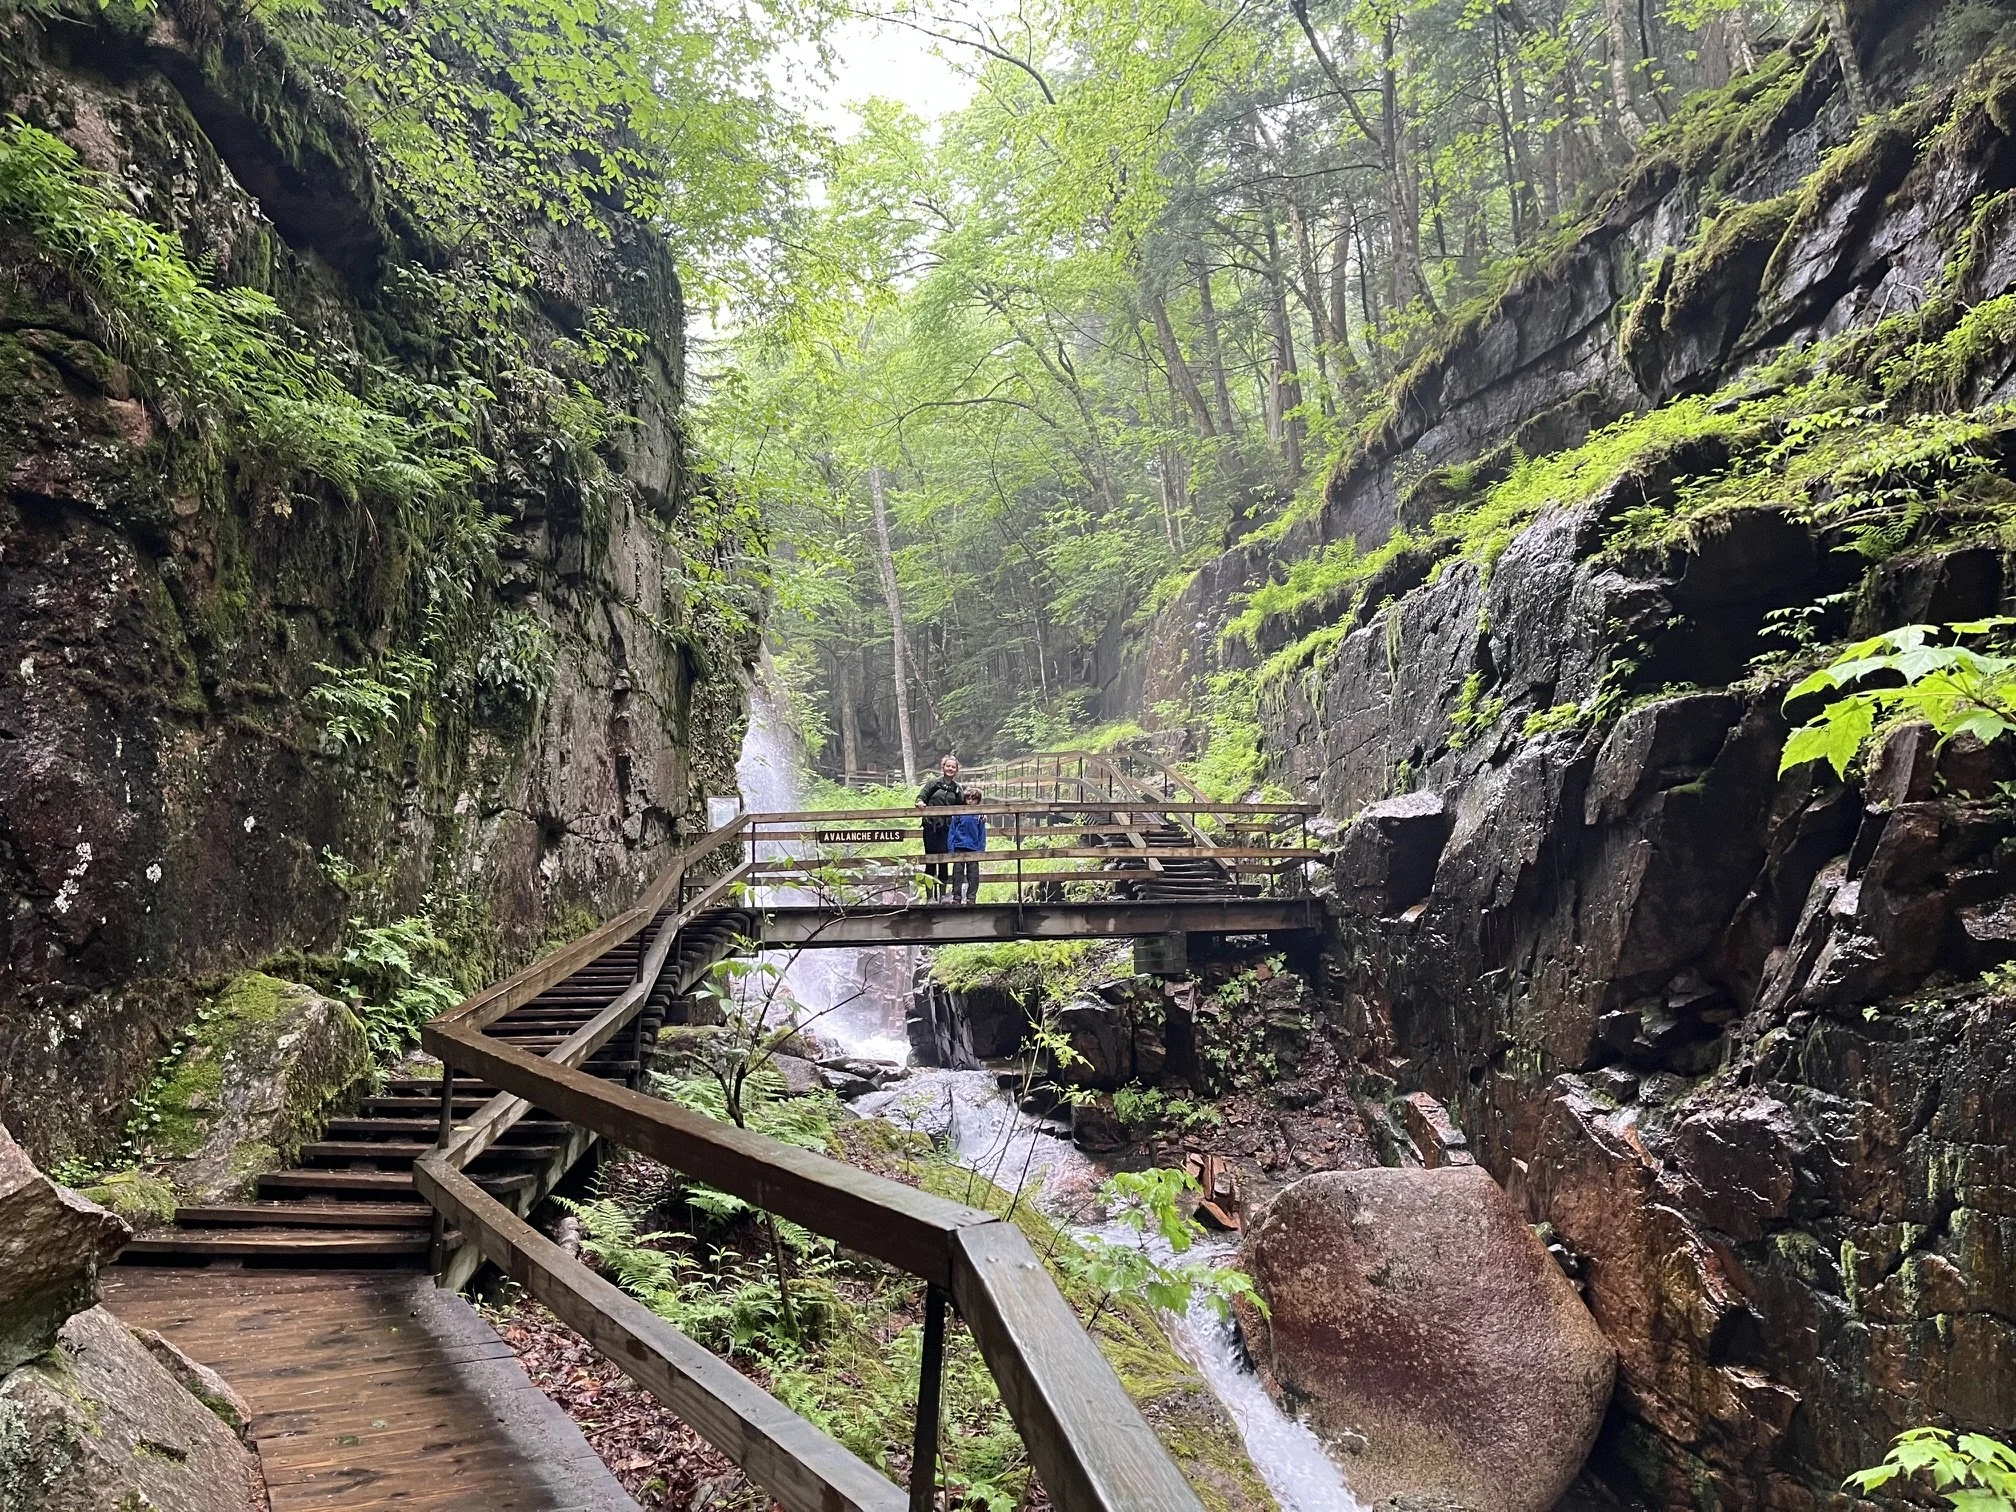
The 2 mile loop at Flume Gorge in New Hampshire’s Franconia Notch State Park is short enough for beginners, but with enough interest points to keep any hiker engaged.
Even the most athletic among us shouldn’t take off on a rim-to-rim hike in the Grand Canyon as a first hiking experience.
That is, by far, the best way to NEVER enjoy hiking.
And, it’s the best way to utterly fail at the real point of hiking: enjoying yourself in nature.
If you are brand new to hiking, recovering from an illness, or haven’t been to the gym in a while, start off with a trail that’s under 1 mile with little to no elevation gain.
If you are moderately active, you can start with a slightly longer trail, but I wouldn’t tackle anything more than 2 miles at first. Stick to trails that are still relatively flat.
If you are very active, but are new to hiking, you still don’t want to overdo it right out of the gate. Aim for nearly flat trails that are 2-4 miles and work up from there.
For your first few hikes (or even first few dozen if you’re hiking with toddlers), pick short trails with little elevation gain until you’ve gotten your bearings. This will allow you to see how your body responds to hiking and carrying a day pack, and will give you time to learn how to read a trail map, trail blazes, and the like.
If you’re not used to hiking, that first short loop you do is going to feel as if you’ve walked across the entire country. But, I promise, it does get easier with practice.
Then, slowly build up to longer hikes with gradually more elevation gain until you are very confident in your abilities and gear.
Smaller hikes mean more of a focus on fun, not technical ability.
It also means less of an opportunity to get lost, bitten by bugs, hungry, tired, or thirsty.
TIP: Before you set out on any hike, it’s a good idea to check for any recent updates, trail conditions, and level of difficulty at AllTrails! Purchase your annual subscription here.
Ask for hiking advice from others.
The best way to guarantee a great hiking experience as a beginner is to follow in the footsteps of those who’ve already been there.
Reach out to a Facebook friend who’s always posting inspiring photos of her family outdoors, or flag down a neighbor who spends weekends doing nature photography.
Follow outdoor family blogs like Camping Kiddos, and message them for suggestions in your area. (I’m always an open book, so email me!)
State and national parks are WONDERFUL places to visit as a beginning hiker as the park rangers are warm, welcoming, and endlessly patient.
They will be happy to share trail suggestions for your family without being condescending or pushy.
Don’t feel shy about asking them for help! They are there to ensure the hikers in their park are comfortable and have chosen a good trail for their abilities.
Be sure to check the state or national park website before you leave, as these are typically up to date about local trails. If a specific trail is closed or has a detour, you’ll be able to know ahead of time to be able to make alternative plans.
Basic Hiking Safety for Beginners
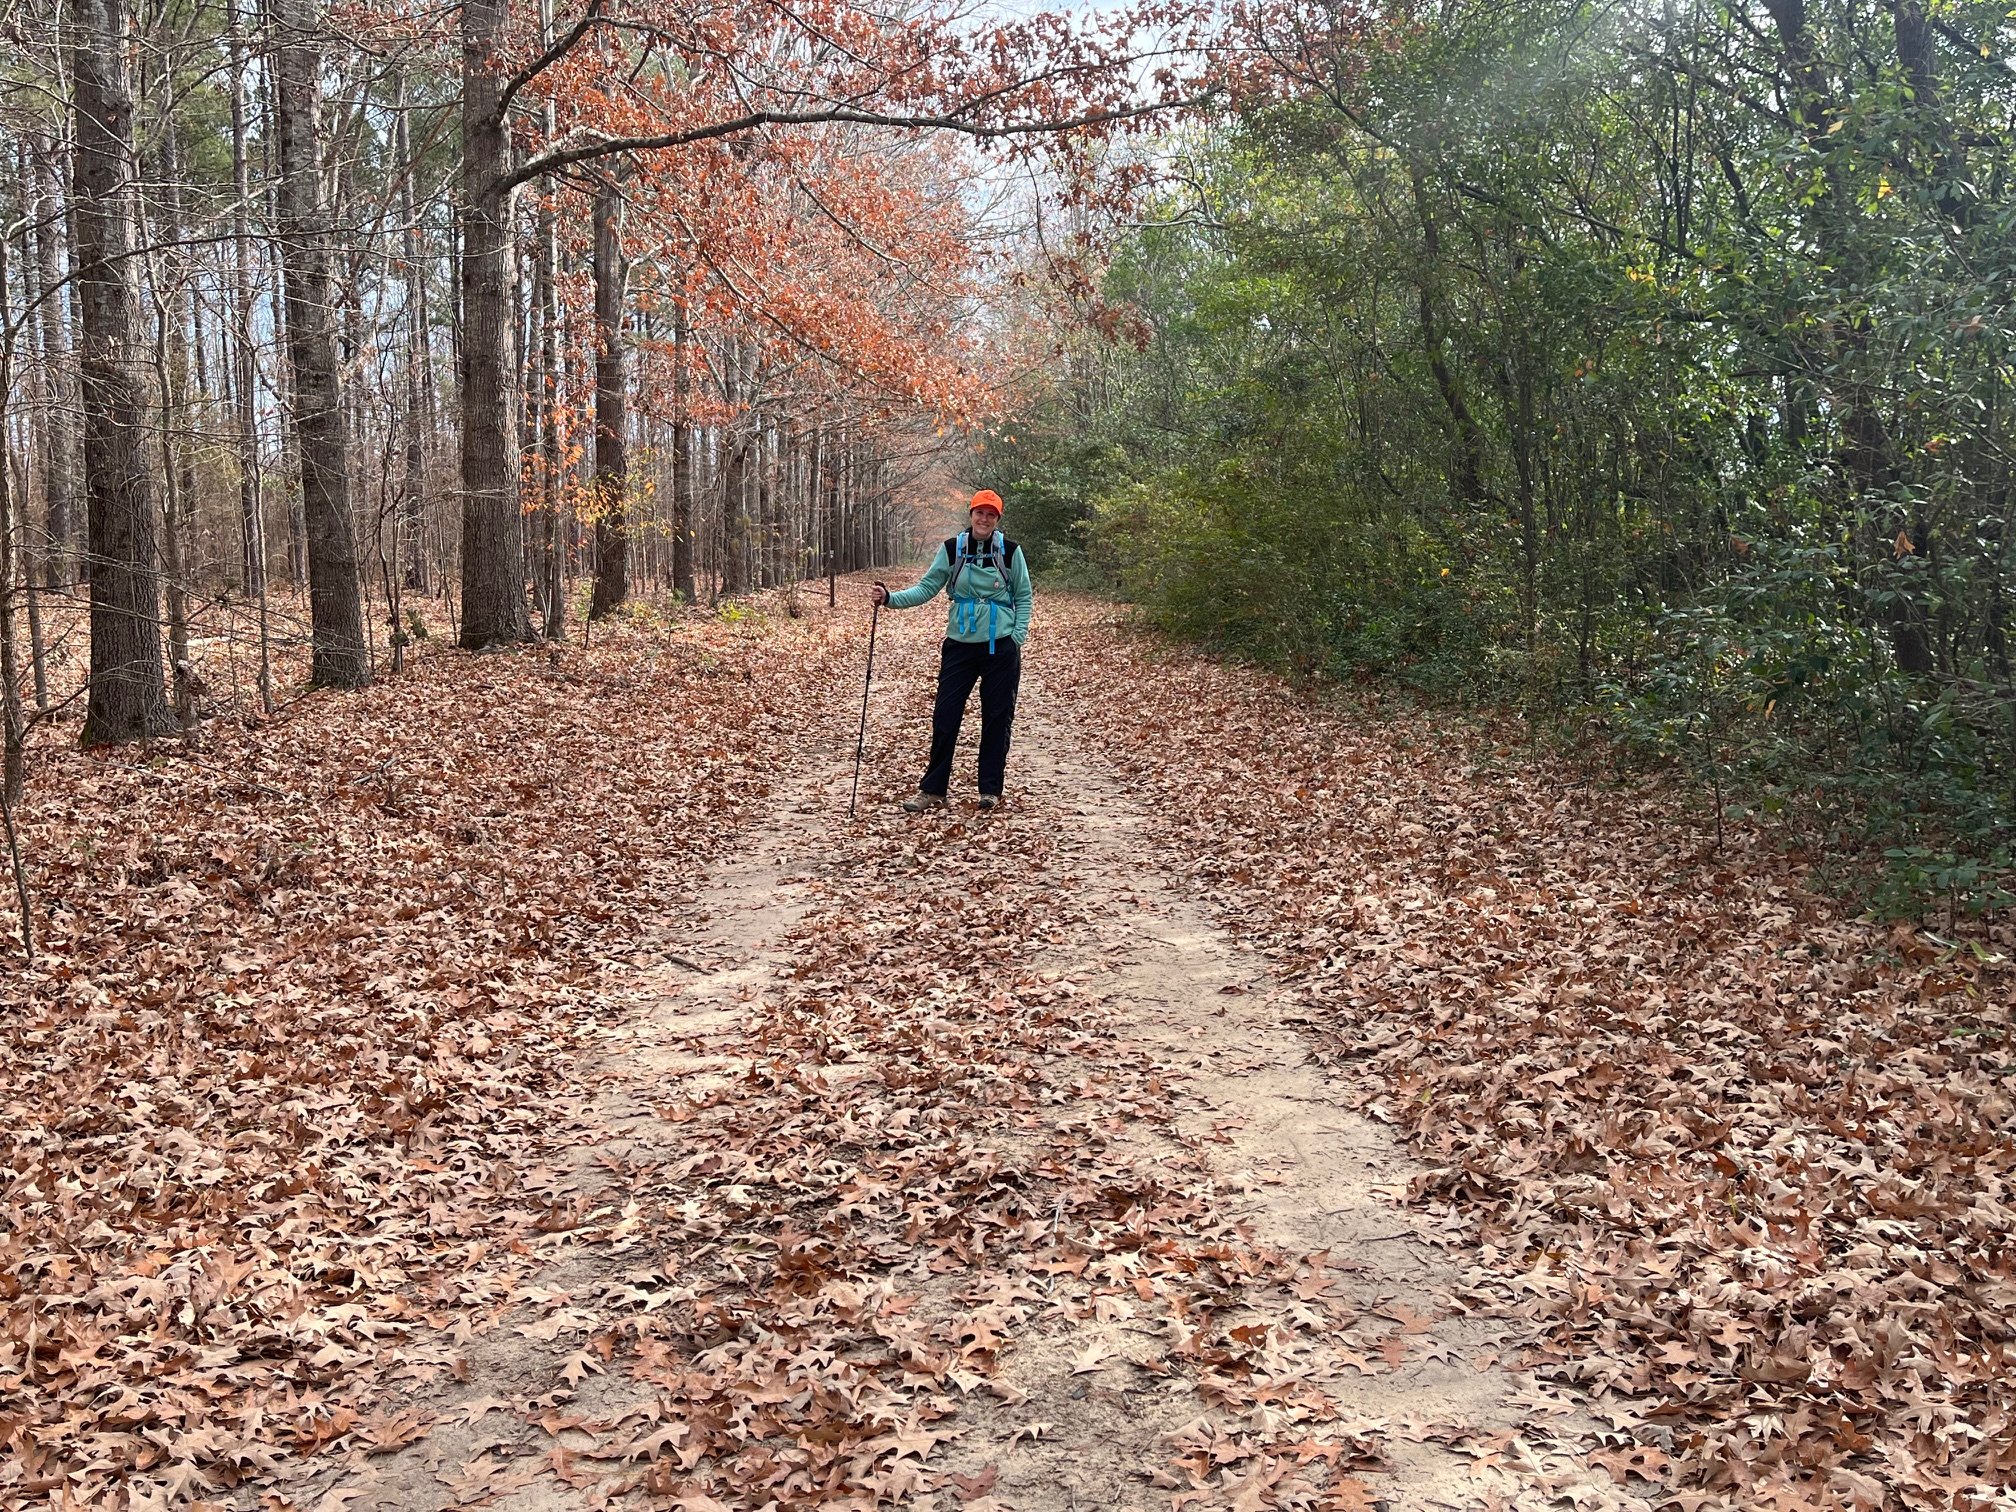
On the Palmetto Trail during hunting season, so a blaze orange hat is a must!
Trail ratings
The first thing you need to understand as a beginning hiker is a trail rating.
These are ratings assigned to a trail by the park that contains the trail, a governmental entity (like the NPS), or a third-party (like AllTrails).
As you can imagine this process can be a bit subjective as one person’s “easy” might be another person’s “difficult.”
But, in general, all trails fall into one of three categories:
Easy: these trails are largely flat and short. Anyone, regardless of fitness level should be able to complete these trails without difficulty. There’s little or no elevation gain, no rock scrambles, or challenging features. In general, an easy trail is going to be anywhere from 0.25-2 miles.
Moderate: these trails are slightly longer and have some element that requires a modicum of hiking experience. There may be some elevation gain or loss, distinctive uneven areas or small rock scrambles, drop-offs on the side of the trail, or physically challenging areas. In general, a moderate trail is going to be anywhere from 3-6 miles; however, shorter hikes that have intense elevation gain may ultimately be labeled as “moderate.”
Difficult: these trails are long enough to require more substantial planning and have elements about them that would make it unsafe to try as a new hiker. In general, difficult hikes are 6-10 miles (or longer), may have intense rock scrambles, ladder or rope sections, steep drop offs, or other highly challenging areas. Many of these difficult hikes, like Old Rag in Shenandoah National Park, Half Dome in Yosemite National Park, and Angel’s Landing in Arches National Park, will require registration and/or a permit before heading out.
As a beginner, you will want to stick to easy trails until you are fully comfortable with your abilities as a hiker. When in doubt, always take the easier option, especially early on in your hiking hobby.
There have been many new and inexperienced hikers who took on trails too difficult or too long, and they end up having terrible times (up and including having to get rescued by rangers or local authorities).
Trail markers
Understanding trail markers is an easy way to ensure that you’re staying on the trail that you want to be on.

Some trail markers are clearly printed, while others are barely visible painted blazes.
The colors, placement, and number of blazes on trail trees help you to know what trail you’re on, when you’re intersecting with another trail, and more.
These are usually placed on trees about shoulder height.
Typically, they are a square swatch of paint in a bright color like blue, white, yellow, red, or orange. The exact color you’re looking for will be unique to that particular trail, but it will be consistent throughout that trail.
If you’ve been following a red marker for most of your hike and you suddenly start seeing nothing but white markers, you’ll need to carefully back track as you’ve missed a turn off and aren’t on the correct trail anymore.
In places where you’re hiking and there aren’t many trees, such as in Moab, Utah, or other desert areas, the trail markers might be metal signs on a pole at intervals along the trail, or they may be stacked rock cairns.
If it is the latter, be very careful not to knock down the cairns as these are crucial for other hikers to find their way safely on the trail. Likewise, do not create your own cairns as this can be confusing to others.
Knowing what the trail markers mean isn’t intuitive, but it can help out immensely as you get comfortable hiking.
The 10 Essentials
You should have the 10 hiking essentials with you whenever you go out on the trail, no matter how long the trail is, how much of a beginning (or experienced!) hiker you are, or how good you’re feeling that day.
You never know when the weather might change, you or someone in your party stumbles and hurts themselves, or you accidentally lose the trail.
The 10 essentials, as recommended by the NPS, will keep you safe until help can arrive, and they prepare you for a variety of weather conditions.
The 10 hiking essentials are:
Extra clothes, like a jacket or sweatshirt, to help if your original clothes are wet or if the weather gets cooler than expected
Basic first aid kit, in case of minor injury (see below for more information on this)
Light, in case you take longer on the trail than expected or if you are lost overnight. You can choose a headlamp or handheld flashlight, but be sure to carry at least one set of extra batteries.
Some sort of fire starter. This might be matches and a DIY wax fire starter, a ferro rod, or a quick start fire block, but you’ll need something to help you make a fire in case you’re stranded overnight or in a sudden bout of cold/wet weather.
Tools for repair, like a multi-tool (screwdriver, scissors, pocket knife, etc.) and a roll of duct tape to do everything from help you set up an emergency tent to helping splint a broken bone.
Extra snacks, preferably ones that are salty and don’t require any work to eat. Think nuts, chips, an apple, a banana, or trail mix.
Extra water because water is the number one thing you’ll need on the trail. If the weather is hotter than expected, you need extra water. If you hike longer than expected, you need extra water. If you get lost, you need extra water.
Bivvy. These lightweight sheets can be wrapped around you if the temperatures drop to stabilize your body temperature, or they can be used as an emergency shelter with the duct tape you also have.
Navigation. At minimum, you’ll want a map of some sort of the trail you plan to hike. For shorter hikes as a beginner, you can take a picture of the trail that’s typically at the trailhead. At state and local parks, ask for a map of the park that clearly shows the trails.
Sun protection. A hat is an easy way to protect yourself. Add ons would be sunscreen and a long sleeve UV shirt if you have it.
Basic First Aid
As part of learning about your new hobby, I highly recommend learning basic first aid. There’s a lot of stuff out there in the woods that can scrap you up from tree branches to rocks that trip you up, and it is very helpful to know what to do in a variety of situations.
If nothing else, get a field guide like this one that reviews very, very basic instructions on common medical issues outdoors.
Having a basic first aid kit in your day pack will also go a long way to making you feel more prepared for anything that might happen on the trail. This one is only $6 and includes bandages, tiny scissors, safety pins, gauze, and antiseptic.
If you already have those supplies at your house, put them in a dedicated small bag and keep it in your day pack.
Stay on the trail.
The trail is there for a reason, and you don’t want to just take off on your own.
Depending on where you’re hiking, getting off trail could damage delicate ecosystems or mess up animal habitats.
If nothing else, getting off trail can end up with you being very lost and turned around, and that’s not where you ever want to be.
If you’re hiking and suddenly realize you’re NOT on a trail, do not attempt to relocate the trail. Instead, find a nearby tree and hunker down. This is the time to try and call for help on your cell phone (or satellite communication device, if you have one). Alternatively, you can alternate calling out for help and waiting to hear for a response.
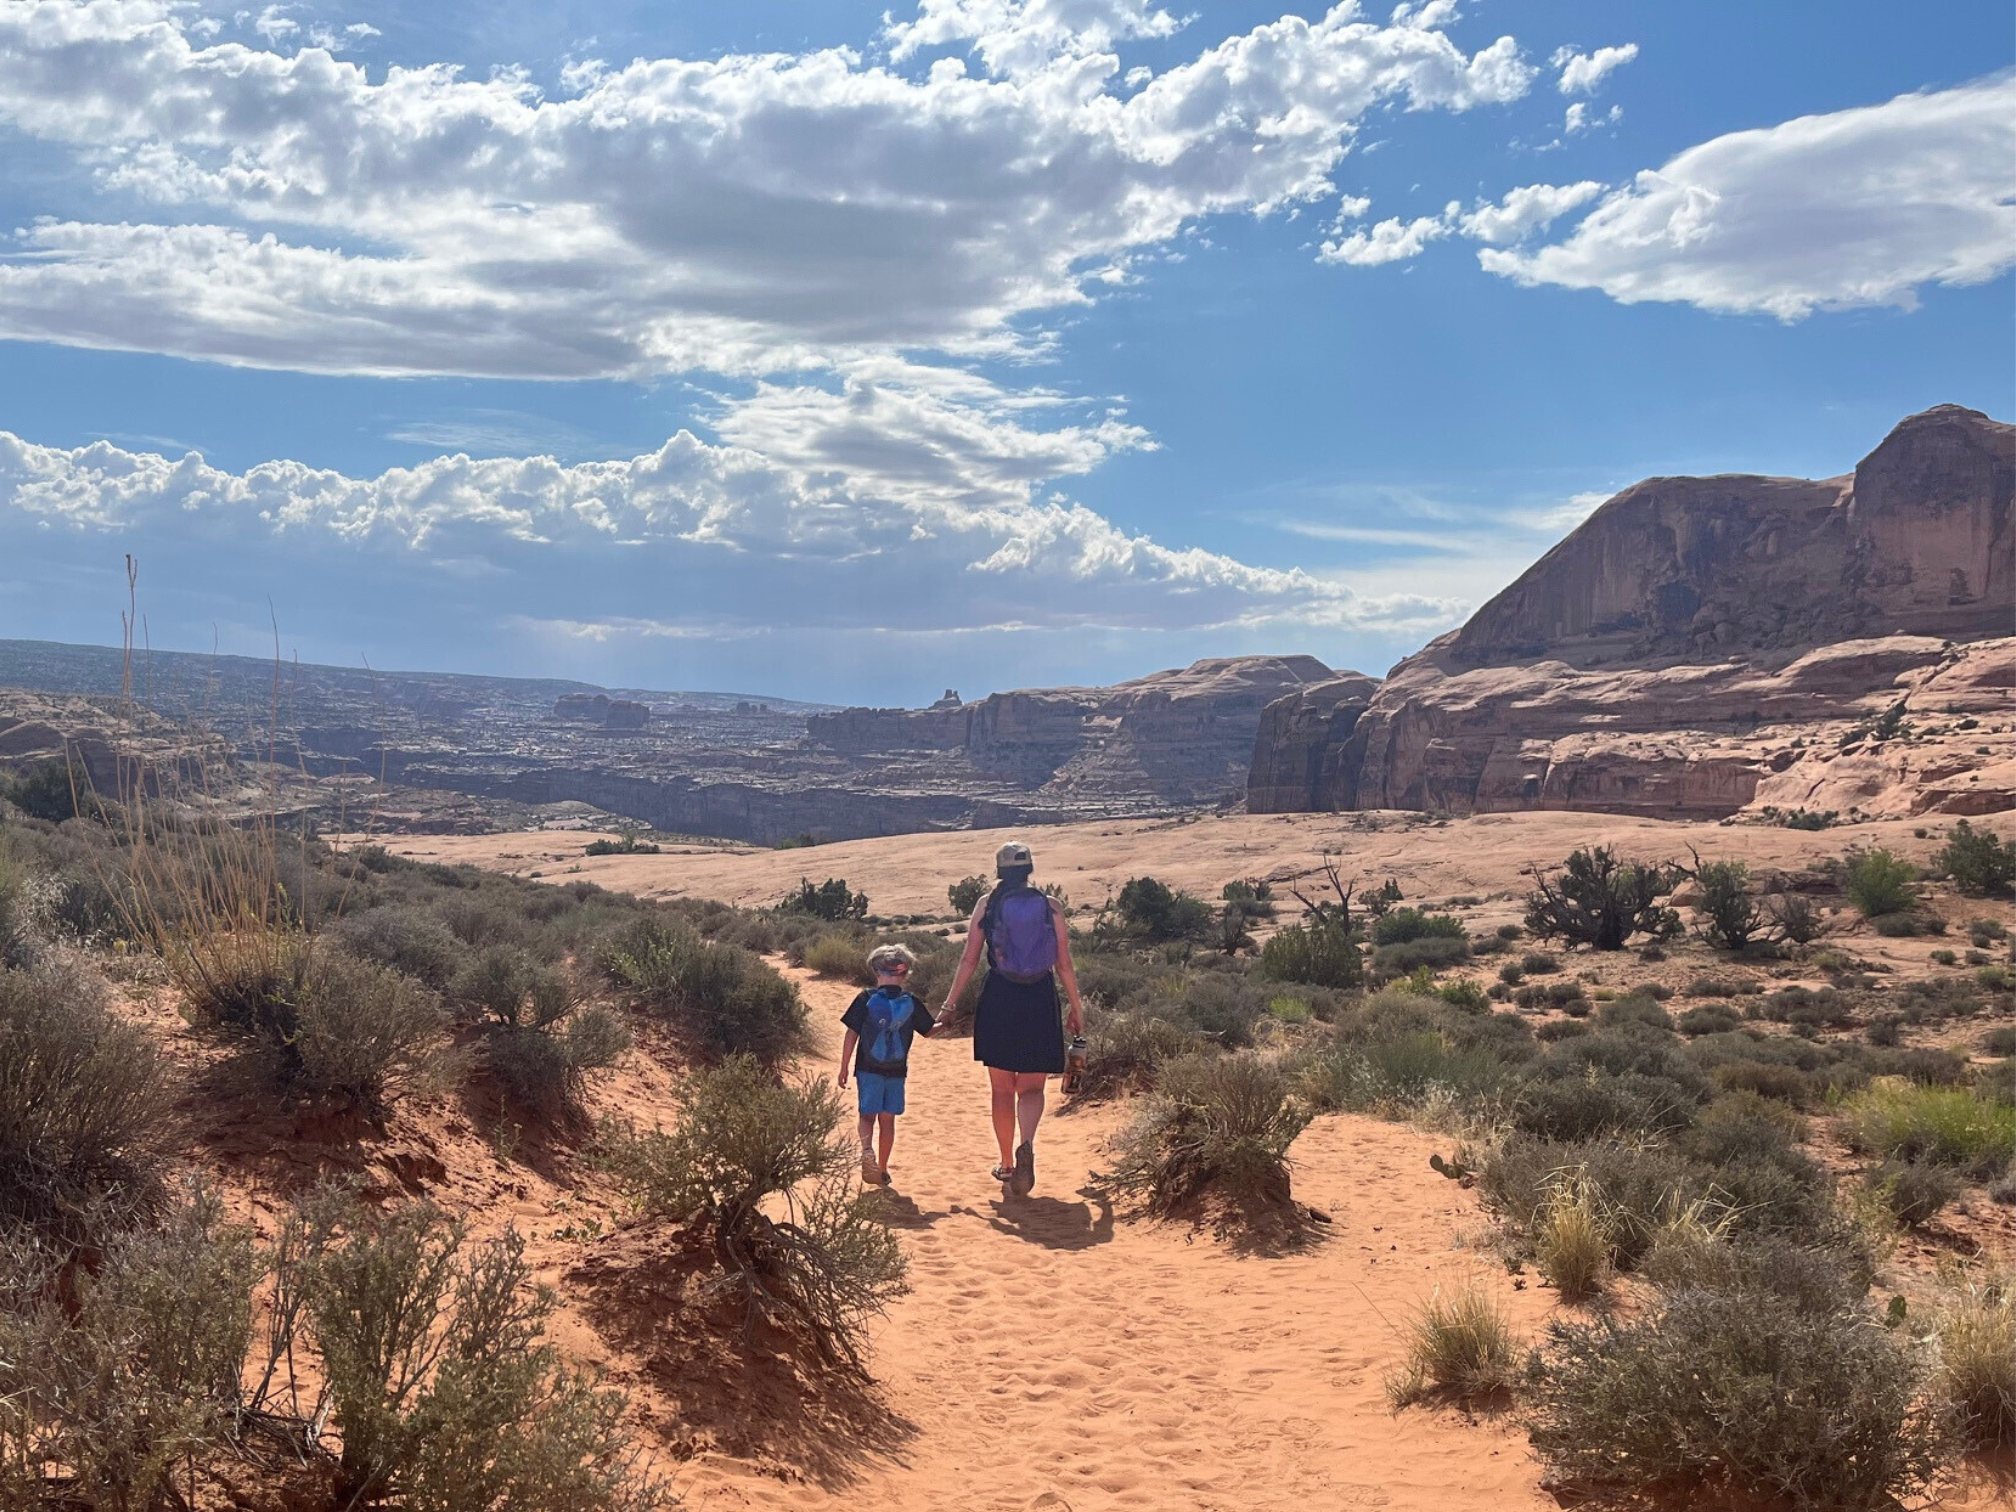
Hiking with my son on the Corona Arch Trail in Moab, Utah
Budget Hiking Gear Worth Buying
Let’s talk about what you absolutely need as a beginning hiker in three different starting budget price points.
$0 Beginning Hiker Budget
If you have absolutely no money to devote to specialized gear, you can find everything of what you’ll need for the easiest, most basic hikes right at your house.
Comfortable shoes with a thick sole. Your favorite athletic shoes should be good for flat, gravel, and paved trails and boardwalks.
Well-fitting socks
Lightweight layers, like a t-shirt and athletic shorts, leggings, or track pants
A comfortable backpack
A water bottle (plan to bring at least 2L of water, but you may need more depending on the length of the hike and how hot it is!)
A few grab-and-go snacks like granola bars, nuts, bananas or trail mix
A small first aid kit that you make yourself with band-aids, Tylenol, and antiseptic
And that’s it.
In short, you can get started hiking for beginners on a budget for free (or very close to it).
Keep in mind that you don’t want to attempt anything but the easiest hikes in the frontcountry in this gear. But it will give you a great idea if you even like hiking.
$25-100 Beginning Hiker Budget
The least expensive but best upgrade you can make at first is your socks. It might seem silly to start there in your hiking gear, but I promise you the difference between regular cotton socks from a big box store and padded wool hiking socks ($20-25) is night and day.
Another place that’s worth your money is slowly adding more of the 10 hiking essentials (see full list, above). Many of these items can be picked up from a big box store for less than $20, like a basic headlamp or flashlight, small first aid kit, a fire starter, and a multi-tool.
You could get all of the 10 hiking essentials for under $100 in total.
On the upper end of this budget range, you could opt for a new day pack.
Getting a new pack will allow you to have additional support for carrying water and the other essentials. This basic hiking pack has multiple compartments for your gear, and it has a chest strap and waist belt to distribute weight more evenly on your body.
If you want a more tried-and-true name brand, you can find a brand new REI-branded day pack for around $60-80.
$100-250 Beginning Hiker Budget
If your budget is slightly more robust, consider getting a better pair of shoes.
You don’t need to try out the most expensive pair of hiking boots in the store (as those can be upwards of an eye-watering $400, depending on the brand and features), but get something that’s better than your worn in favorite tennis shoes.
Shop the sales at the end of the summer, consider discontinued styles, and don’t worry too much about the brand. You’re just looking for a supportive comfortable shoe or boot that will help you on the trail.
You should be able to find a beginner pair of hiking shoes or boots for less than $200.
Tips for Finding Hiking Gear Deals on a Budget
In general, you can get some higher quality gear for less by shopping carefully.
Look at local thrift stores, where you can often find outdoor clothes in a variety of well known name brands for great discounts.
Look for brands like:
Wool clothing: Wool&/Wool&Prince, WoolX, Unbound Merino
Day packs: Osprey, Kelty, North Face, Patagonia, Deuter, and Cotopaxi
Pants, outerwear, shorts: Kühl, Mountain Hardwear, North Face, Patagonia, Cotopaxi, Columbia, L.L. Bean, Arc’Teryx
Shoes: Altra, Keen, Merrill, Sorel, Astral, Teva, Chaco, Salomon
Borrowing or purchasing gear from a friend is another low cost way to find gently used clothing, day packs, and shoes. If you don’t have friends who have old gear, turn to Facebook Marketplace or your local buy/sell groups online.
If you have an REI near you, they have a buy back program where they will resell inspected gently used gear. We’ve had some amazing luck here, and bought my daughter a pair of Salomon hiking boots for about a quarter of what we would’ve paid new.
The Gear Project is also a newer option for used gear. You can buy gently used items like jackets, shoes, and day packs from other hikers who are downsizing or have grown out of those items.
Best Budget Hiking Gear: A Buying Guide
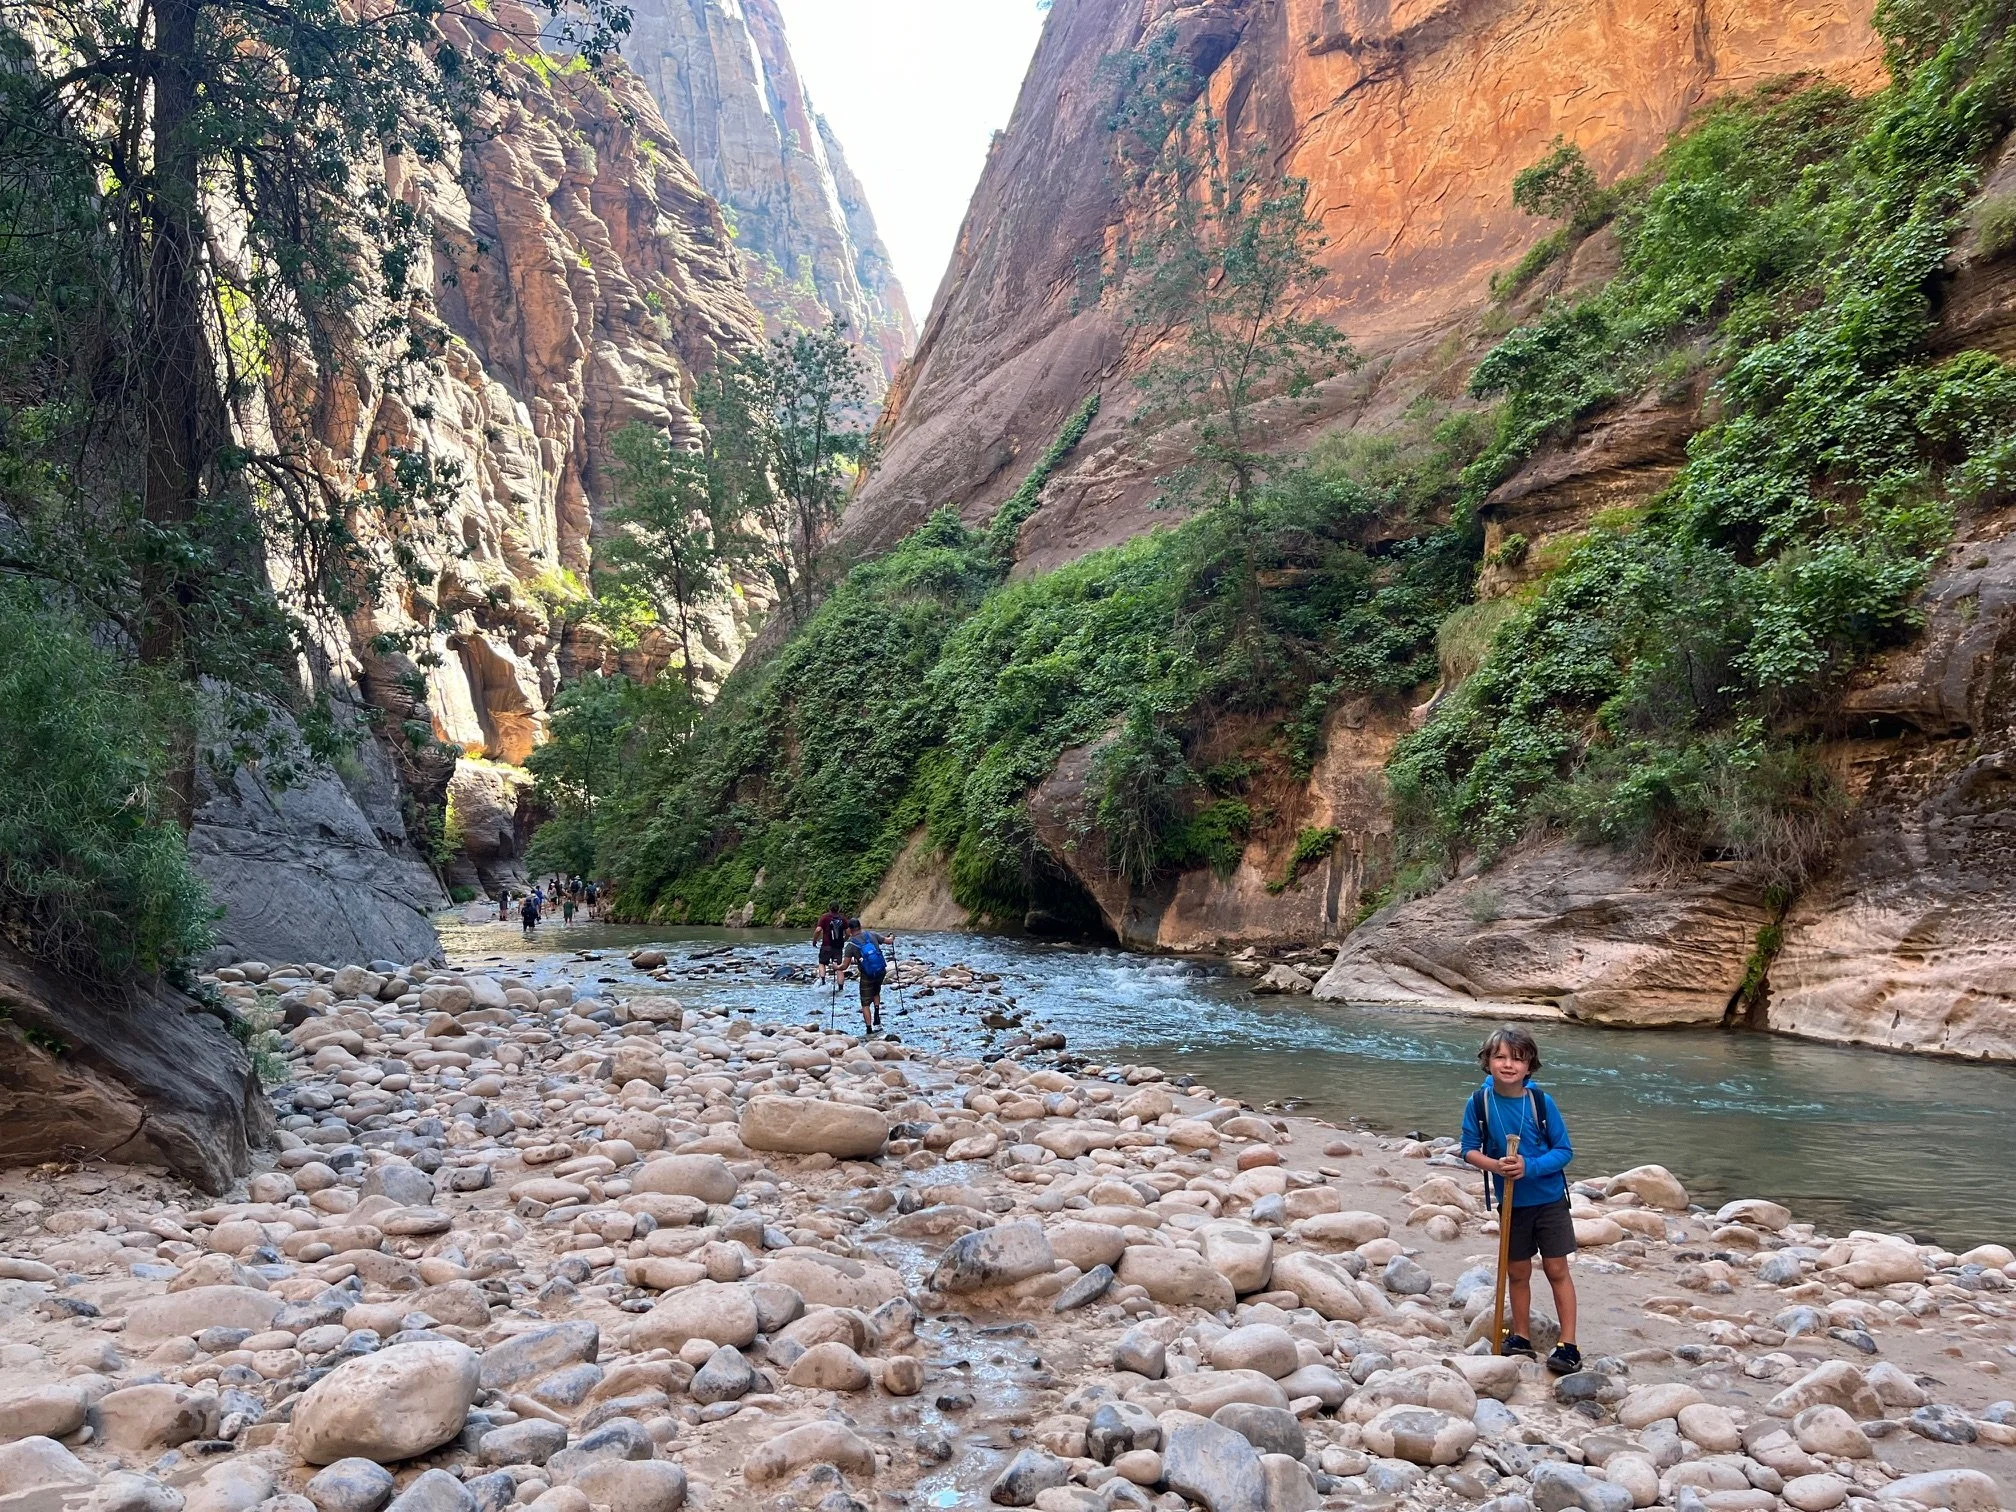
My son pauses while hiking the Narrows in Zion National Park
Okay, so you’ve hiked a few times in your sneakers and your old college backpack, and you’re ready for your first round of decent hiking gear on a budget.
I’ve put together the entry-level gear that you’ll need as a beginning hiker while also keeping in mind that you’re probably still early in your hiking experience and don’t want to drop thousands of dollars before you’re fully committed.
You’ll see a combination of big brand names and lesser known brands, but all of this gear is solid for a beginner.
My husband and I first started hiking together as freshmen at Clemson when we (like every other college student) had very little expendable income.
Yet, that experience showed me that we could still have wonderful hikes without splashing out on expensive gear.
Now that we have kids, we take the same approach with them. They are tough on gear and are constantly growing, so the chances of them using their specialized gear long term is unlikely.
We budget shop for their gear for this reason.
Plus, who doesn’t like to save some money!?
Here are our suggestions for the best budget hiking gear for beginners.
Best Day Pack for Beginners
When you’re first starting out hiking, I’d recommend a smaller day pack.
There’s nothing like going too heavy when you’re a beginner, and dealing with aching shoulders for the duration of the hike.
Remember, this should be FUN!
For this reason, I’d suggest an 18L or 20L pack when day hiking as a beginner.
This size will be large enough to store your needed gear, but small enough that it won’t weigh you down.
Any backpack will work for your first, shorter hikes, but as you get further into your new hobby, you’ll want something that has more bells and whistles.
The Osprey Ultralight Collapsible Stuff Pack is minimalistic and has plenty of room for your day hike basics without being bulky. It has a chest strap and large main compartment, but no waist belt.
Plus, at a price point well under $100, you’ll be able to get out on the trail on a budget.
For a bag that’s slightly larger and more robust, you can’t go wrong with the Osprey Sportlite 20L. This bag has more structure and additional pockets for storage, as well as a chest strap and waist belt for support.
Don’t forget a water bladder! If your chosen day pack doesn’t have one, you can purchase a solid one for under $20.
Having tried both a water bladder and a water bottle, I prefer the bladder hands-down for how easy they are to use.
Best Day Pack for Beginning Kid Hikers

The Camping Kiddos wearing their Deuter Kikki day packs on a trail near Highlands, NC
I cannot recommend the Deuter Schmusebär day packs enough.
We got these for our kids when they were in kindergarten/early elementary school, and they have been game changers for us on family hikes.
Not only are they adorable, but these 8L packs are lightweight and durable.
My kids carry these packs willingly on the trail, and they haven’t asked me to take the packs from them (not even once! I promise, I’m as shocked as you are.)
While the packs don’t have water bladders, you could easily add a small one, or tuck a water bottle in one of the exterior pockets.
The large interior pocket has room for nature pamphlets, Junior Ranger booklets, snacks, whistles, and more.
My daughter was able to carry this until she was almost 10 years old. She’s tall for her age and needed a bag with longer straps and more cargo capacity.
It’s excellent for 5-9 years olds!
For more information on hiking with kids, check out these posts:
Best Hiking Shoes for Beginners

My husband wearing his favorite hiking shoes at Natural Bridge State Park, Virginia
This is one area where we don’t hold back for our family.
Hiking shoes in general are expensive, but I think it’s money well spent if you’re taking your family out on the trail.
You’ll first need to decide if you’d like low profile, mid-profile, or above-the-ankle hiking shoes.
I prefer a low profile hiking shoe, so I have the Altra Lone Peak shoes, which are technically for trail running. They run around $100 a pair.
However, I like the flexibility I get with a more sneaker-like shoe.
A great starter low-profile hiking shoe would be these Knixmax hiking shoes, which are built similarly to the Altra Lone Peak shoes, but come in at around a 1/3 of the price of the Altras.
My husband prefers a traditional hiking boot that goes over the ankle.
While he has the Asolo Finder Pro boots, the price of those ($324) is way too high for me to recommend to a new hiker. (They are great boots if you decide to upgrade!)
Instead, try out these Timberland White Ledge hiking boots, which have a similar profile and ankle support for about 1/3rd of the price ($119).
For kids, look for something supportive that they’ll actually wear. Don’t force them into boots if they prefer a hiking shoe, or vice versa. I’ve got more suggestions for the little hikers in your pack in this round of up of best toddler hiking shoes.
Necessary Safety Equipment for Beginning Hikers
Once you’ve gotten your day pack sorted, you’ll need a few essentials for every hike.
(Don’t worry. These are all lightweight!)
No matter how short the hike might seem, we still grab our packed day packs and water.
In the last year, I’ve only forgotten mine once—we were hiking the 1 mile round trip to Clingman’s Dome in Great Smoky Mountain National Park, and I didn’t think I’d need it.
Yet, on that hike, my mom nearly passed out from the combination of altitude and thirst, and my younger kid busted his knee open.
I was left on the trail without any water or first aid, and I promised myself I’d never, ever leave on a hike without the filled day pack again.
So, from the start, you’ll want to have at least Band-aids, some Tylenol or ibuprofen, and some antiseptic. Upgrade to a more complete first aid kit as soon as possible.
Field Guides
When I’m stressed and need advice, the first thing I go do is see if I have a book to help me. Once an English major, always an English major!
I can’t tell you to take your entire library with you out into the woods, but you can take a field guide.
We love the informative laminated, brochure-style field guides that cover everything from wilderness first aid basics to plant identification. At $8-9, they are affordable, and the lightweight nature of them means you can add them to your pack without a second thought.
Buying easy to understand guide books like the Stikky Tracks book can help you understand more of what you’re seeing in the woods, which also goes a long way to keeping you comfortable while hiking. (Read my full Stikky books review here.)
Where to Upgrade Your Gear Later on
As tempting as it is to walk into REI or go on an Amazon shopping spree, the best way to build your gear on a budget is to do so slowly.
This will allow you to thoroughly test each piece and see what your family lacks.
I’d recommend the absolute basics (noted above) for the first few hikes, then taking on the best budget hiking gear suggestions, below, as your family gets more comfortable on the trail.
When you’ve really been bitten by the hiking bug, and you want to go ALL of the time, that’s when you upgrade to the expensive stuff and plan longer, more technical hikes.
A hiking capsule wardrobe
When you’re ready to start compiling a capsule hiking wardrobe, I’ve got some tried-and-true suggestions over on my list of best women’s clothes for hiking.
If you want to start with a solid, versatile piece that works on and off of the trail, I highly recommend the Kuhl women’s hiking pants.
A hiking wardrobe that’s heavy on the wool pieces is excellent for all weather conditions, and it is a much better fabric to hike in than cotton. Wool wicks moisture instead of absorbing it like cotton, and it dries very quickly. I love my items from Wool&, but you can also find similar pieces from Merino.tech on Amazon.
More supportive footwear
When you’re ready to upgrade your footwear (one of the more expensive pieces of gear you’ll eventually need), you must first decide which type of shoe will be best for the job.
Get the pros and cons of hiking boots, trail runners, and hiking sandals here.
Beyond that, what boot or shoe works for you is very personal. Go to an outdoor outfitters and try on multiple pairs to see what works for you. Hiking shoes are an investment, so be sure to get a pair that you can see yourself wearing for years to come.
Life Straw
This isn’t crucial to have for shorter, beginning hikes, but it is a piece of mind item that you can add to your hiking collection as you slowly build it out.
The Life Straw acts as a portable water filter, so you could still access water from streams or lakes if you got lost and drank all of the water that you had in your water bladder.
These aren’t super expensive ($15), so consider buying one as you take on longer hikes.
Garmin InReach Mini
These tiny satellite units connect you to emergency personnel 24/7, so help is never far away, no matter how deep into the backcountry you go.
When I started hiking more with my kids in more remote areas of the US, we bought the Garmin InReach Mini ($350), which clips to my day pack, and loved it. It gave me assurance that my kids and I could still call for help even if I fell and hurt myself in a way that wouldn’t allow me to get to the trailhead with them.
I know that the new iPhone also have some sort of emergency satellite capabilities, but this is one of those situations that I’m happy to have the extra coverage. I’d rather have the Garmin and not need it, than need it and not have it!
I recommend this as you become a more advanced hiker, but it isn’t necessary when you first start out on easier, front country trails unless you have prior medical conditions that would require immediate emergency assistance regardless of your location.
Hiking Poles
These aren’t an absolute necessity, and we went for years without them.
However, hiking poles ($39) do help reduce the stress on your hips and knees when you’re hiking in more mountainous locations, and they’re a big help in those situations.
While they’re not expensive, you can hold off on buying hiking poles until you start to take on more difficult hikes that would require them.
I hope this list of affordable hiking gear helps you as you get ready to hit the trail for the first time.
Remember, if you and your family are having fun outdoors, you’re already part of the hiking community. (No Instagram-worthy photos necessary!)
Happy hiking!