1 Day in Zion National Park Itinerary
If you only have one day in Zion National Park, make the most of it with this helpful itinerary!
You’ll come away with an excellent overview of what makes this popular Utah national park so special with suggestions on where to hike, what to do, and what you can save for a later trip.
One of the Utah Mighty Five national parks, Zion is known for its soaring red and orange cliffs, unique hikes like Angel’s Landing and The Narrows, and scenic drives.
On this itinerary, you’ll find a minute by minute itinerary with recommendations on how to best use your time to see as much of the park’s beauty in just a day.
The itinerary below shares the highlights of Zion National Park, so you’ll feel like you’ve got a good overview without being overwhelming.
As with all of my national parks itineraries, everything here is family friendly, though it’s equally good for any beginning visitor to this area.

Any day in Zion National Park is a good day!
This post contains affiliates. If you purchase through the links below, I will receive a commission at no charge to you.
Is one day enough time at Zion National Park?
If you’re on a vacation schedule (and who isn’t?), time is of the essence, so it’s important to make every moment count.
One day is enough time to get a good overview of what Zion National Park has to offer, though you certainly cannot exhaust the hiking, camping, and other outdoor adventures in this area in that time.
Some of the smaller national parks such as Congaree in South Carolina or Black Canyon of the Gunnison in Colorado can be neatly packed into just a 1 or 2 day visit, but you’d need several days to see everything that Zion National Park has to offer.
If you’re planning to do some of the activities outside of the park as well, you’d be able to easily fill up a week here.
That being said, I know that not everyone has a week to linger here, so we’re focusing on just the highlights until you can get back for a longer stay!
Zion National Park covers 229 square miles, or 146,500 acres. While that might seem like a lot to tackle in just a day, you’ll be able to see a good amount just by driving through the scenic roads and doing select hikes.

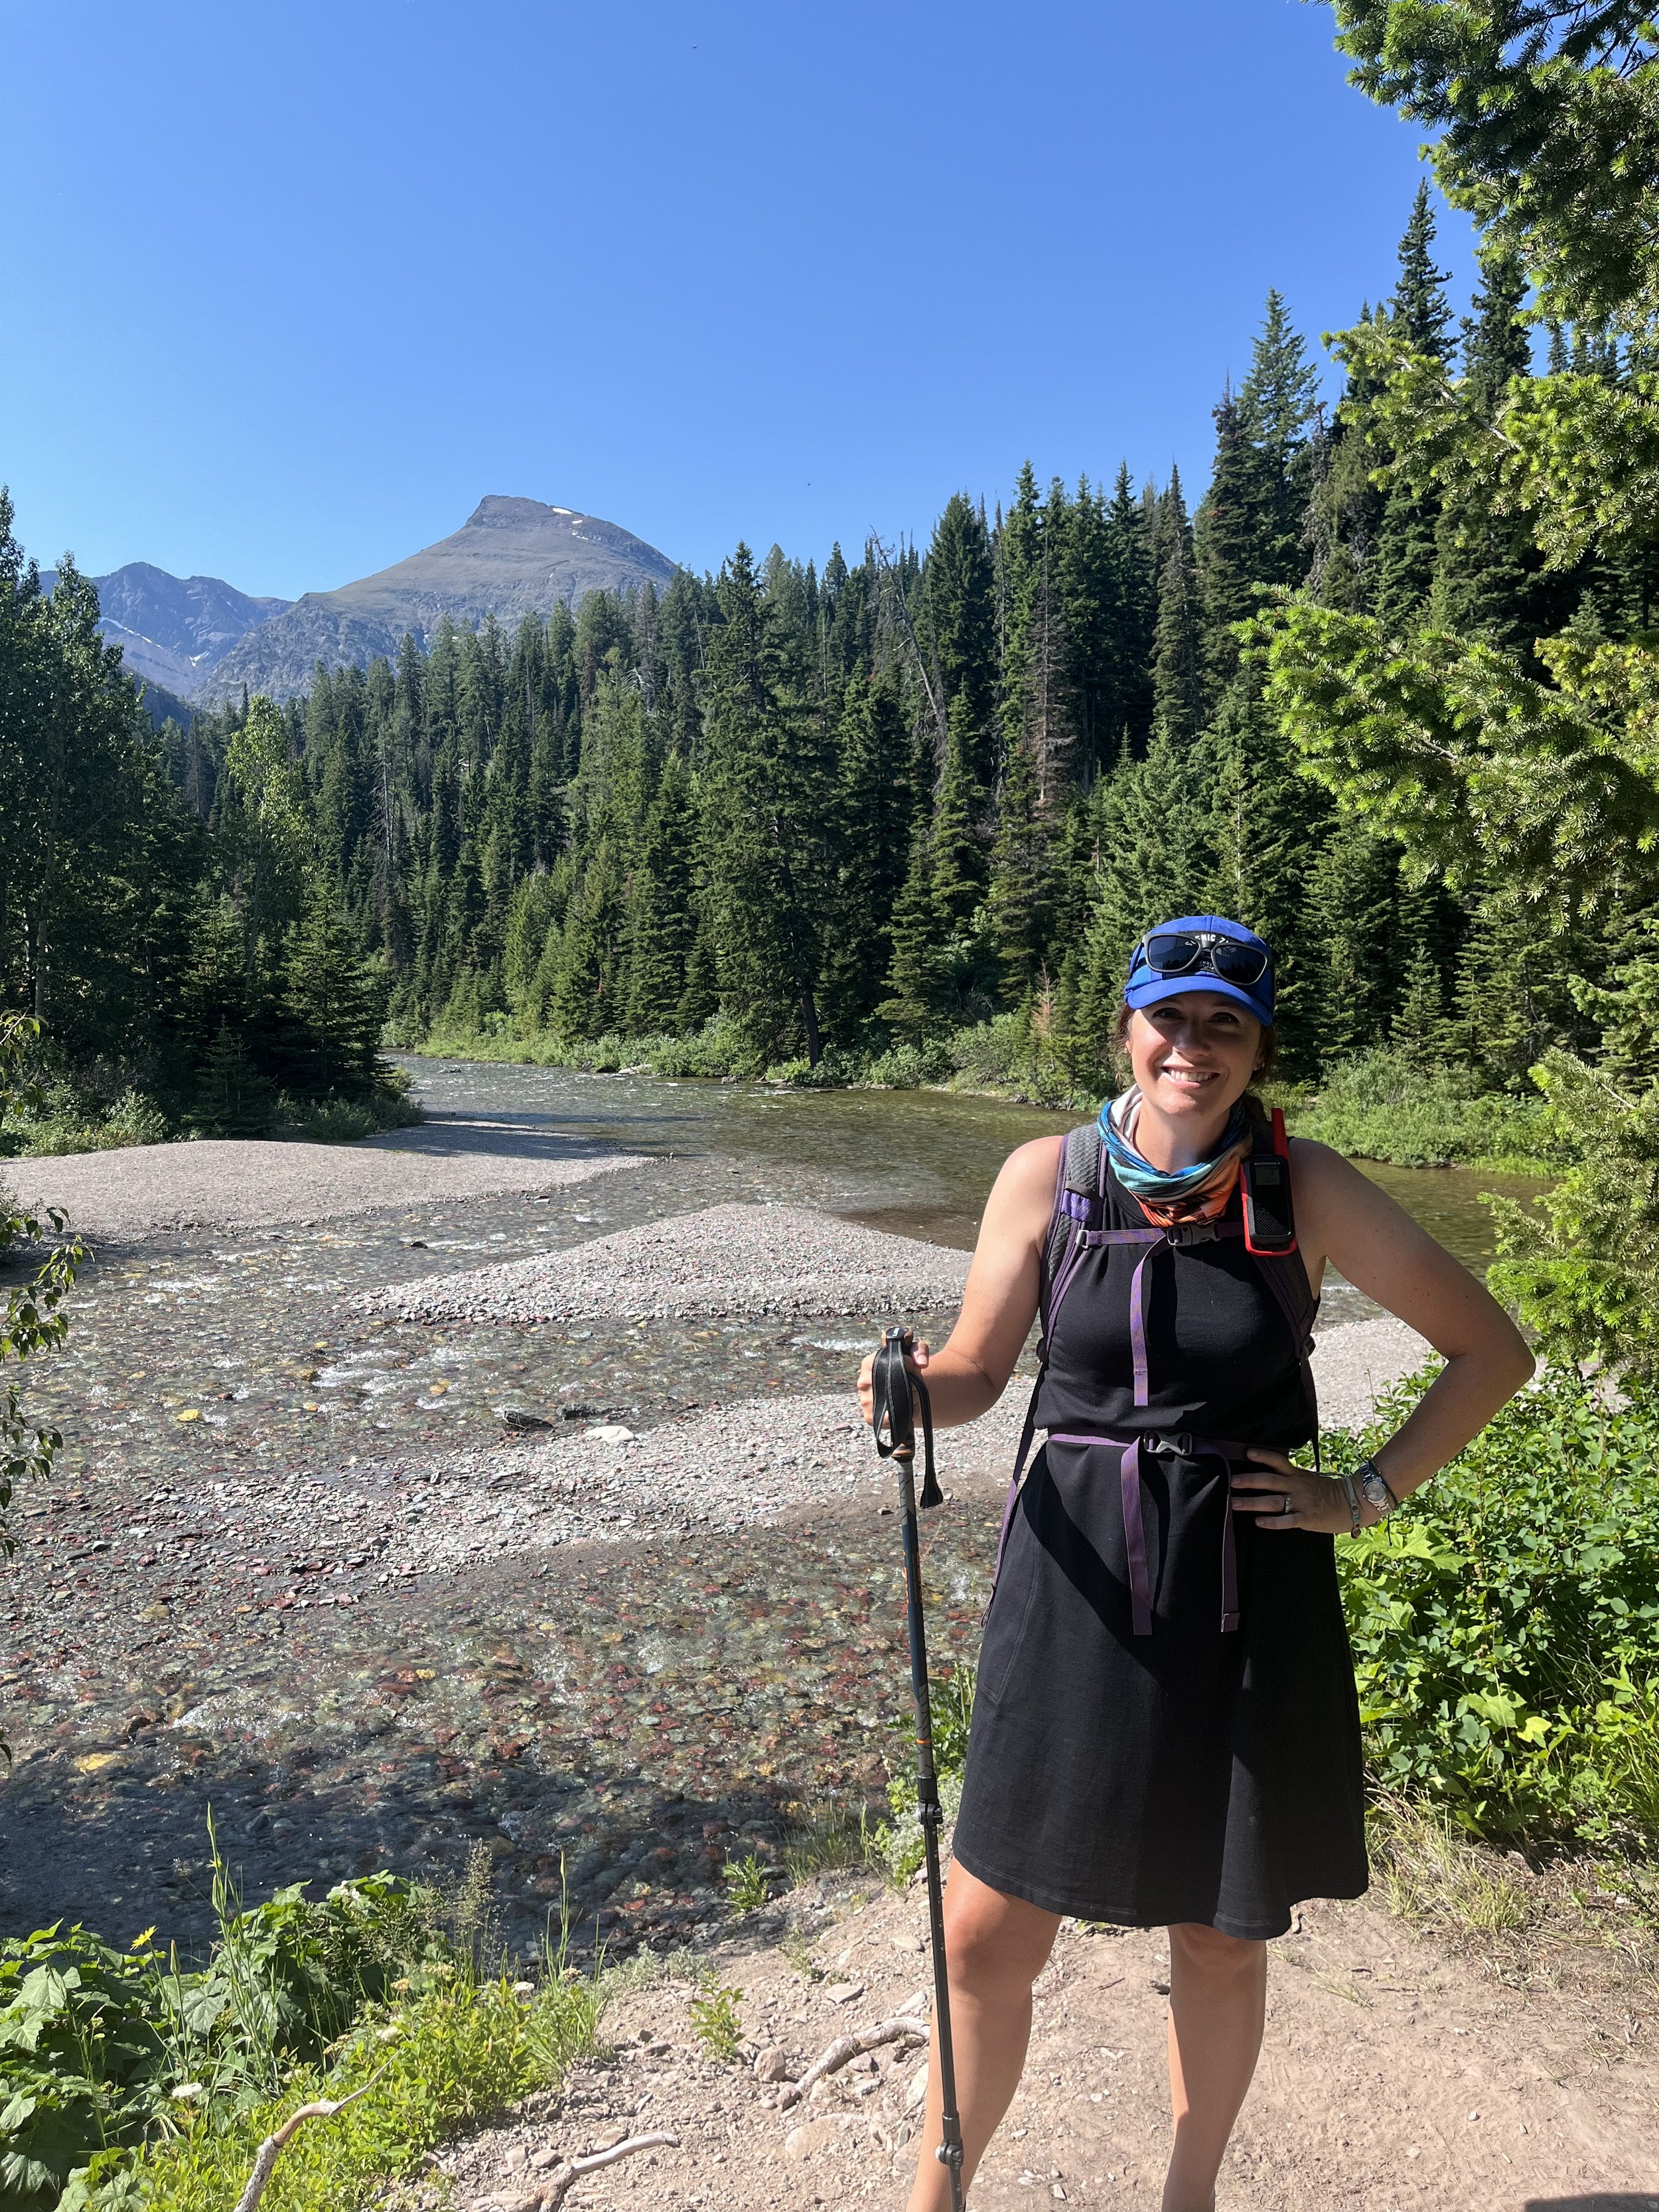
My kids splashing in the Virgin River
Zion National Park is divided into 3 major areas:
Zion Canyon, which is located just outside of Springdale and is the park’s most popular area
East Zion, which is connected to Zion Canyon via the Zion-Mt. Carmel Highway and Tunnel, and
Kolob Canyon, which isn’t connected by road to either of the other areas, and requires visitors to use a separate entrance off of I-15 about an hour’s drive from Zion Canyon.
Since we’re pressed for time, this itinerary solely focuses on the first two area, which is most convenient to the cute town of Springdale. This is not to say that Kolob Canyon or East Zion aren’t worth a visit—they definitely are!—but going to Zion National Park and not exploring the Zion Canyon section on your one day here would be like going to Paris and not ever seeing the Eiffel Tower.


Park Location
To get to Zion National Park, you’ll need to head to the southwest corner of Utah near Hurricane and La Verkin. It’s just over 2 hours from the airport in Las Vegas and 3.5 hours from the Salt Lake City airport.
Even though the park is wedged in the far corner of Utah, it’s still a great day trip from several nearby areas. Head to Zion in only 1 hour and 45 minutes from Bryce Canyon in Utah, or from Page, Arizona.
Springdale, Utah, is the closest town to the main entrance, but even that is only 45 minutes off of I-15. If you’re looking to quickly peek inside Kolob Canyon on your way elsewhere, it’s an even easier detour and is only 6 minutes off of I-15 at exit 40.
While Zion National Park feels like it’s a million miles away from everything once you’re inside the gates, you’re pretty close to just about anything you’d need. Springdale, the town outside of the Zion Canyon entrance, has a couple of small grocery stores, hotels, and campgrounds.
Hurricane, Utah, is only 30 minutes away and has plenty of options for shopping, including big box stores and RV shops.
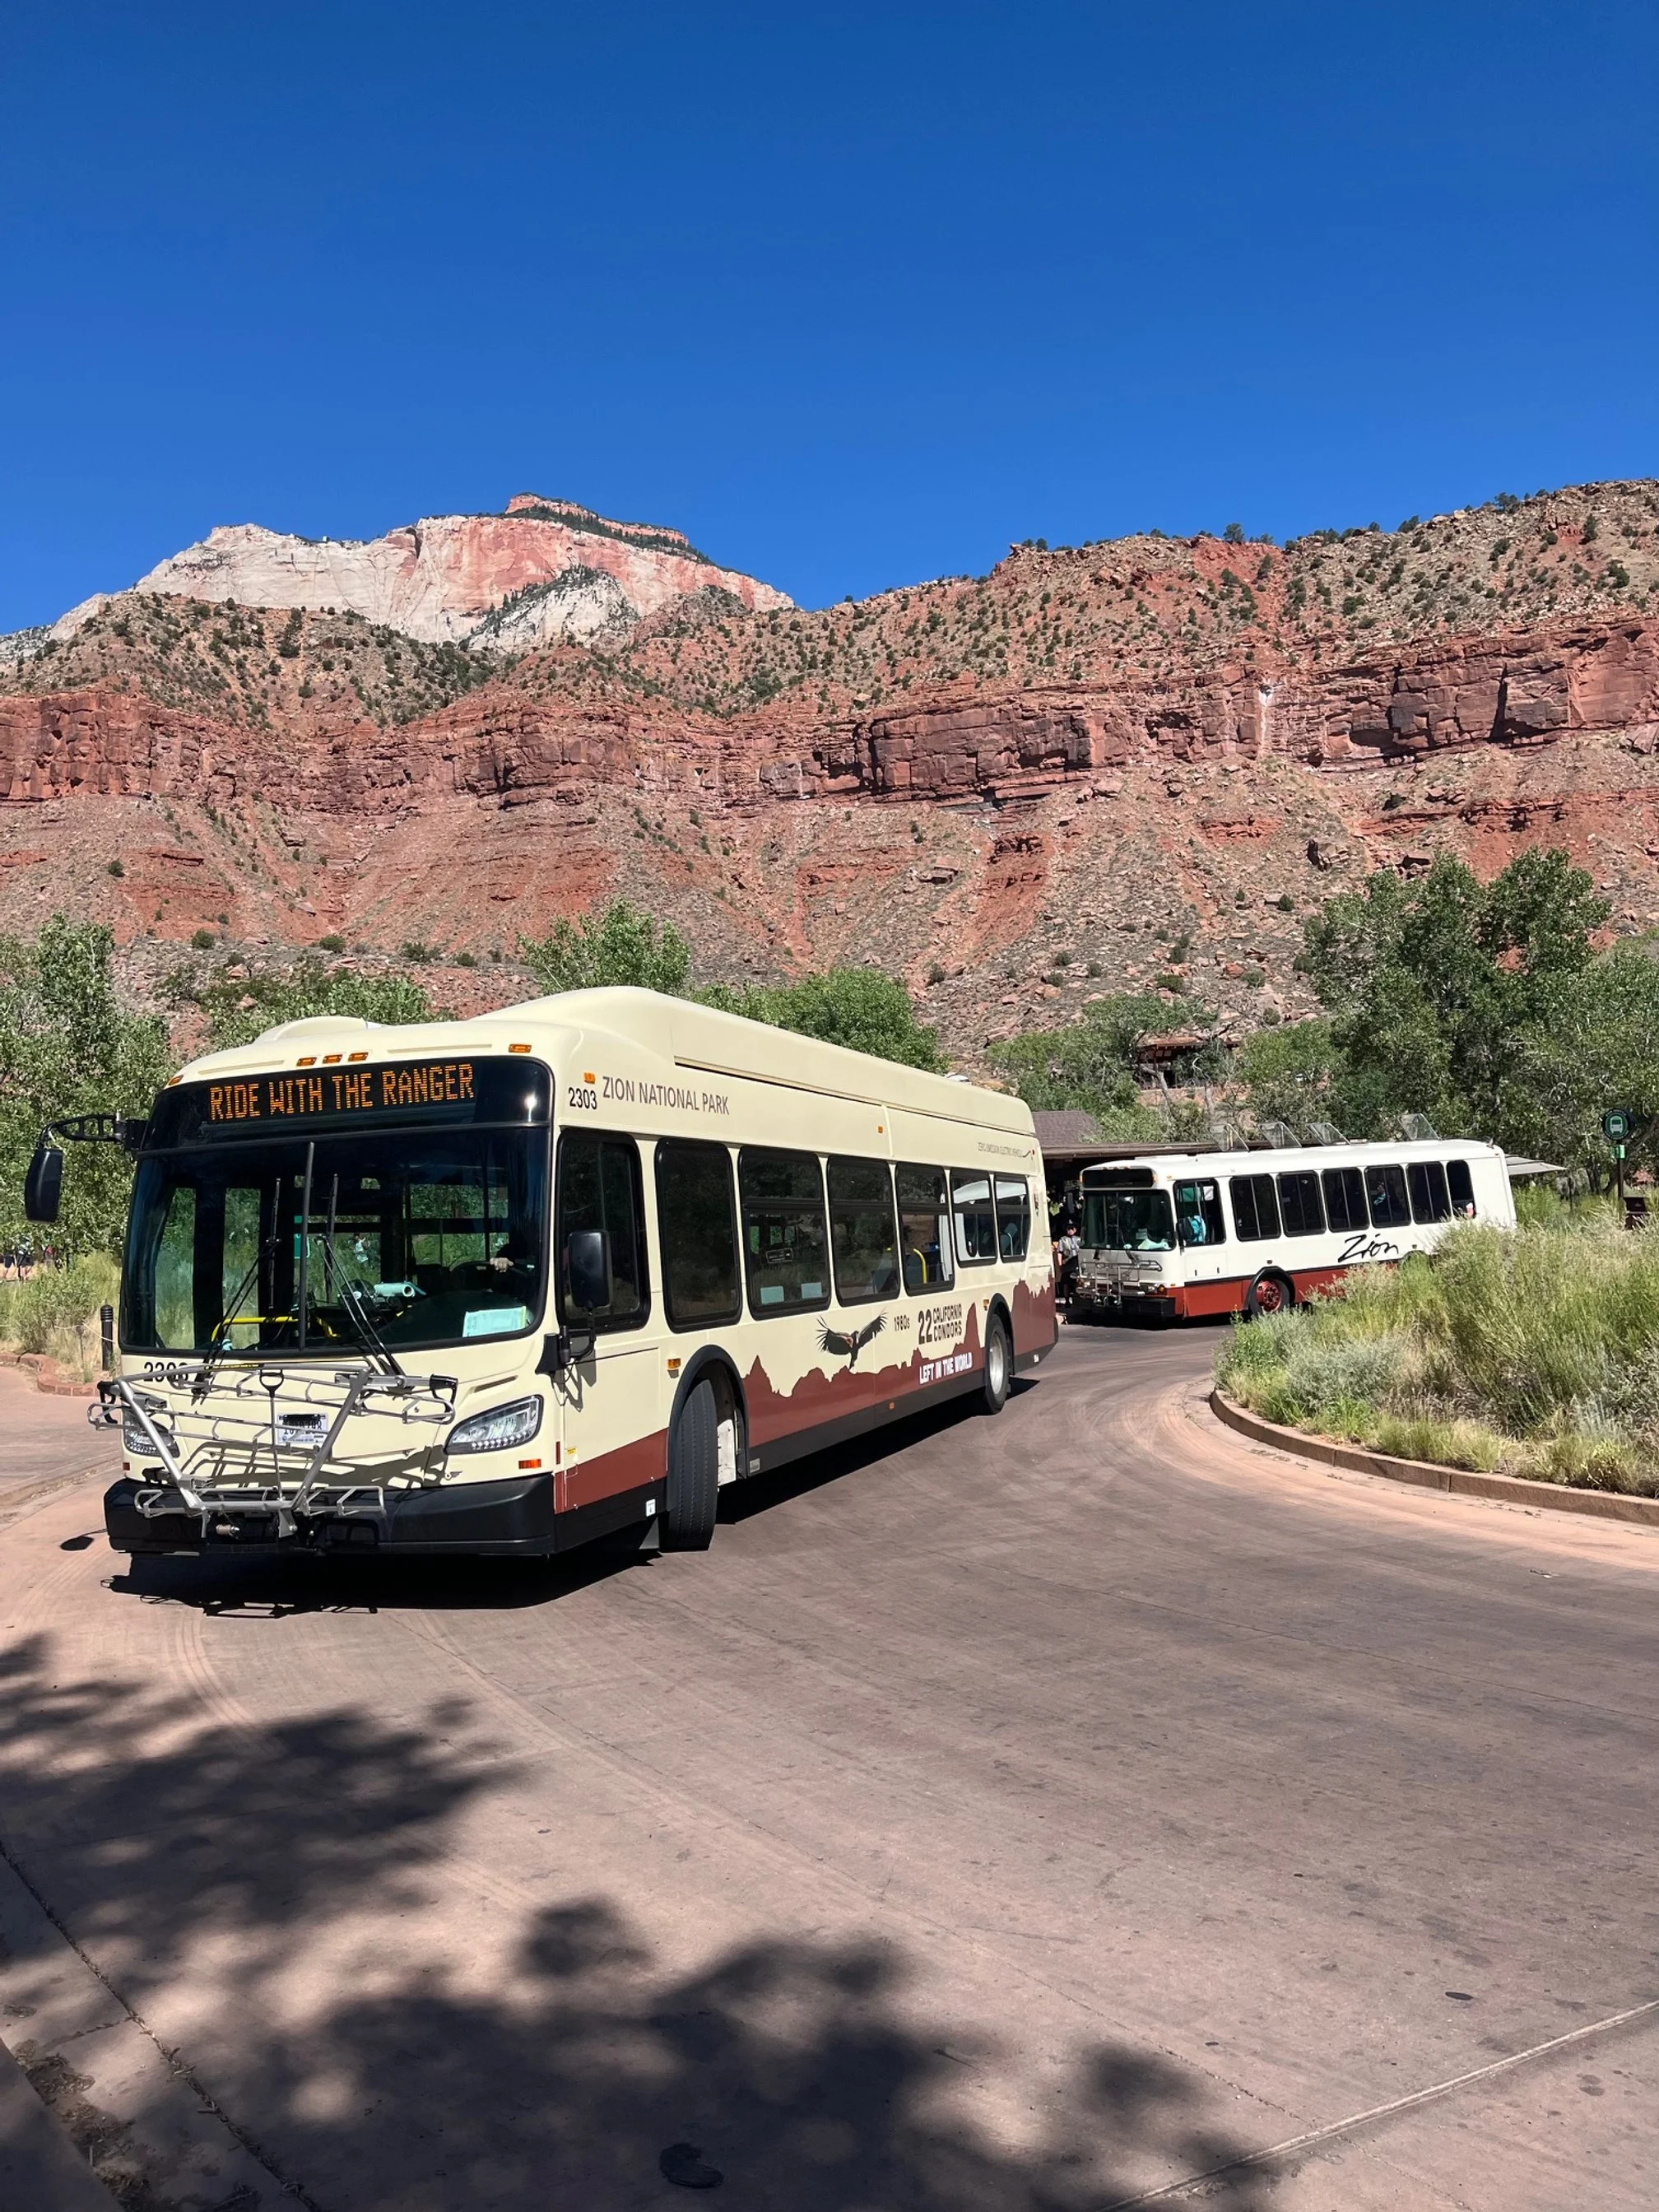
There is some public transportation available, though you’ll still want to rent your own car to get to the park. Once you’re in Springdale, you can take the free Springdale shuttle along Zion Park Boulevard, and then transfer onto the park shuttles (also free) at Zion Canyon Village.
Visiting with Kids

My son hikes along the Kayenta Trail in Zion Canyon
If you’re planning to visit Zion National Park with kids, I recommend seeing how it could fit into a larger Utah Mighty 5 national parks road trip.
I also have a family-friendly guide to Zion National Park with kids, which further shows you how fun this park is with little ones!
Many of the items that we loved in Zion could be compacted into just a single day, and nearly all of these are great for kids. I’ve noted the particularly kid-friendly options on the itinerary below, as well as options when a specific activity won’t work for younger visitors or families.
If you’re able to take time off during the school year, Zion is one of the best national parks to visit in the fall, thanks to the cooler temperatures and lower crowd levels.
You can explore all of my free Zion National Park vacation resources here!
Can I bring an RV or travel trailer with me into the park?
The answer there depends on where you’ll be driving and what you ultimately want to accomplish here.
Parking in Zion is already difficult in a car, much less if you’re trying to haul a travel trailer or drive an oversized vehicle. If you’re willing to fight the crowds and you have a Class B RV, you might have some luck finding parking, but anything else is going to be a challenge.
Plus, there are height and length maximums for vehicles on Zion-Mt. Carmel Highway, thanks to the mountain tunnel and winding ascent to East Zion. In 2026 and beyond, the park isn’t allowing the tunnel to be shut down for larger vehicles and RVs to pass, so that cuts off a major thoroughfare for you.
In short, there’s so much going on here that I recommend that you NOT take a camper into the park unless you have a Zion campground site. And, even then, you should park it in the campsite and rely on the shuttle, walking, or biking.
Do I need vehicle reservations to get into Zion National Park?
As of now, Zion National Park has resisted implementing a vehicle reservations system in the same way that Glacier National Park and Arches National Park (among others) have at peak times.
You will need to pay the entrance fee to get into the park, however, or have an annual NPS pass.
TIP: To save money, get an NPS annual pass! This will get you into any NPS site—including national parks, national battlefields, and national historic sites—for a year. And for even more savings, grab the AllTrails+ and NPS America the Beautiful annual pass bundle!
The Zion National Park shuttle boarding area near the visitors center
How do I get around the park?
Once inside, you will face the parking situation, which is something Zion is actively working to fix.
Simply put, there aren’t enough parking spots for the number of vehicles that want to access the park, especially the visitors center and the scenic Zion Canyon Road.
There are a couple of options here:
You can drive your car and arrive early to park at the visitors center. This is the busiest spot in the entire park, so you will need to set at alarm on vacation (yuck) and be one of the lucky people to claim a spot. You’ll still need to queue for the shuttle since you cannot drive your car on Zion Canyon Road for most of the year.
You can take the free Springdale shuttle from your hotel or campground to Zion Canyon Village. Doing so allows you to use the pedestrian entrance, which is far less crowded than the vehicle entrance. From there, you can access the free in-park shuttle to see the rest of Zion Canyon.
You can bike into the park. This also allows you to use the pedestrian entrance and then completely skip the shuttle, which can be slow and overcrowded. At peak times, the line at the visitors center shuttle stop is akin to what you might find at Walt Disney World.
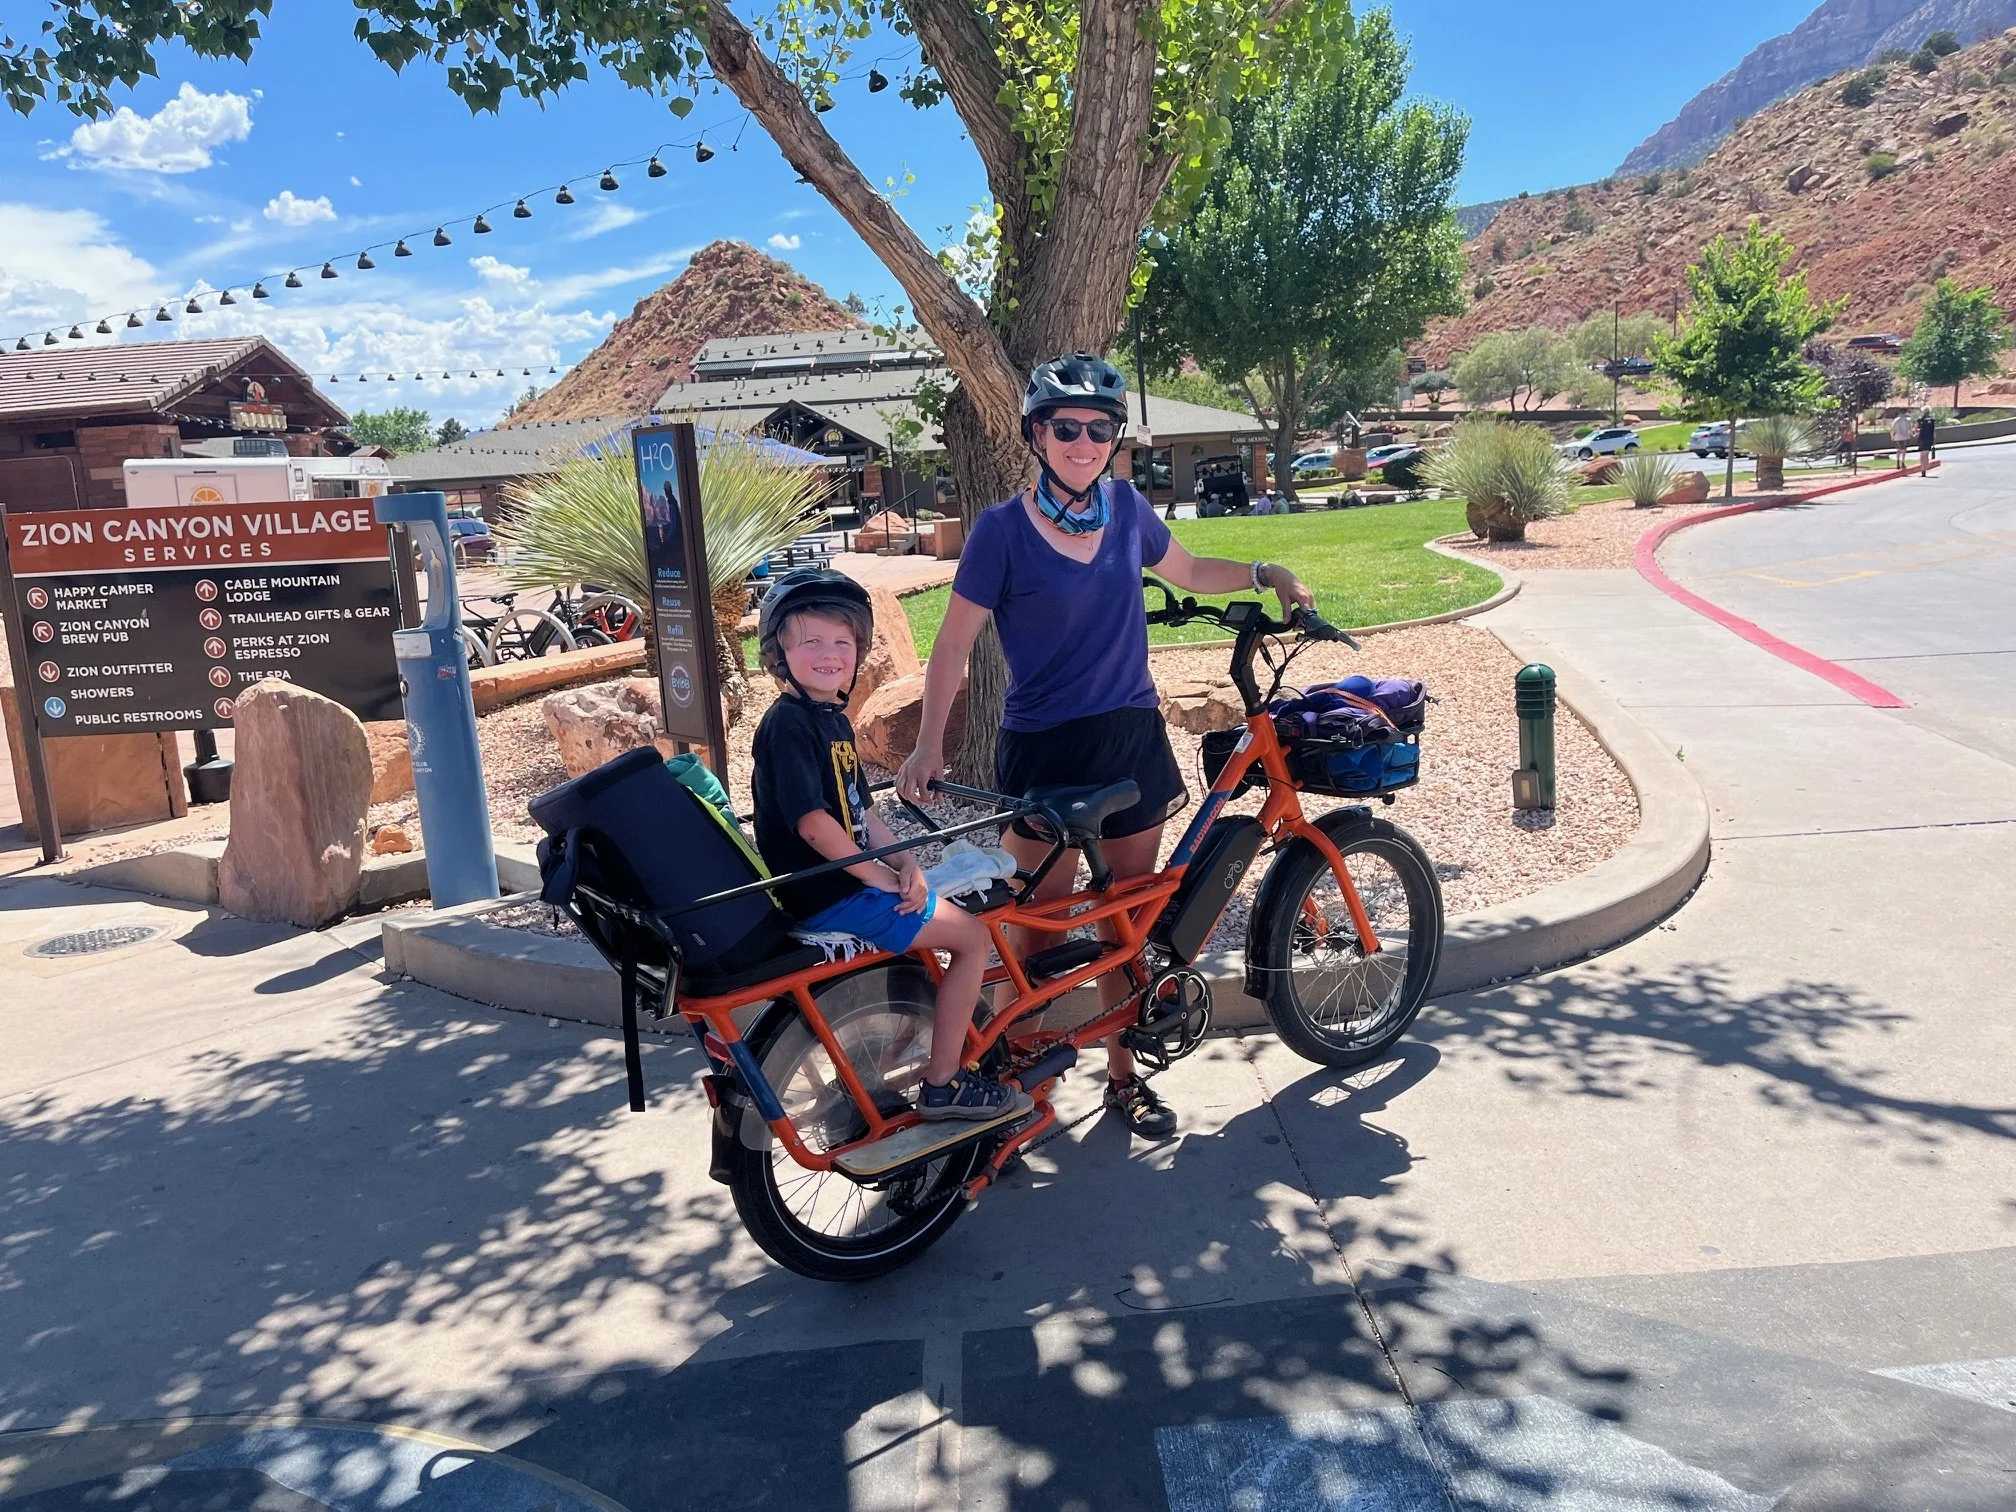
My son and I with our e-bike near the park’s pedestrian entrance
Biking lets you get right onto the Pa’rus Trail and even onto the Zion Canyon Road, which is closed to cars if the shuttle is running.
We highly recommend Greater Zion E-Bikes for your e-bike rentals, thanks to their wide selection of bikes and accessories and competitive prices.
Explore more of Utah and beyond!
How to Spend One Day at Zion National Park
To make the most of. your limited time in Zion National Park, you’ll want to start early in the day and work through the activities below at a steady clip.
I’ve balanced the must-see activities with the understanding that most people need some downtime between each. If you really wanted to, you could add even more to your single day at this national park, but you might want to train for the experience!
Since you’ve got such a short time, we’re focusing our attention on the popular Zion Canyon area.
Because of this focus, you’ll need to enter the park from Springdale, either by the vehicle entrance on Zion Park Boulevard or via the pedestrian and bike entrance in Zion Canyon Village next to the Zion Outfitters building.
Both entrances are close together, and you’ll enter the park near the visitors center both ways, just on either side.
From the vehicle entrance, you’ll turn onto your first right once you’re in the park to the visitors center parking area.
If you’re walking or biking into the park, turn left onto the wide sidewalk just beyond the ranger station, and follow it around until you get to the bike racks (there are several) on your right. The visitors center will be just beyond them, also on your right.
Entrance Station and Visitors Center
Arrival time: 8 AM
Approximate duration: 30-45 minutes
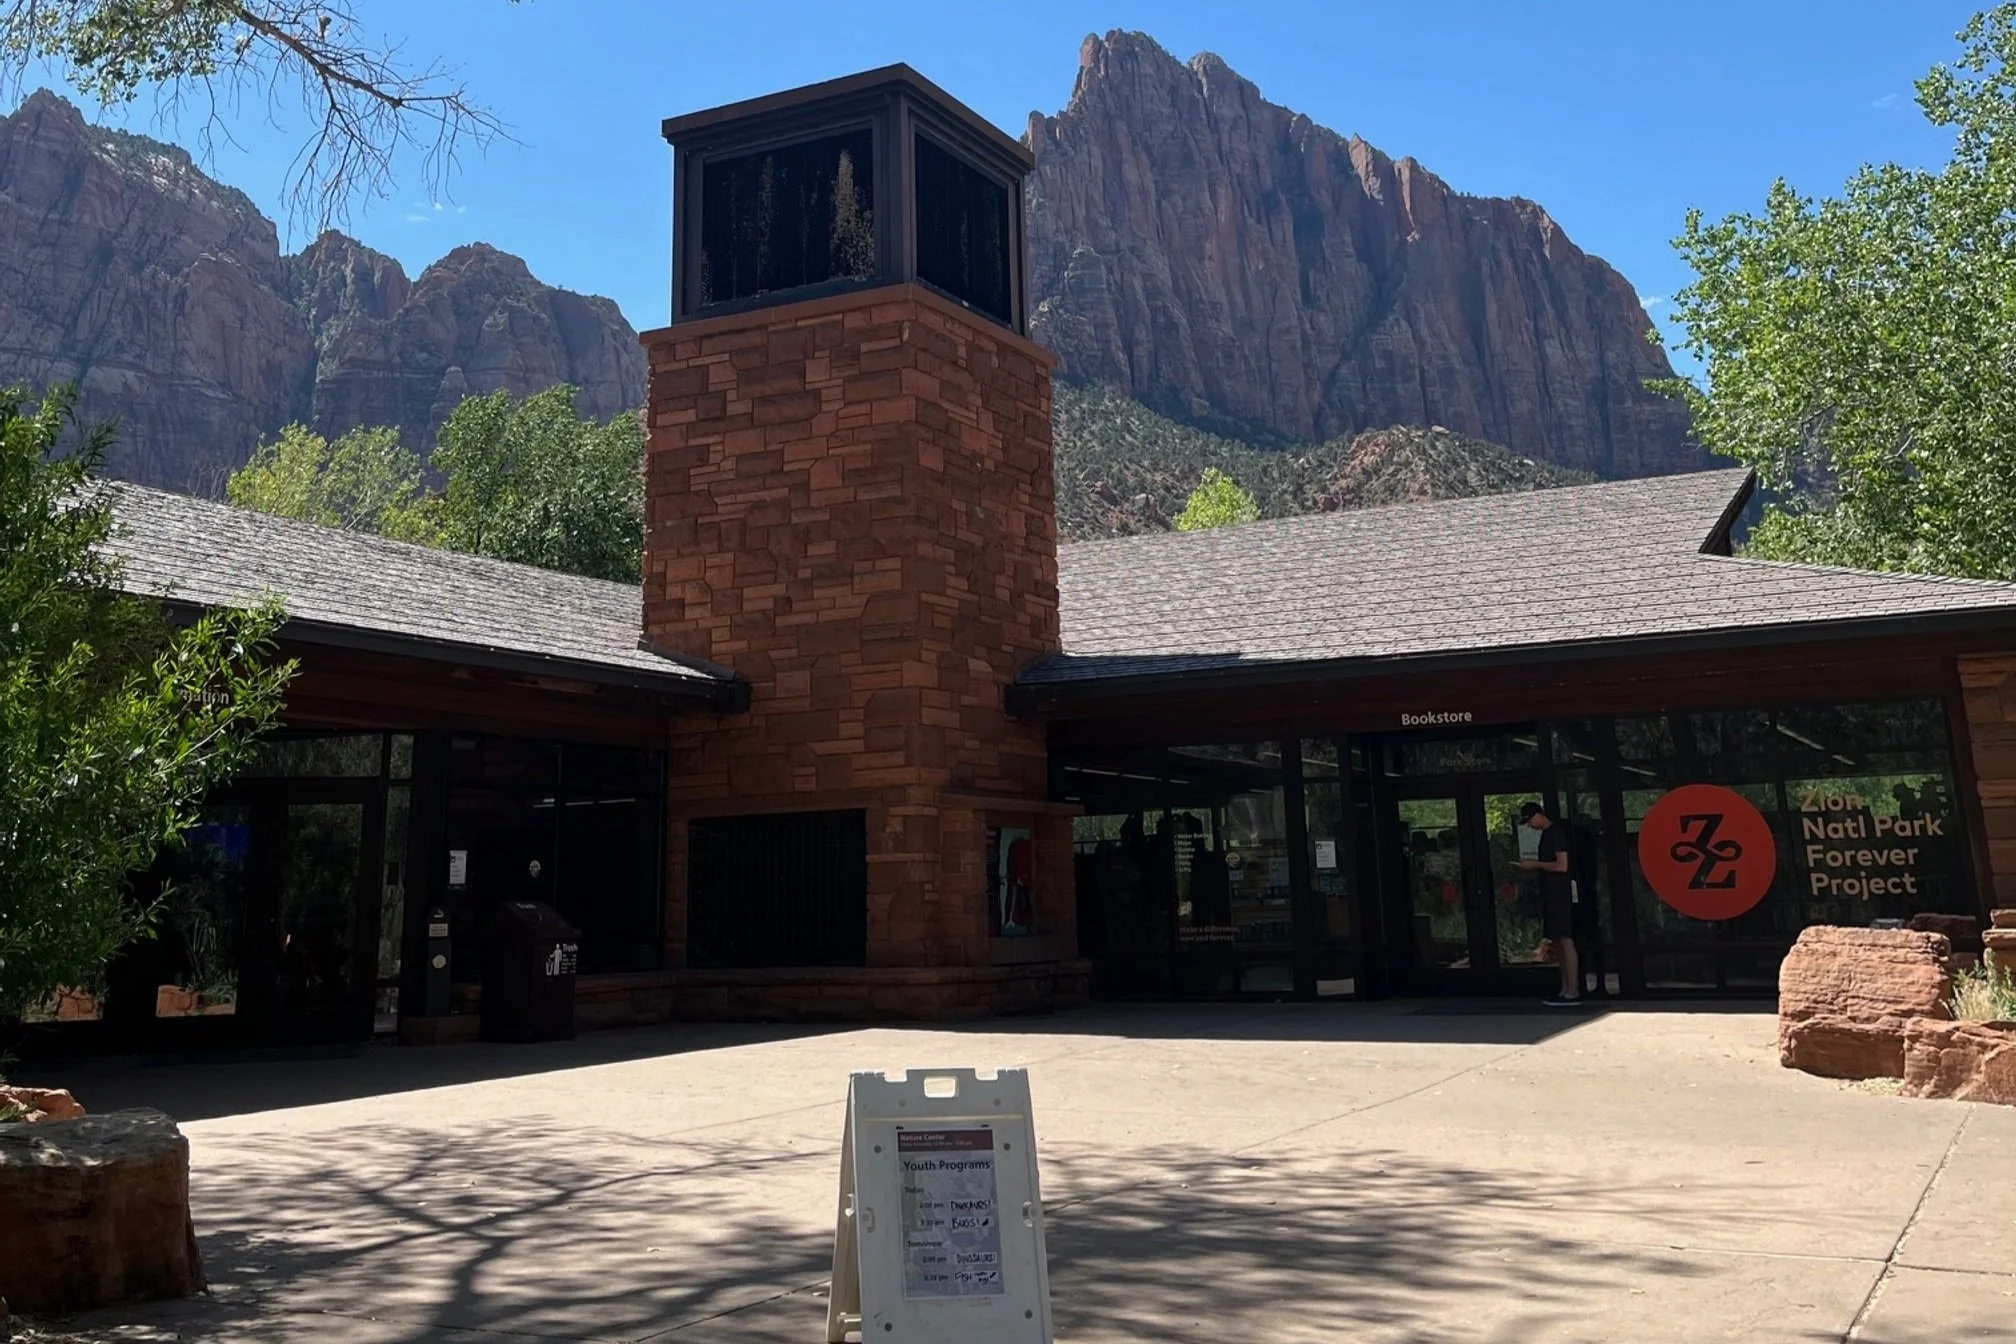
The exterior of the Zion National Park visitors center
If you’re driving your car, you’ll need to get through possibly the most difficult part of this entire day: finding a parking spot.
There are several loops within this parking lot, so don’t give up if you can’t find something immediately. While the turnover here isn’t super fast, there will be visitors who are stopping only to grab something from the bookstore or use the restroom, and will move on eventually.
Again, I encourage you to rent bikes to avoid this entire situation. Getting an e-bike truly is the best hack we’ve discovered for exploring Zion National Park.
Learn everything you need to know about biking in Zion National Park in my helpful guide.
This visitors center is large and is one of the prettiest visitors centers we’ve been to, thanks to its huge fireplace and open floor plan.
Here, you’ll also find a desk for backcountry permits and another for general information. The latter is important for even one-day visitors as this is where you’ll be able to see updated weather information and trail closures.
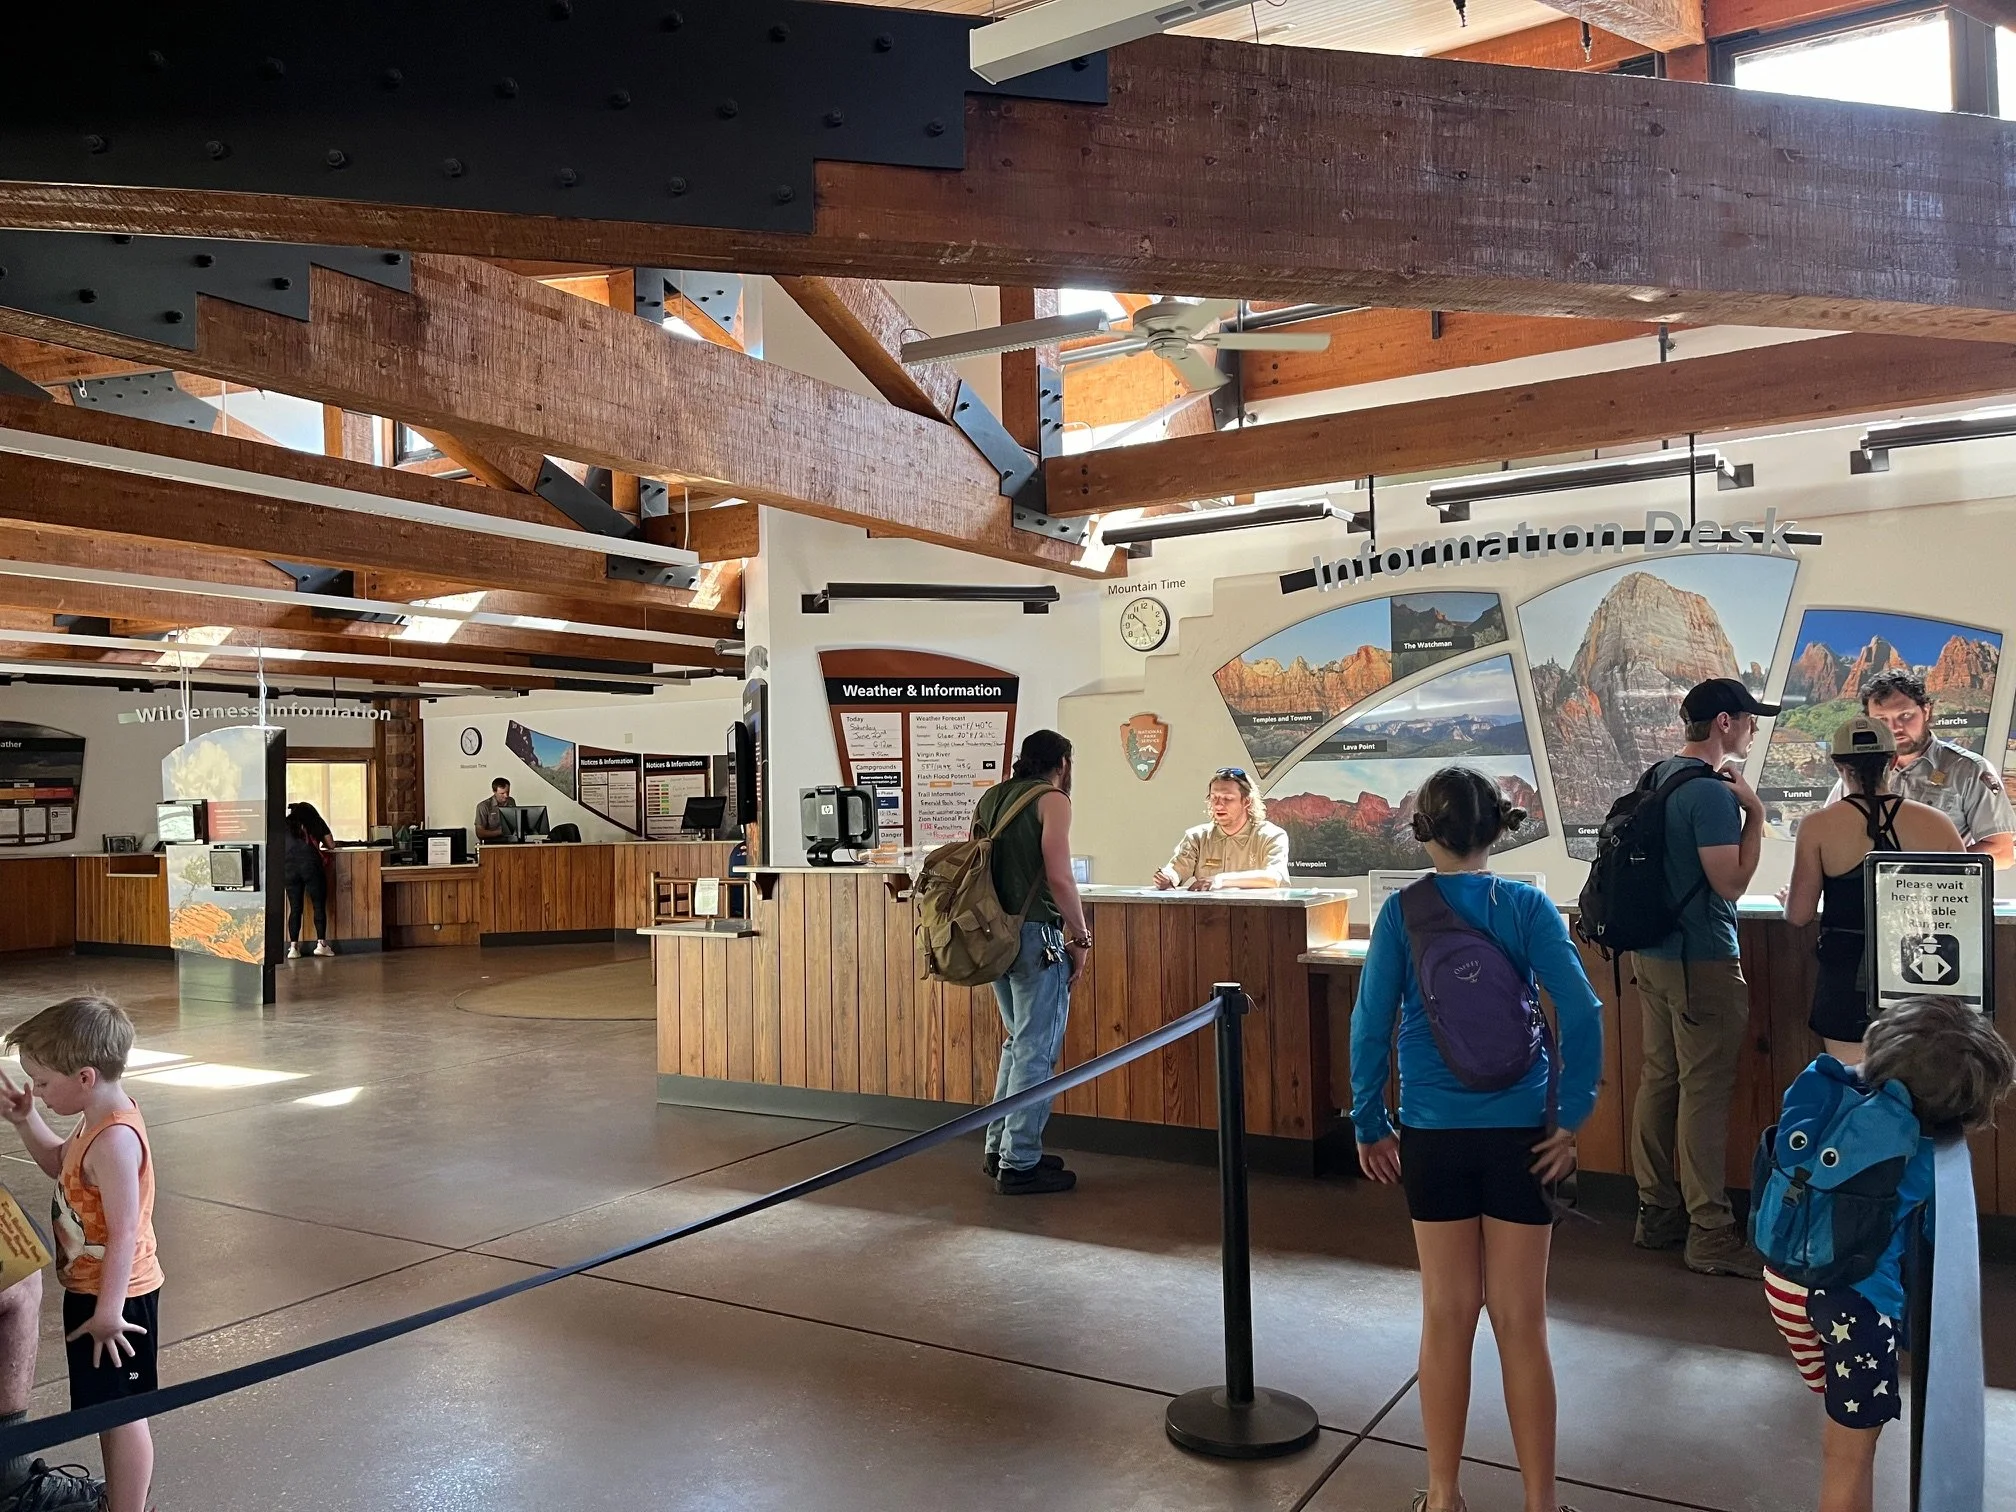
At the ranger information desk
Around the corner from the ranger information desk is the large park store. It has everything you could ever want as a souvenir: shirts, mugs, postcards, books, stuffed animals, magnets, and much more.
You will also find the NPS passport stamp in the middle of the store, so be sure to get that before you head further into the park.
Once you’ve looked around and asked any questions of the rangers, you’ll want to make your way to your first stop.
Morning Hike in the Narrows
Arrival time: between 8:30-8:45 AM
Approximate duration: 2-2.5 hours
You’ll want to head deep into Zion Canyon for your first stop of the day. If you’ve biked into the park as I recommended, you’ll make your way to the Pa’rus Trail to the left of the visitors center; you’ll take this until you get to Zion Canyon Scenic Drive.
The latter is closed to vehicular traffic for most of the year, so it’s just bicyclists and the shuttles on the road out here.
Take the Scenic Drive to its end. There are bike racks available near the restrooms. Continue onto the trailhead at the far end of the shuttle turnaround area.
If you’ve driven into the park, you’ll want to leave your car at the visitors center and board the next available shuttle. The line for the shuttle is close to the visitors center under a wooden pergola. Keep in mind that at peak visitation times, this line can be up to an hour, so you may need to adjust your itinerary accordingly.
Then, take the shuttle to stop #9, The Temple of Sinawava. The trailhead will be back to your left as you disembark the shuttle.
Once you’ve arrived at the trailhead, either by bike or shuttle, you’ll want to hop onto the Riverside Walk. This flat and very easy trail is about 0.8 miles each way, and it is the only way to access the start of the Narrows hike.
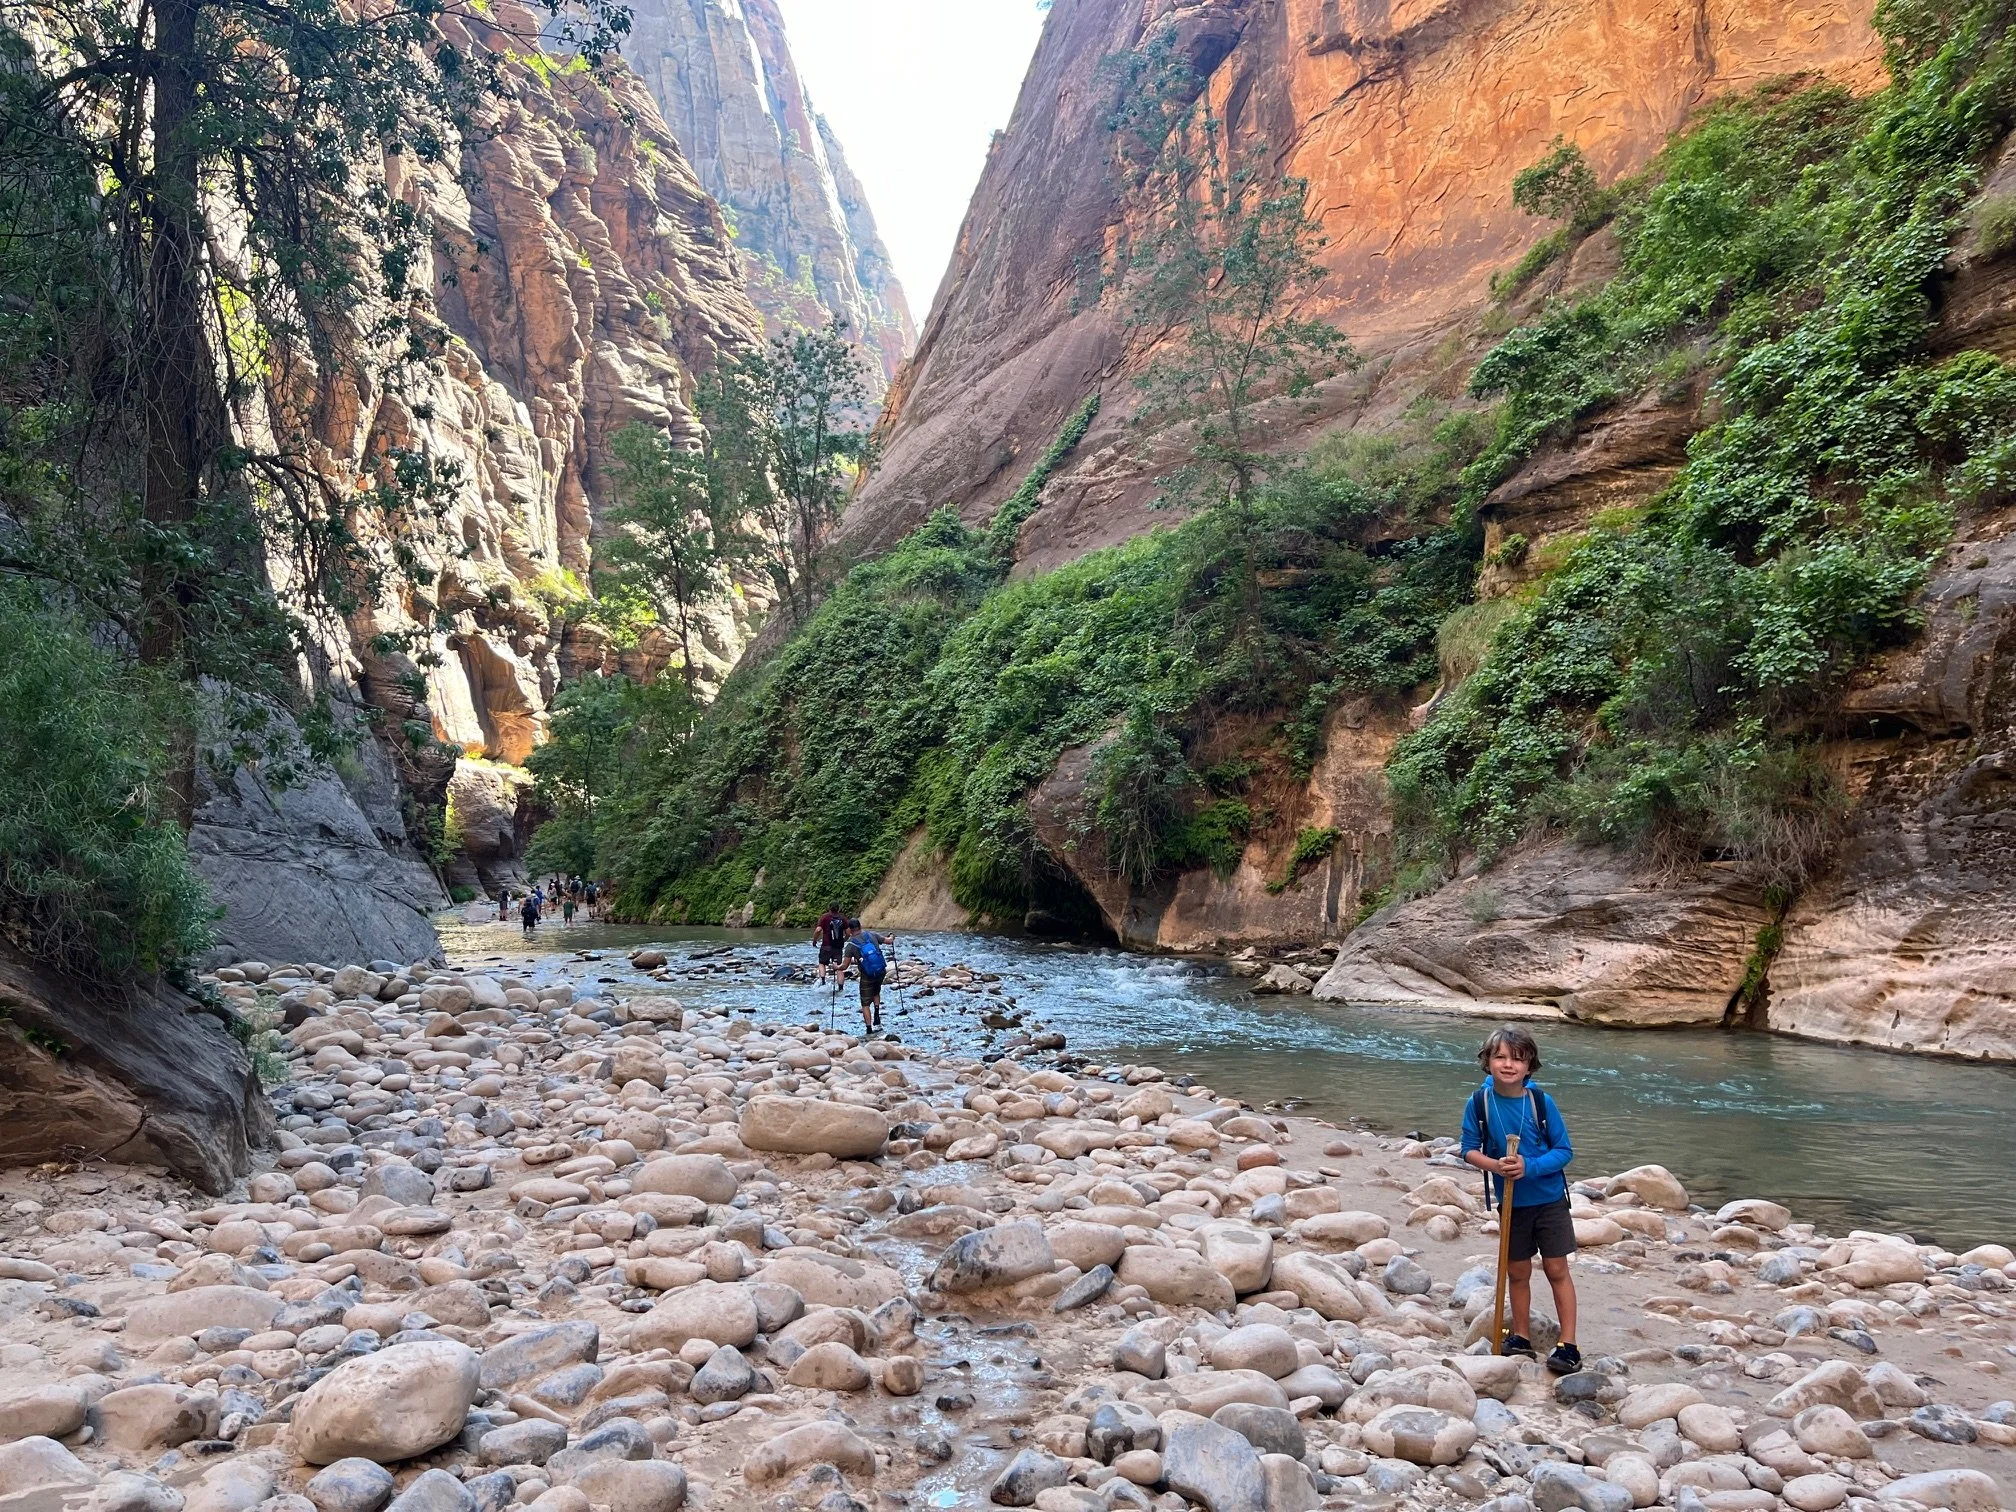

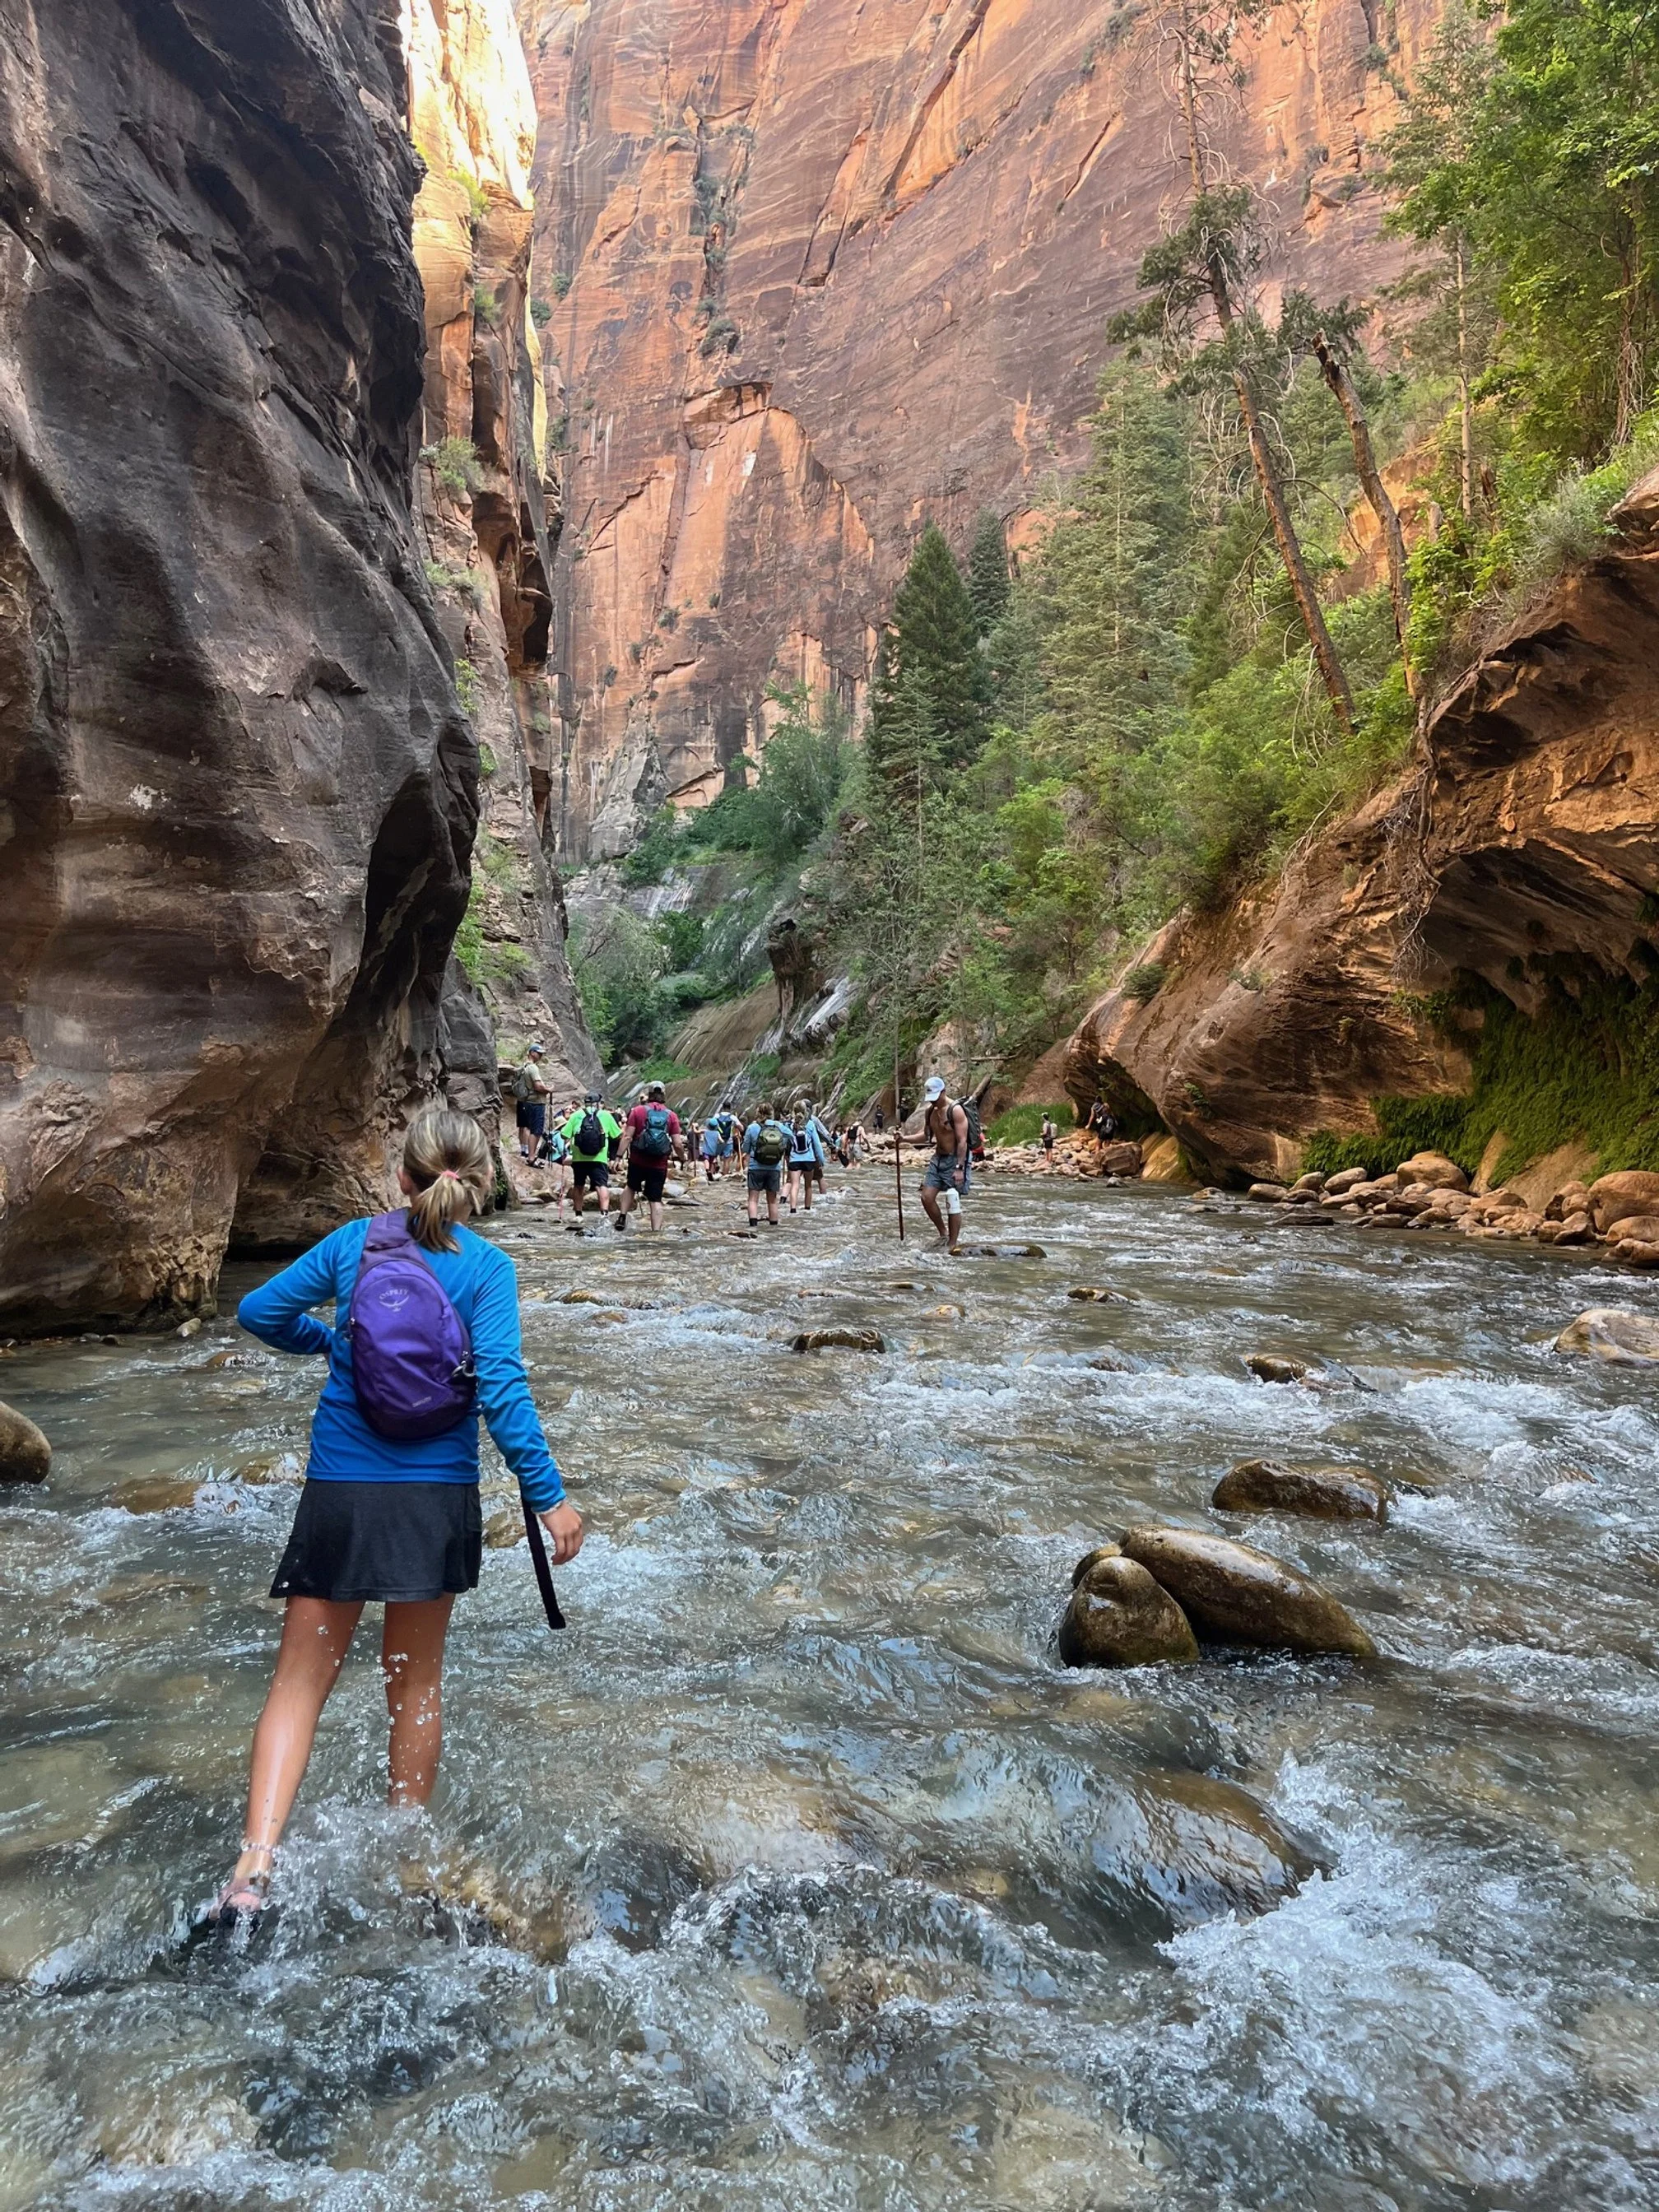
The Narrows is one of the 2 famous hikes within Zion National Park, and I recommend it for our 1 day itinerary for a couple of reasons:
1) It’s much easier than the other famous hike, Angel’s Landing, so nearly anyone, regardless of age or hiking ability, can do at least part of the Narrows.
2) It doesn’t require any permits or lotteries, so you won’t have to do any pre-planning for your short time in the park, and
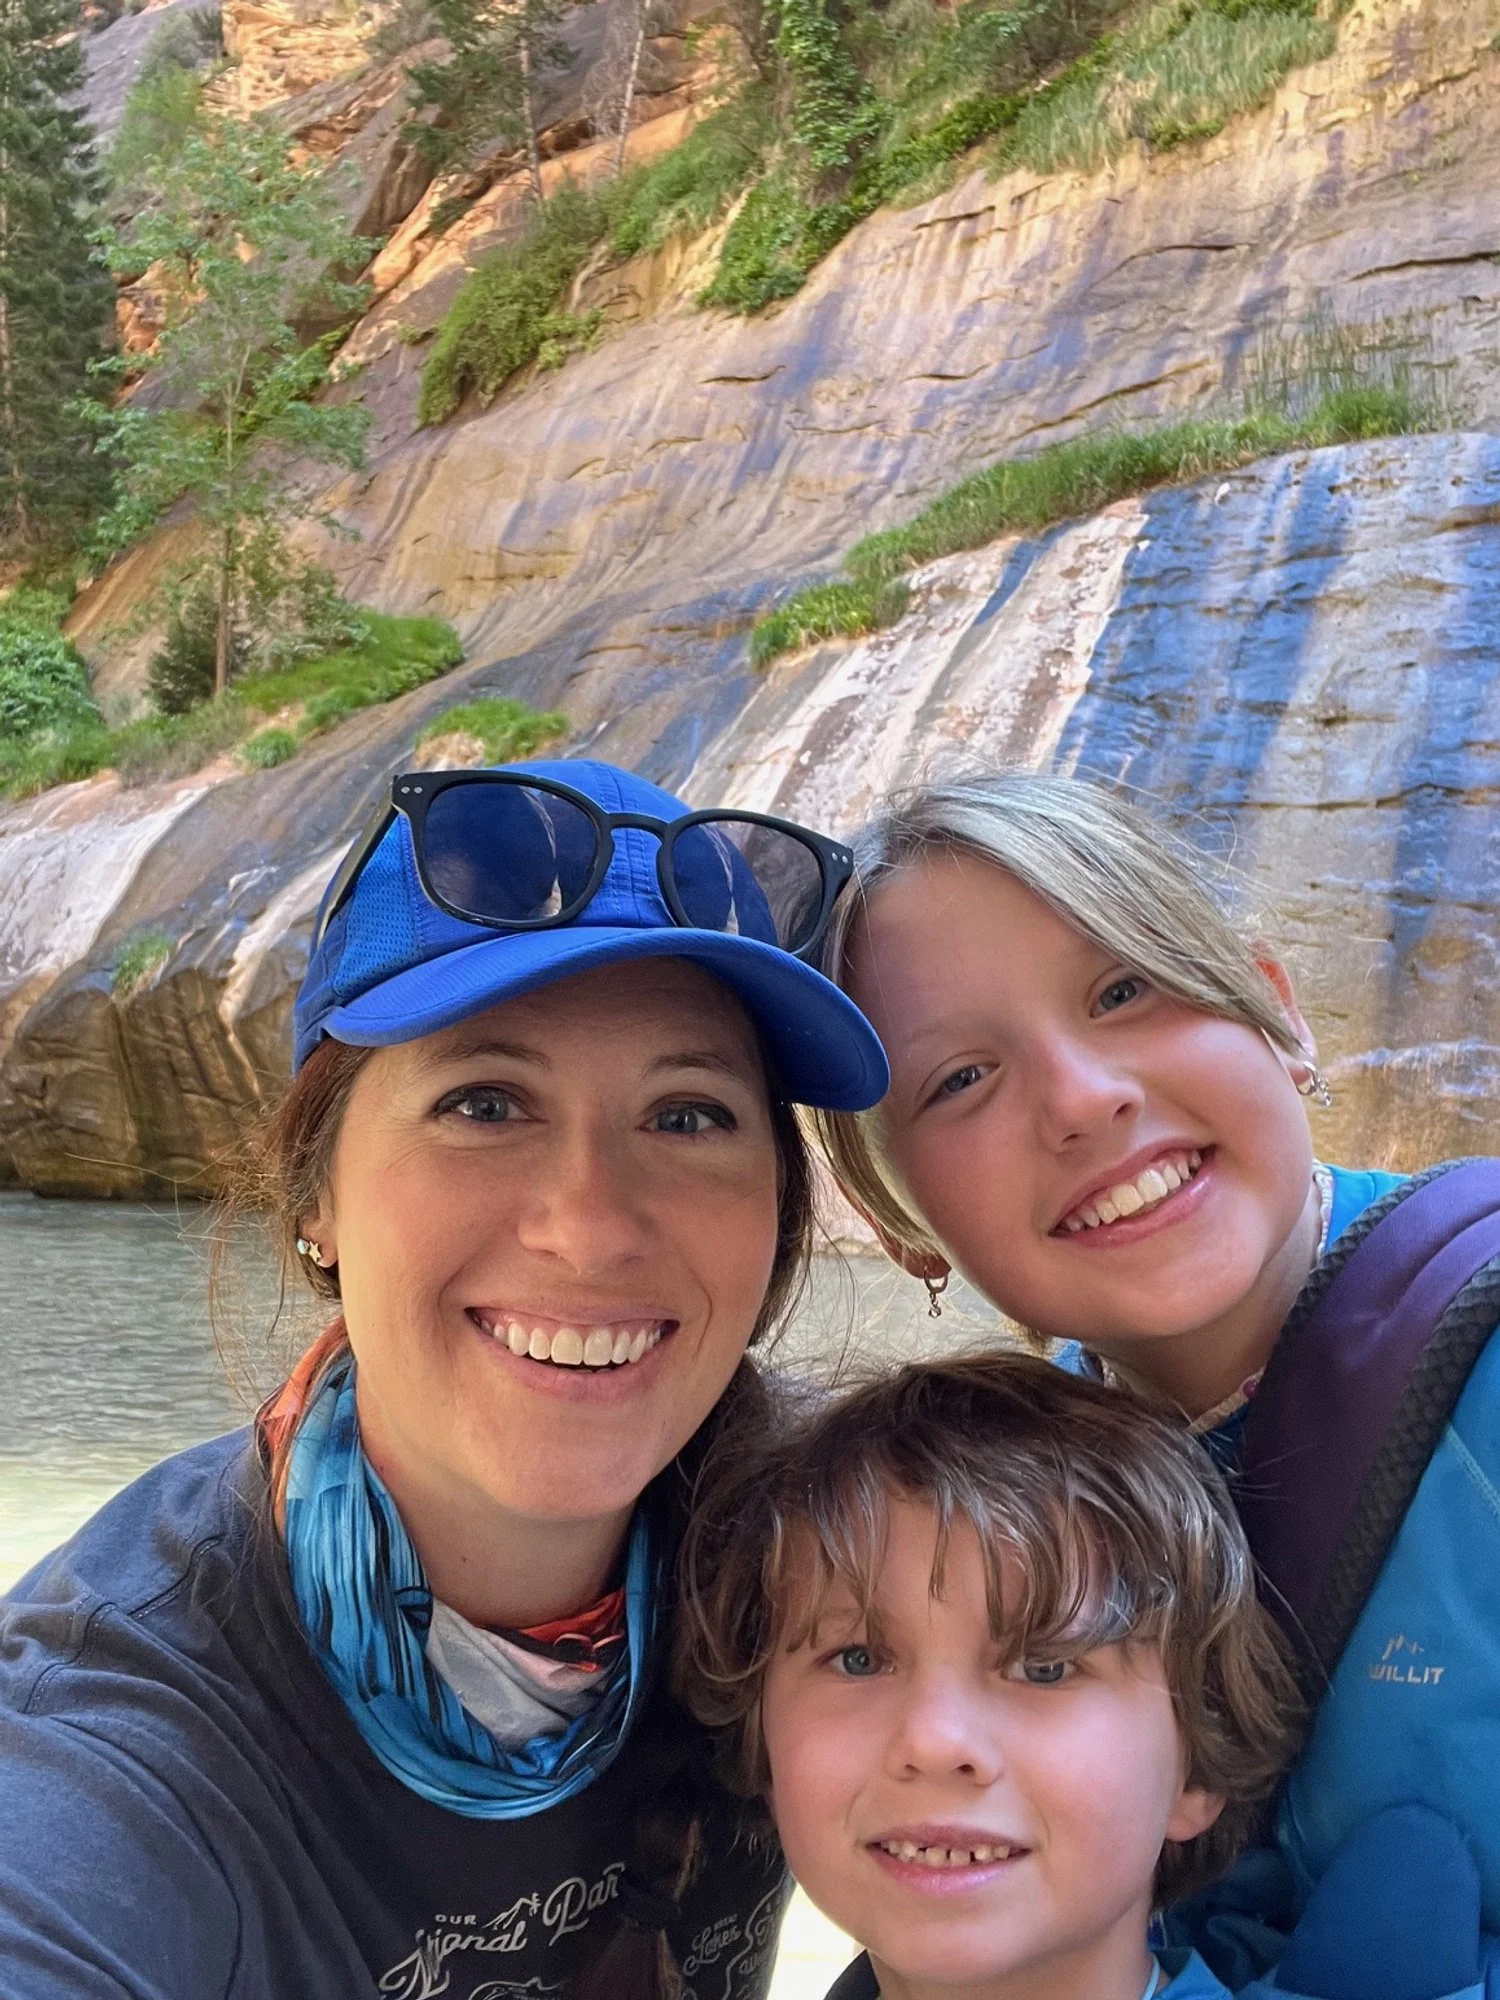
3) It is one of the most unique hikes we’ve ever done, thanks to the fact that it is largely in the Virgin River.
When you get to the end of the Riverside Walk, you’ll find a short transition area with benches if you need to change your shoes or get a snack.
Then, all that’s left to do is head into the river. From the trailhead, you’ll make a right into the canyon and continue upriver. The trail is loosely defined: you’re in a slot canyon the entire way, but the actual logistics of how to walk in the river bed is up to the individual.
You will get wet, but it might be the most fun you’ll have all day.
For more information on the hike, tips on how to approach it, and what to bring, check out my post on hiking the Narrows with kids (which is also helpful for any beginning hiker!).
When you’ve gotten tired to hiking in the Virgin River, turn around and head back to the trailhead. Rest for a moment at the transition point between the Narrows and Riverside Walk, then continue on to your bike or the shuttle stop.
In order to keep on the itinerary outlined here, aim to hike for 1.5-2 miles before you retrace your steps. Keep in mind that hiking in the river is going to be much slower than hiking on a regular trail.
TIP: It’s always helpful to get up-to-the minute notes on hiking trails, so I recommend scoping out the trails at Zion National Park on AllTrails+ before you go.
Lunch in the Park
Arrival time: between 11-11:30 AM
Approximate duration: 60 minutes
After you’ve finished with the Narrows, you've probably worked up an appetite, so head to an early lunch.
There’s only one spot in the park for a sit down meal, and that’s at the Zion Lodge.

Zion Lodge
If you’re on your bike, head back towards the front of the park for 3.7 miles, and the Lodge will be on your left. There are bike racks across the grassy lawn from the lodge’s front door.
If you’re taking the shuttle, board at stop #9, Temple of Sinawava, and then ride to stop #5, the Lodge.
Here, you’ll find 3 different dining areas in short proximity to one another:
Red Rock Grill,
Castle Dome Café, and
the Beer Garden.
None of these require reservations, and all are casual.
The Red Rock Grill is a sit down restaurant with waitstaff and a focus on local ingredients. You will find a short wait at peak lunch and dinner times, but this usually moves quickly. It serves 3 meals a day, so you’ll find something to eat no matter what time you stop by.
There are burgers, salads, pasta, and fish for lunch and dinner, and a buffet of breakfast favorites in the morning.
The Castle Dome Café serves lighter meals for breakfast, lunch, and an early dinner. It’s more of a grab-and-go style market and deli counter, though there is seating available. If you want to eat on the lodge’s front lawn, you can get pre-packaged sandwiches, muffins, chips, and coffee to go.
The Beer Garden is located under a large pergola outside of the Castle Dome Café and has multiple beers on tap from late morning to around 7 PM each day.
If those options don’t appeal to you, I’d recommend bringing along a cooler of food from your camper. Keep in mind that there are very few grocery stores in this area of Utah, so this would be a lunch option that would require some pre-planning.
If you’re biking through the day, you can opt for an e-bike that has a basket or rear bench for you to bungee cord your cooler to. We’ve done this on several of our days in the park, and it’s always fun.
For those picnicking, you can bring a blanket to sit on the front lawn here, or take the short walk or ride to the large picnic area at the Grotto (shuttle stop #6).
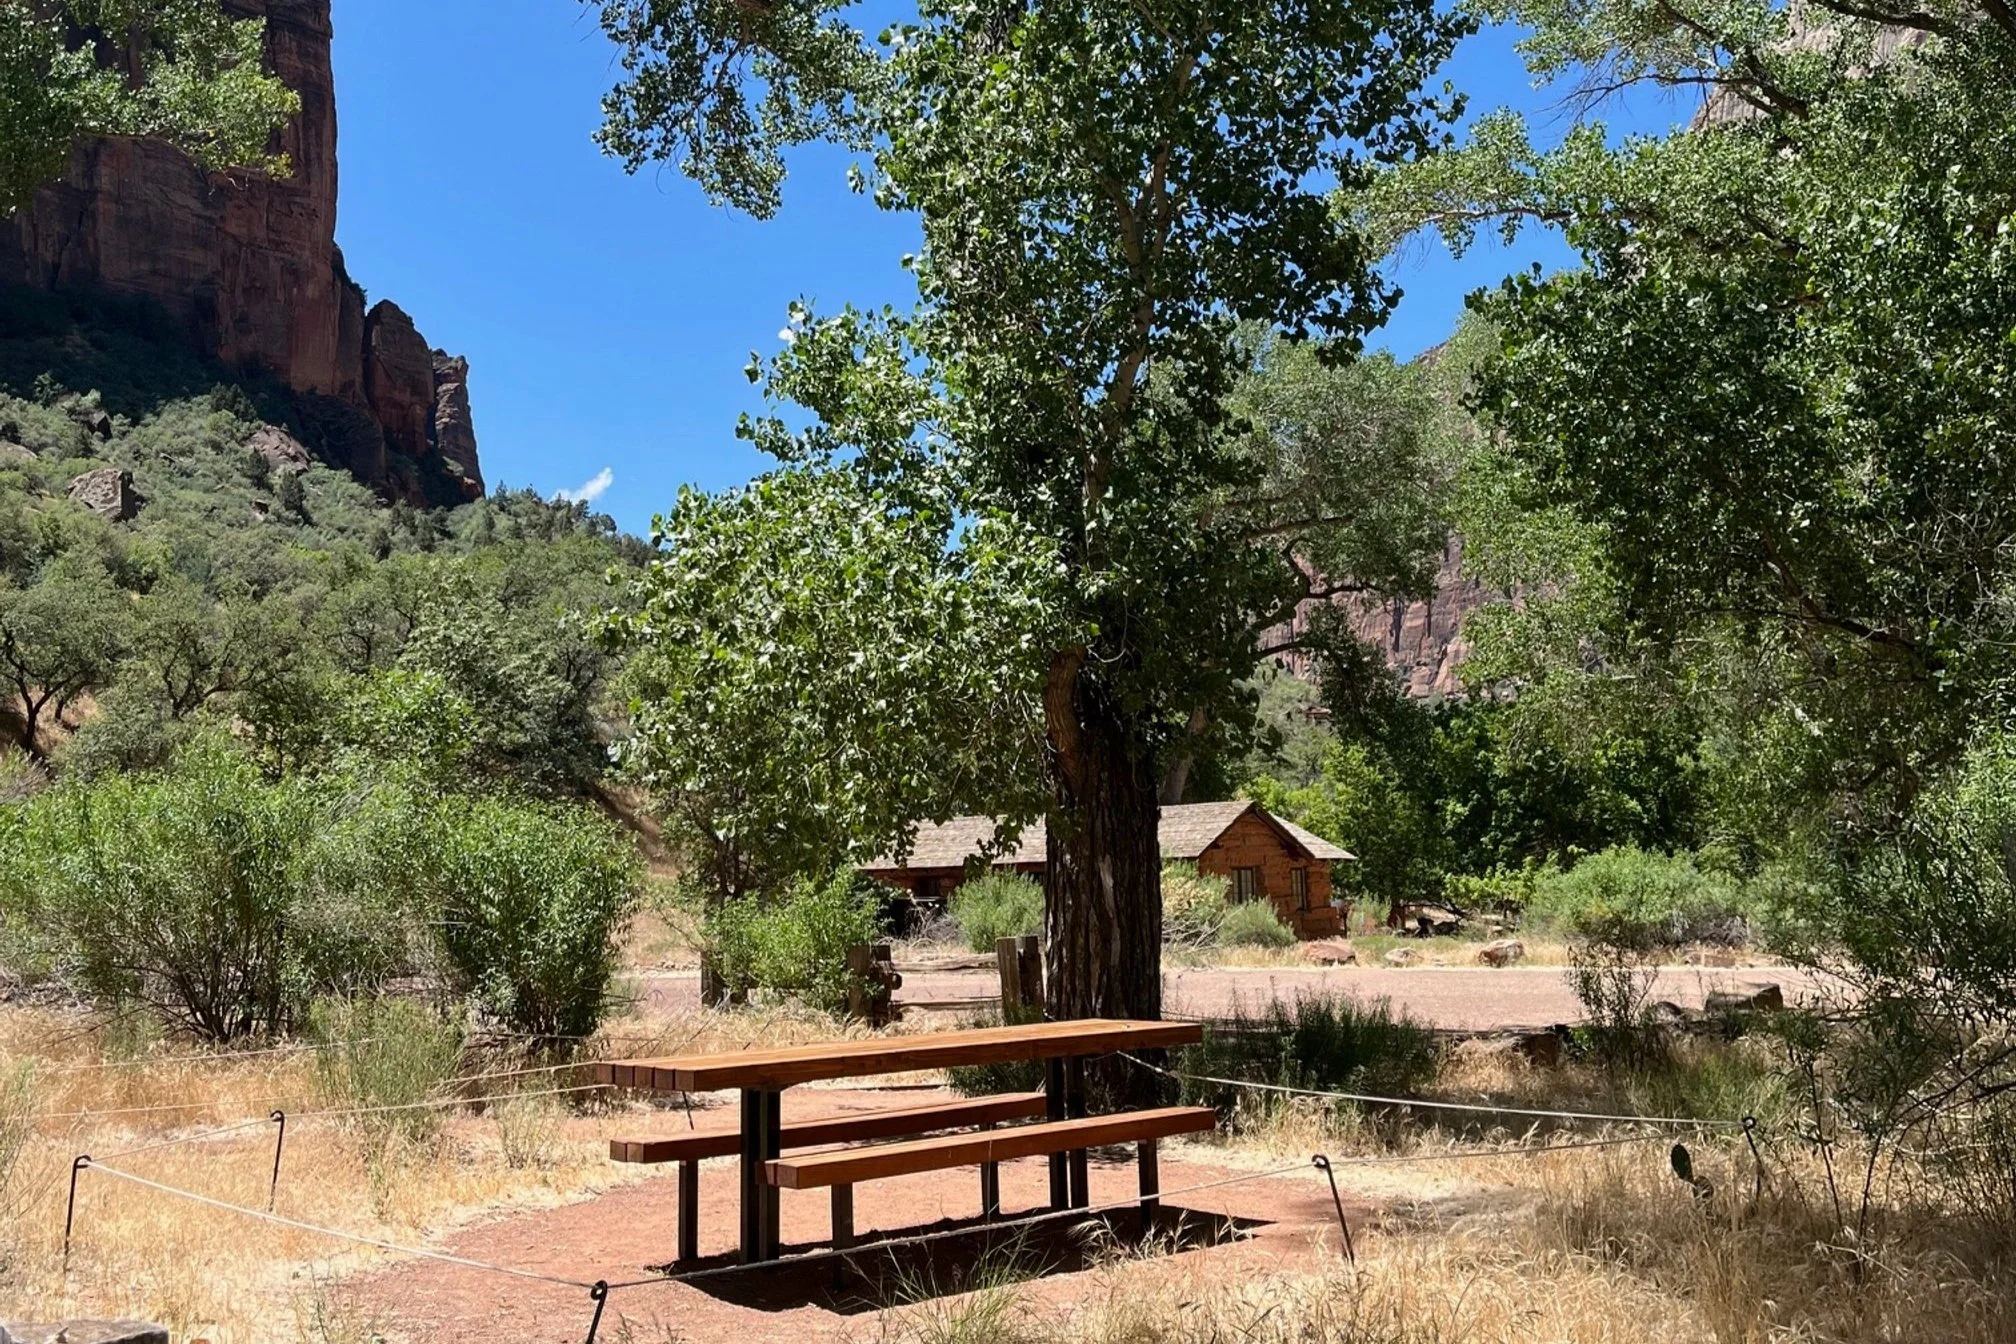
Picnic tables at the Grotto
Post-Lunch Hike to the Emerald Pools
Arrival time: between 12:30-1 PM
Approximate duration: 60-90 minutes
If the weather’s not too hot, and you’d like to do another hike, I’d highly recommend doing a hike to the Emerald Pools. There are 3 pools: Lower, Middle, and Upper. All three are close to one another, so you could do all if you wanted, or just one or two if you’re looking for a shorter hike.
There are 2 different ways to get to the Emerald Pools, both of which are close to the lodge. The regular Emerald Pool trailhead is almost directly across the Scenic Road from the Lodge, and this one goes to the Lower Pool first. The other trails to the Middle and Upper Pools are well marked.
NOTE: this way to the Lower Pool is very flat and the easiest of the options.


Your other option is to take the shuttle or your bike to the Grotto, which is at shuttle stop #6. (It’s also one of the places I suggest for a picnic lunch, above.) From here, you can take the Kayenta Trail to the Middle Emerald Pool via a gorgeous cliffside hike.
This way is far more dramatic with incredible long range views inside Zion Canyon.
Learn more about the Kayenta Trail in my comprehensive guide post.
If you are over hiking and want something else to do in this time slot, check out my comprehensive post on the best things to do besides hiking in Zion National Park.
Nature Center or Human History Museum
Arrival time: 3 PM
Approximate duration: 45-60 minutes
In the afternoon, I’d suggest doing either the Nature Center or the Human History Museum, as you probably don’t have the time or interest to do both.
The Human History Museum is at shuttle stop #2. The Nature Center is between stop #2 and the visitors center (stop #1), but I would recommend disembarking at the Human History Museum and making the short walk rather than backtracking from the visitors center.
If you’re biking, it’s about 3.5 miles from the Zion Lodge to the Human History Museum, and slightly further to the Nature Center. You’ll be retracing your steps from earlier in the day along the last bit of the Zion Canyon Scenic Road and the Pa’rus Trail.
There are bike racks at both locations.


The Nature Center is perfect for visitors with kids, and I would highly recommend that you pick this option for its many kid-friendly displays, dress-up corner, Junior Ranger programs, and activities center.
On a hot afternoon, this is the best place to hang out with your kids while they learn since there’s enough to do here for quite some time. Check with the ranger on duty about the next children’s program: you’ll get to learn about local wildlife, fossils, plants, and much more.
For visitors with older kids, solo travelers, or couples, I’d recommend stopping by the Zion Human History Museum instead.
This small museum is packed with photos, artifacts, memorabilia, and information about the different eras of human habitation, exploration, and work within the park.
There’s also a small bookstore here if you need to pick up one last souvenir before you go.
There are regularly scheduled and free ranger programs that take place on the back porch, so ask at the bookstore desk if one is happening during your visit. These 60 minute programs are aimed at older children and adults and cover fascinating topics like the building of the Zion-Mt. Carmel Tunnel or the once-thriving logging industry that took place on the canyon rims.
Ending Your Day at the Park
When you’re done with either the Nature Center Human History Museum, make your way back towards the park entrance. You can take the shuttle, but it’s only one stop, or you can walk to the visitors center parking area.
If you’ve got your bike, it’s an easy 1.3 mile bike ride to the pedestrian entrance.
By the time you do all of this, it should be around 5 PM, which means you’re likely ready to head back to your hotel or campsite for dinner and to prepare for wherever tomorrow takes you!
There are a couple of restaurants in Zion Canyon Village just outside of the pedestrian entrance if you’re hungry. I also recommend Oscar’s in Springdale for gigantic and amazing burritos.
What Else to Know about Visiting Zion National Park

The morning sunshine on the Zion Canyon Scenic Drive
You don’t need reservations for anything in Zion.
Despite the long lines at the vehicle entrance and the parking issues mentioned above, Zion National Park still doesn’t require reservations for entering the park, using their parking, or accessing the shuttle.
This flexibility is great for a day trip, when you might be making a decision last minute to stop off at Zion from I-15 or as a quick visit from Bryce Canyon National Park or Page, Arizona.
You will need to pay the entrance fee at the ranger booths when you arrive, but, other than that, you need zero pre-planning.
The park is open year round, but things change slightly during the colder months.
Zion National Park doesn’t get as cold as the more mountainous areas in Utah, but it can still see sporadic snow and ice during the winter.
At these times, which also correspond with the park’s low season, some of the trails might be limited or closed if the snow and ice get too bad. If you’re visiting in the winter, be sure to check with the information desk before you head out to ensure that the recommended hikes are open and safe.
Another major change in the winter is that the shuttle doesn’t run, so you can take your personal vehicle along the Zion Canyon Scenic Road. This does offer another option in getting around the park in these low crowd times.
You can camp in the park, but there are also other good options nearby.
There are 2 campgrounds inside the national park: South Campground and Watchman Campground.
South Campground is located between the Visitors Center and the Nature Center along the Pa’rus Trail and it is undergoing a massive rehabilitation project. There’s no specific re-opening date yet.
The Watchman Campground is located behind the visitors center along a bend in the Virgin River, and it has 181 campsites.
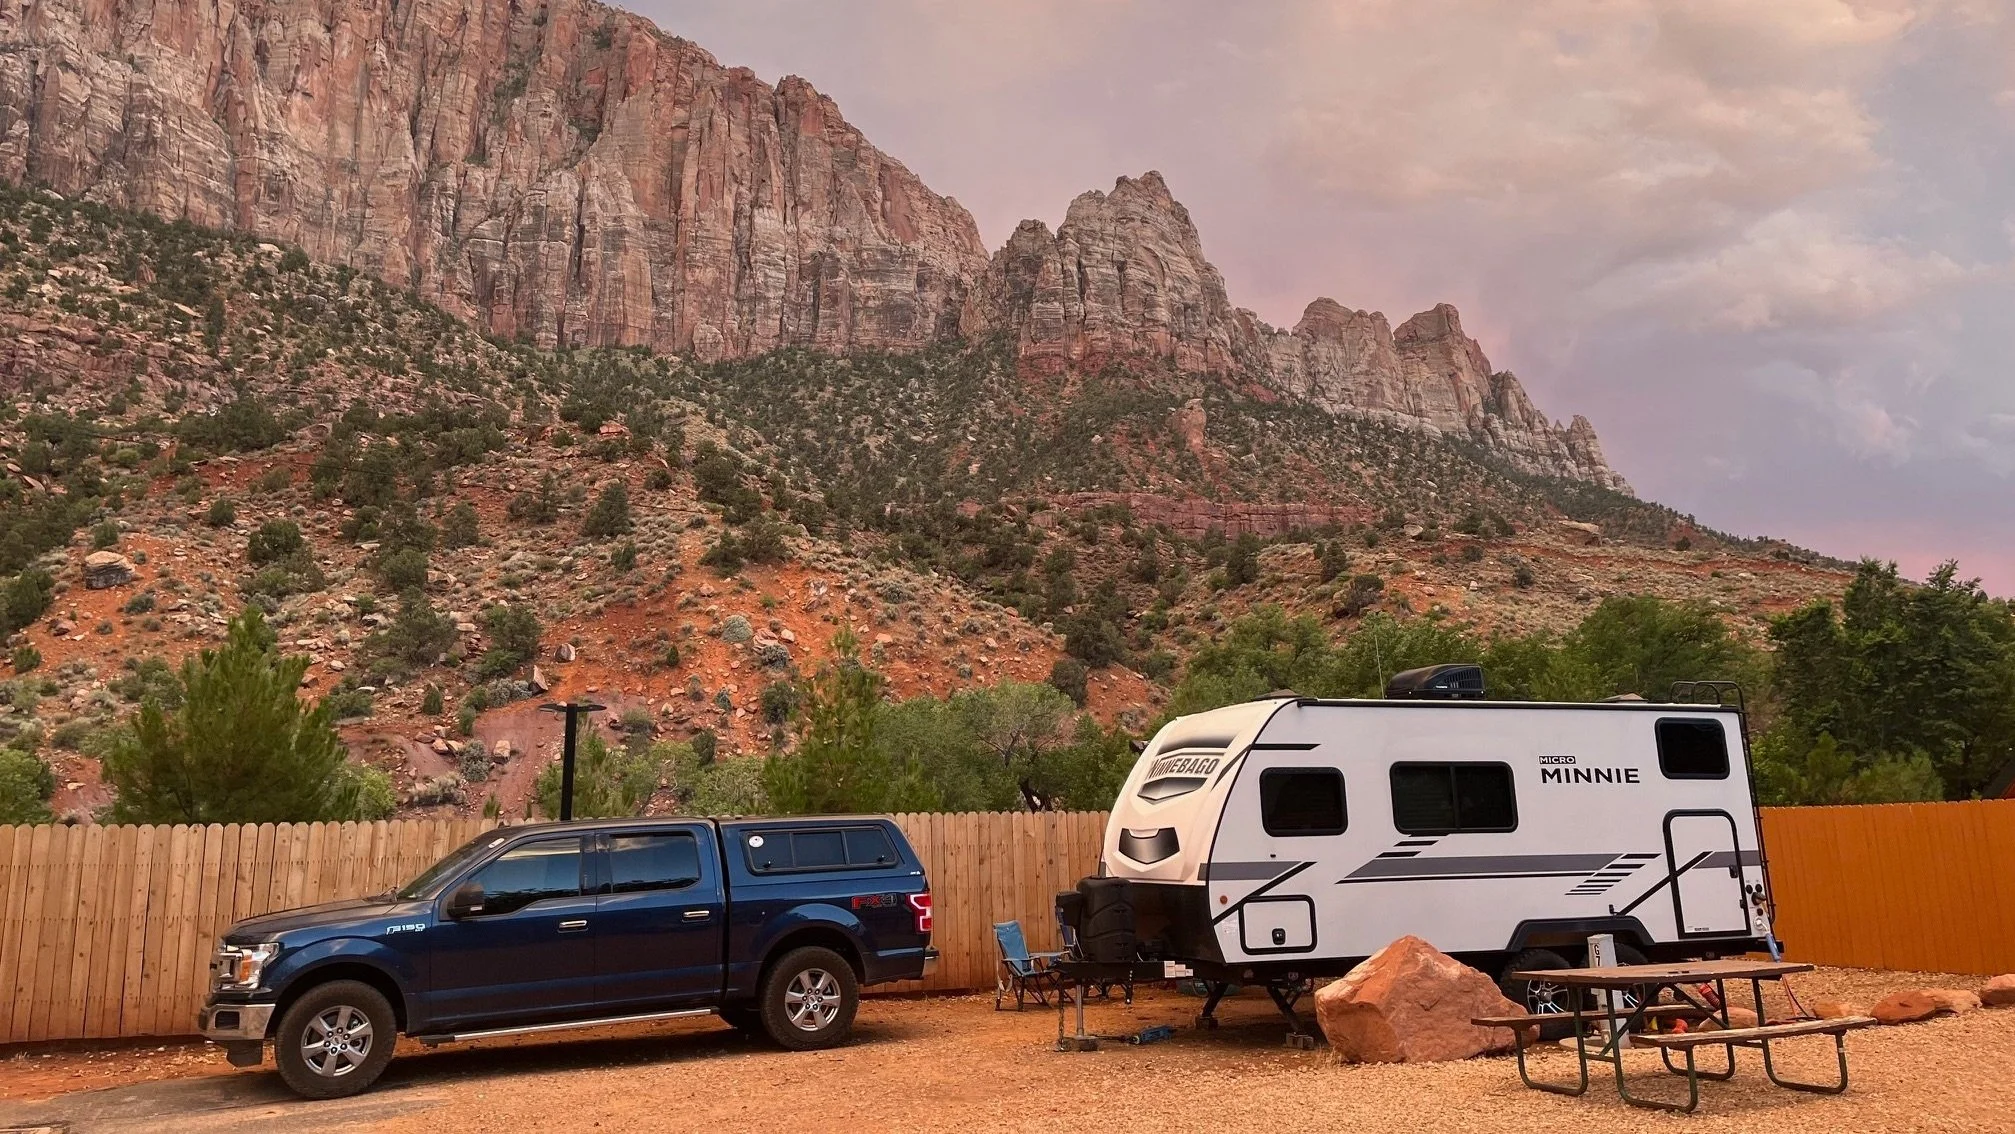
Our camper at the Zion Canyon Campground in Springdale
If you’d like to camp just outside of the national park and have access to a pool, camp store, the Springdale shuttle, a laundry, and much more, I highly recommend the Zion Canyon Campground and RV Resort.
It’s on the opposite side of the Virgin River from the Watchman Campground, and it is closest non-park campground to the pedestrian entrance.
>> Read my complete review of the Zion Canyon Campground and RV Resort here. <<
Compare the different camping options in and near Bryce Canyon and the other Utah parks in this guide to the best RV camping at the Utah national parks.
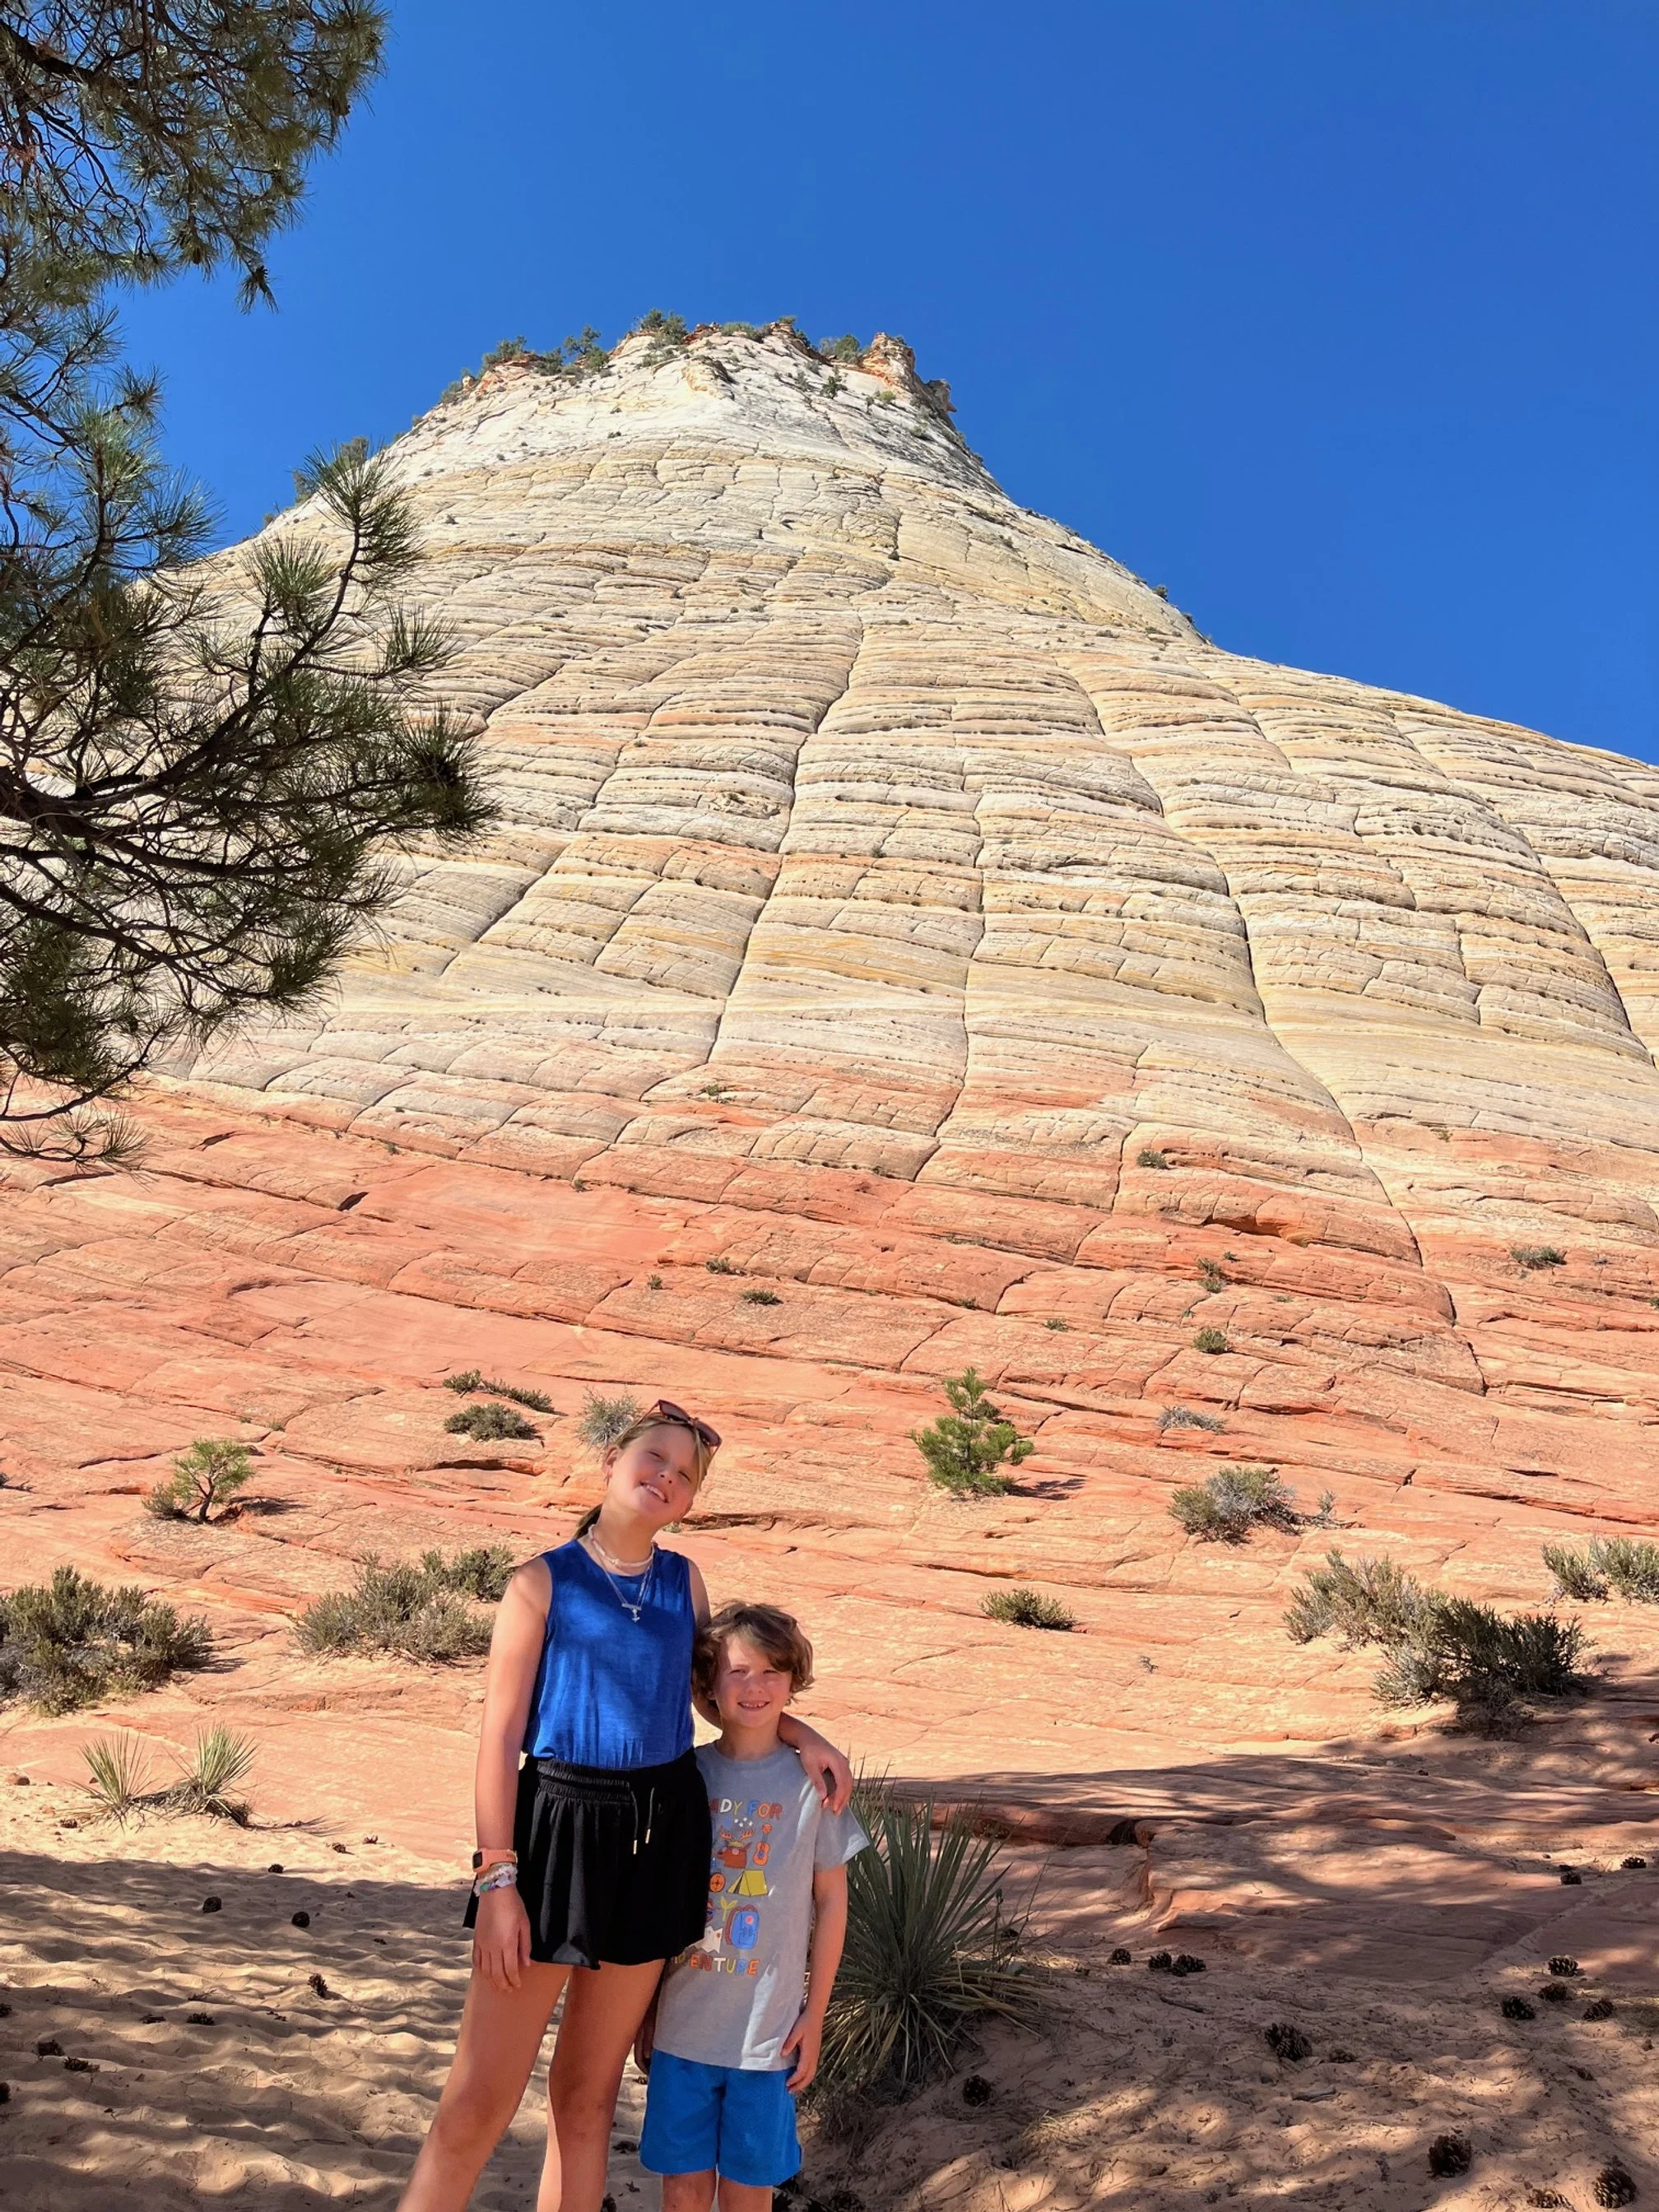
My kids at the base of Checkerboard Mesa
Ready to extend your visit to Zion National Park?
If your plans change, and you decide to extend your stay at Zion, there’s SO much more to do!
In the park, here are some additional things to do that are excellent (but just didn’t fit in a single day’s visit):
Ride with a Ranger: this free program allows visitors to tour the scenic canyon area on a private shuttle bus with live narration from one of the park’s rangers. Highly recommended for visitors who love science and want a closer look at Zion’s ecosystems and plants.
Junior Ranger program: for the young and young-at-heart, this free program encourages visitors to dive more deeply into the wildlife, geology and history of the park with interactive activities
Ranger programs: These free programs are put on by rangers daily and cover a wide variety of topics to help visitors learn more about the park. Check at the information desk at the visitors center for times and locations.
Zion-Mt. Carmel Highway: Just driving this beautiful highway from the Zion Canyon visitors center to the east entrance of the park gives you perspective on the many landscapes elsewhere in Zion. You’ll be able to see Checkerboard Mesa and access several other trails, including the popular and easy Canyon Overlook Trail.
There are also many incredible places and experiences just outside of the park, too, including:

Grafton Ghost Town. Get off the beaten path and explore some of Utah’s pioneer past at this well-kept ghost town and cemetery.
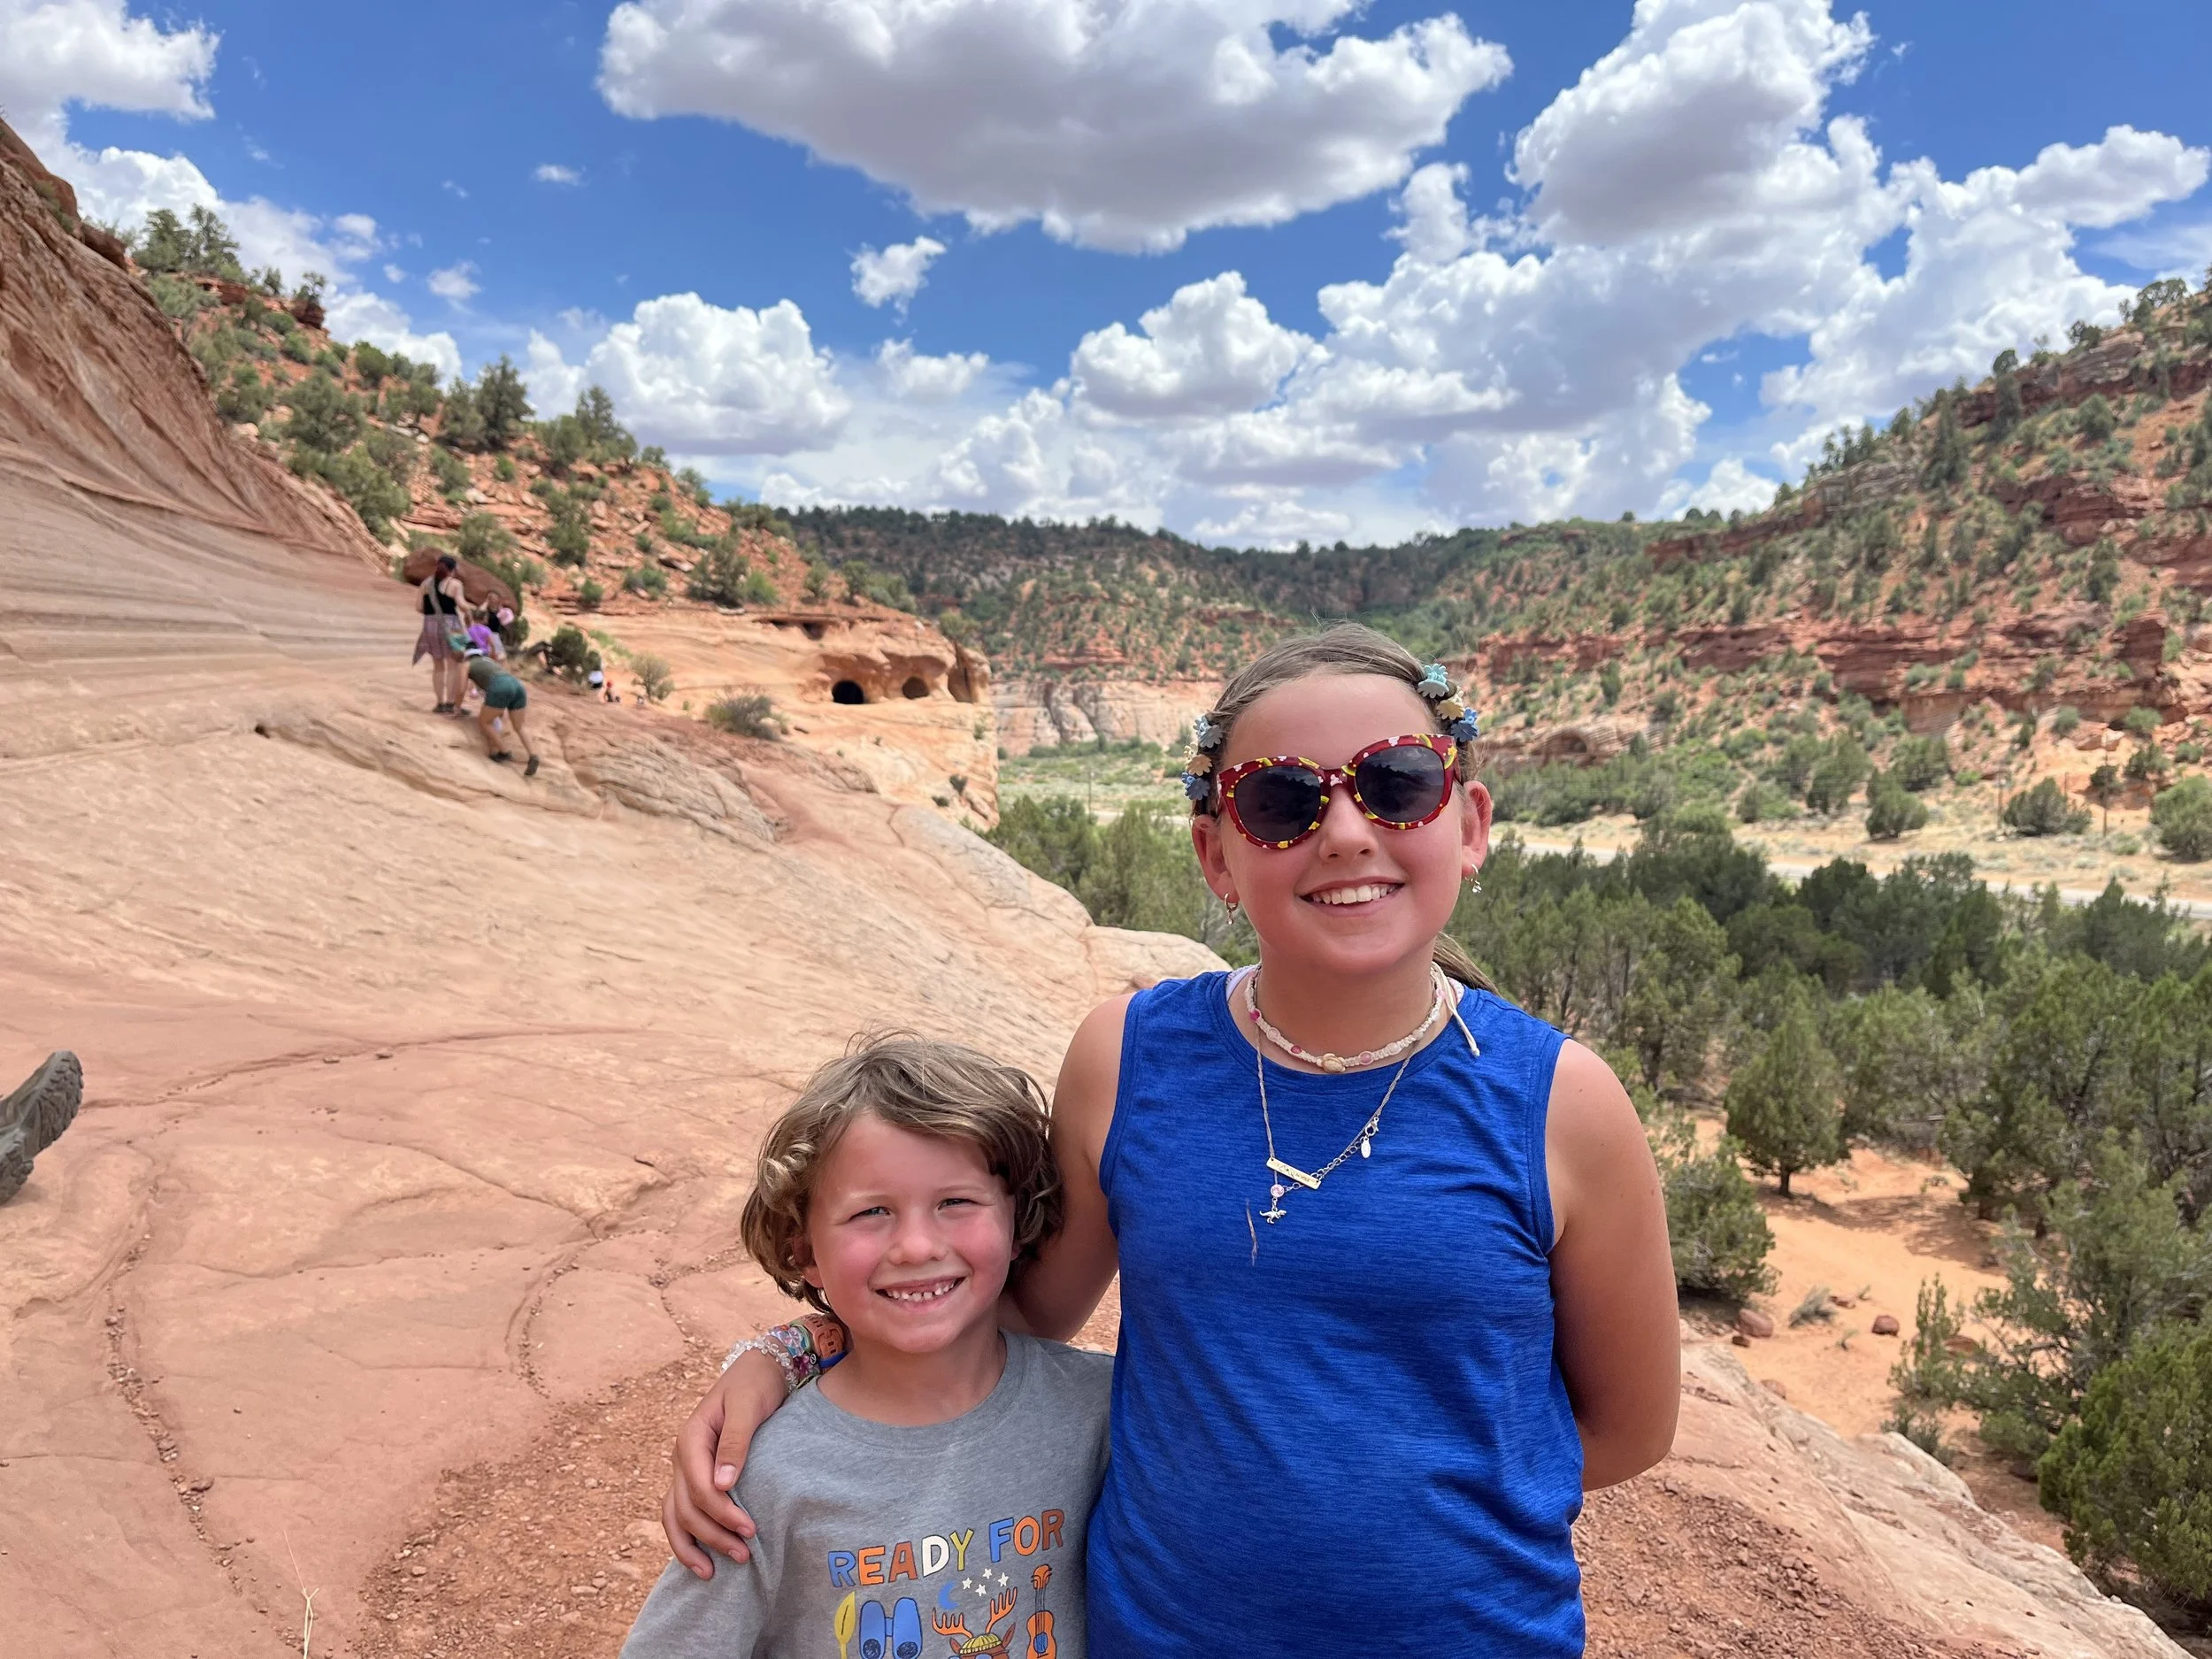
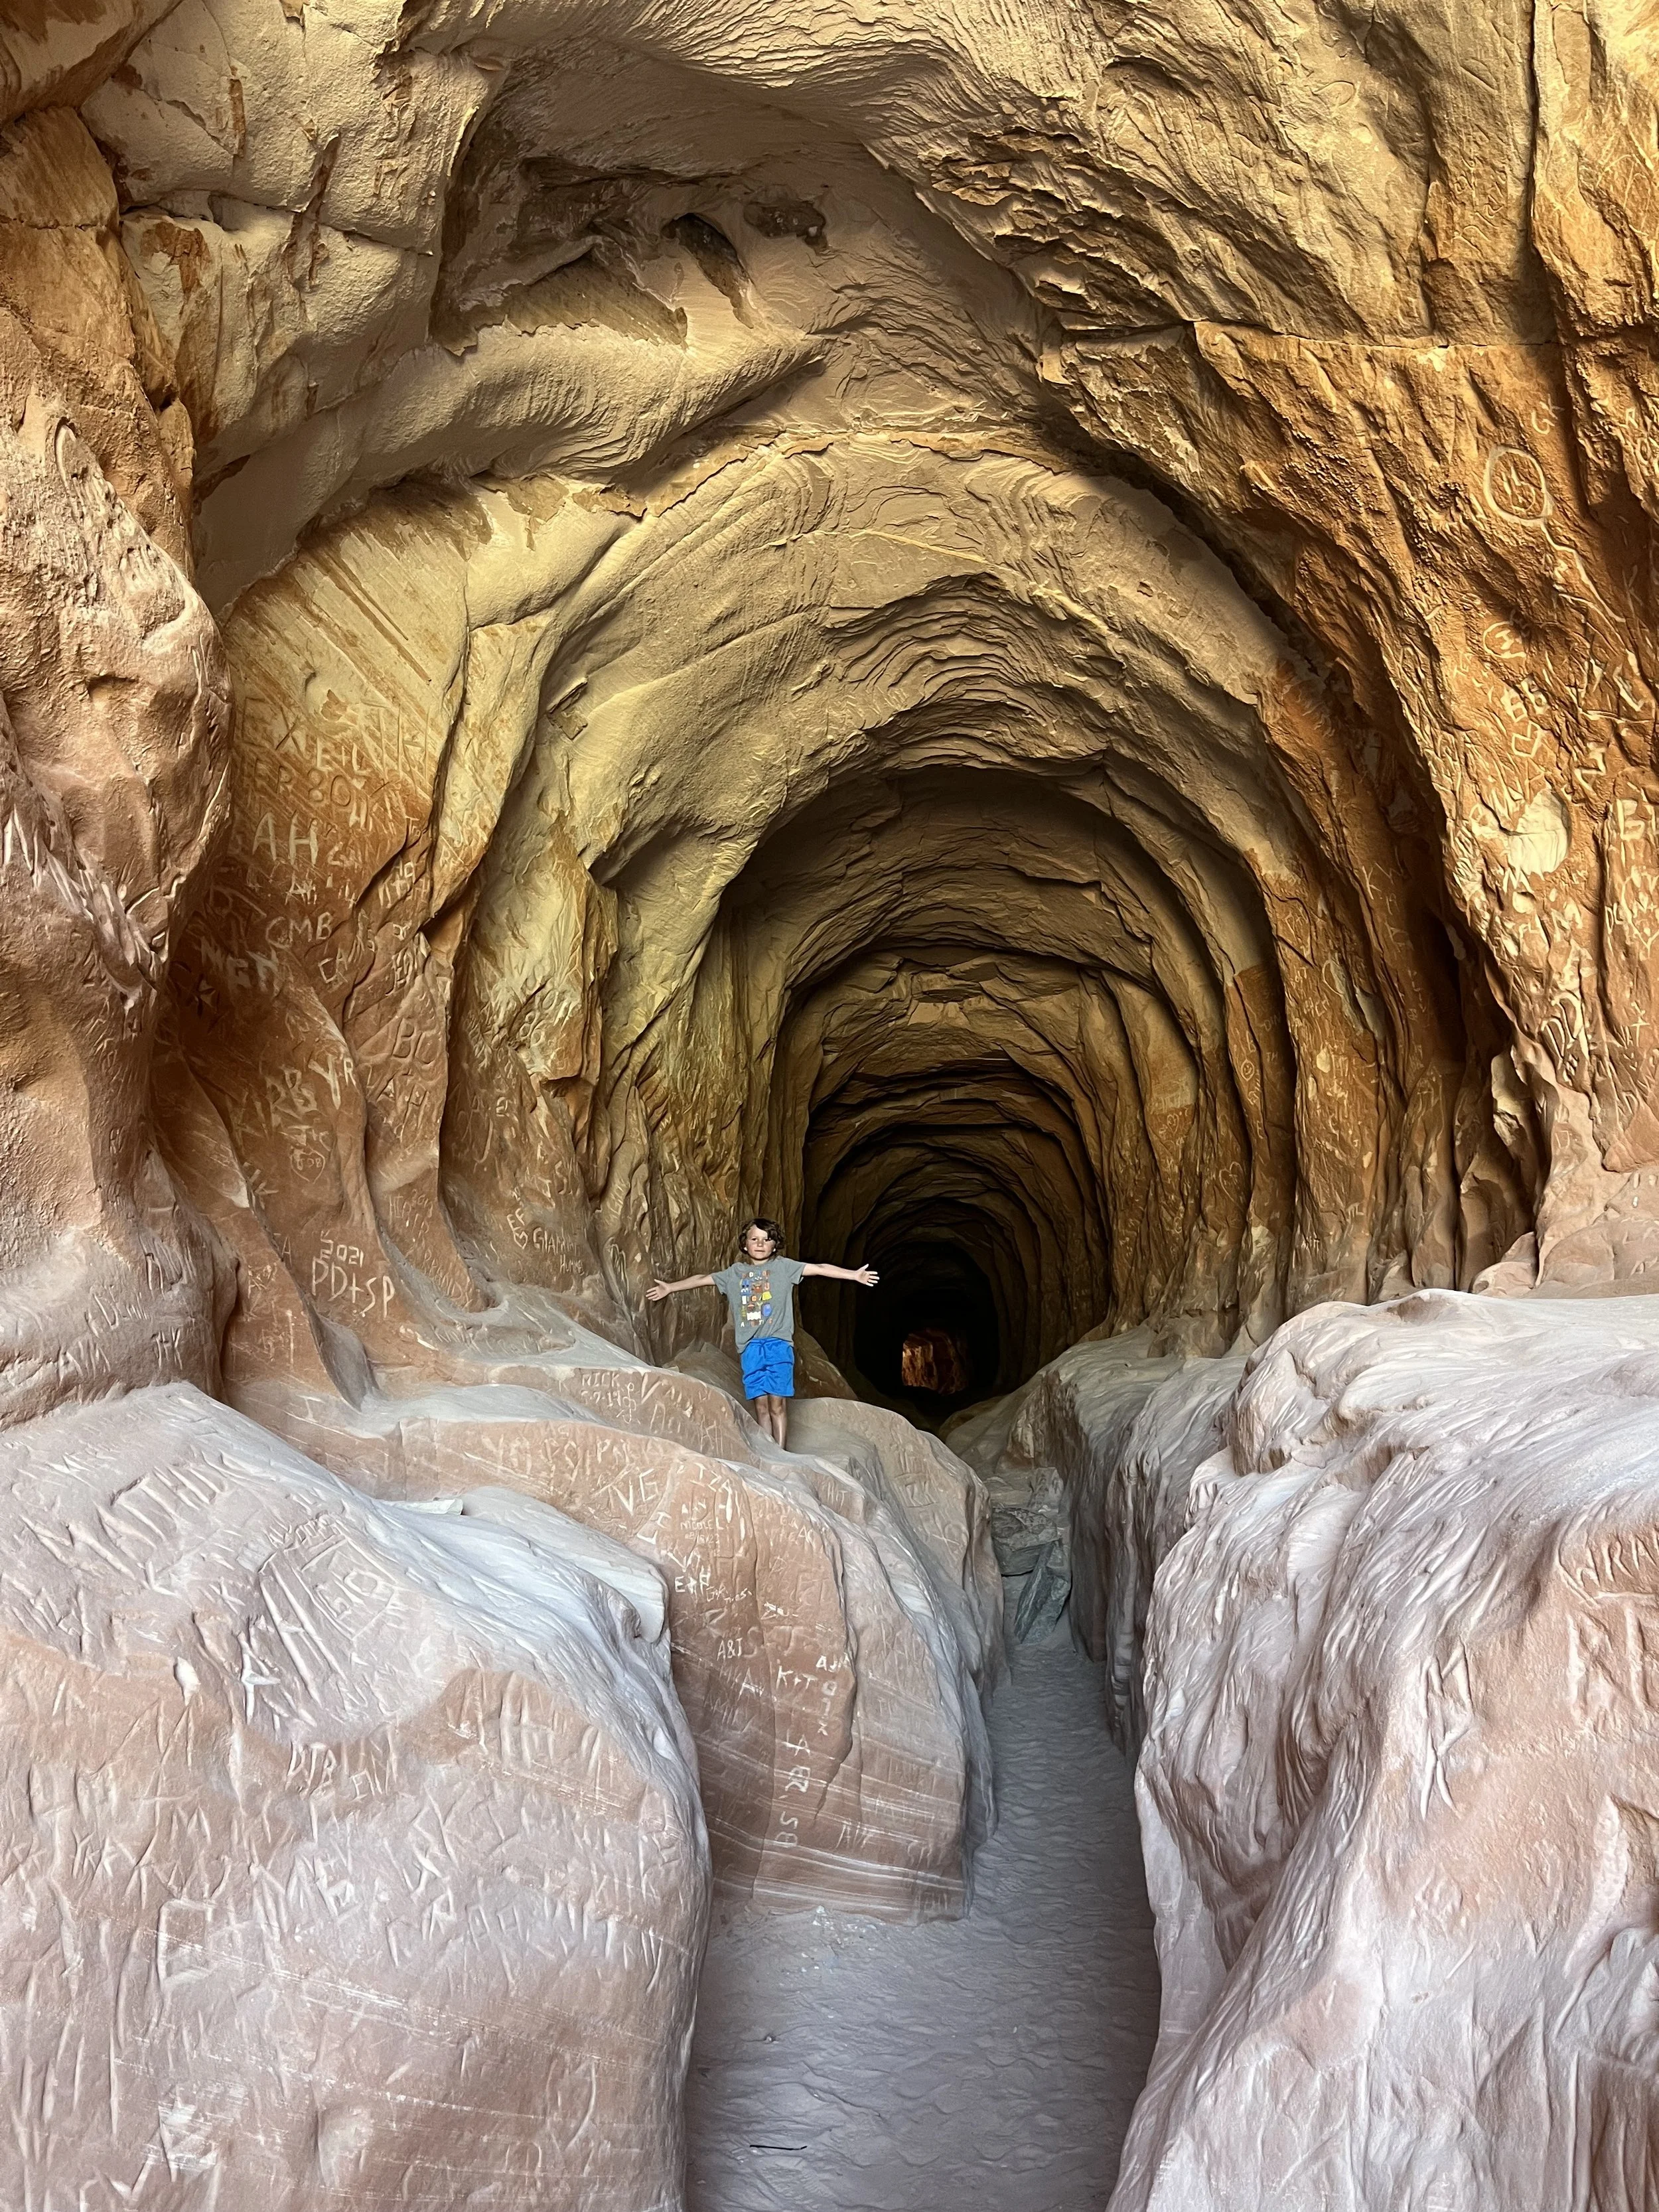
Kanab, Utah: Explore the short but memorable Belly of the Dragon hike, then hike to the unique Moqui Caves.
East Zion Slot Canyons. If you’re interested in visiting a slot canyon, but aren’t sure how to safely go, this guided tour and UTV experience is a great addition to your vacation.
Coral Pink Sand Dunes State Park: Located outside of the eastern entrance to the park, this incredible state park is worth the drive. Rent UTVs, go sand boarding, or even have s’mores by a campfire on the dunes.