Delicate Arch Overlook Trail in Arches National Park: A Guide
Seeing Delicate Arch at Arches National Park is high on many people’s bucket list, but what if you’re not up for a 3-mile hike on baking hot slickrock and then navigating the photo line and uneven ground?
Enter the other way to see this Utah icon: the Delicate Arch Overlook Trail.
This shorter, easier trail is situated across the canyon from Delicate Arch so that you’re seeing the back of the large stone arch.
It makes for some really interesting vacation photos since you rarely see the arch from this angle!
Plus, the parking situation here tends to be less stressful than over at the main trail, and there are, overall, fewer people on this side of the canyon, so no waiting in line for a picture.
In the hiking guide below, you’ll find everything that you need to know in order to add this short, easy hike to your Arches National Parks itinerary, from parking options to what to expect at every point along the trail.

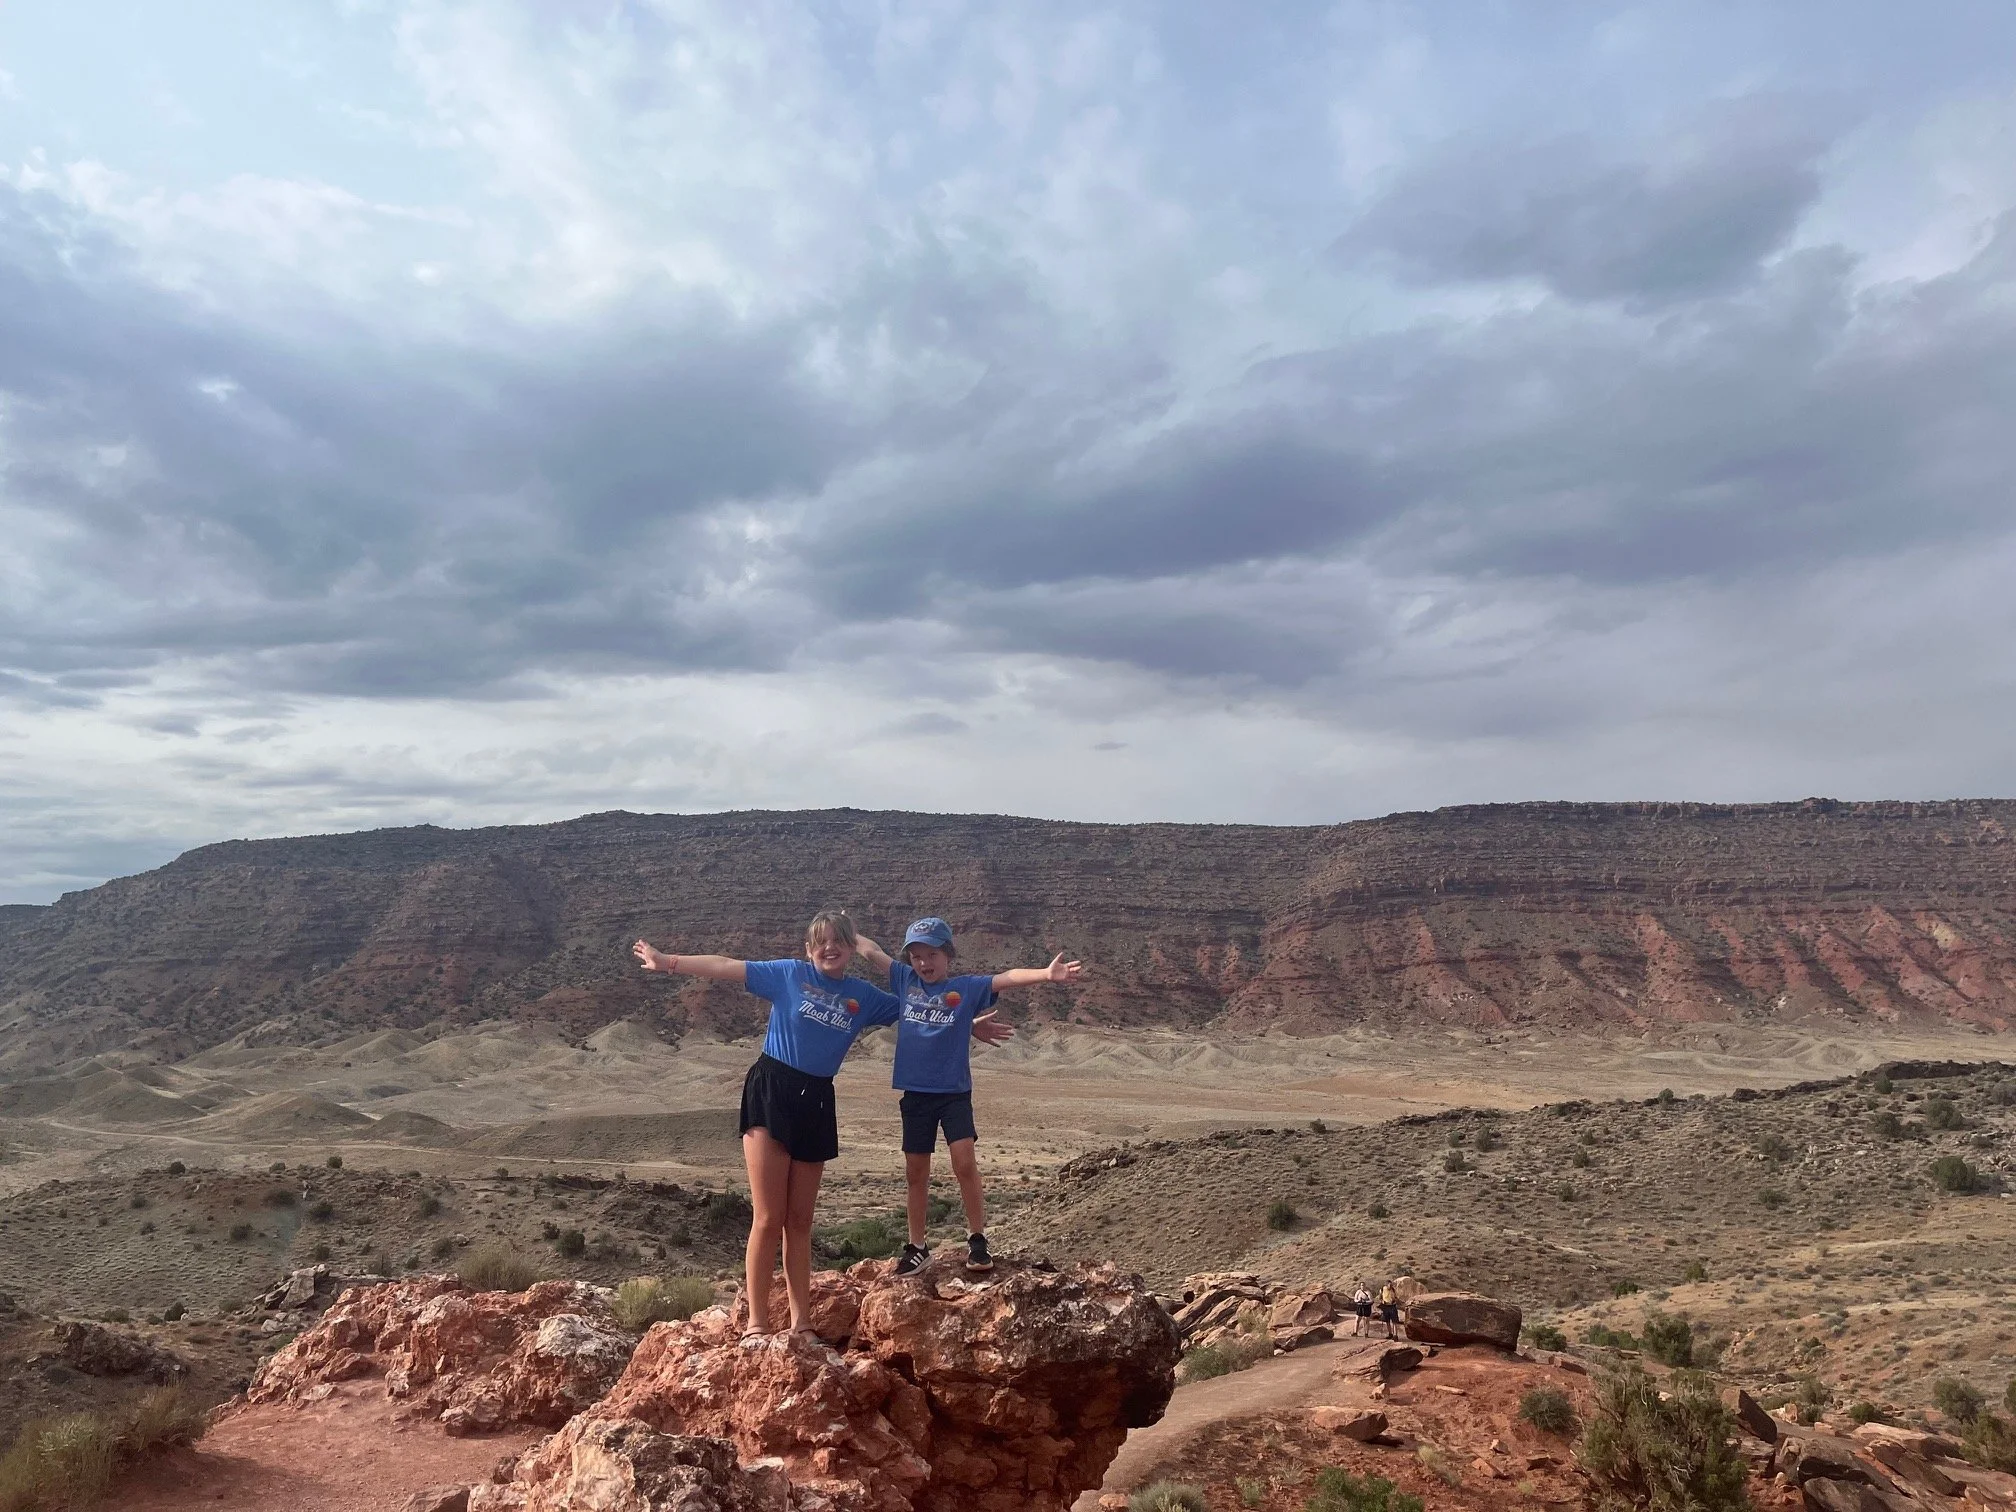
The Camping Kiddos at the upper viewpoint on the Delicate Arch Overlook Trail
This post contains affilliates. If you purchase through the links below, I will receive a commission at no charge to you.
Hike Overview
Trailhead Location: at the end of Delicate Arch Road in Arches National Park
Trail length: up to 0.5 miles, depending on the overlook chosen
Trail difficulty: easy to moderate
Elevation gain: 0 feet on the lower trail; 171 feet on the upper
Getting to Delicate Arch Overlook Trail and Parking
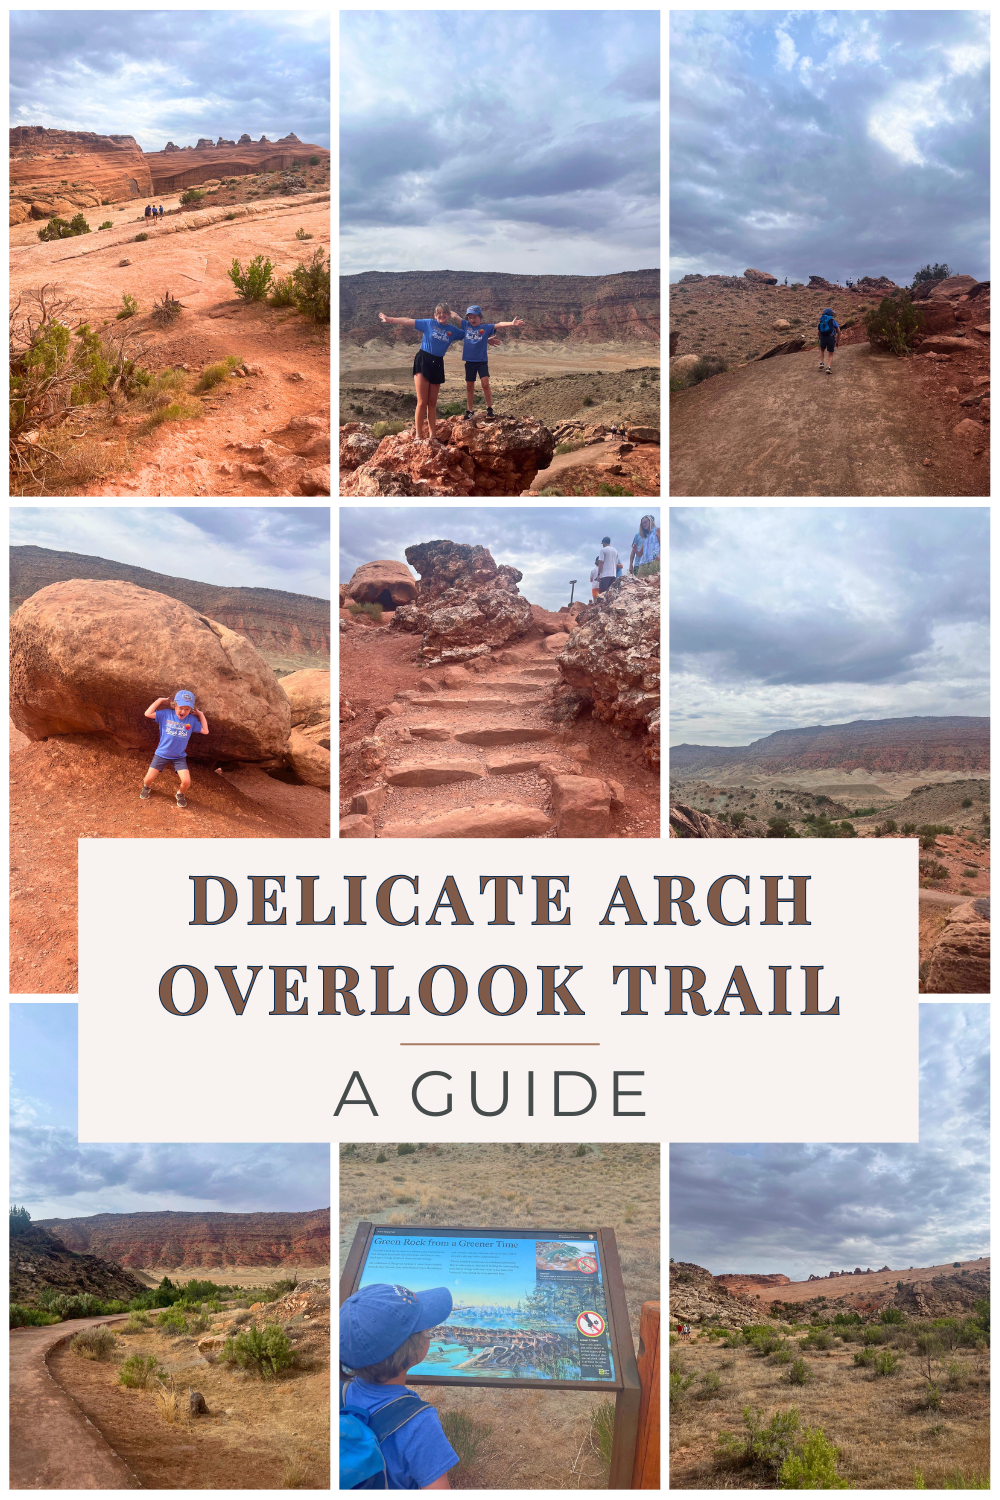
PIN ME!
To get to the parking lot for the Delicate Arch Overlook Trail, you’ll need to head into Arches National Park.
Keep in mind that there are specific timed entries for the park during times of high visitations, so check the NPS site to see if you’re visiting during one of these times. If you are, you’ll want to secure your vehicle pass before you start your day here.
The passes are usually easy to get a hold of, especially if you’re planning a few months out. We found the reservations system at Arches to be much easier than the vehicle reservations system over at Glacier National Park, in general.
Once you’ve gone through the entrance station and paid your fee, you’ll want to continue past the visitors center and up the scenic Main Park Road.
It’s a little under 15 miles from the entrance to the parking area for the Delicate Arch Overlook Trail, but it will take you about 35 minutes to drive since the speed limit never gets above 35 in the park.
On Main Park Road, look for the Panorama Point viewing area. At the next right after this viewing area, you’ll turn onto Delicate Arch Road.
You’ll first come to the Wolfe Ranch parking area, which is where you’d leave your car if you were doing the Delicate Arch Trail.
NOTE: If you’re doing this trail in addition to the Delicate Arch Overlook Trail discussed below, know that parking at Wolfe Ranch is a mess after about 7:30 AM during peak times. Either go early in the morning or late in the afternoon (or even in the evening for amazing stargazing!).
You’ll continue on the road past Wolfe Ranch until the road dead ends into the large parking area for the Delicate Arch Overlook Trail.
Here, you’ll find about 50 parking spots for regular sized vehicles, and 16 spots for buses, RVs, and trailers.
There are 4 toilets, a small covered picnic area with 2 picnic tables, and several trash cans.
Plan your entire national parks vacation with this helpful (and free) collection of Arches National Park resources!
Delicate Arch Overlook Trail, Step-by-Step
TIP: Before you set out on any hike, it’s a good idea to check for any recent updates, trail conditions, and level of difficulty at AllTrails! Purchase your annual subscription here.
Once you’re ready to head out onto the trail, you’ll need to know if you’d like to do the Lower Overlook, the Upper Overlook, or both.
They both start from the same trailhead near the parking lot, but they offer radically different experiences in time outlay, exertion, and views.
Lower Overlook
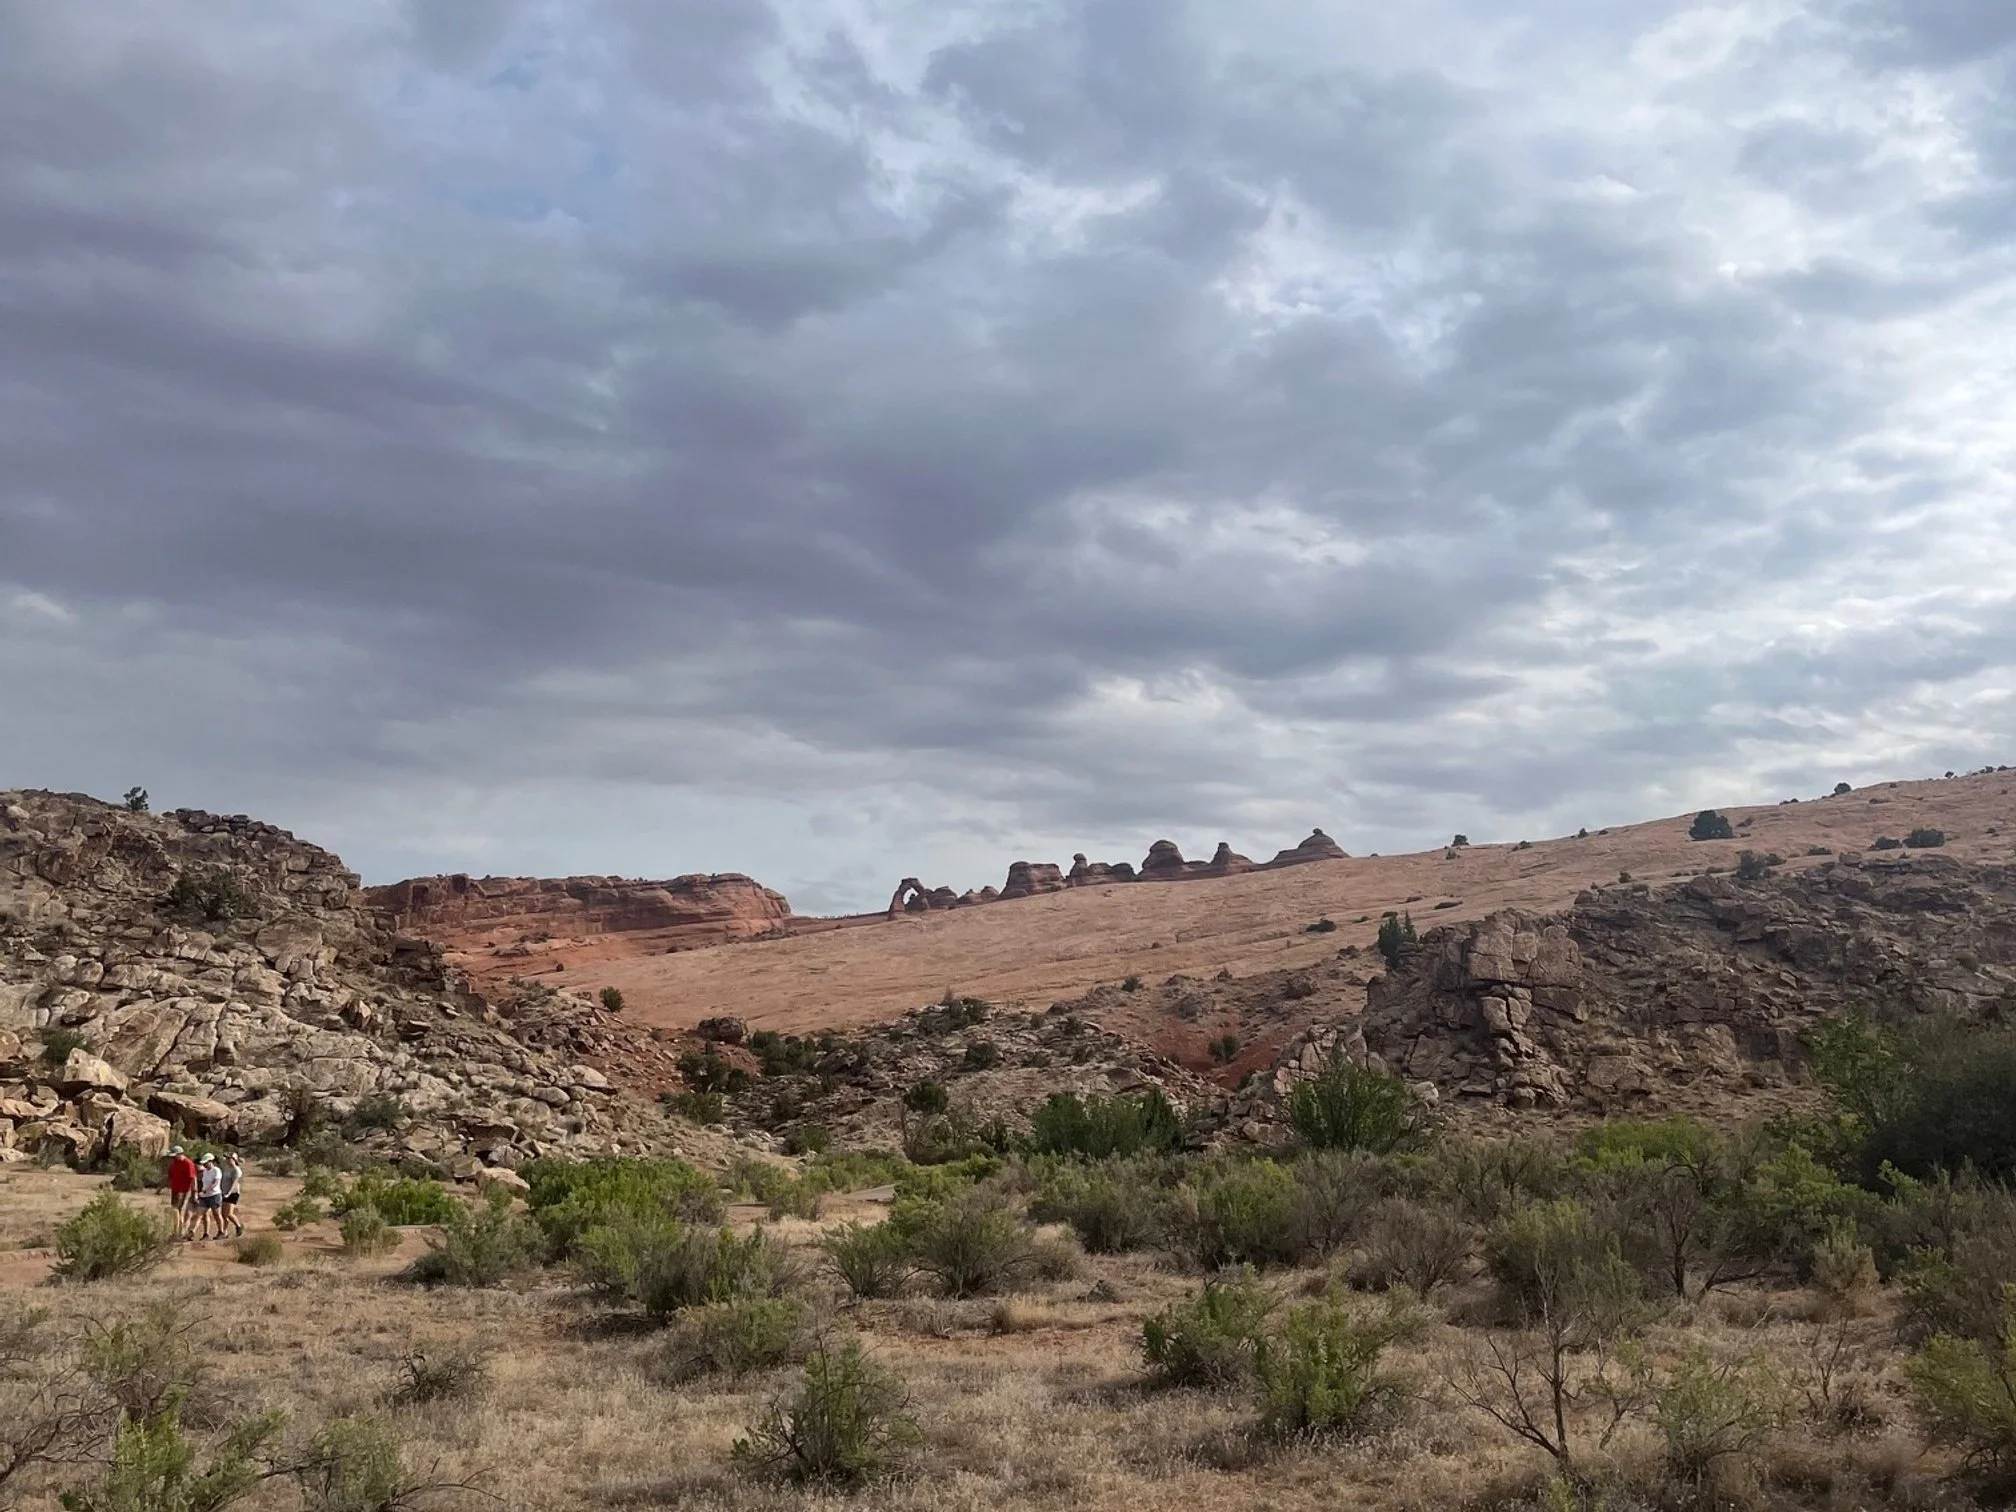
Delicate Arch from the Lower Overlook viewpoint
The path to the Lower Overlook area is wide and flat, and you could easily push a stroller or wheelchair here from the parking lot.

Metal model of Delicate Arch
There is a fence on both sides of the path leading from the parking area to the Lower Overlook, so it’s impossible to get lost.
At the Lower Overlook, you will be able to see Delicate Arch from the left side of the viewing area.
Keep in mind that you’re viewing the Arch from across a canyon about a mile away on both of these viewing areas, so it’s not going to look very big.
But, if you want to see the famous arch with very, very little work, the Lower Overlook allows you to do just that.
There is also a full color interpretive sign here if you’d like to learn more about Delicate Arch.
My kids loved the small metal model of the Delicate Arch, which is right next to the interpretive sign.
Upper Overlook
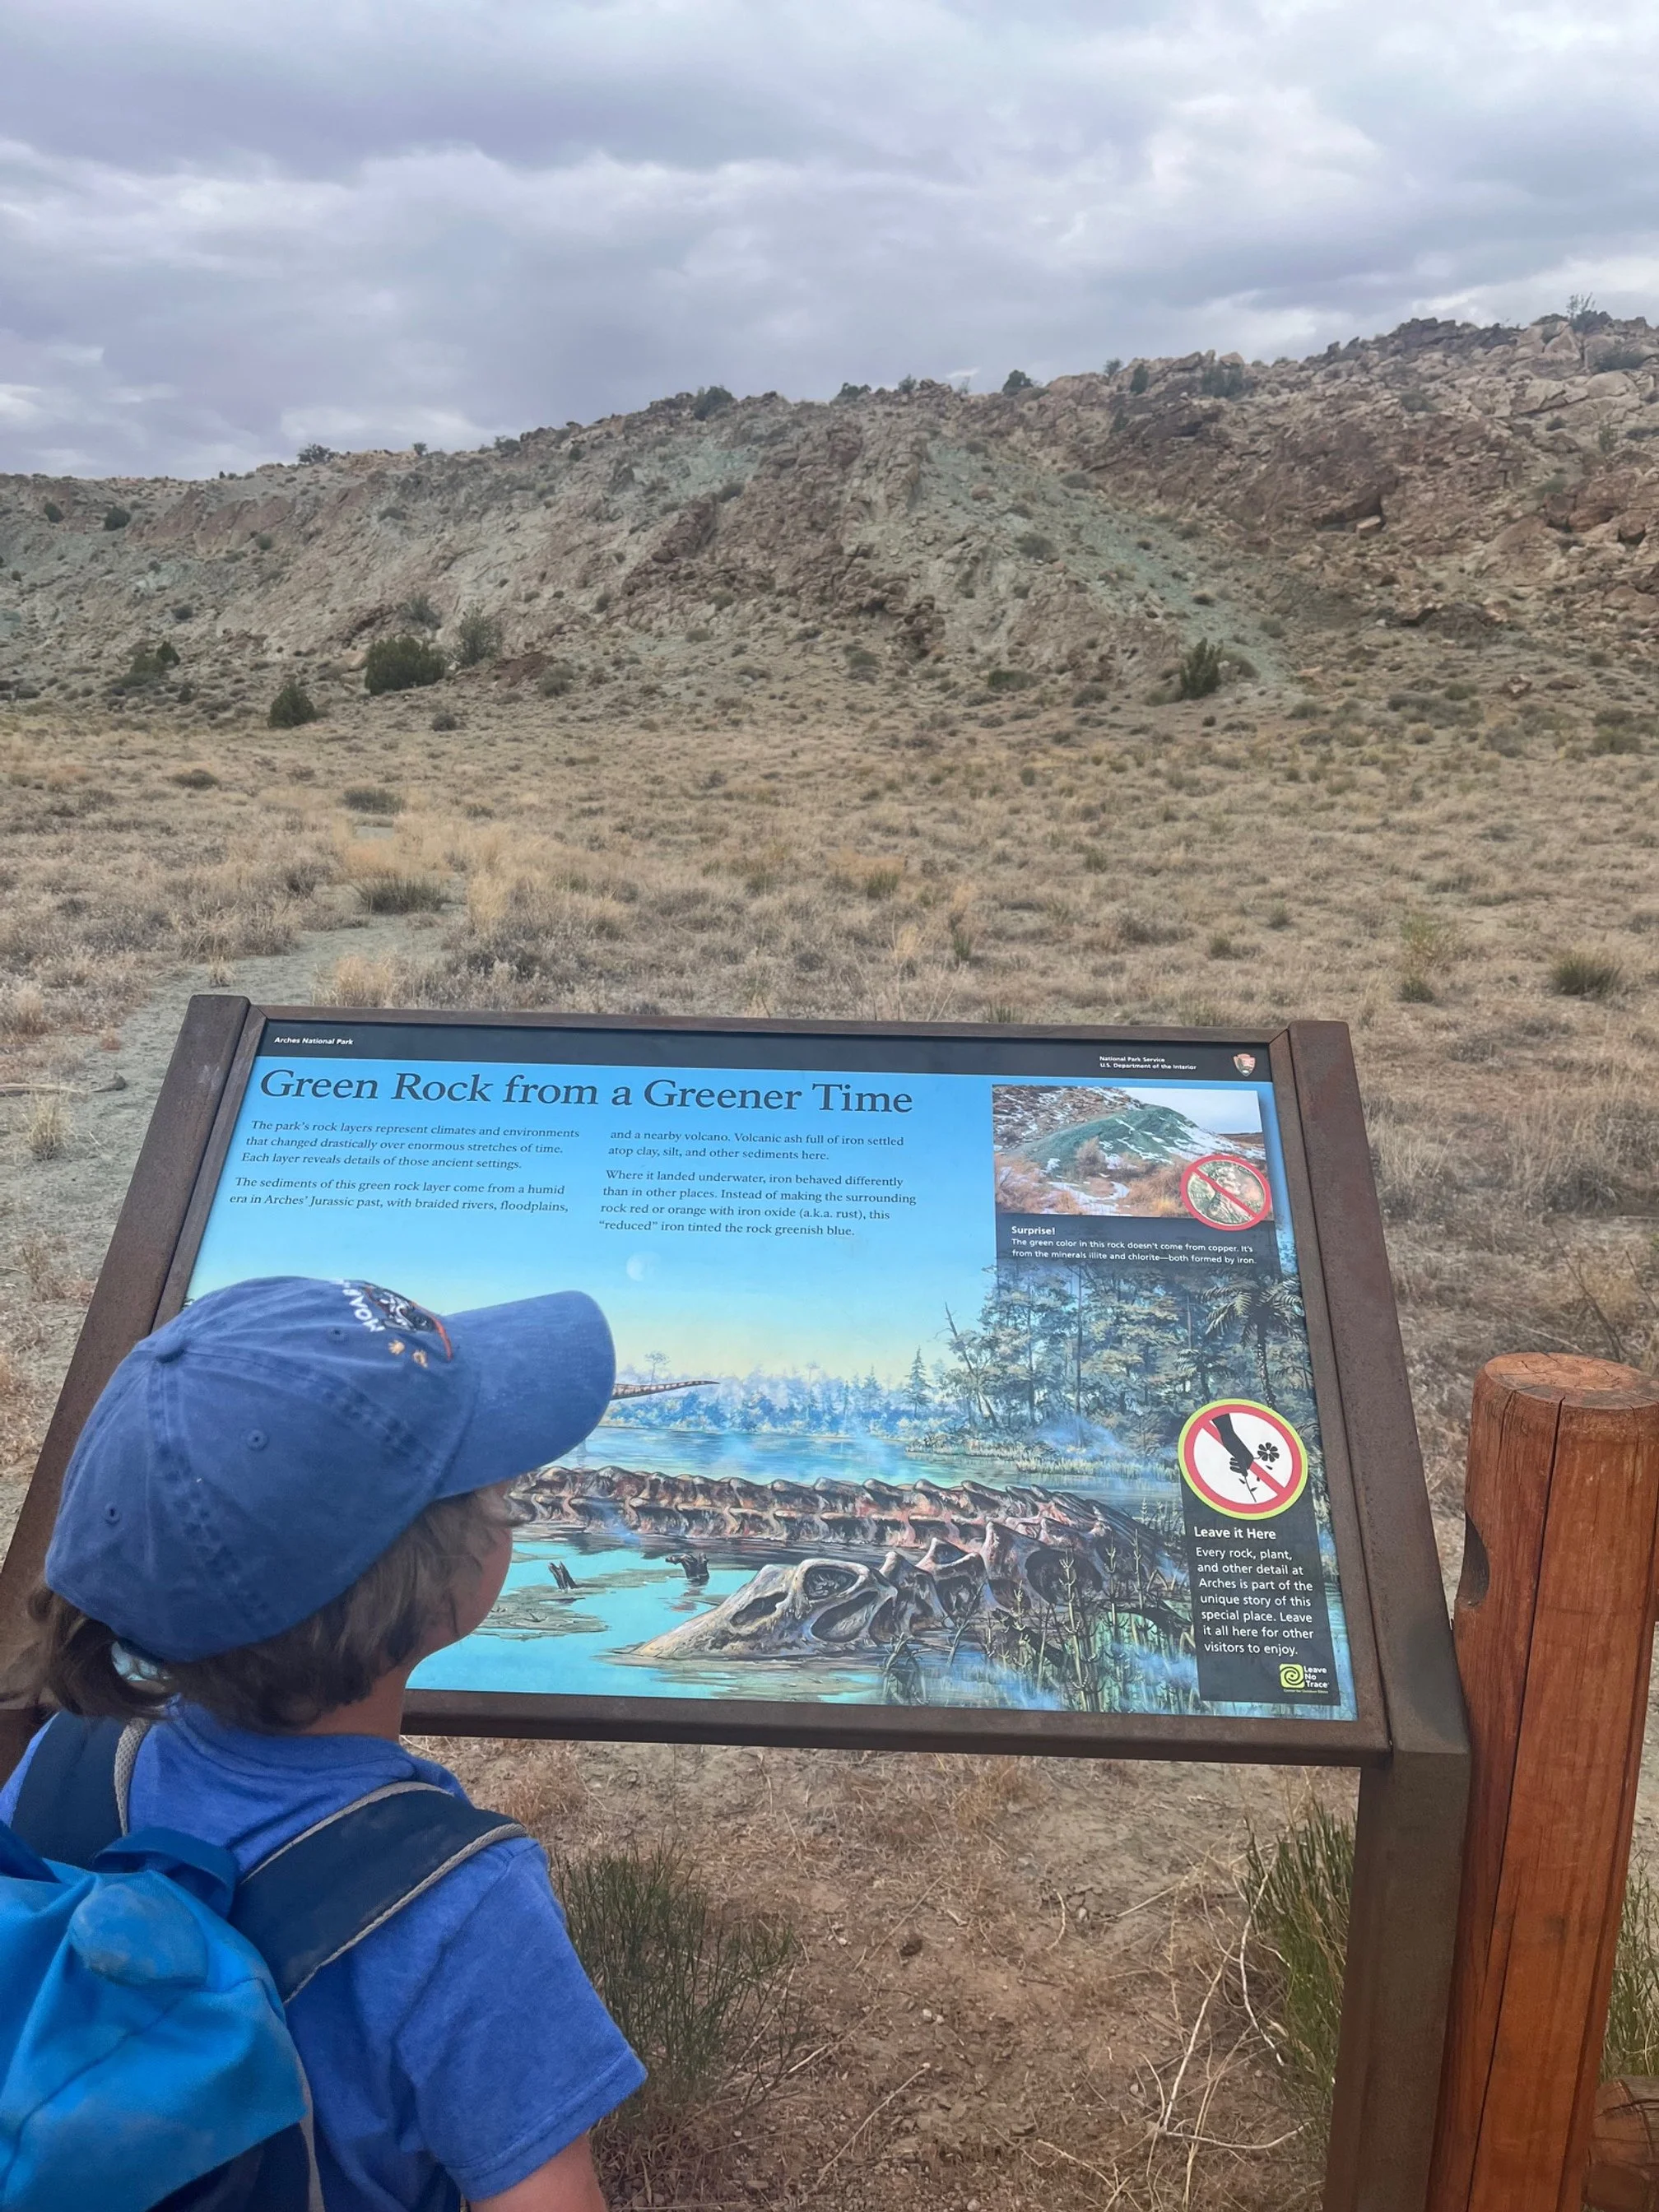
Learning about the green rocks on the trail
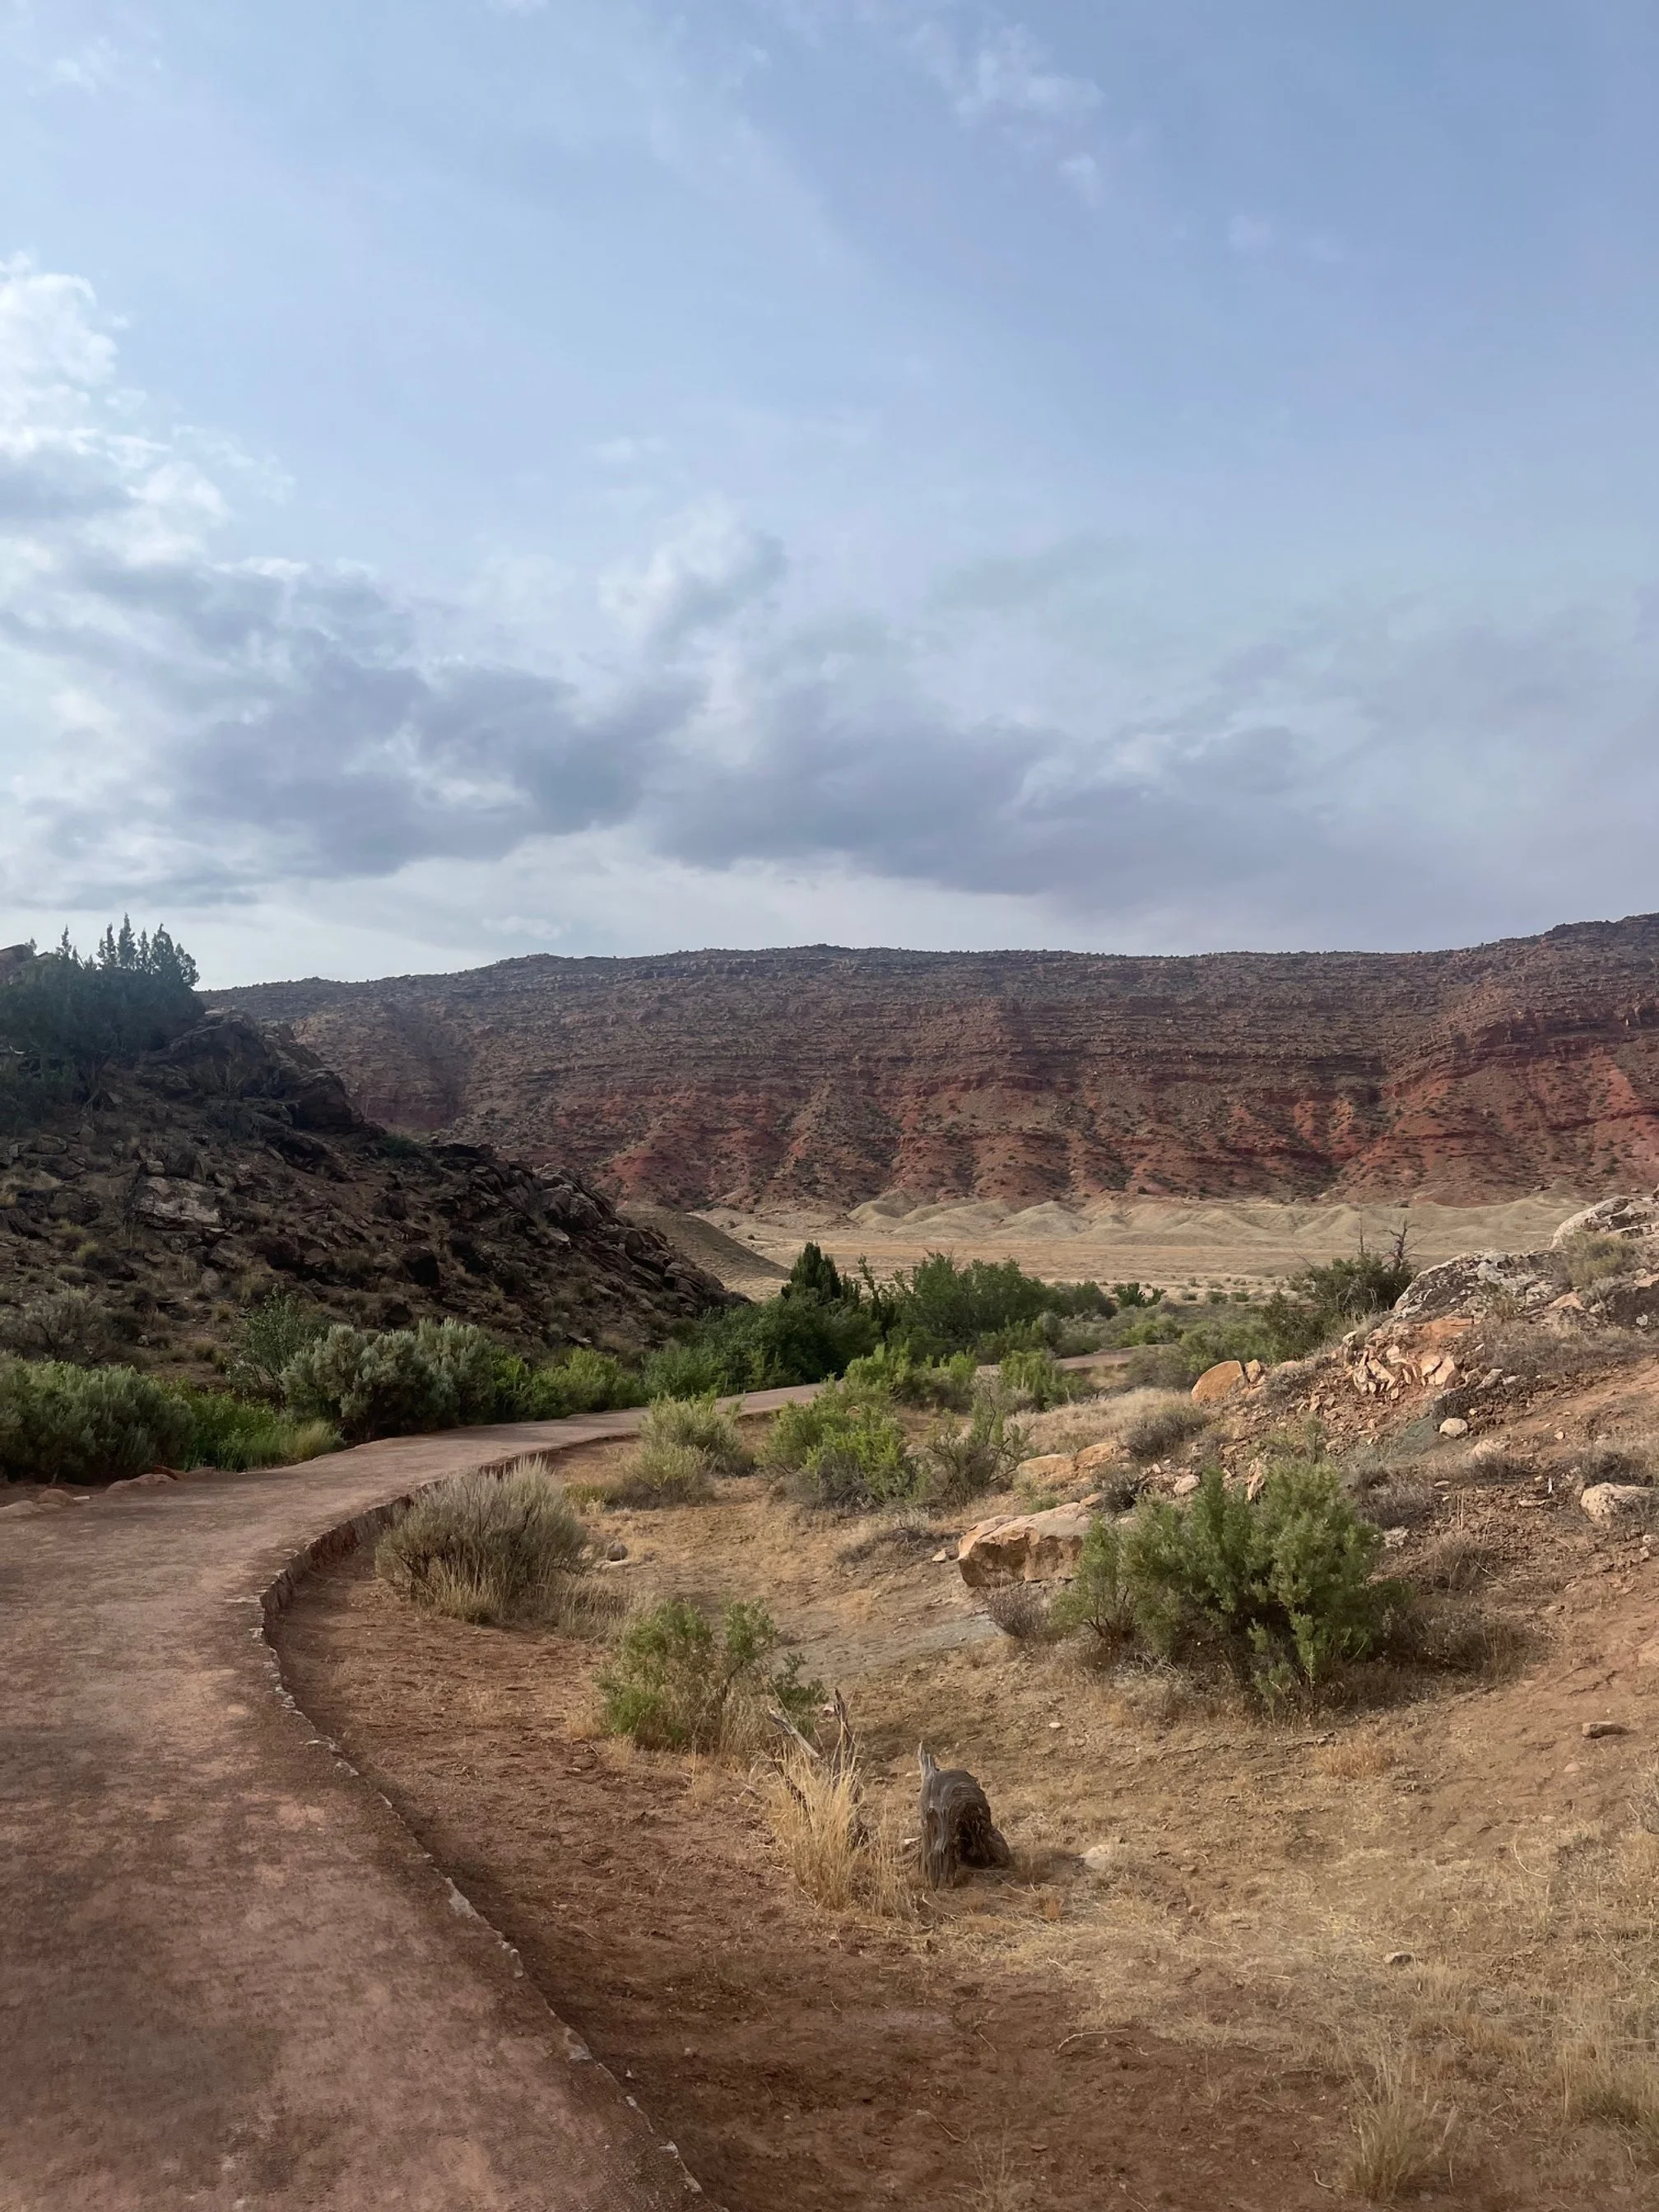
From the Lower Overlook area, you’ll want to retrace your steps towards the parking area slightly and take either of the trails leading to the Upper Overlook on your right.
The Upper Overlook trail is wide for the first few hundred feet before narrowing to a more standard size for a hiking trail.
You can still walk two across on this trail, so it’s not the narrowest that we’ve seen.
In this area of the trail, you’ll see that some of the rocks are a bright green color.
You can learn about the iron content in the soil at one of the interpretive signs, which is pretty interesting, geologically speaking.
The elevation gain on this trail starts early on and doesn’t do anything but get more noticeable as you hike towards the overlook.

This trail, unlike the path to the Lower Overlook, isn’t suitable for strollers, and you’ll need to babywear if you’re bringing a child who’s too young to walk on their own.
You’ll pass a few groves of trees on the right side of the trail, but these don’t provide much shade.
The rest of the trail after these few trees is completely exposed and can get very hot during the summer, so this is one best done in the early morning.
After passing the trees, the path becomes more sandy as you transition into more of an incline.
You’ll pass large pile of boulders on your right and left, and this is when you know you’re almost there.
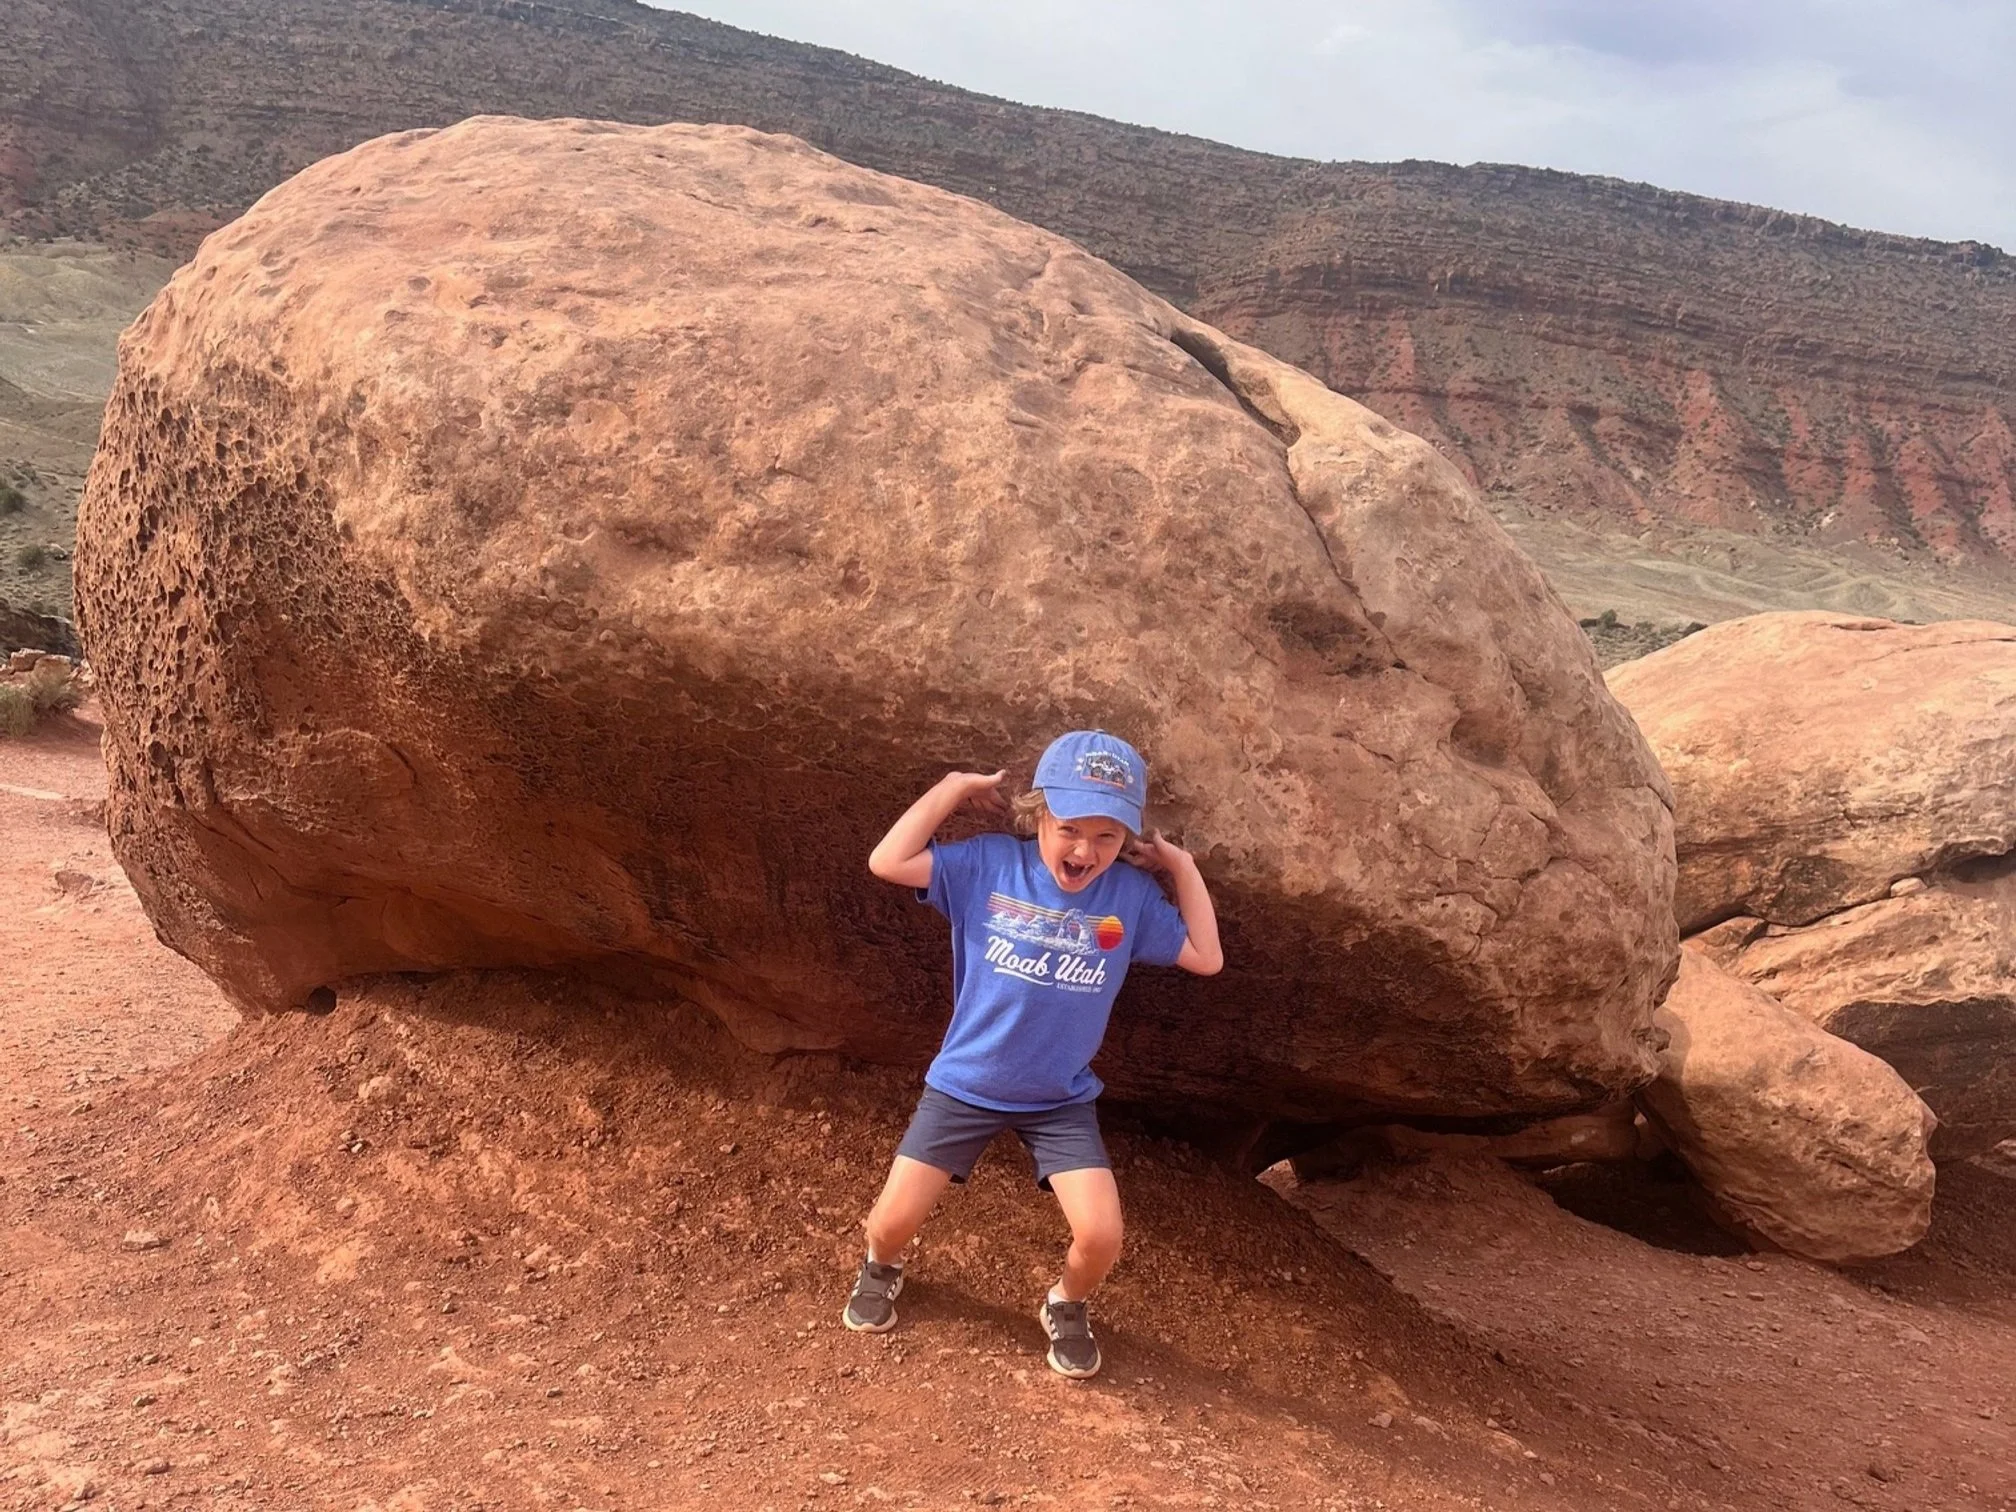
The boulders are a fun stop for your kids.
You’ve climbed over 100 feet in elevation in just a short distance, so this is a good place to take a quick break if you need to catch your breath.
There is so much gorgeous scenery along this trail!
You’ll also get some beautiful views back across the parking area if you turn around and look back the way you just climbed.
When you’re ready, tackle the last few hundred yards to the overlook.
These are the hardest with the most incline, but you’ll have some time to rest before you head back (and it’s all down hill from here!).
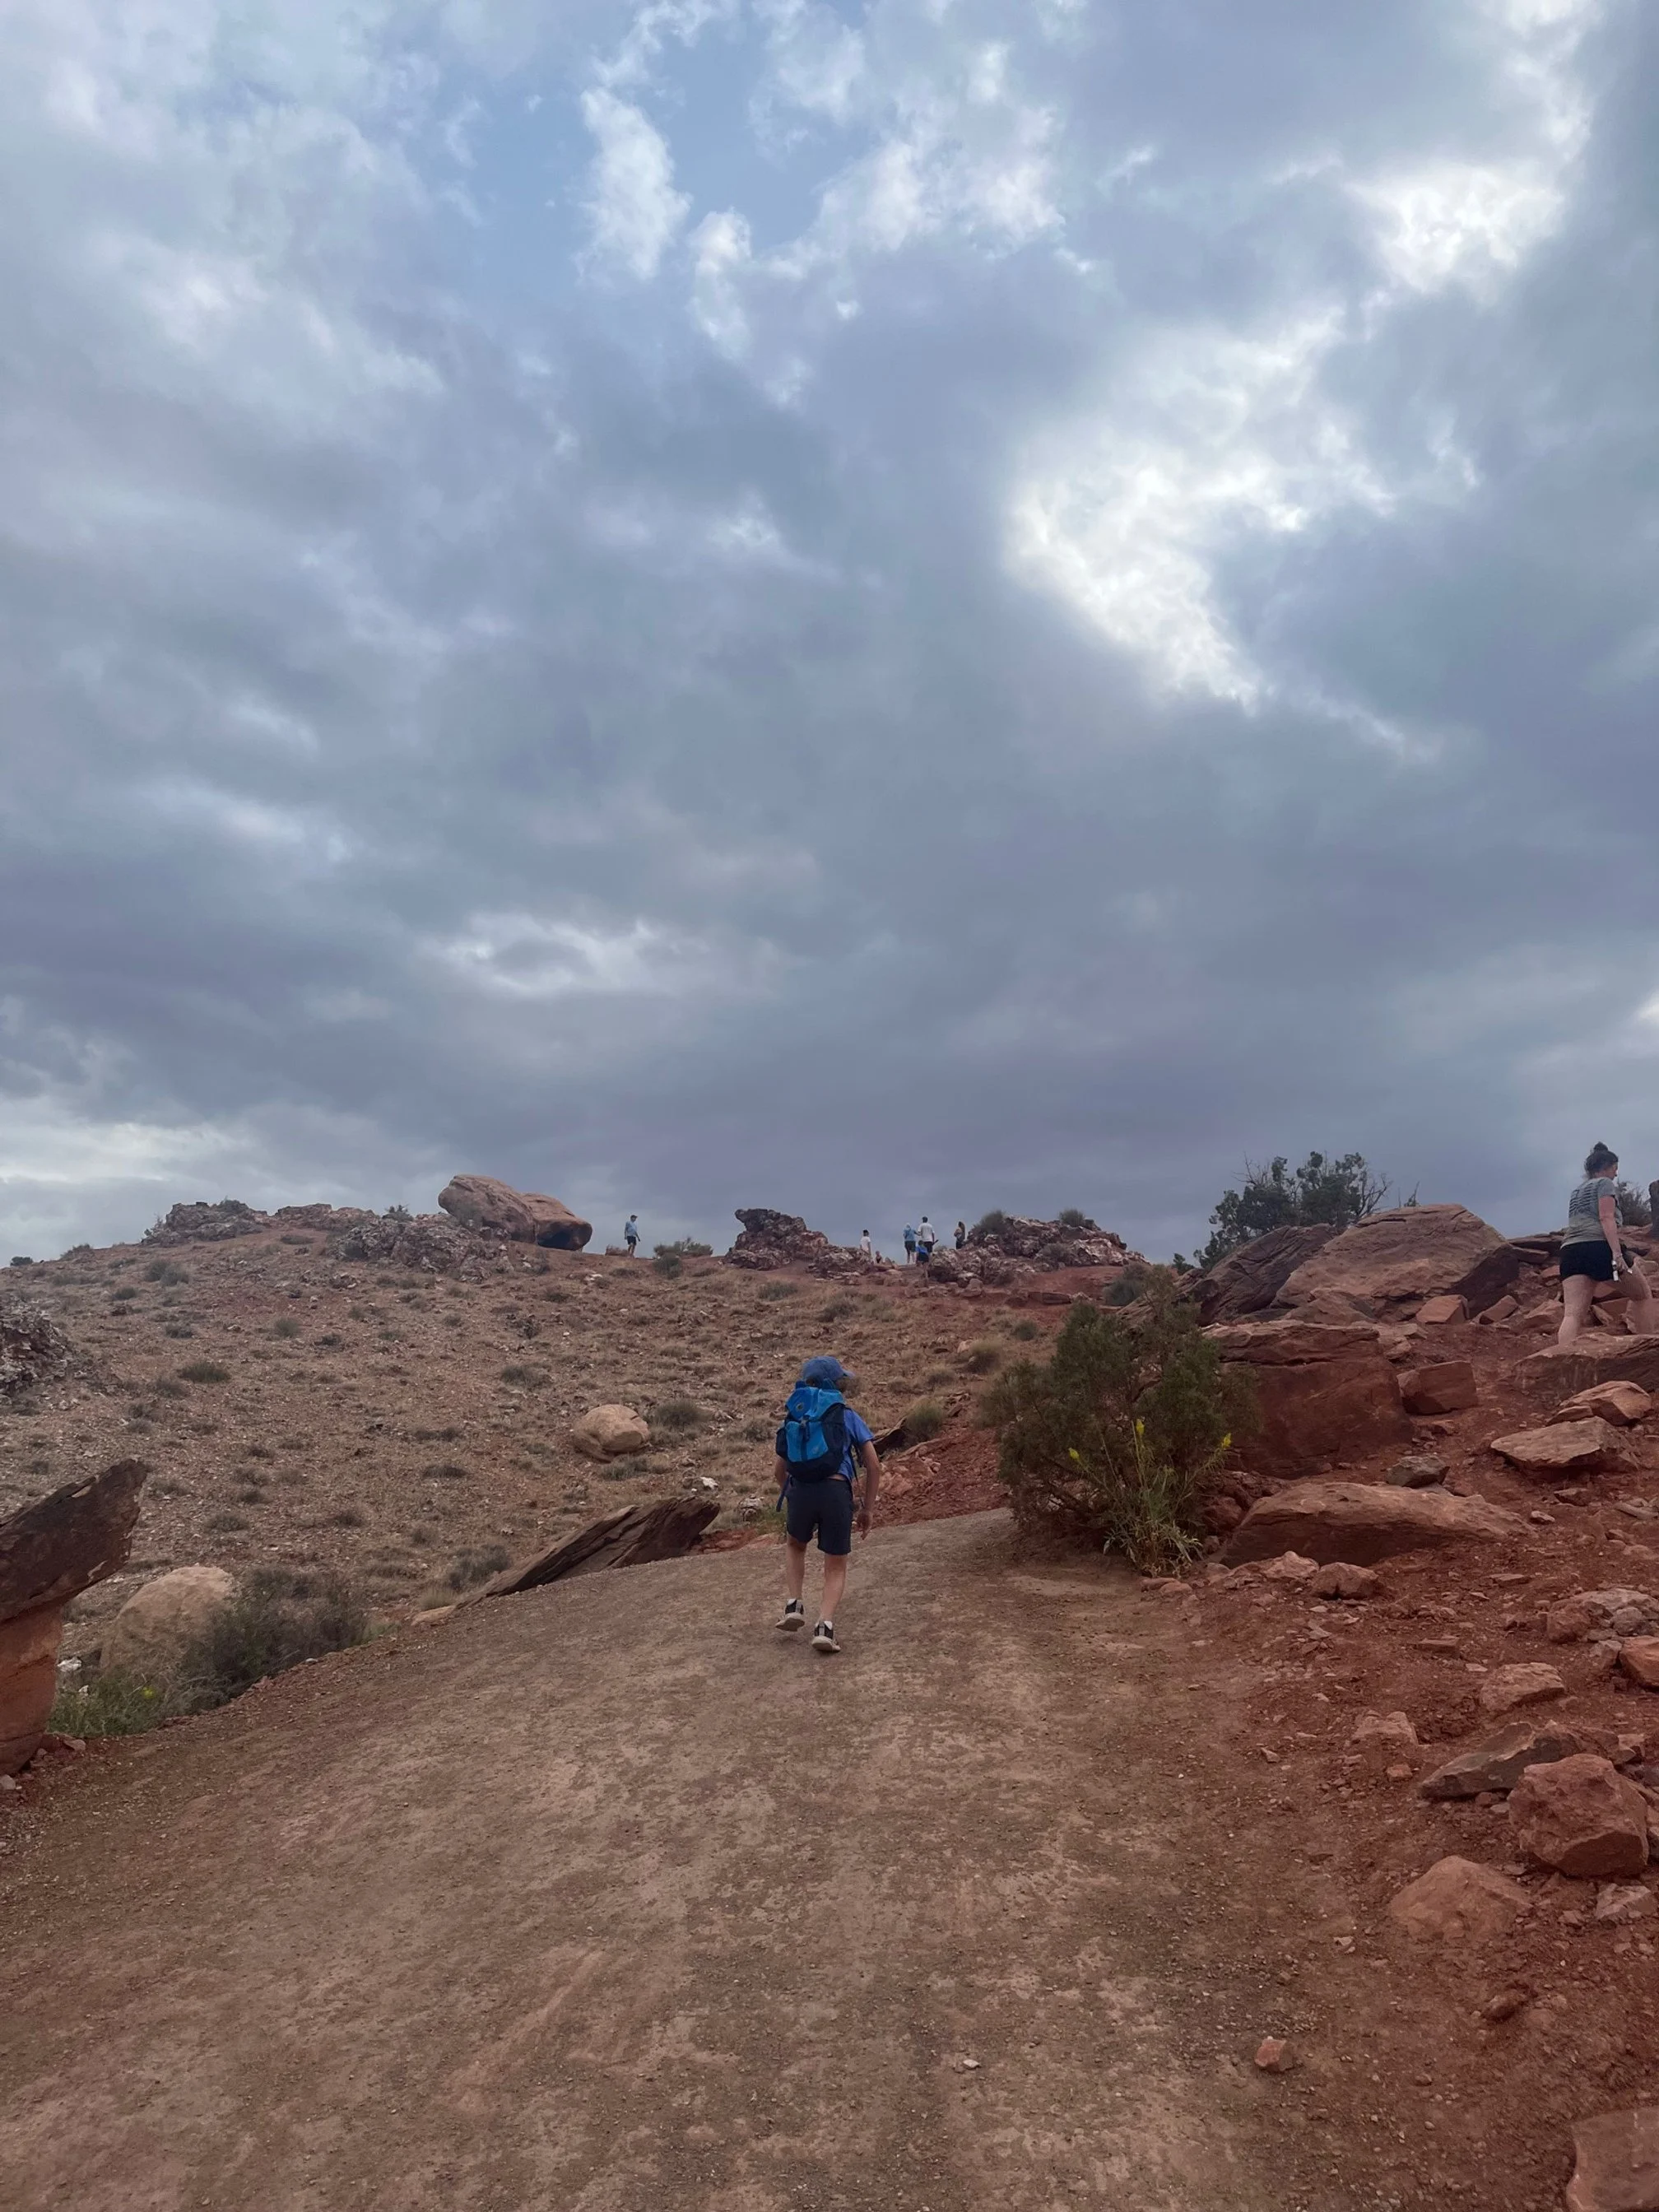
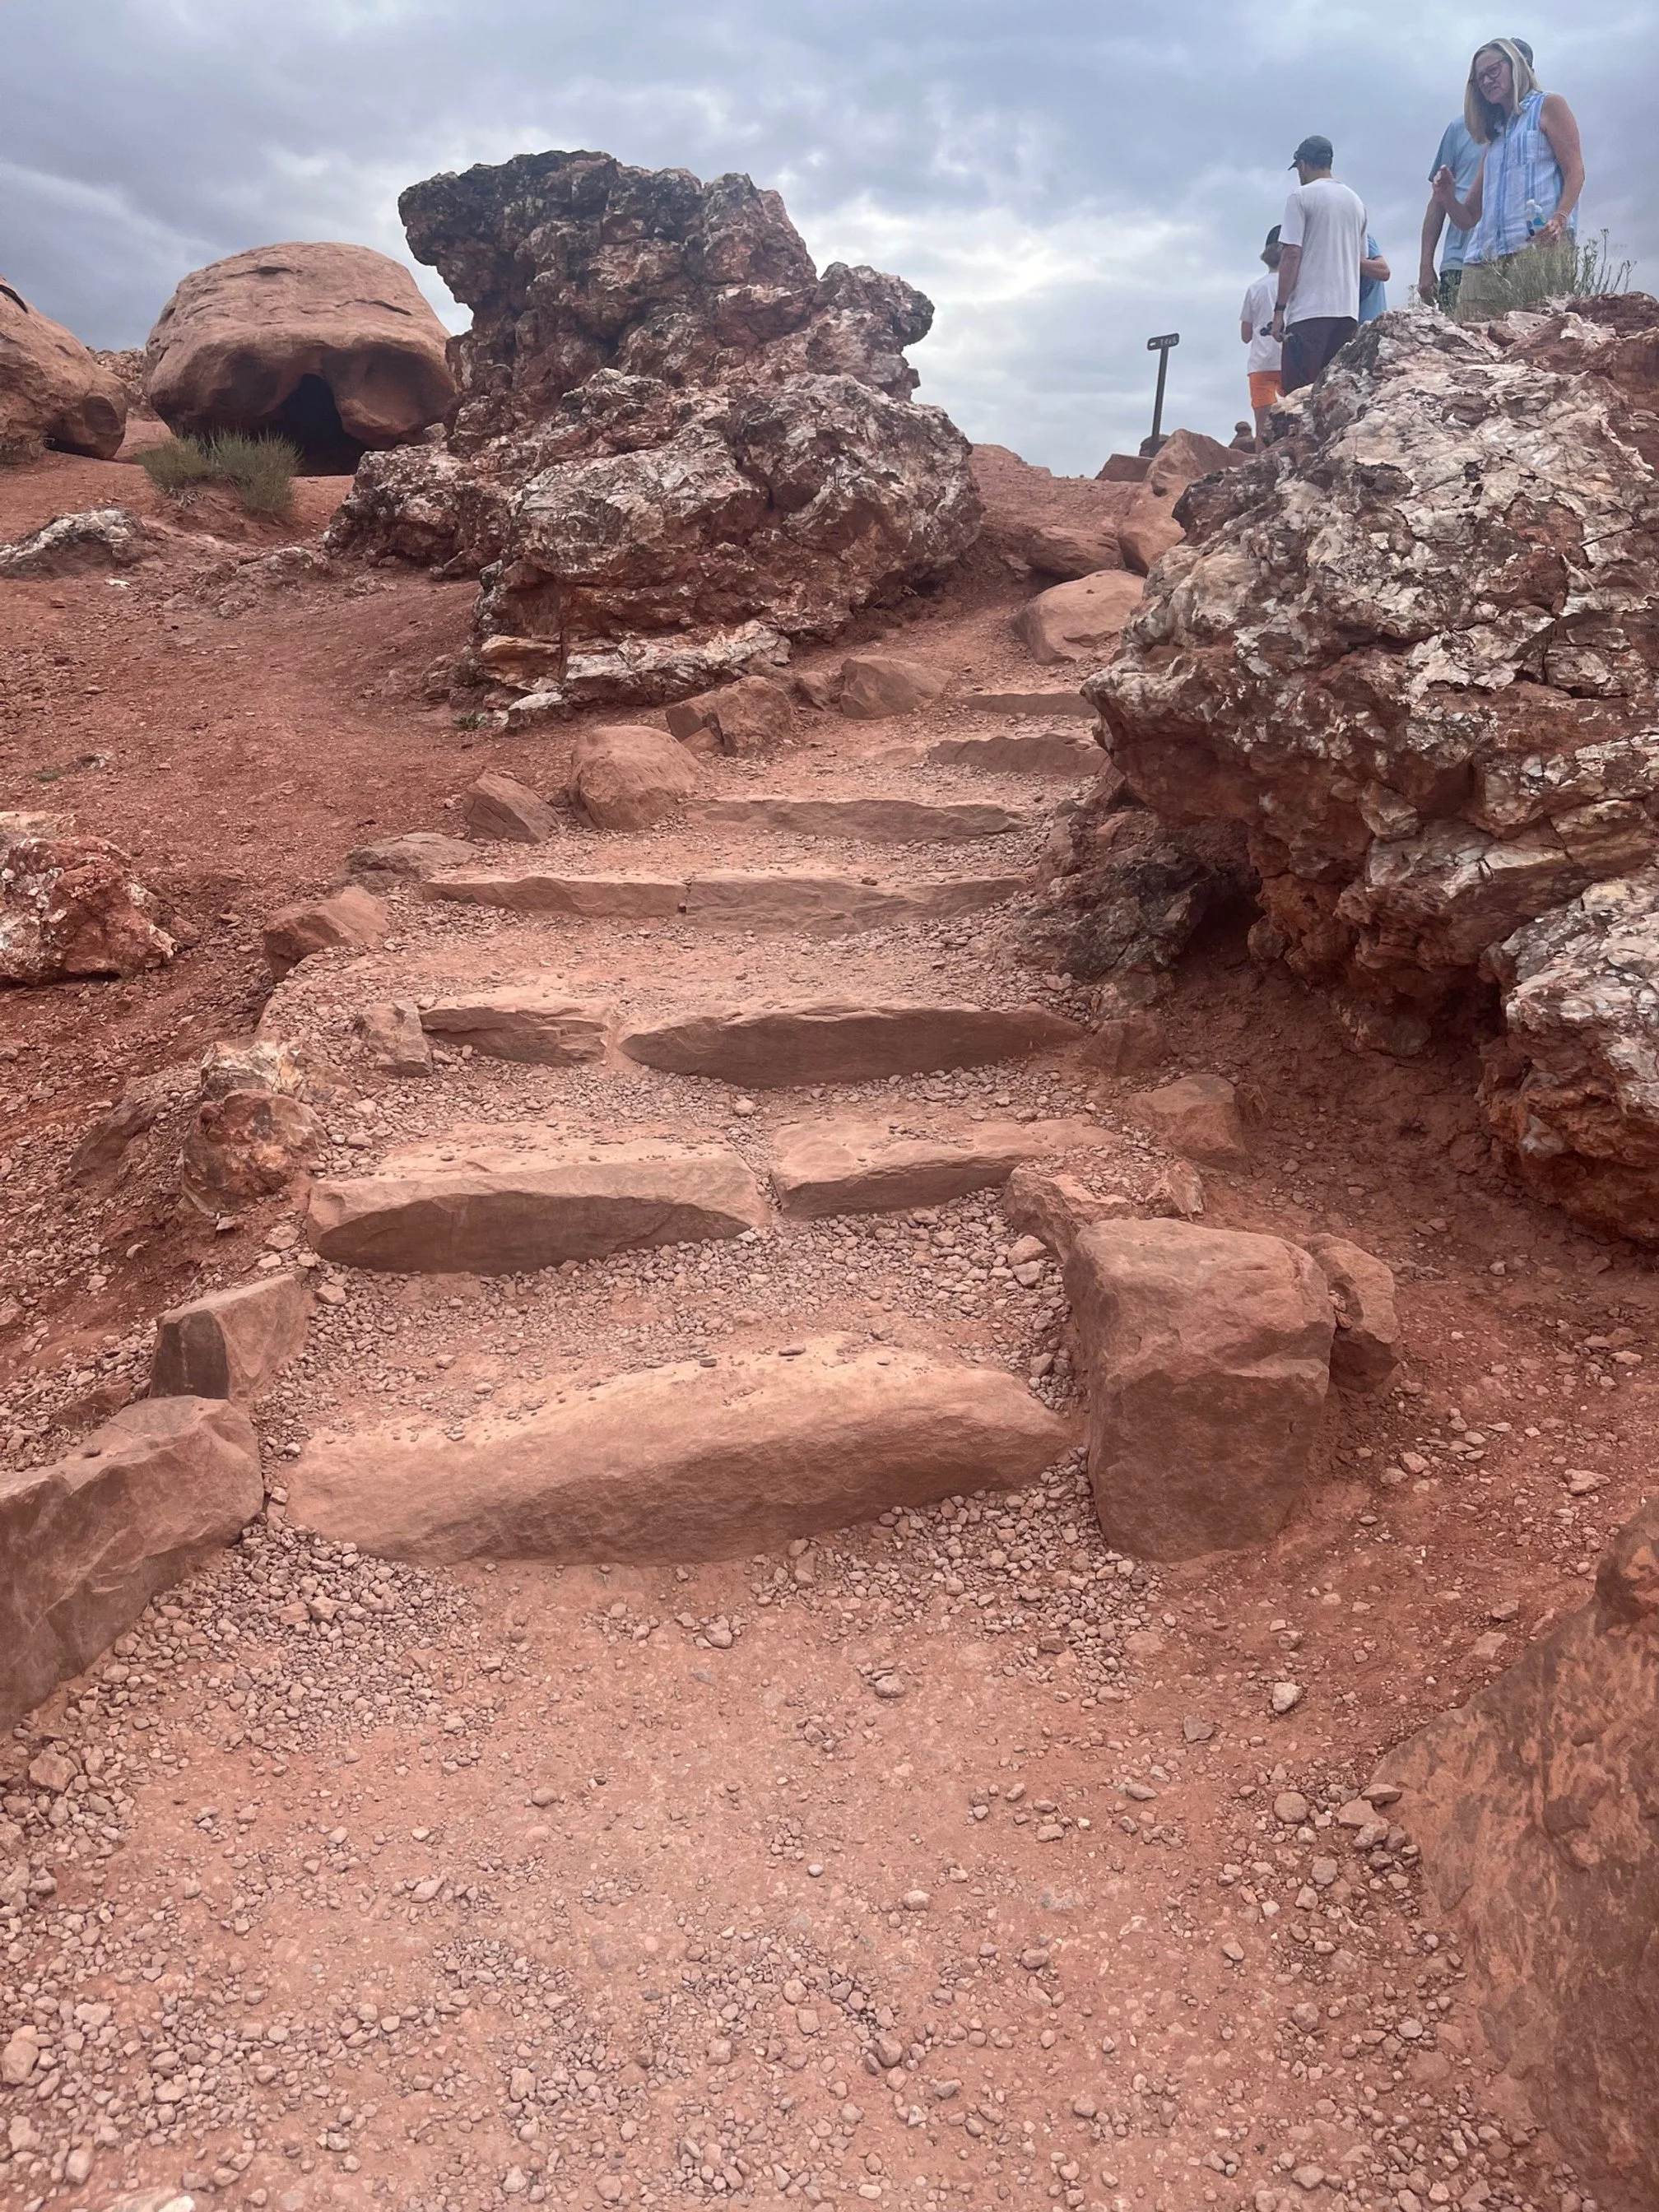
There are 2 short sets of stone stairs just before the overlook area. Once you’re beyond those, you’ve made it!
There’s not much at the viewpoint beyond the views, so don’t expect a seating area or anywhere to cool off.
Still, you’ll want to linger here to see Delicate Arch, which truly does look petite and delicate from this angle.

The kiddos and I with Delicate Arch behind us
There is a wide rock shelf in front of the trail, and we’ve seen many people venture out this way for a different vantage point.
Keep in mind that it’s not technically part of the trail, and that there is a steep drop off if you choose to walk out here.
NOTE: You cannot hike to Delicate Arch from the Delicate Arch Overlook Trail. Doing so would require specialized rock climbing equipment across backcountry areas with fragile ecosystems.
As you’re looking around at the Upper Overlook, don’t just take in Delicate Arch—this entire area is beautiful, though the rest of the canyon is overlooked by the famous arch.
When you’ve soaked in the beautiful views in this area, turn around and head back the way you came up, which is much easier when you’re heading back to the parking area.
Tips for Visiting the Delicate Arch Overlook


It’s not a substitute for the actual Delicate Arch hike, but a different view.
I’m sure that more than one person has started the Overlook hike here thinking that they’ve found the secret way to Delicate Arch to beat the crowds—only to be disappointed when they get to the upper overlook area and see the arch WAY over there across the canyon.
If you’re looking for a short, relatively easy hike that still allows you to see the arch, the lower and upper viewpoints are a good addition to your Arches National Park with kids itinerary.
However, if you want the iconic, up-close photo with Delicate Arch, you’ll want to also head over to the Wolfe Ranch parking area and prepare to wait for a spot. The regular Delicate Arch hike is longer (3 miles) and much more strenuous, so keep that in mind.
Wear comfortable shoes.
If you’re only planning to do the Lower Overlook, you can wear just about anything that will let you walk a couple of hundred feet from your car.
However, if you’re aiming for the Upper Overlook, you’ll want something sturdy with good tread. We’ve seen people absolutely bust it on this trail (especially when they’re heading down) when they hit a patch of rocks or sand unexpectedly.
Aim for hiking boots, sturdy tennis shoes, hiking sandals, or trail runners for the best experience.
I have Keen Newport H2 hiking sandals and Altra Timp 4 trail runners, both of which have been excellent in all of my adventures in over 2 dozen national parks and hiking in more than 30 states.
Not sure what kind of footwear to buy for this trip? Check out the pros and cons of hiking boots, trail runners, and hiking sandals here.
Bring water.
While it’s not a terribly long trail, it’s always a good idea to bring water, especially if you’re hiking in Arches in the summer.
The climate here is very dry, so you can get thirsty or dehydrated much quicker than usual than in lower elevations with more humidity.
The trail is completely exposed on both the Upper and Lower Overlook areas, so you will need to be prepared to be in the sun the entire time you’re hiking.
Watch the weather.
You don’t want to be up on that Upper Overlook area if there’s a storm coming in. While Arches doesn’t get a ton of rain, the occasional thunderstorm does roll in, and you’d basically be a human lightning rod on that wide, flat rock at the canyon edge.
Check with the rangers before you leave the visitors center to see what the weather forecast is for the day.
You’ll also want to be careful here (and elsewhere in the park) when those temperatures start climbing, too. It is easy to overheat when exerting yourself on a hike like this one.
More helpful posts about Arches:
Final Thoughts on the Delicate Arch Overlook Trail in Arches National Park
While it’s not the best for the perfect view of Delicate Arch, the Overlook Trail with the 2 different viewpoint areas does give visitors more options.
The more plentiful parking, shorter trail length, and varied levels of strenuousness means that just about anyone visiting the park can see the arch from this area, regardless of fitness level, age, or ability.
The Lower Viewpoint is a quick in-and-out option for busy families or visitors who are just hitting the highlights in the park in a short amount of time.
The Upper Viewpoint is a more challenging trail without being overly difficult. Plus, it is still short enough that it will fit into just about any itinerary.
While this trail doesn’t have the glamour or the notoriety of the regular Delicate Arch Trail, it’s a great one for families, visitors with mobility issues, and others who want a quick glimpse without the commitment of a 3-mile hike.