North and South Bubble Trails in Acadia National Park: A Hiking Guide
For the most spectacular views of Jordan Pond and the Cranberry Islands, add on the North and South Bubble Trail in Acadia National Park!
While South Bubble Trail is better known, thanks to its iconic almost-tipping-over boulder, North Bubble Trail shouldn’t be overlooked.
While these aren’t flat or paved trails, they are still fun and accessible enough even for kids and beginning hikers. The rock scramble areas are the biggest challenge, so consider that when going into this trail.
In the trail guide below, you’ll find everything you need to tackle this trail along Acadia’s Park Loop Road on Mount Desert Island, Maine, from trail conditions and parking to must-have items.
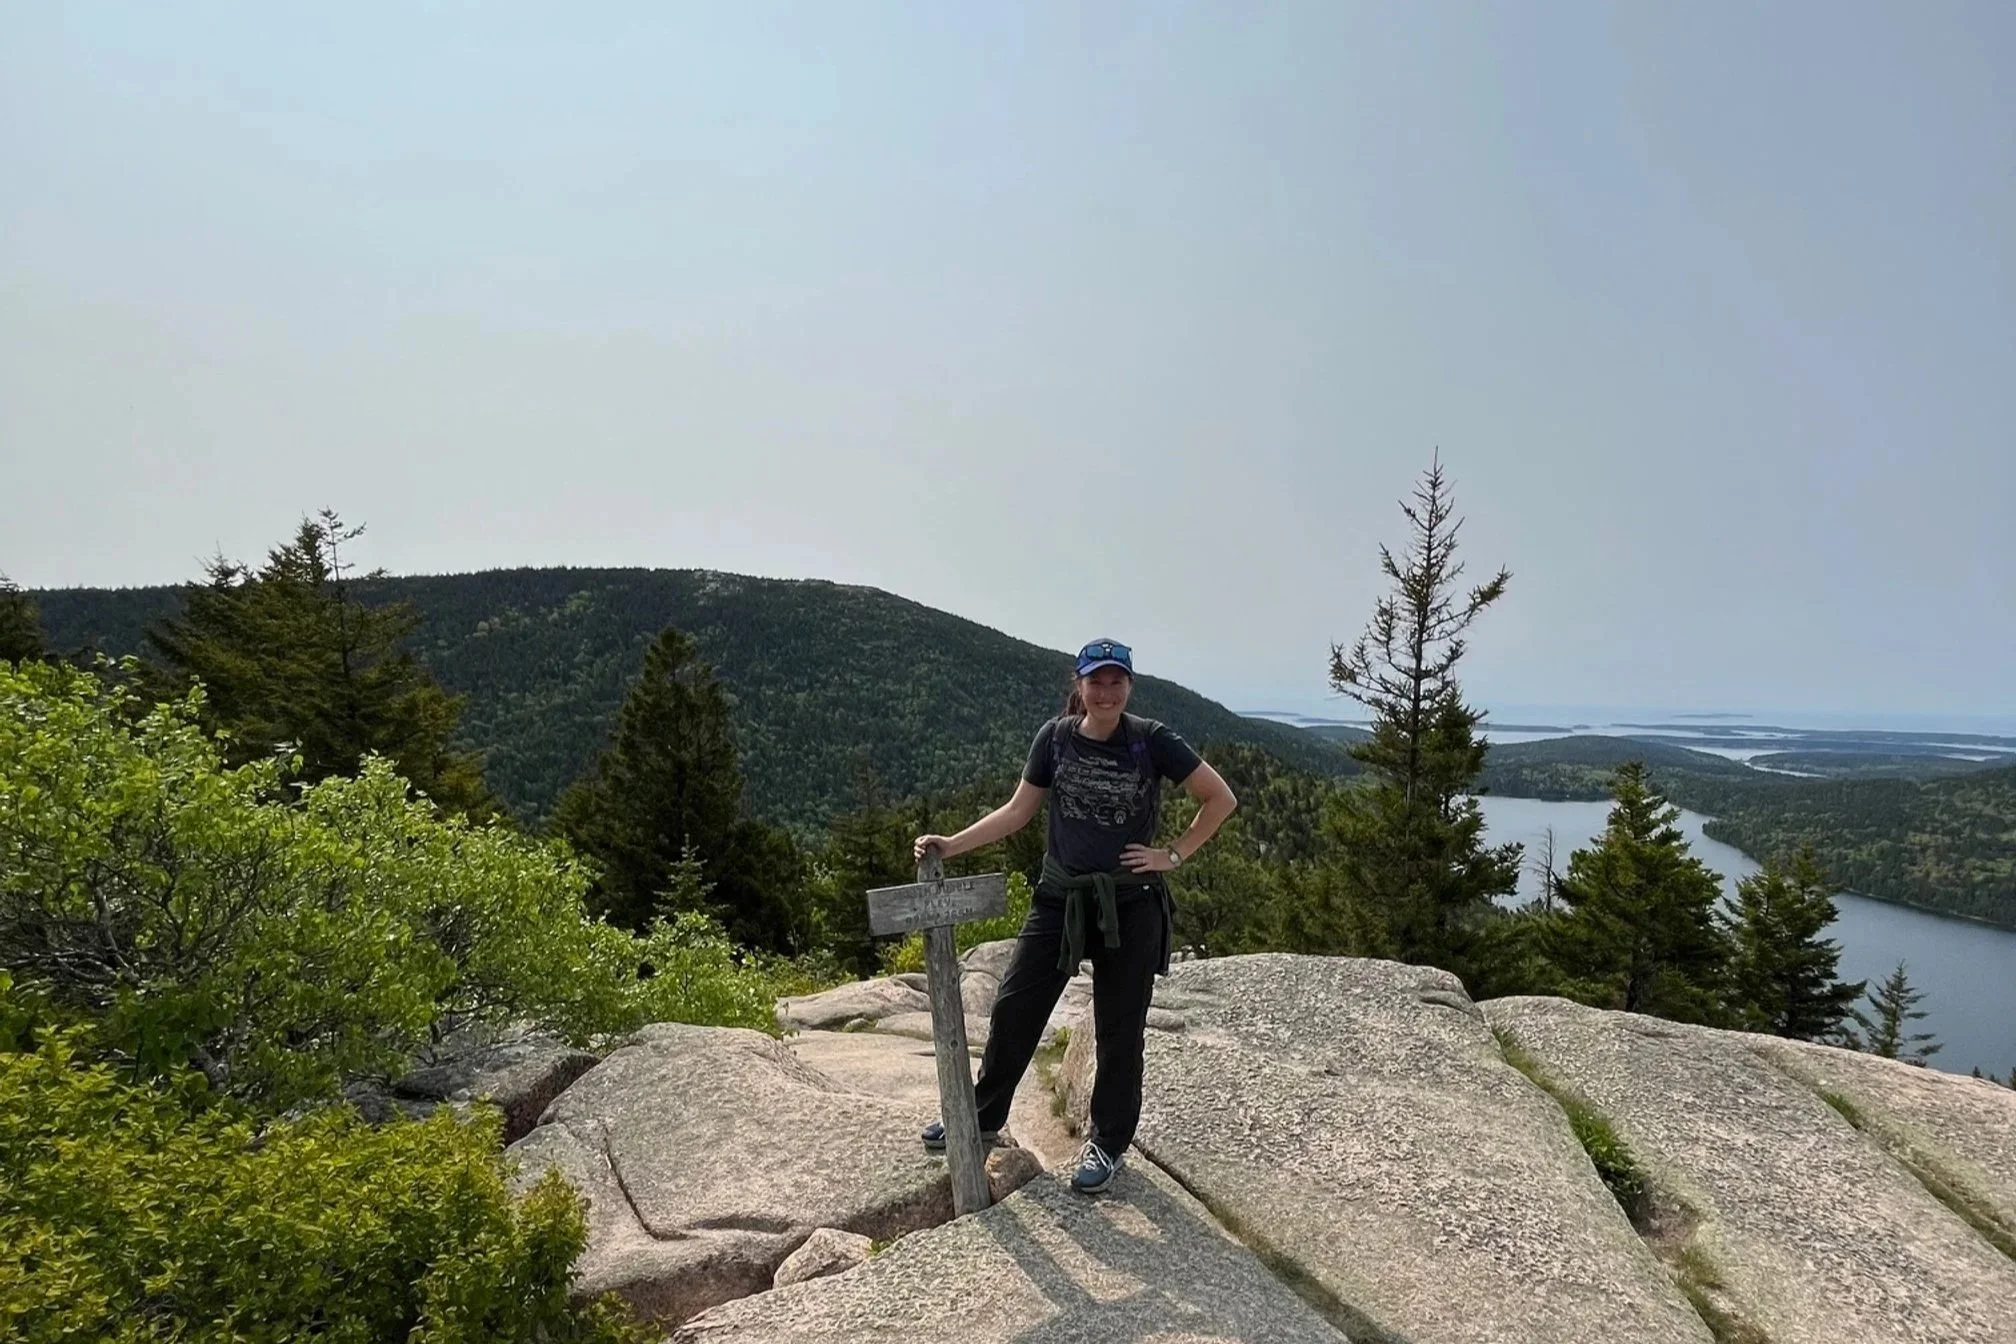
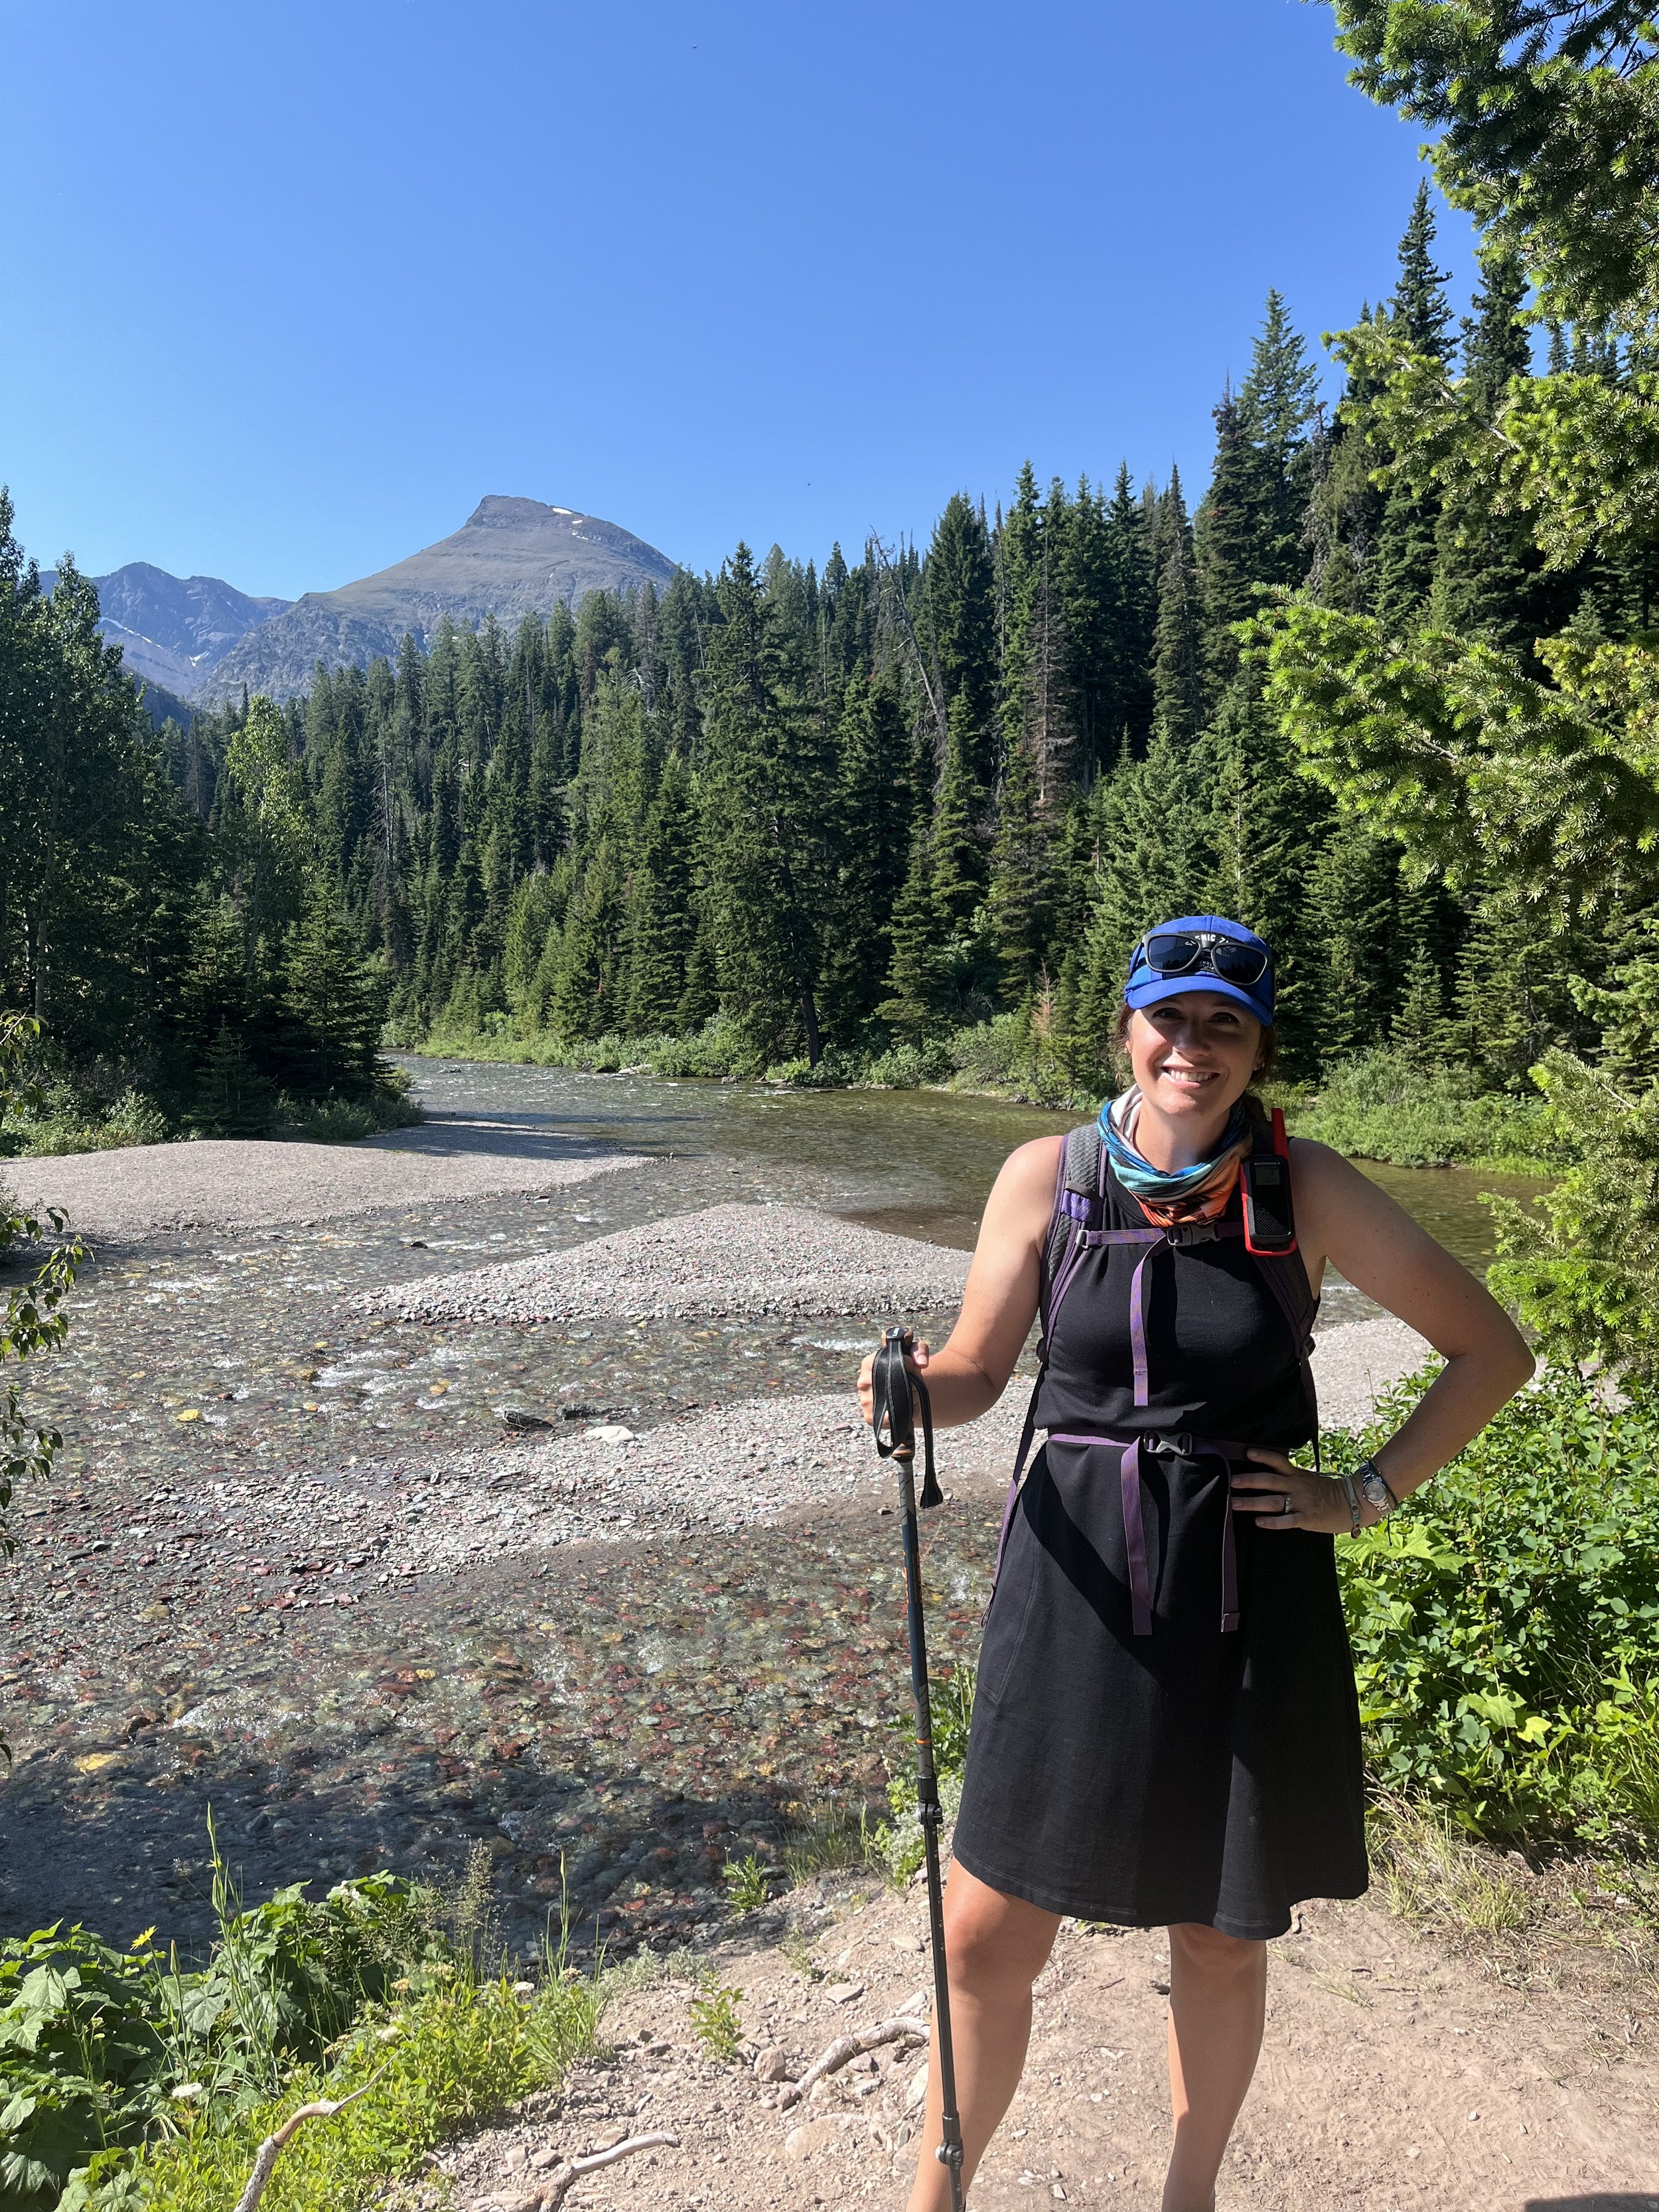
Me at the summit of North Bubble Trail
This post contains affiliates. If you purchase through the links below, I will receive a commission at no charge to you.
Hike Overview
Trailhead Location: Inside Acadia National Park on Park Loop Road near Jordan Pond
Trail length: up to 3.5 miles round trip, depending on exact route
Trail difficulty: moderate
Elevation gain: approximately 400 feet
Starting the Hike: Parking and Trail Information
The main trailhead for both the North and South Bubble Trail is located on Park Loop Road inside Acadia National Park.
You will find the parking area 1.6 miles north of the turnoff to the Jordan Pond House. As a side note, dining at Jordan Pond is a must-do while you’re in the park!
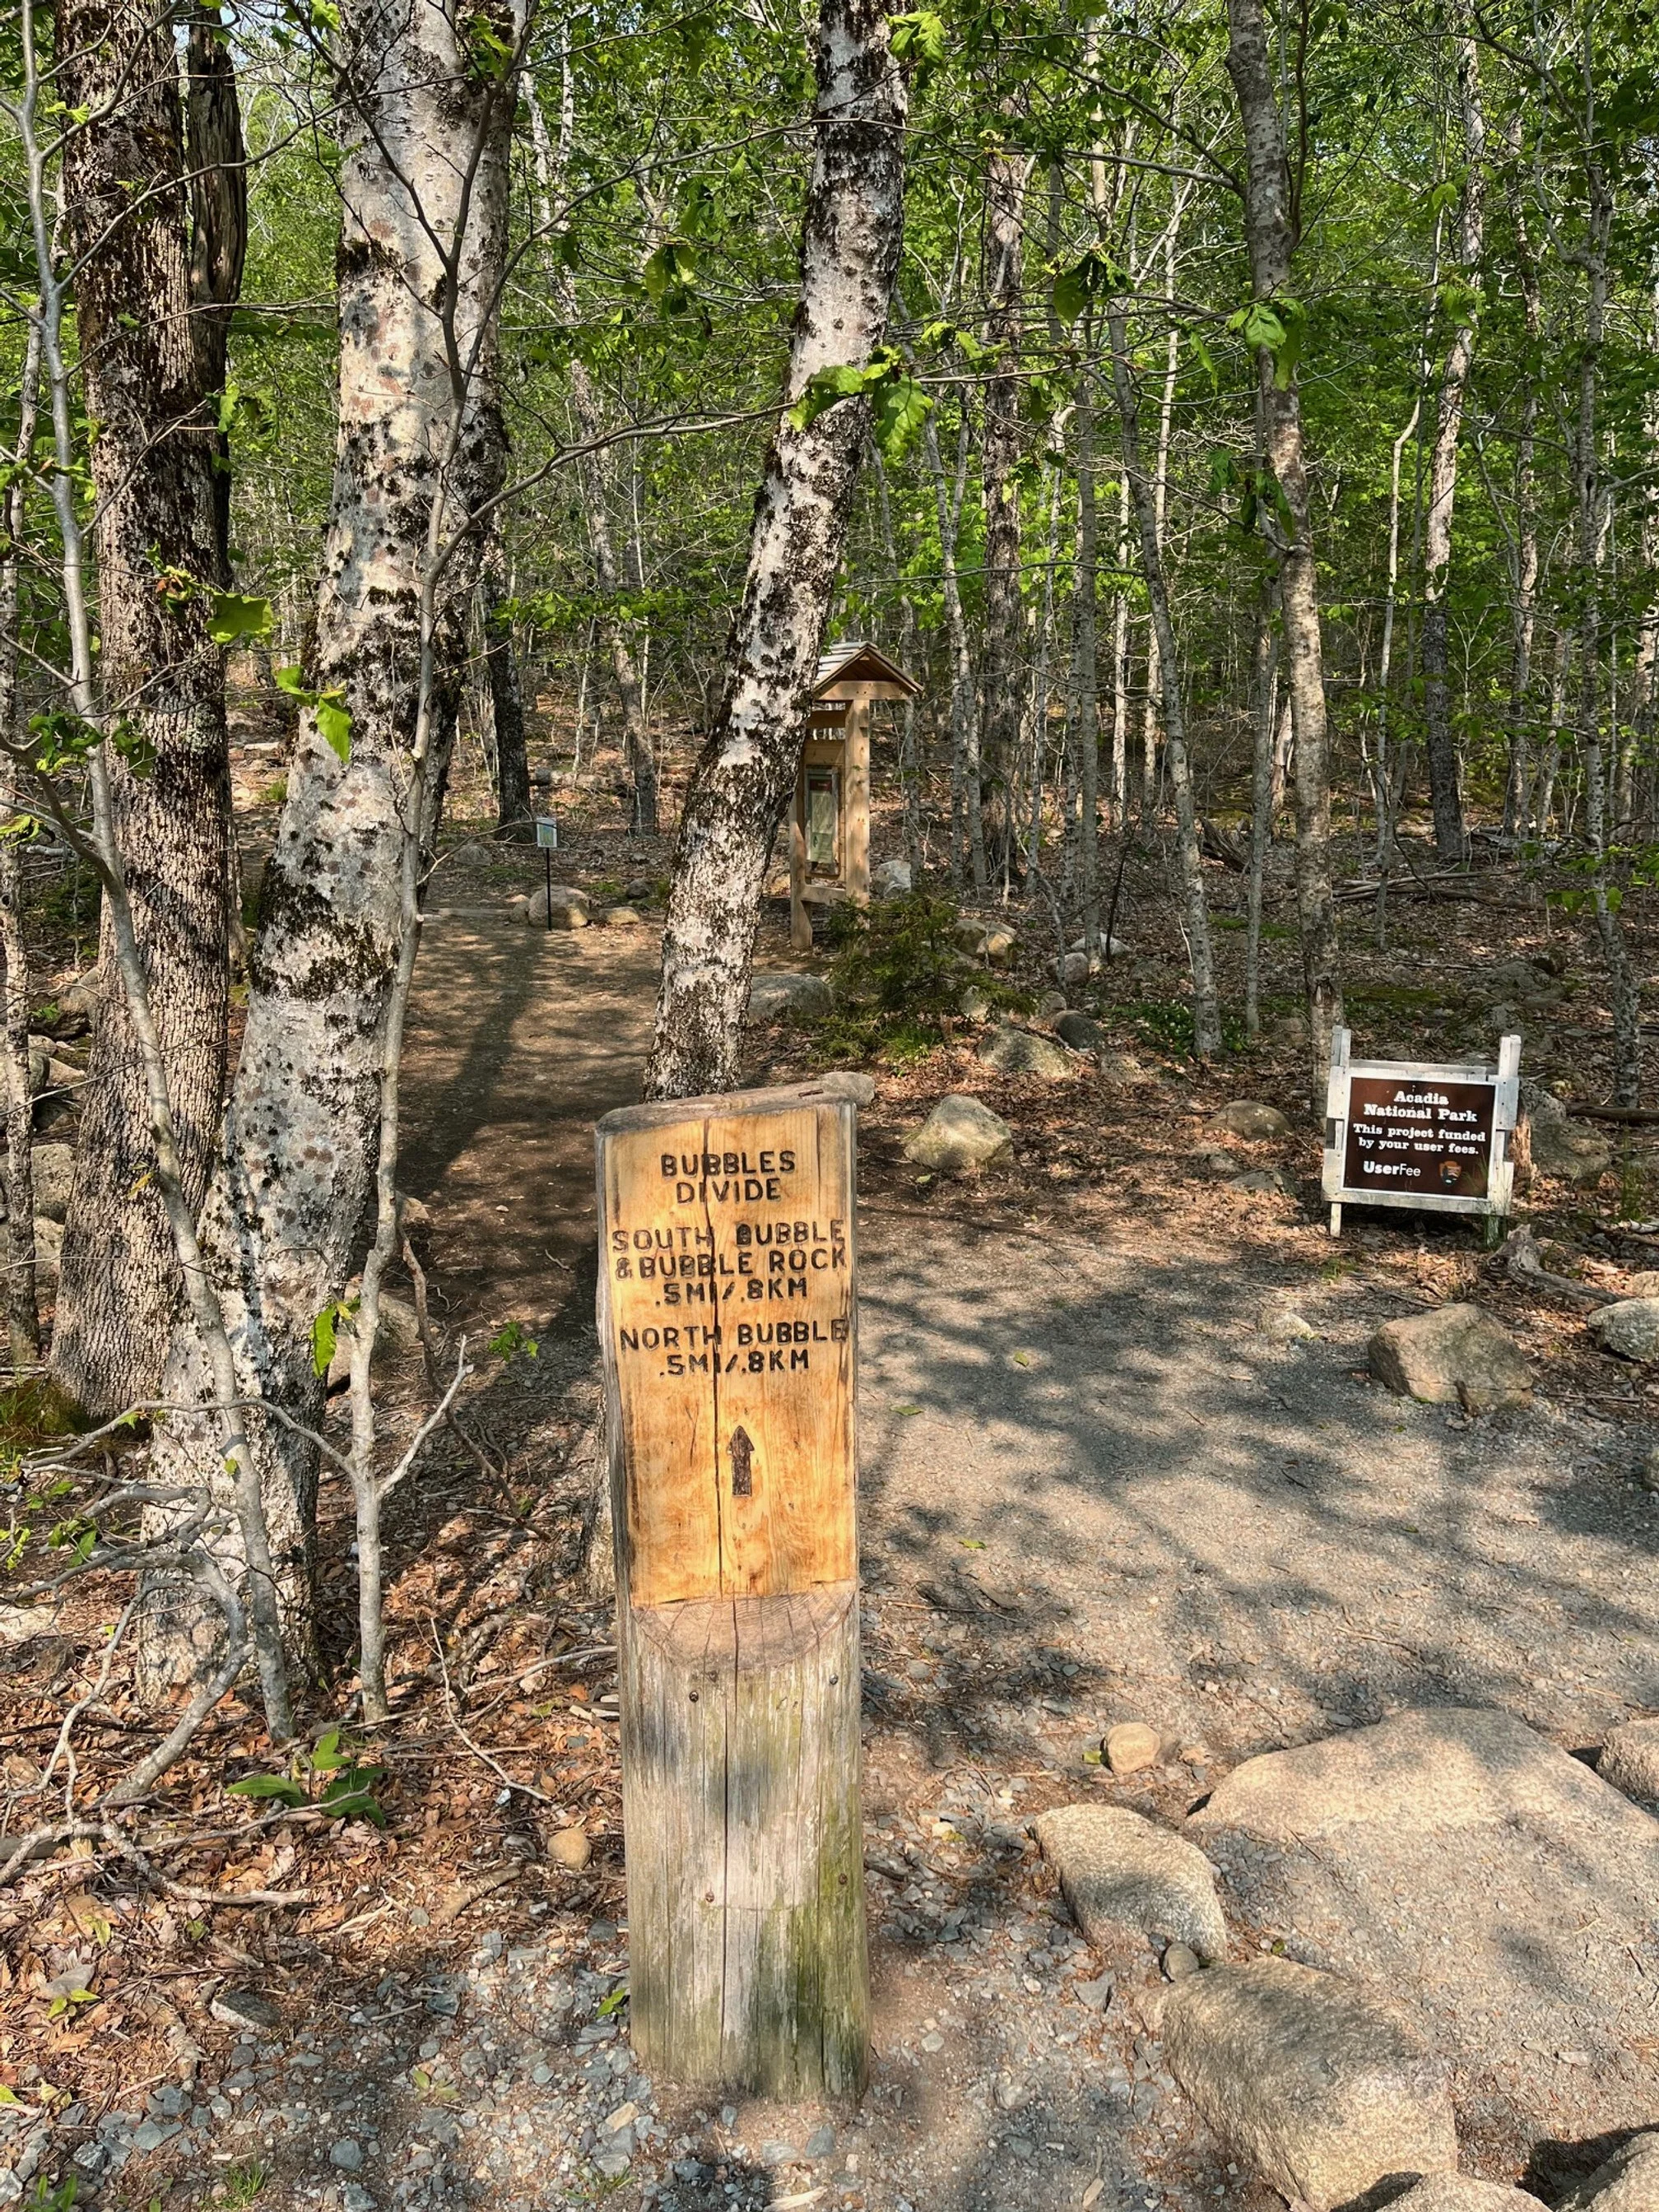
Bubbles Divide trailhead marker
The parking area for the trail is in the two-way section of road below Cadillac Mountain, so you don’t need to do the entire Park Loop Road to get here, thankfully.
The Bubbles Trail parking area has room for approximately 20 cars, and it will be busy during peak times of the year.
If this trail is a top priority on your itinerary, include a couple of times for possibly doing the hike if the parking area is full and no one is moving.
Read my complete 1-4 day itineraries for Acadia National Park here.
Parking is free and included in your national park visit. Hiking access to this trail is also free.
Once you’ve found a parking spot, you’ll make your way to the main trailhead, which is clearly marked with a sign.
You can access both North and South Bubble Trails here. The trail will split up ahead, and you can choose which direction you’d like to go.
If you’d like a longer or more challenging hike, you can use one of the alternate trailheads that will allow you to cover more ground. See more information below in the “how to extend this hike” section.
North Bubble vs. South Bubble
Doing both of the trails will give you the most opportunity for beautiful long range views and photos, but they’re similar enough that you might not want to do both if you’re pressed for time.
So, which trail should you pick?
South Bubble Trail has steeper sections with more areas of slick rock. However, it also has the iconic Bubble Rock, which looks like it could fall right on over the side of the mountain at any time.
NOTE: Bubble Rock is a glacial erratic, which is a boulder that was placed here by glacier movements in Acadia’s prehistoric past. There are several of these within this area, including Balancing Rock in Bar Harbor.
North Bubble is higher with slightly more spectacular views of the pond and ocean beyond. You cannot see Bubble Rock from anywhere on this part of the trail. As a plus, it’s not as busy as South Bubble, making it a better choice if you’re looking for a little solitude.
I will note that, other than Bubble Rock, the views you’re getting from both trails are gorgeous (and very similar). It really comes down to how badly you want to see Bubble Rock.


Bubbles Trail Guide
From the Bubbles Trail parking lot, begin hiking the Bubbles Divide. This is the trail that bisects the two mountain areas, and both the North and South Bubble Trails split off from the Bubbles Divide.
NOTE: If you were to simply hike the Bubbles Divide and not turn onto either North or South Bubble, you’ll end up on the shores of Jordan Pond. Doing so covers about half a mile, and will drop you onto the Jordan Pond Trail at the end furthest from Jordan Pond House.
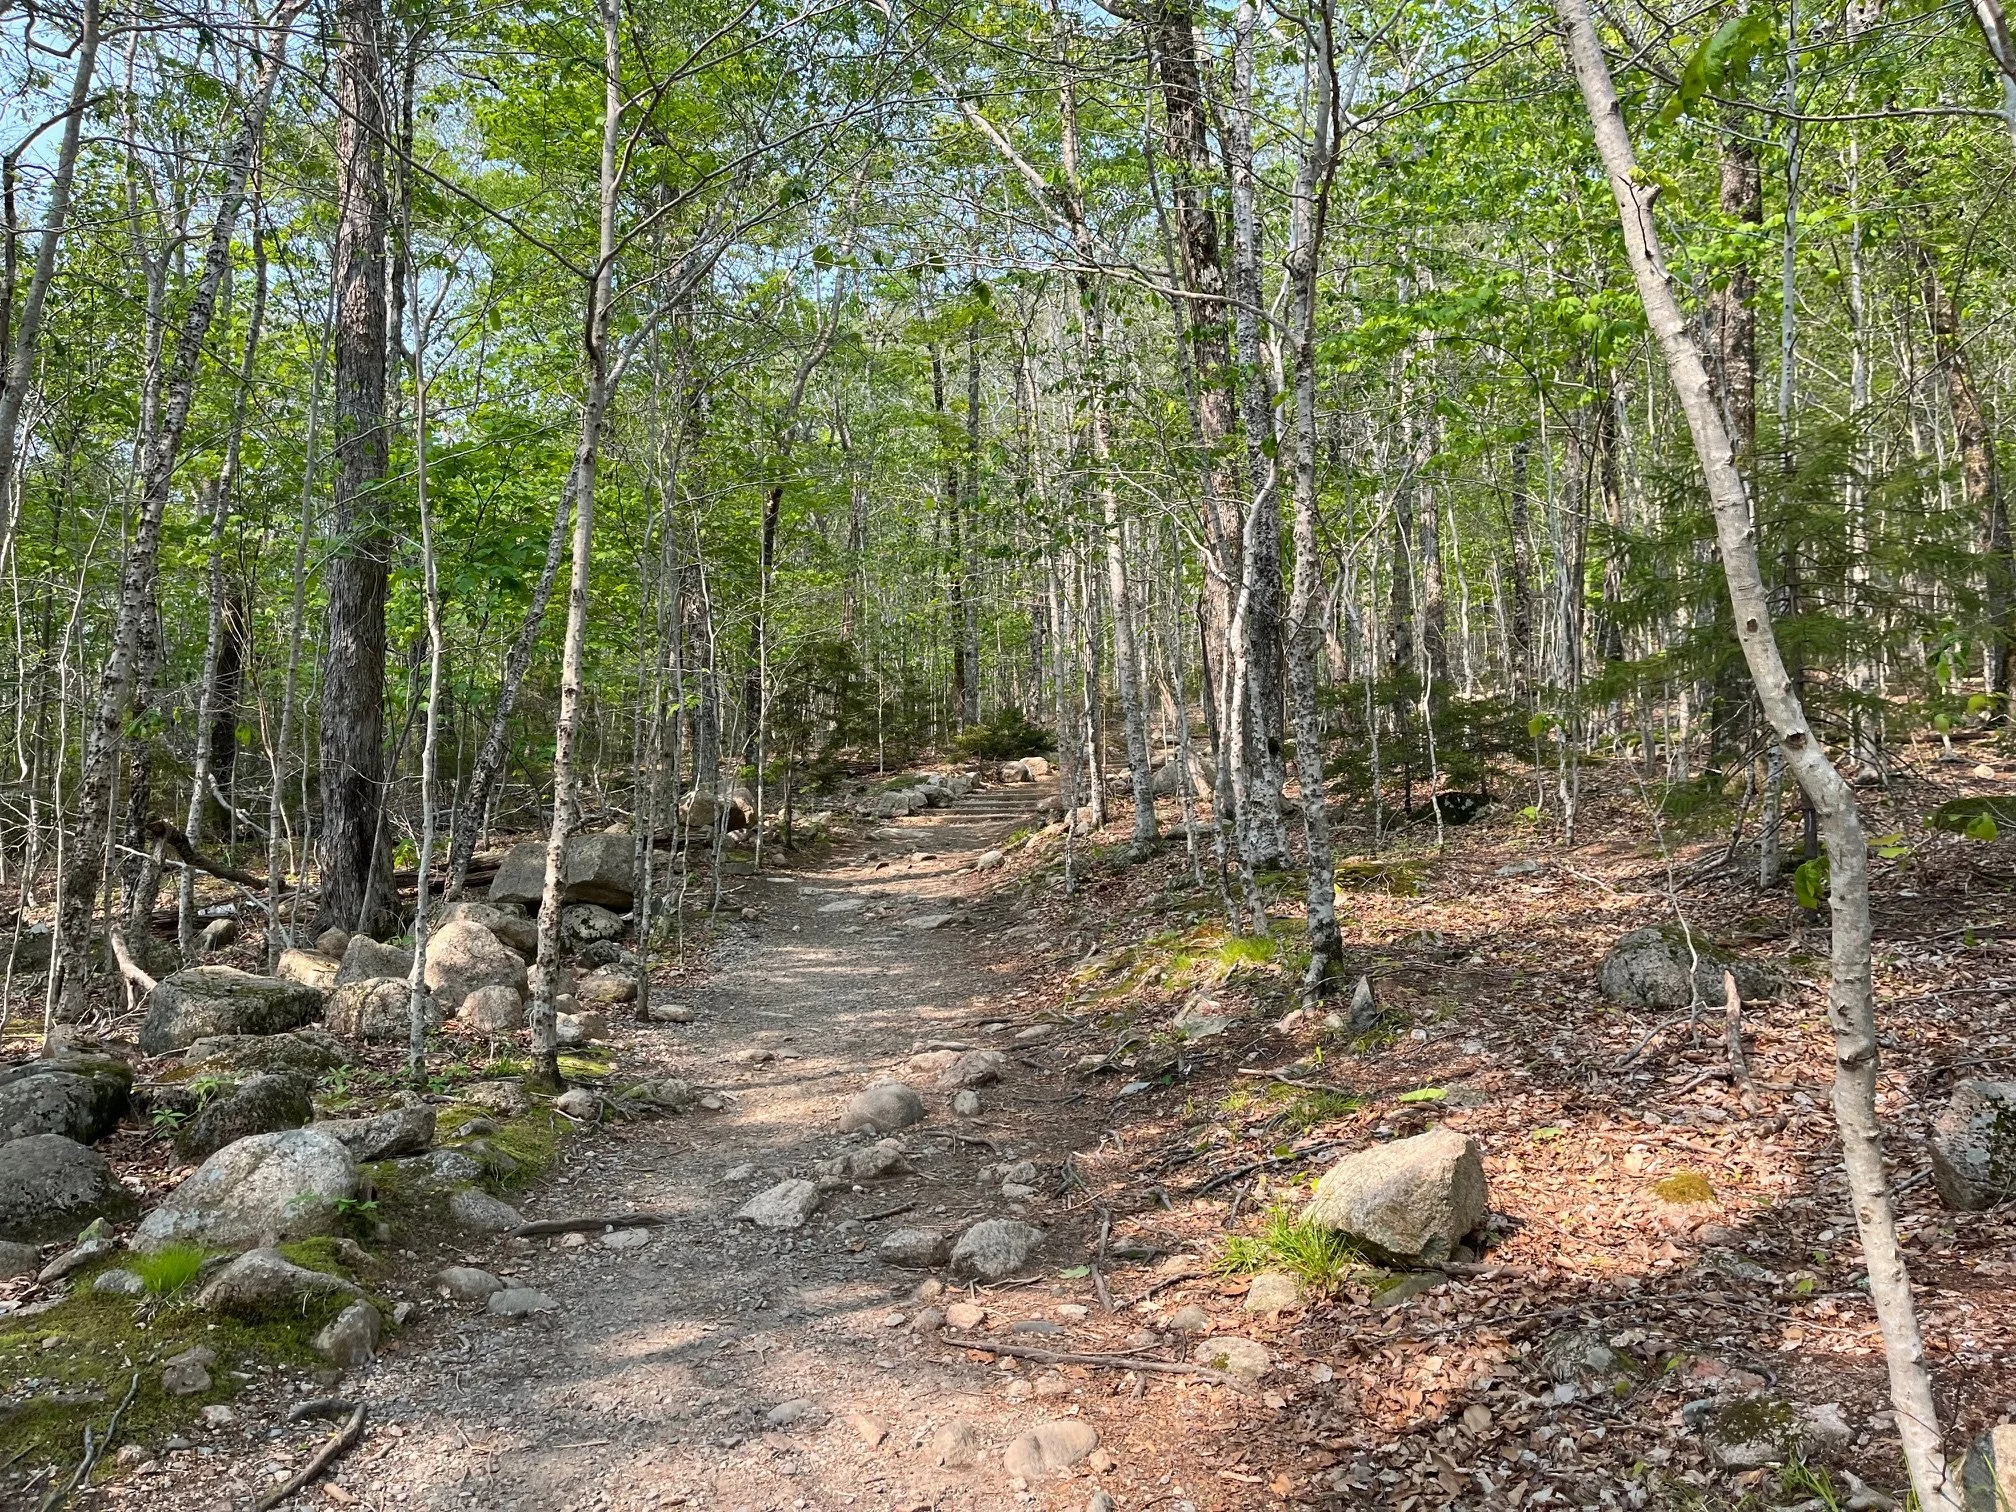
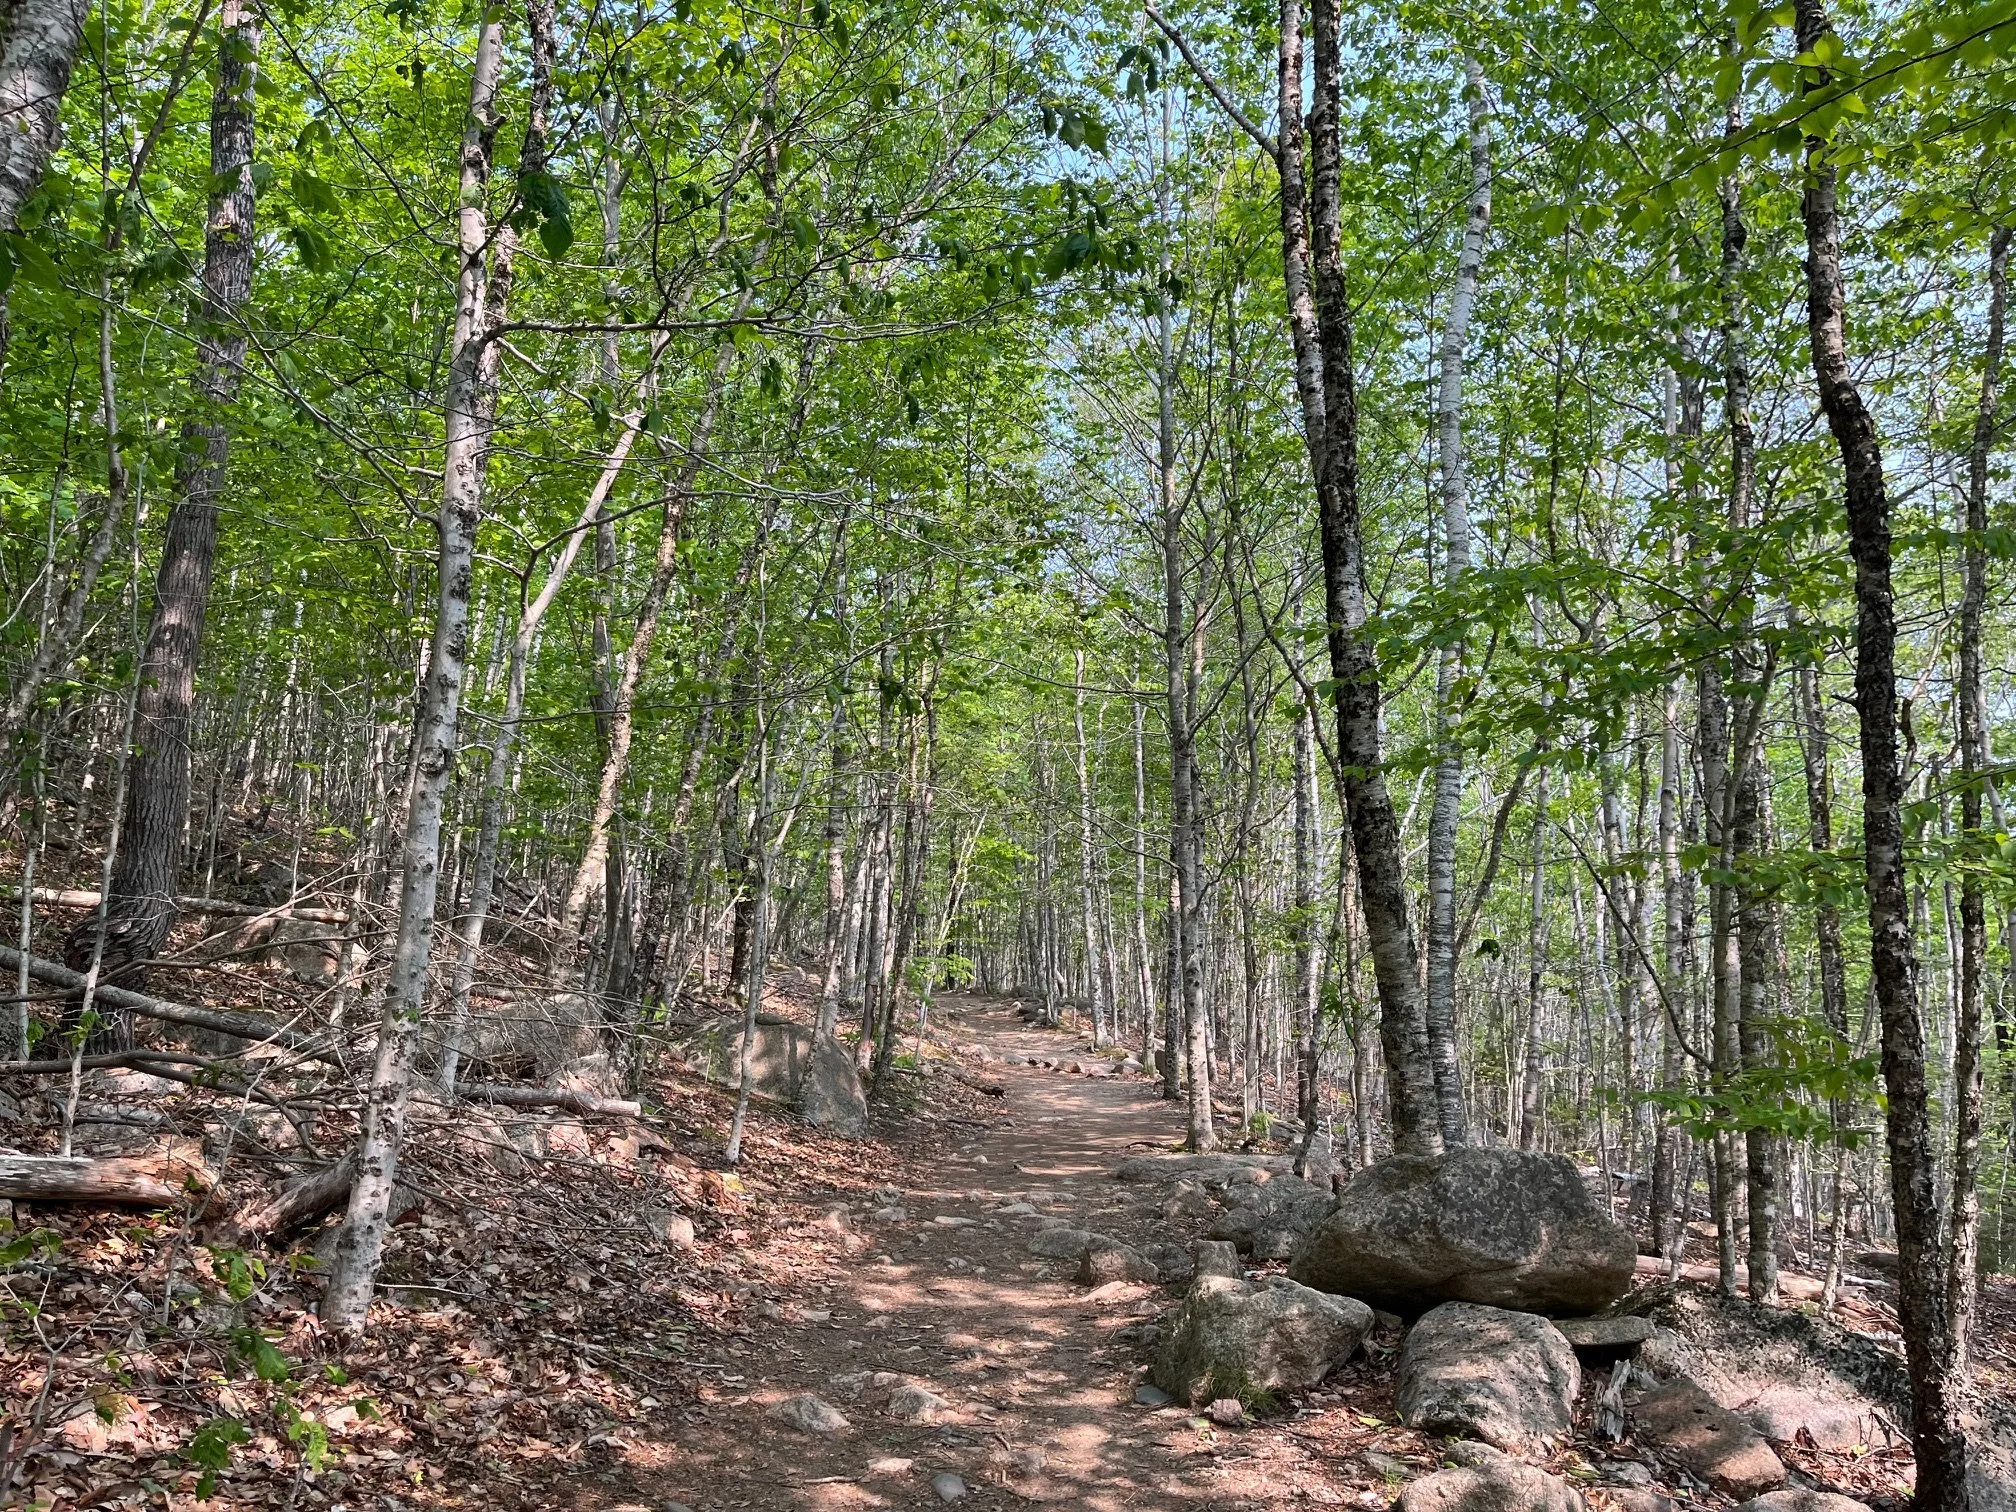
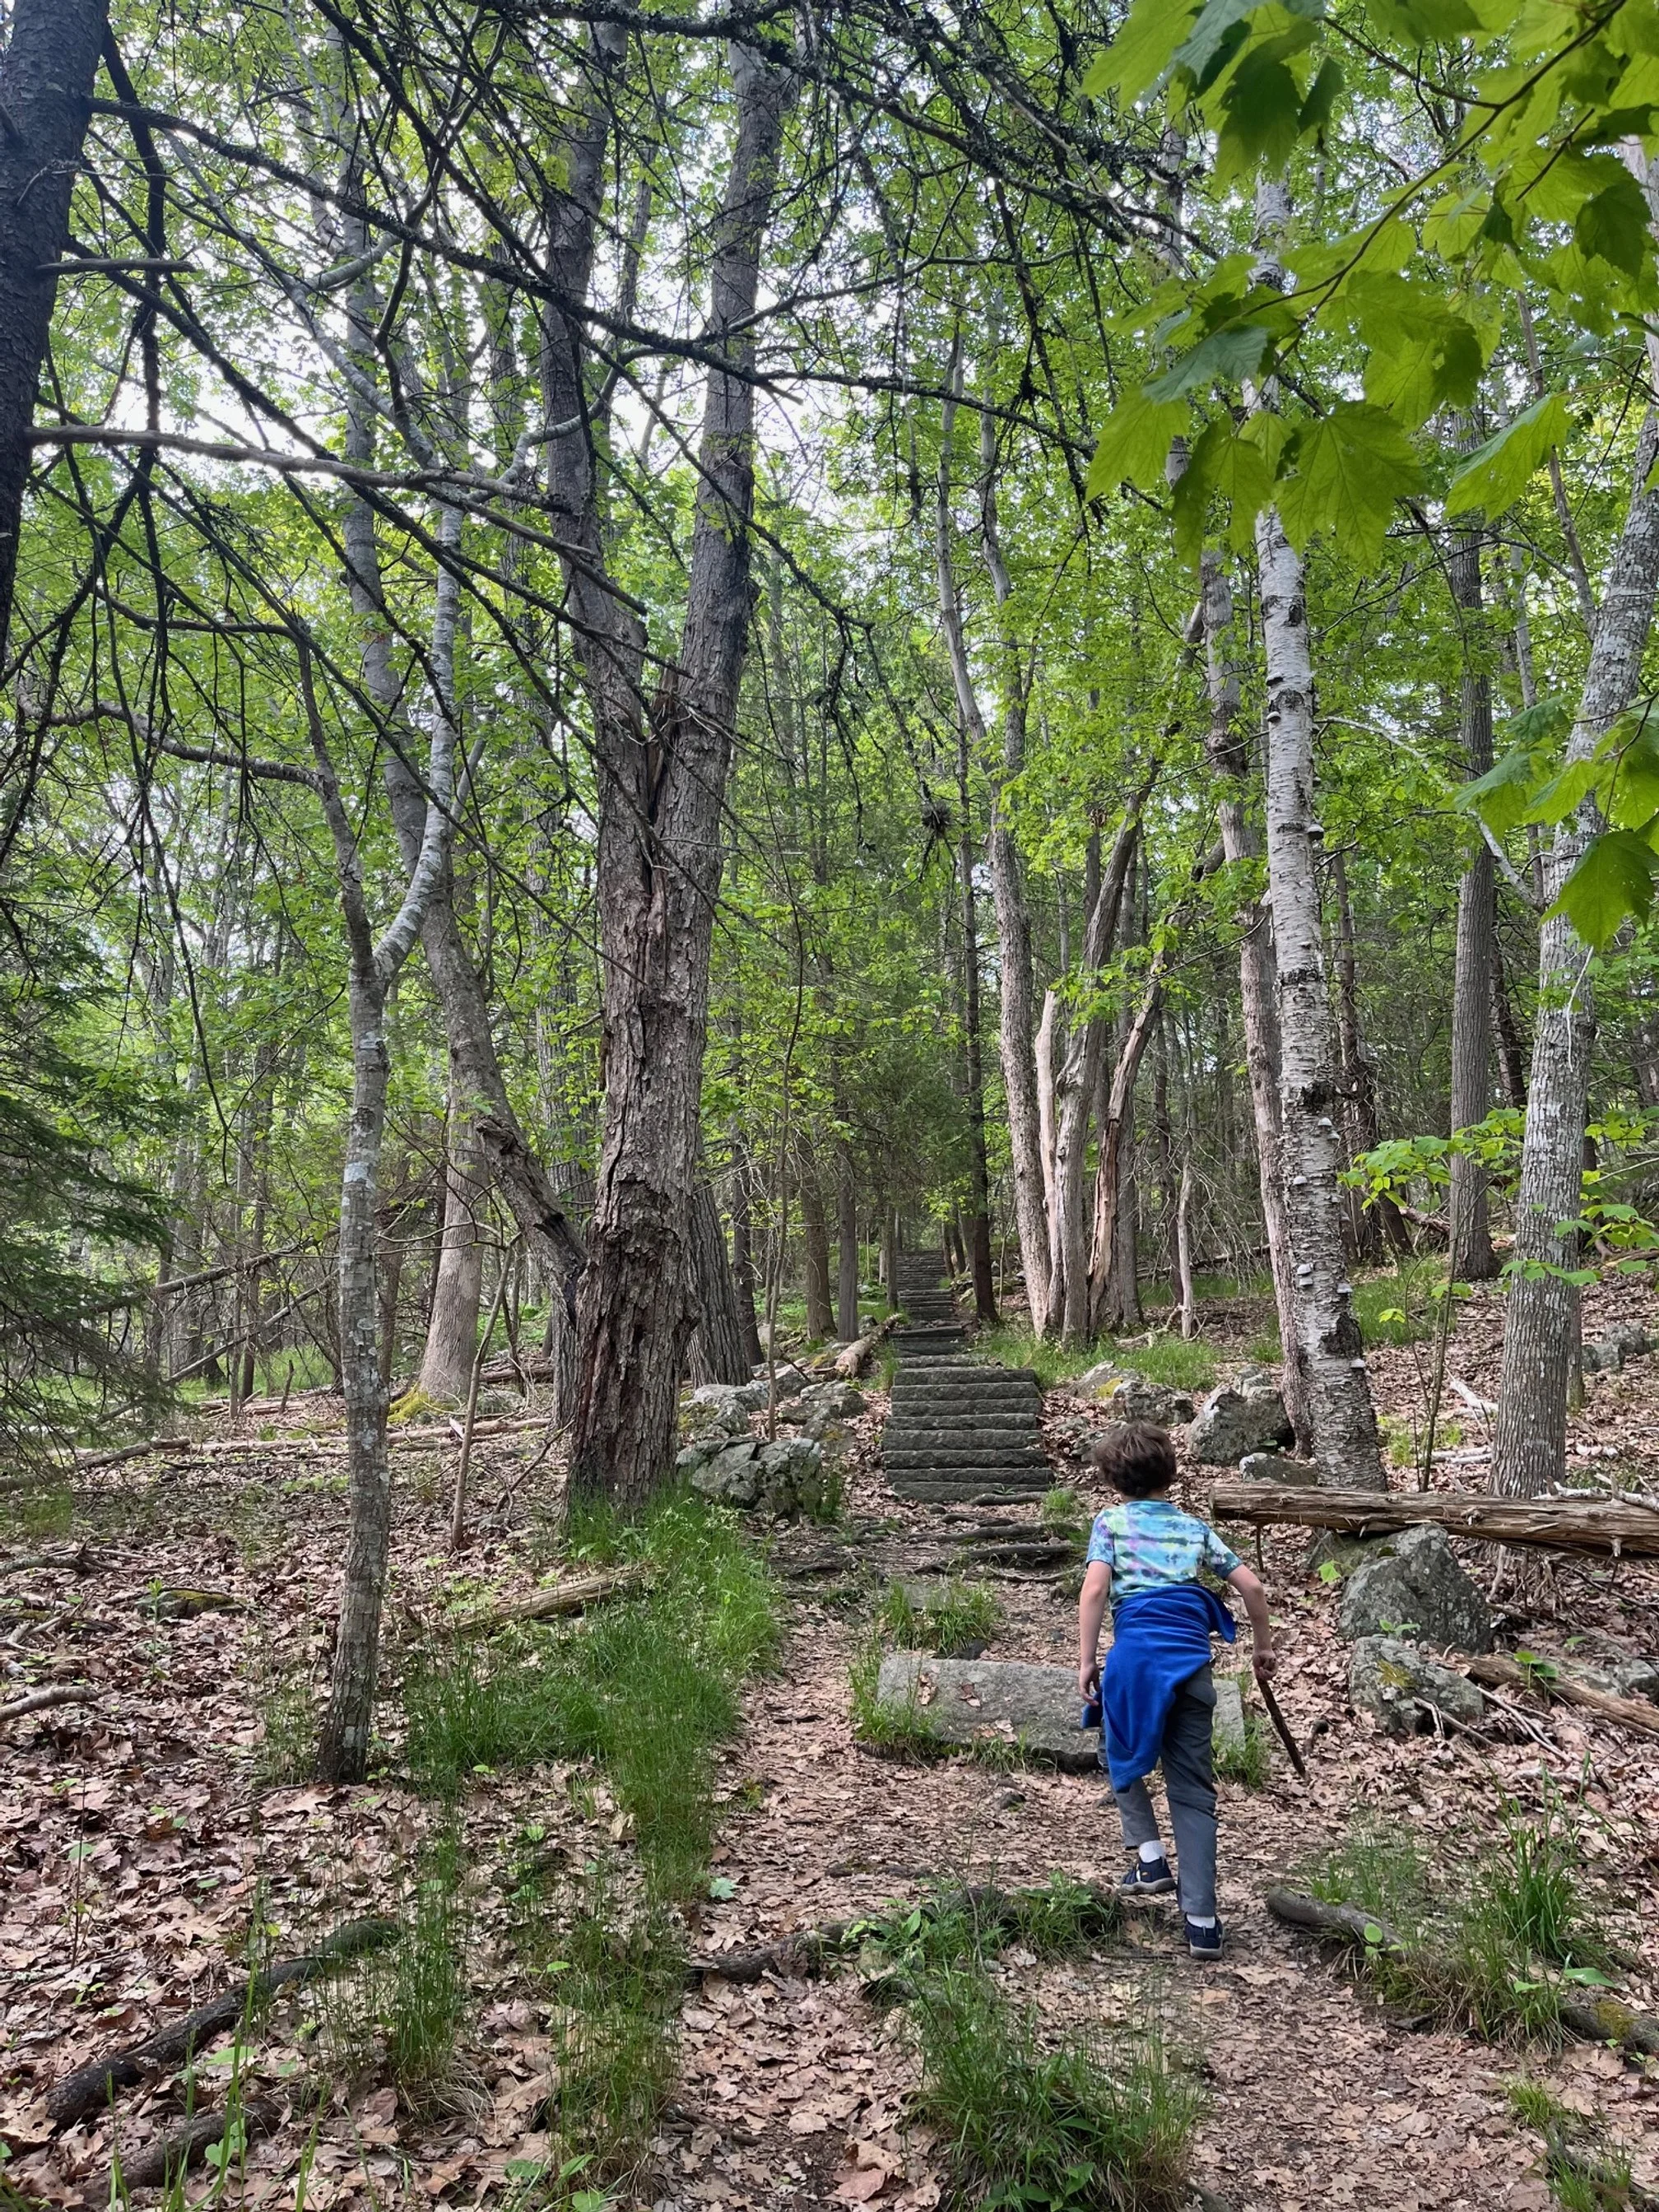
The trail is packed dirt and wide at the beginning. It will slowly start to curve further into the woods, and will begin a gentle elevation gain.
The trail begins to ascend.
As the trail begins to rise, there are patches of gravel to help with traction. You’ll also find sets of 3-10 stone stairs in the slightly steeper areas.
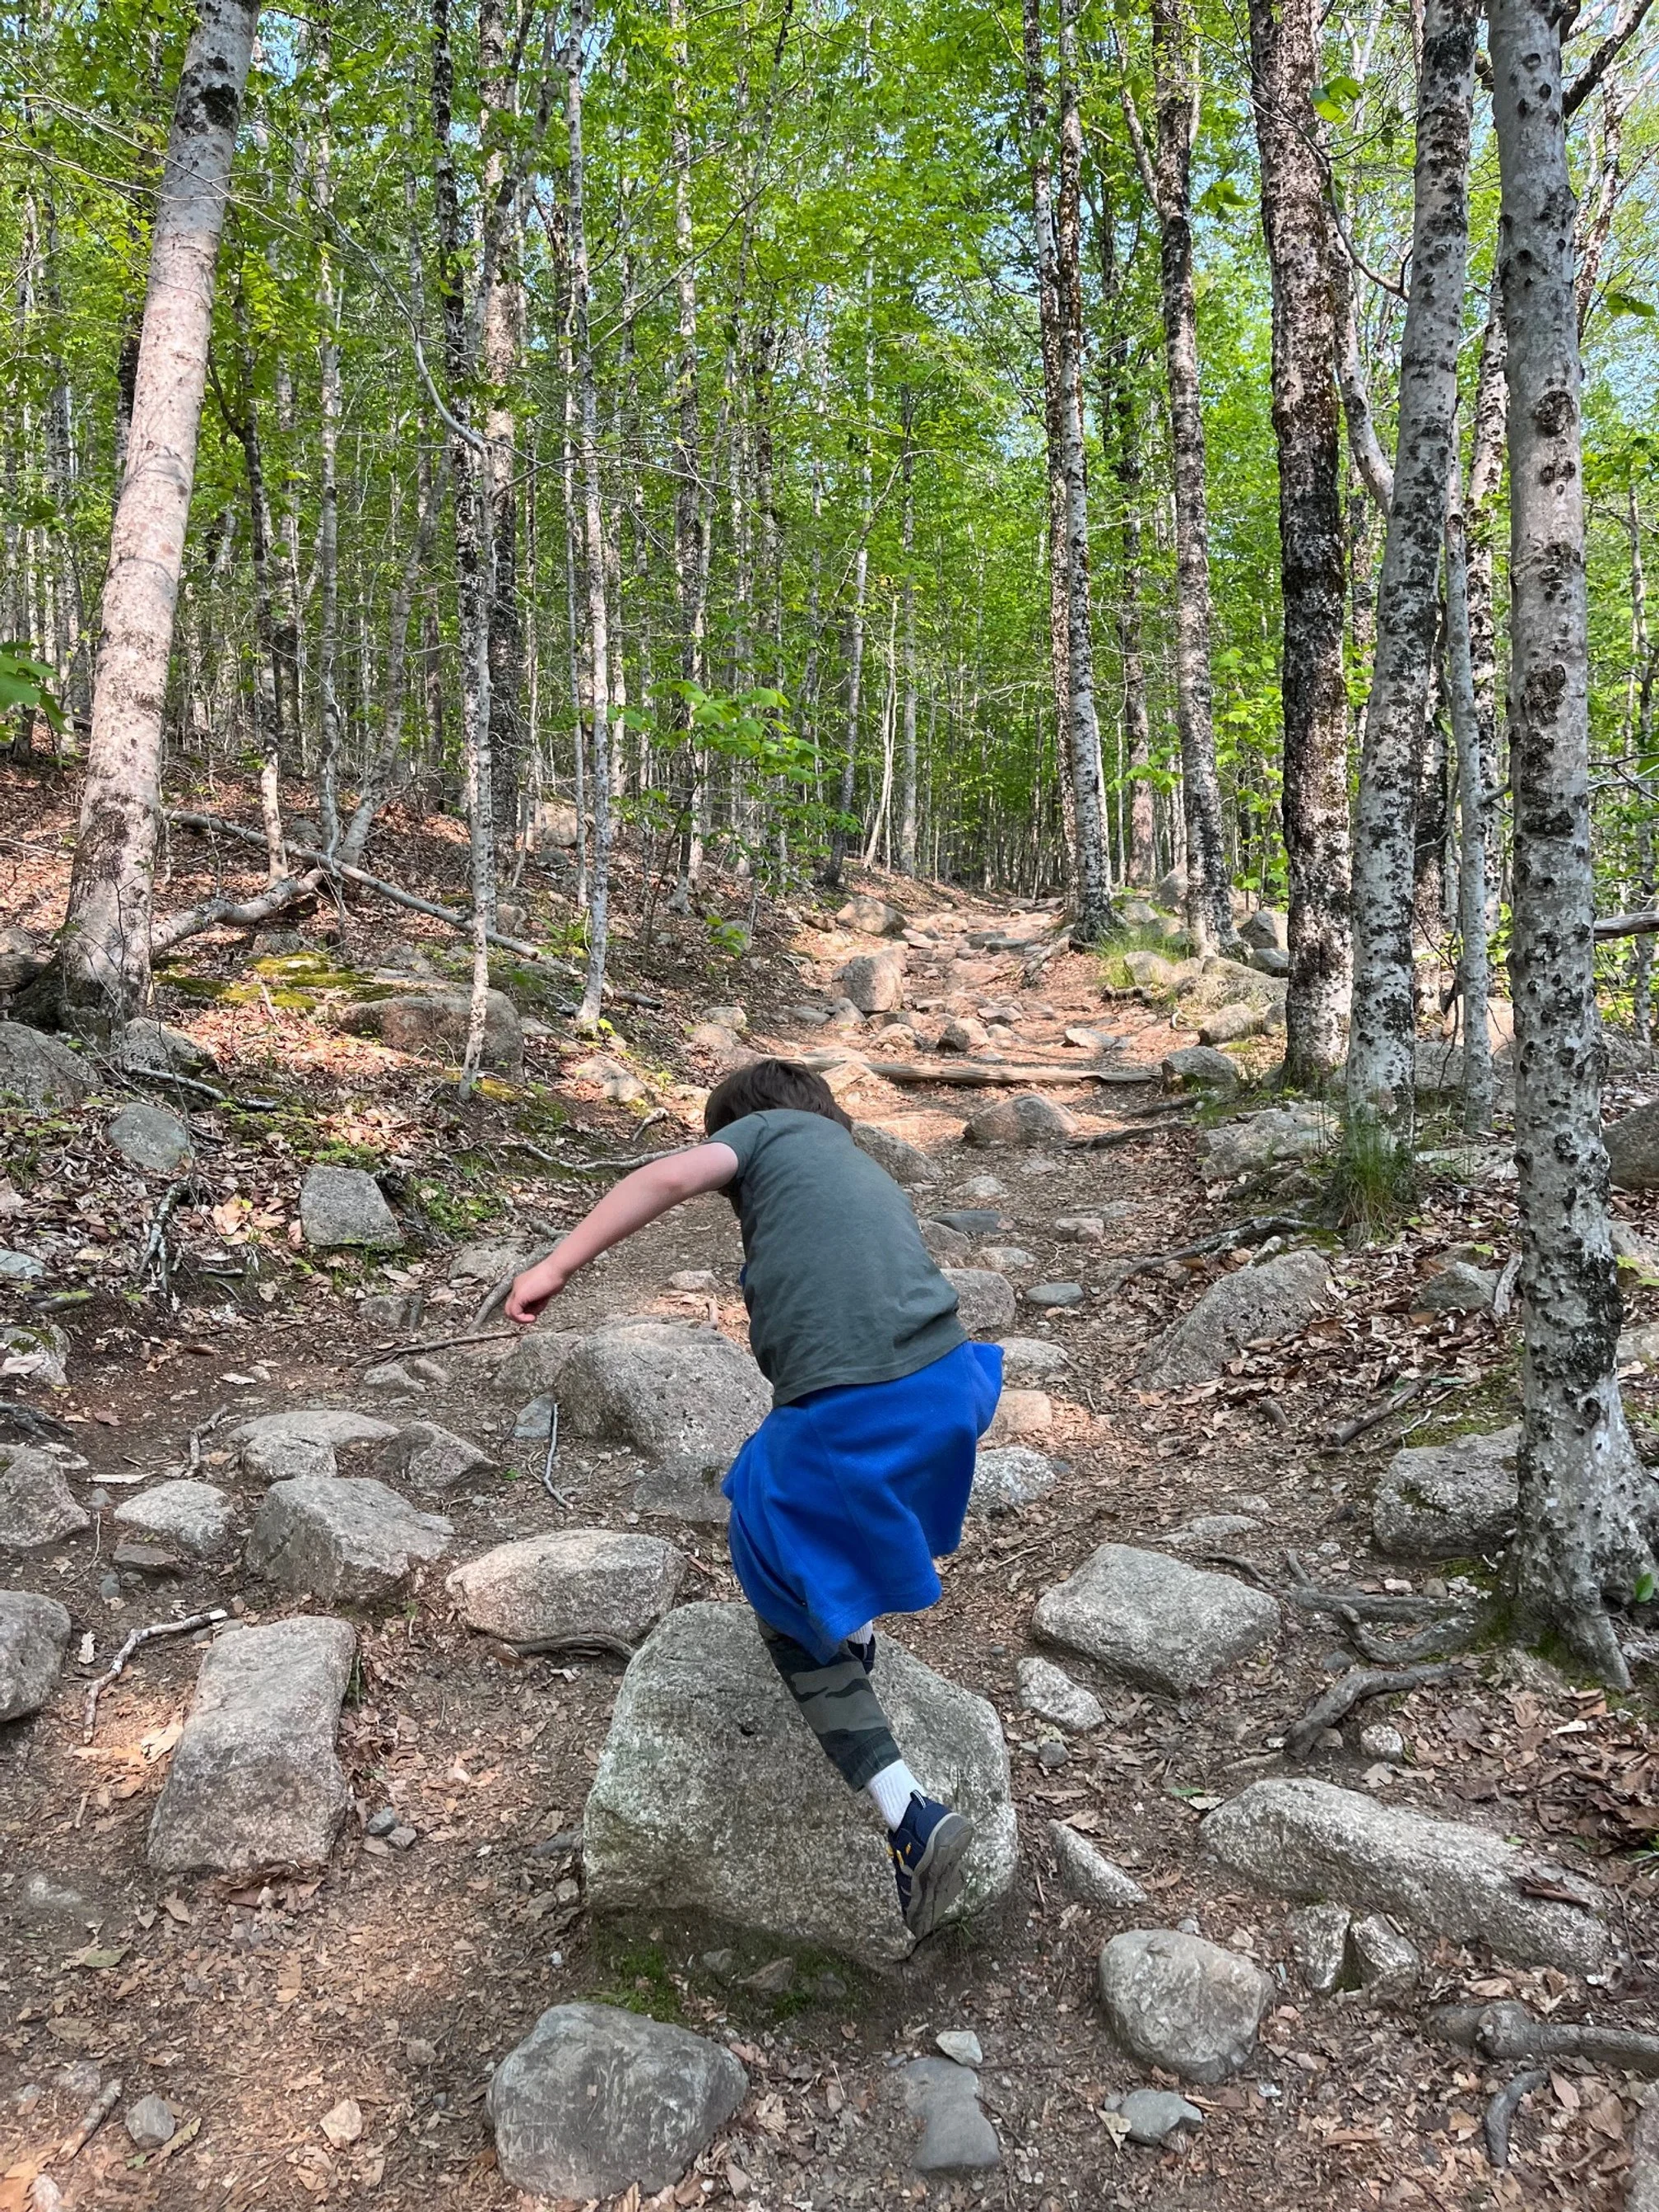
As you approach the eight of a mile mark, you’ll begin to notice that the trail becomes rockier. Large stones remain in the trail, which makes for a great jumping experience if you’re 8-years-old.
Otherwise, watch your step as you step over and onto the rocks here. Hiking poles would also help navigate this if you’re less than sure about your footing.
From this point, the trail begins to rise more steadily, and it oscillates between smoother packed dirt areas and the rockier patches.
You’ll more frequently encounter sections of stone steps, too.
At the quarter mile mark, you’ll have to decide if you’re going right to North Bubble, or if you’re staying on Bubble Divide (which will lead you to South Bubble and Bubble Rock).
Since you come to the North Bubble Trail first, let’s talk about what to expect there.
If you’re skipping North Bubble, hold the left hand path. (And skip to the section marked “South Bubble Trail” below, where I’ll pick up my trail notes.)
North Bubble Trail
You’ll begin to feel the intensity of this trail change almost immediately after you make that right hand turn onto North Bubble Trail.
The elevation of the trail continues to rise, and, soon, the rocky dirty path turns into a scramble up a series of boulders.
I did this trail with my kids, and they loved the rock scramble sections. My mom and dad, who were also hiking with us, decided they didn’t want a more intense experience, so they turned back (as did a lot of the others on the first 1/4 mile of trail).
Both North and South Bubble Trails are more challenging than Jordan Pond Trail or Cadillac Mountain Summit loop, two of the easy trails in Acadia that come highly recommended.
Just know that the trail does not get any easier until you reach the summit.
If you’re ready to go for it, look for the painted trail arrows to ensure you’re going the right way.
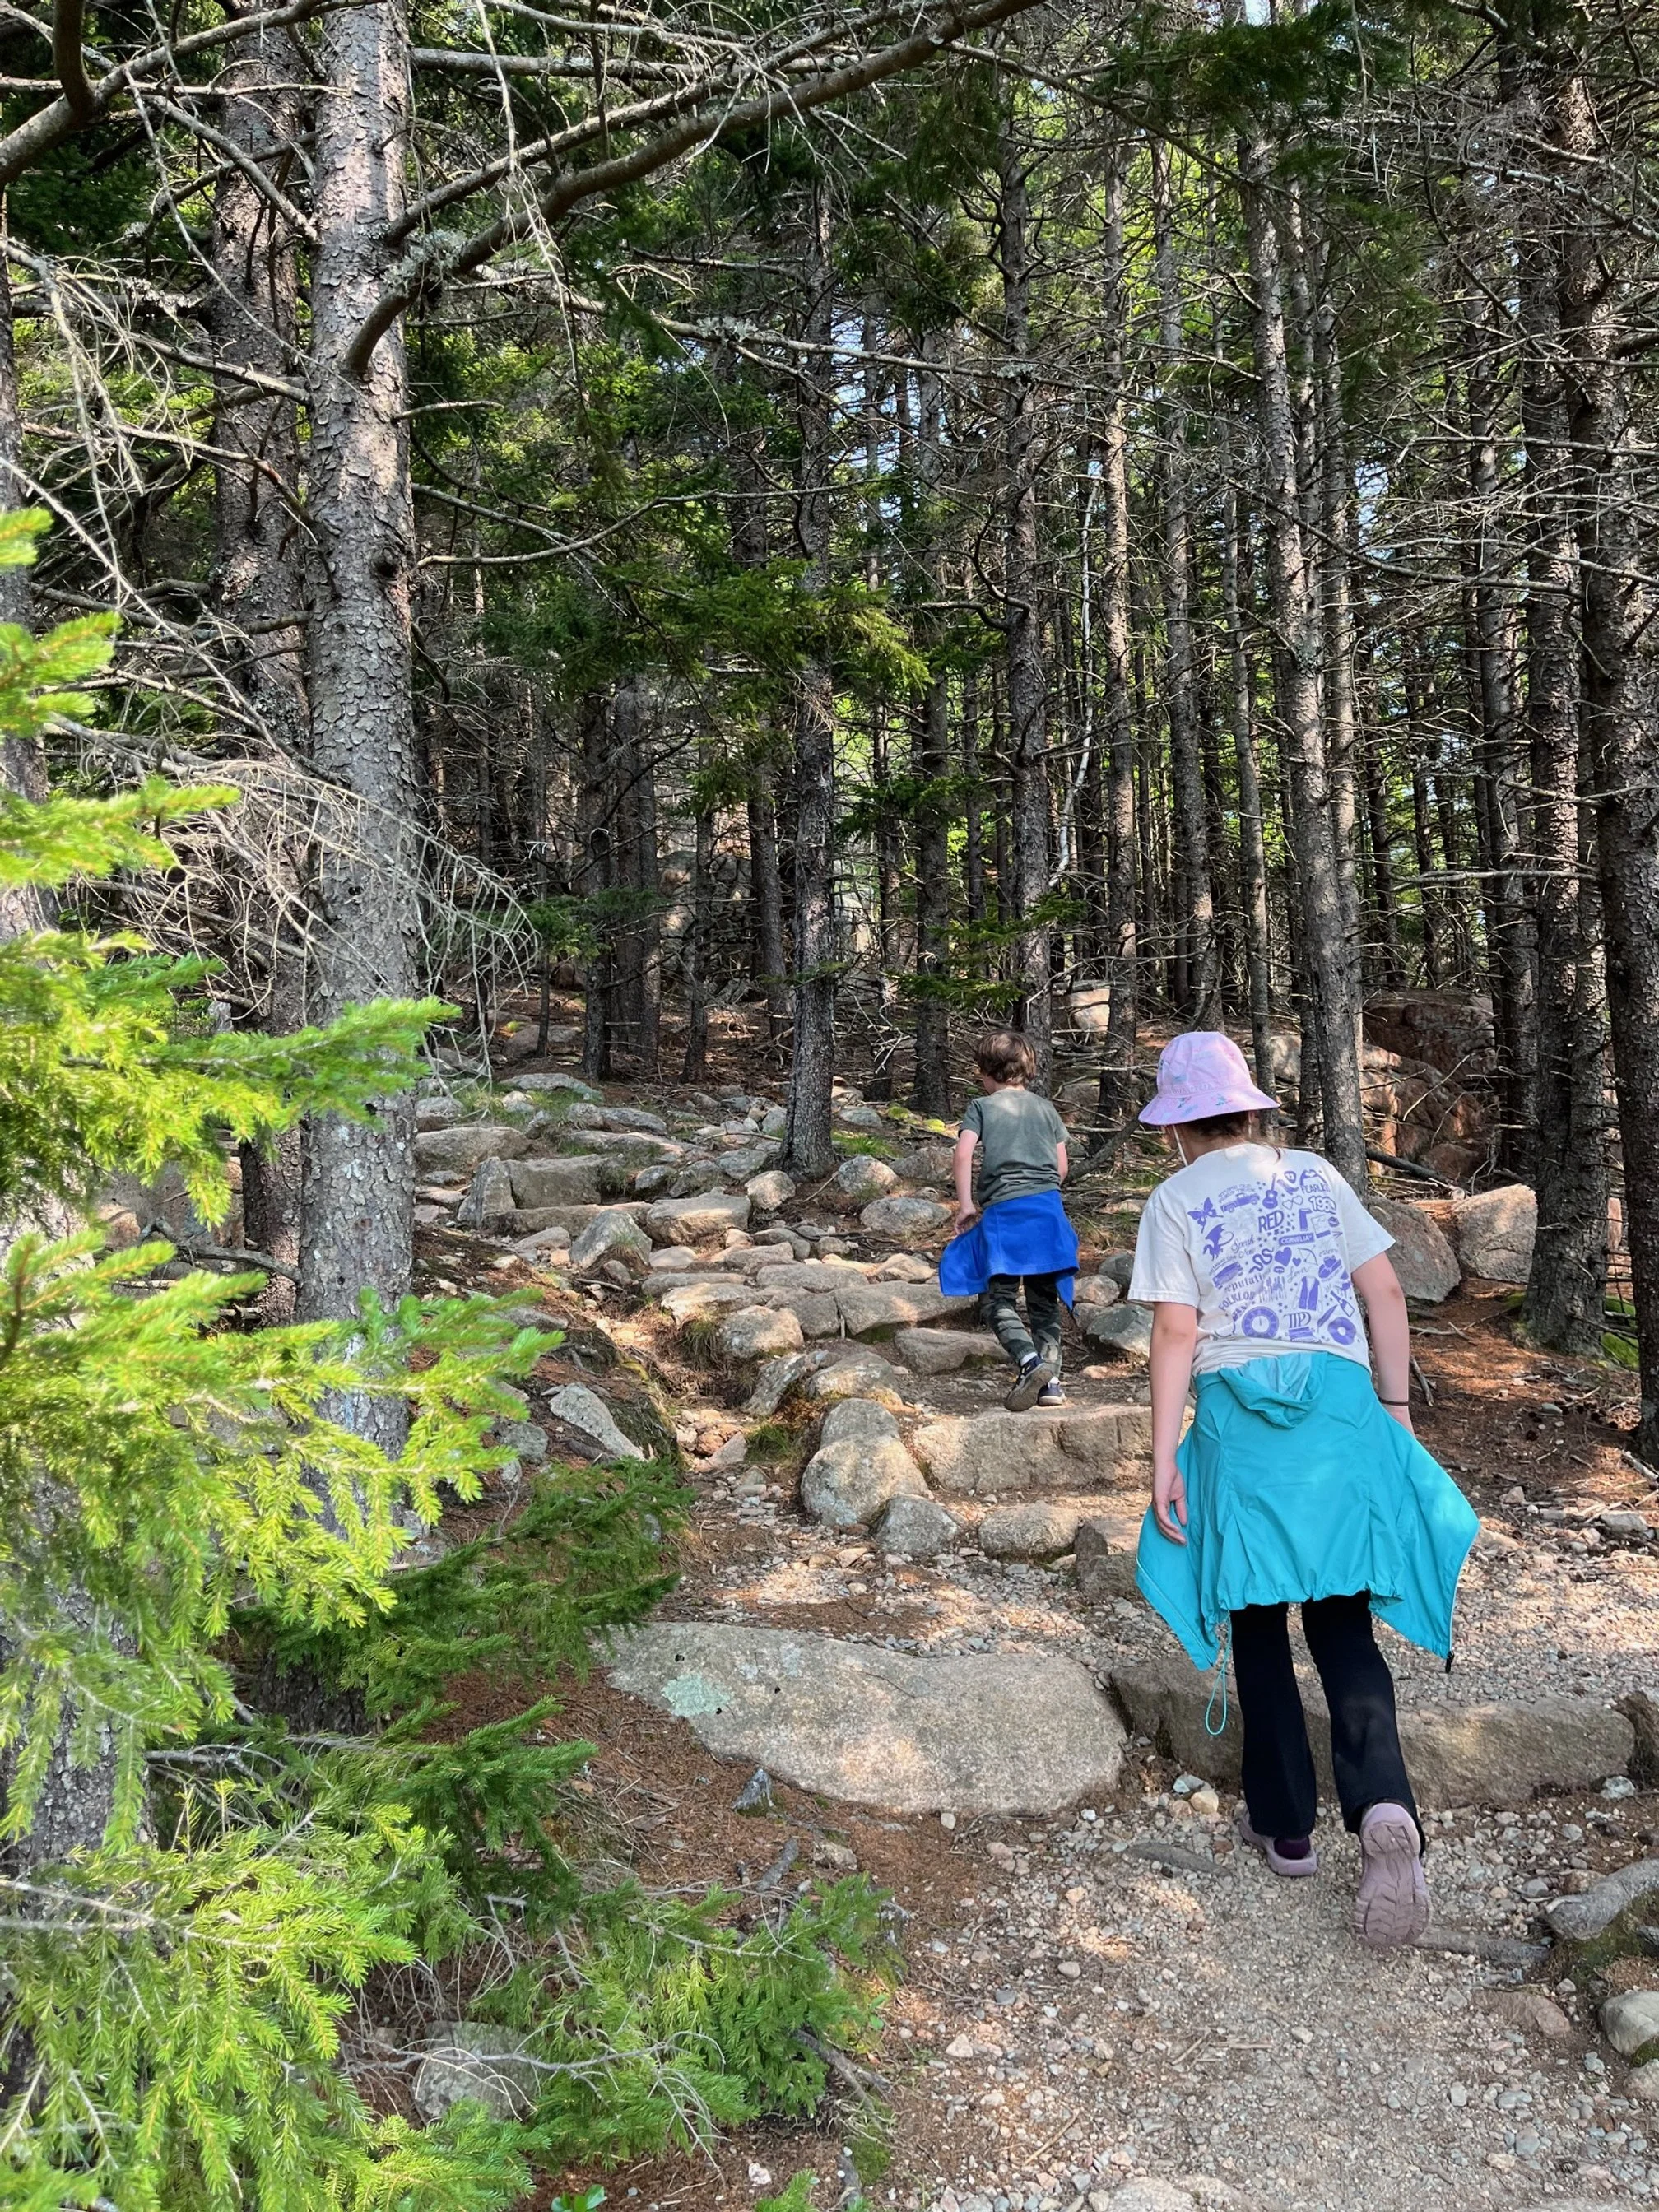
Once you’re past that first rock scramble area, the trail becomes more apparent as it turns back to the right and heads into a patch of woods.
You’ll soon come to a patch of rock you’ll need to navigate, though it’s easier than the first one you encountered.
Again, follow the painted arrows on the rock face.
There is one more patch of wooded area on the trail with a few more stone stairs, and then, the trail will turn sharply to the left.
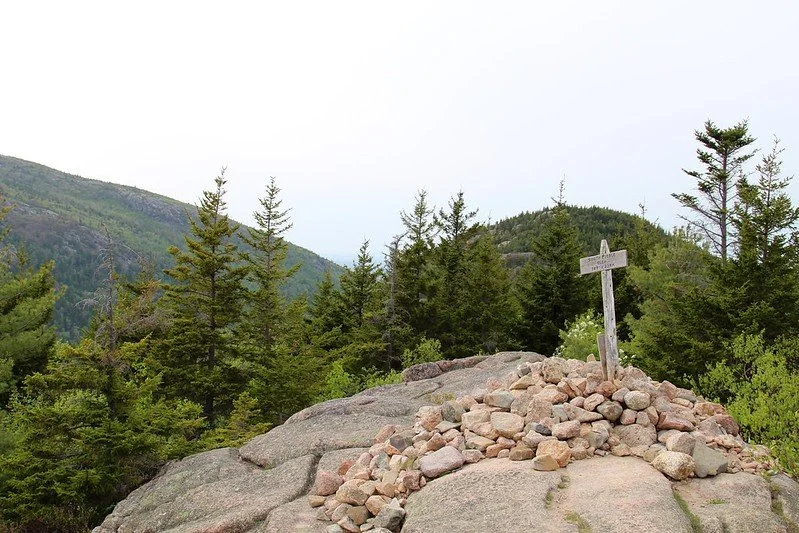
You’ll pop out of the woods and you’ll be at the summit for North Bubble!
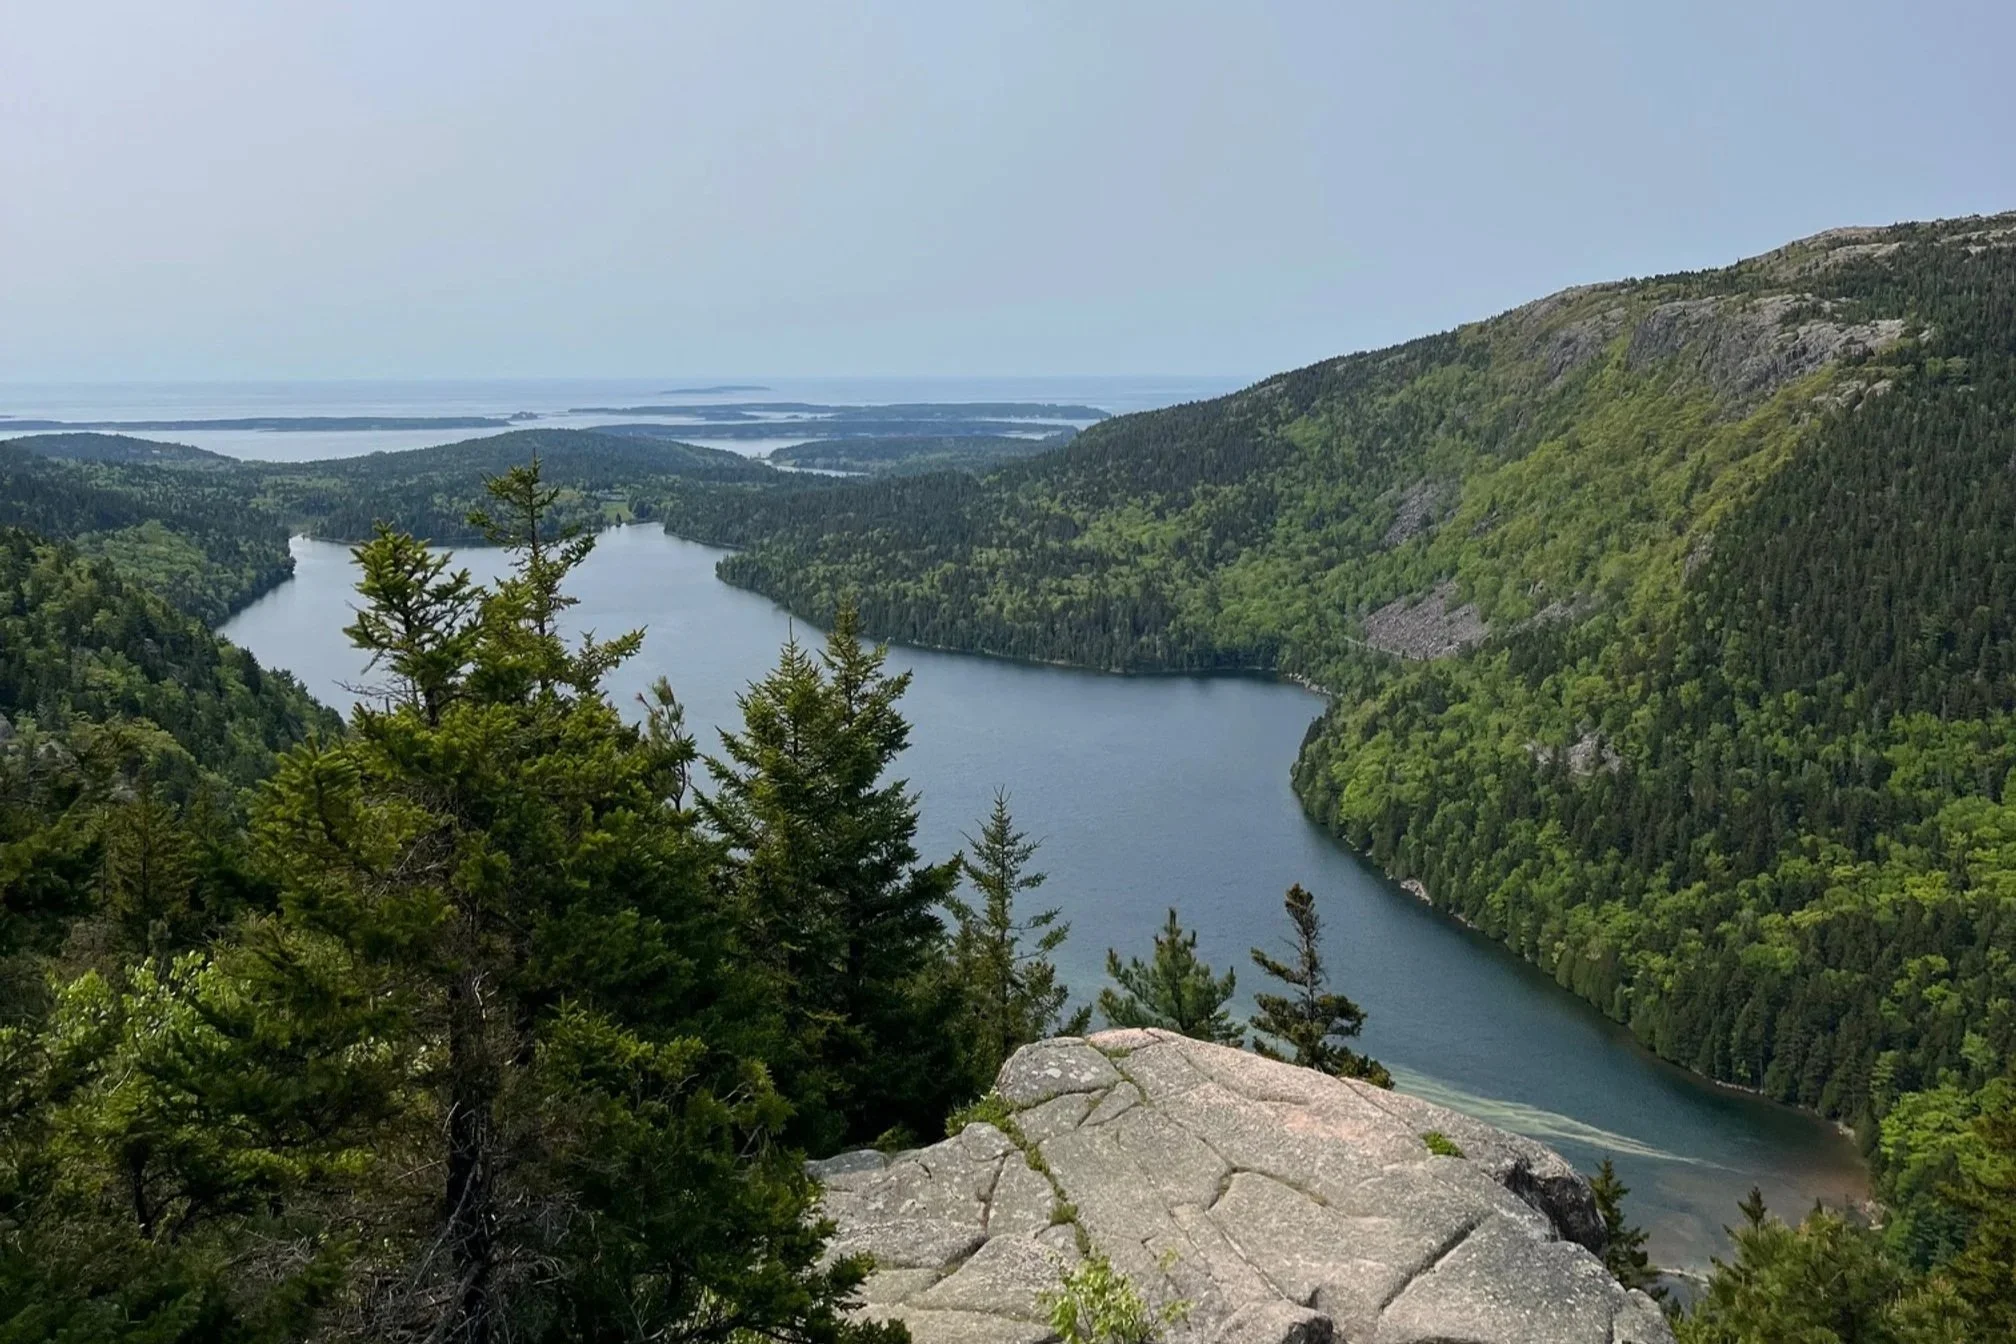
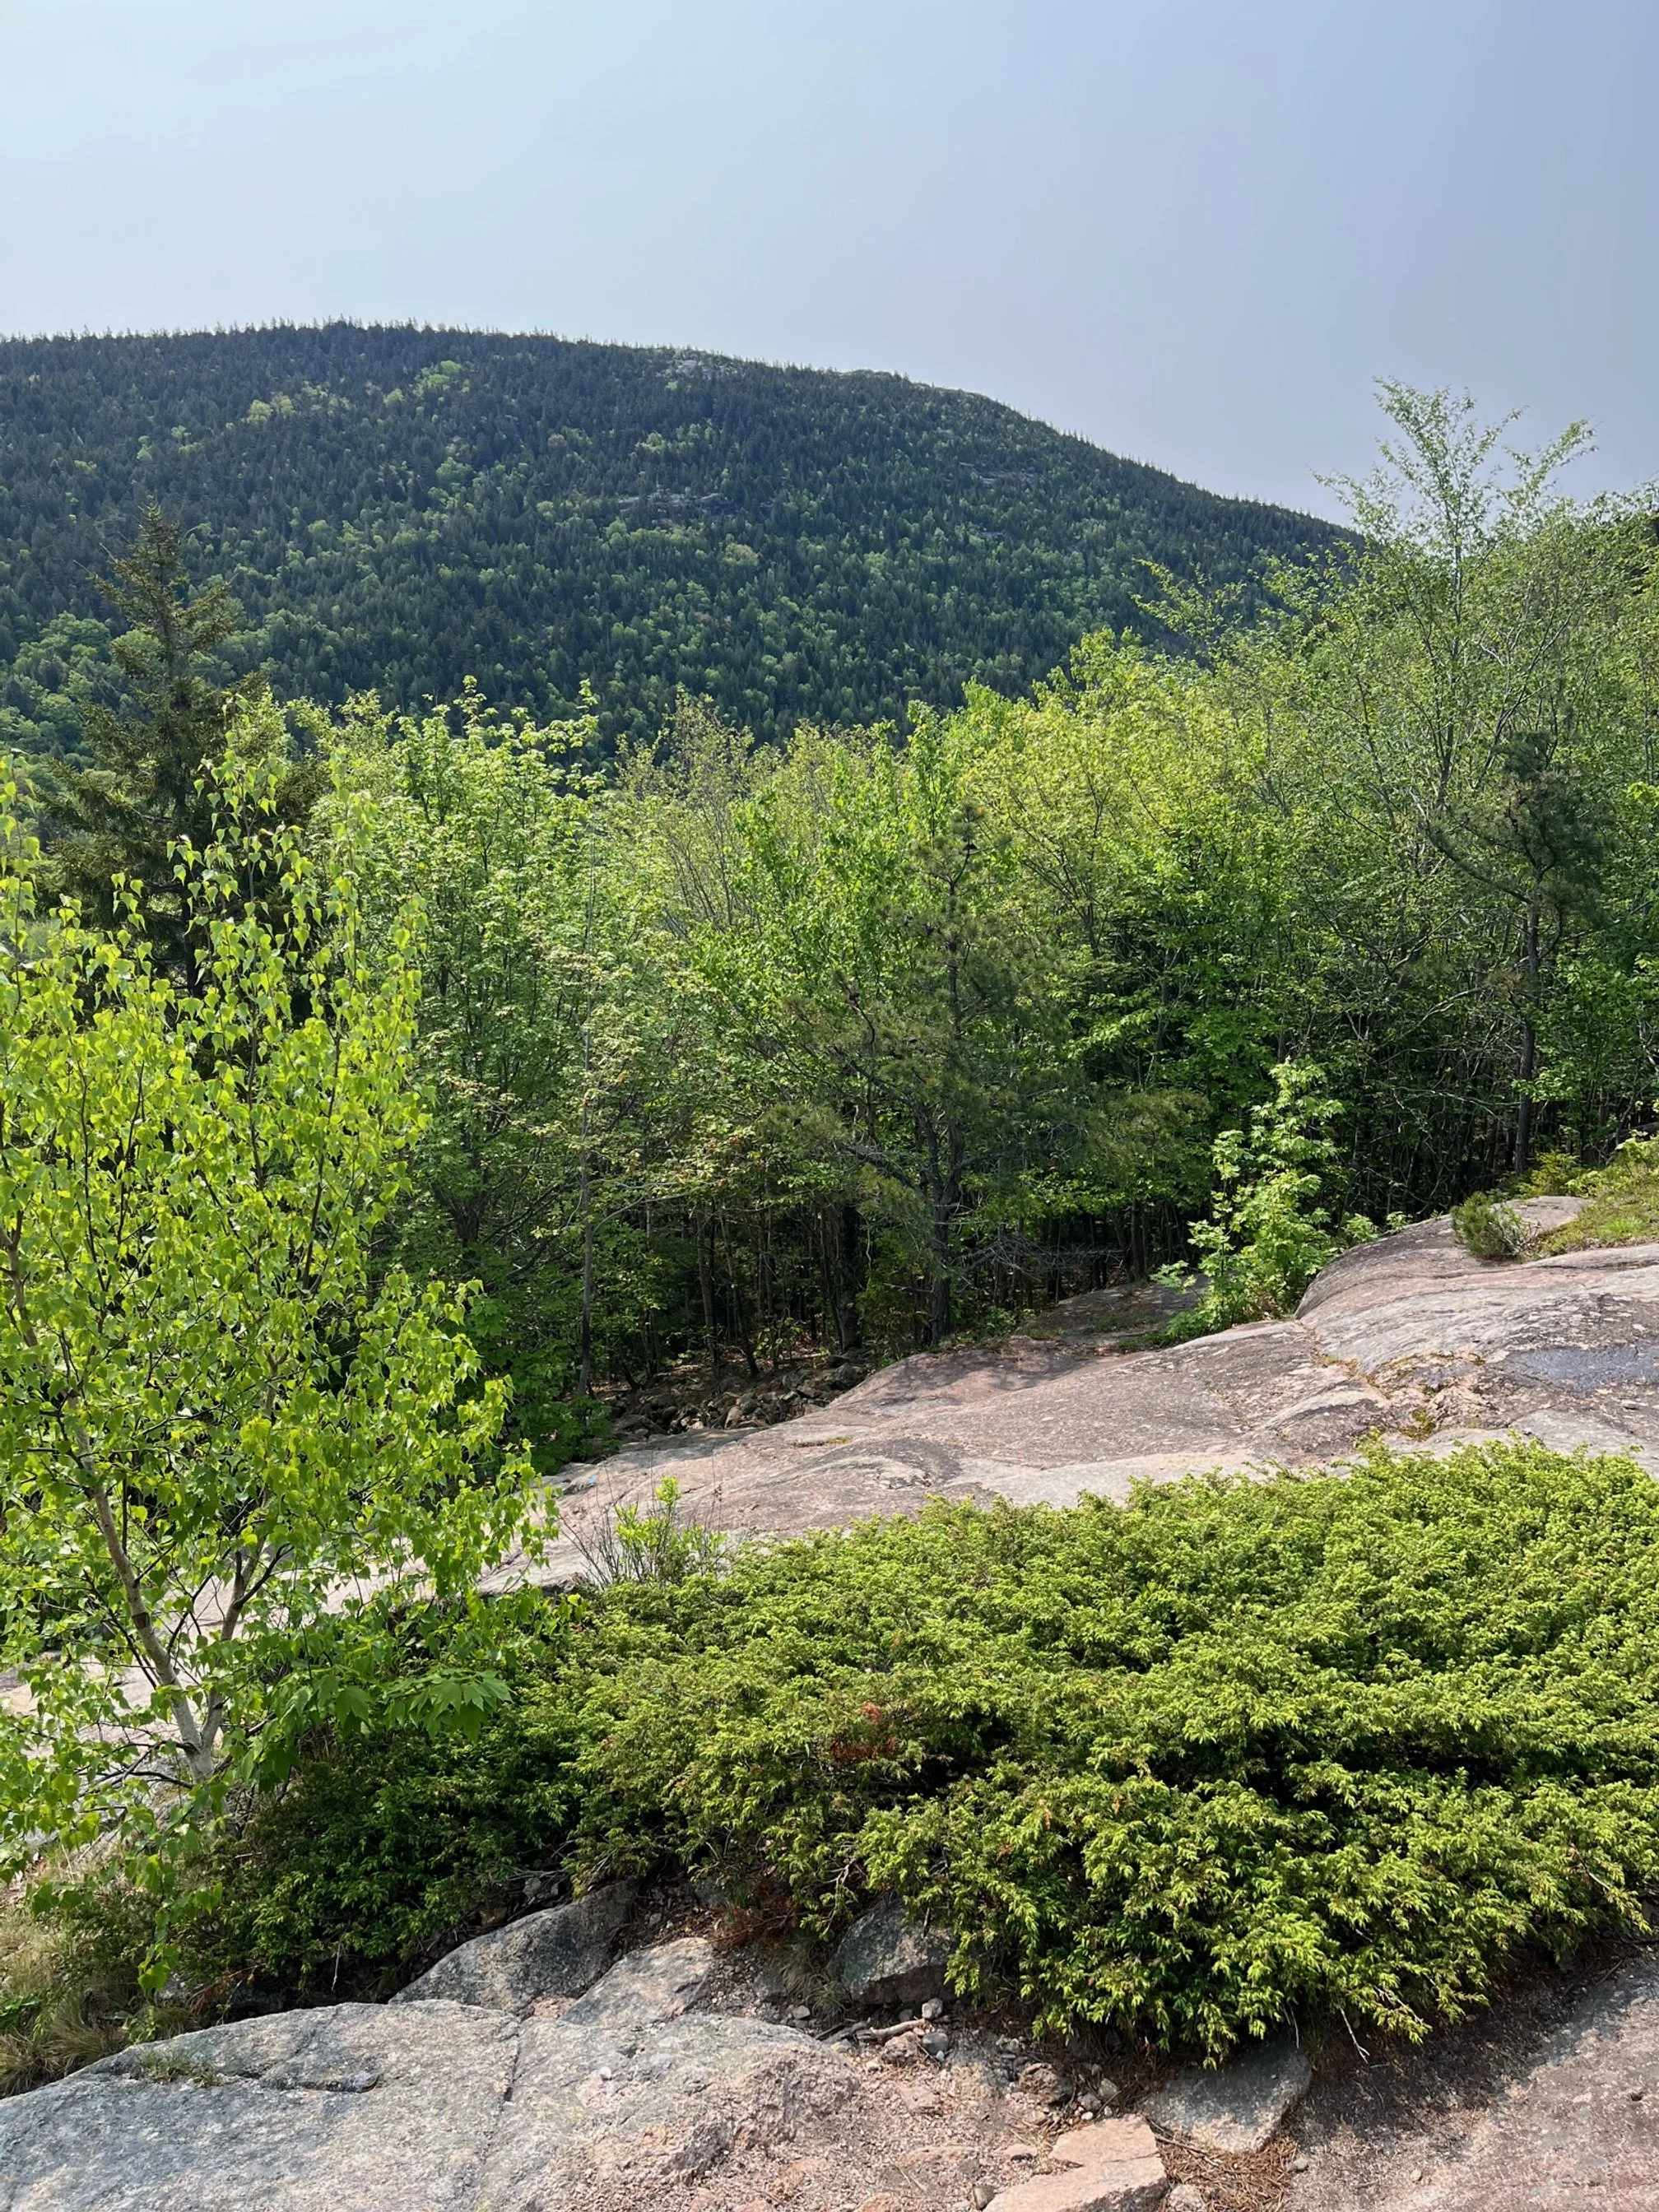
Looking down to Jordan Pond and out to the Cranberry Islands
After you’ve soaked in the views and taken your photos, return the way you came. In total, this section of North Bubble Trail from the split off of Bubbles Divide to the summit is about 1/3 of a mile, and all of it is uphill!
Or, if you like, you can continue on the hike down to the Eagle Lake Carriage Road. (More on that below in the “extend your hike” section.)
South Bubble Trail
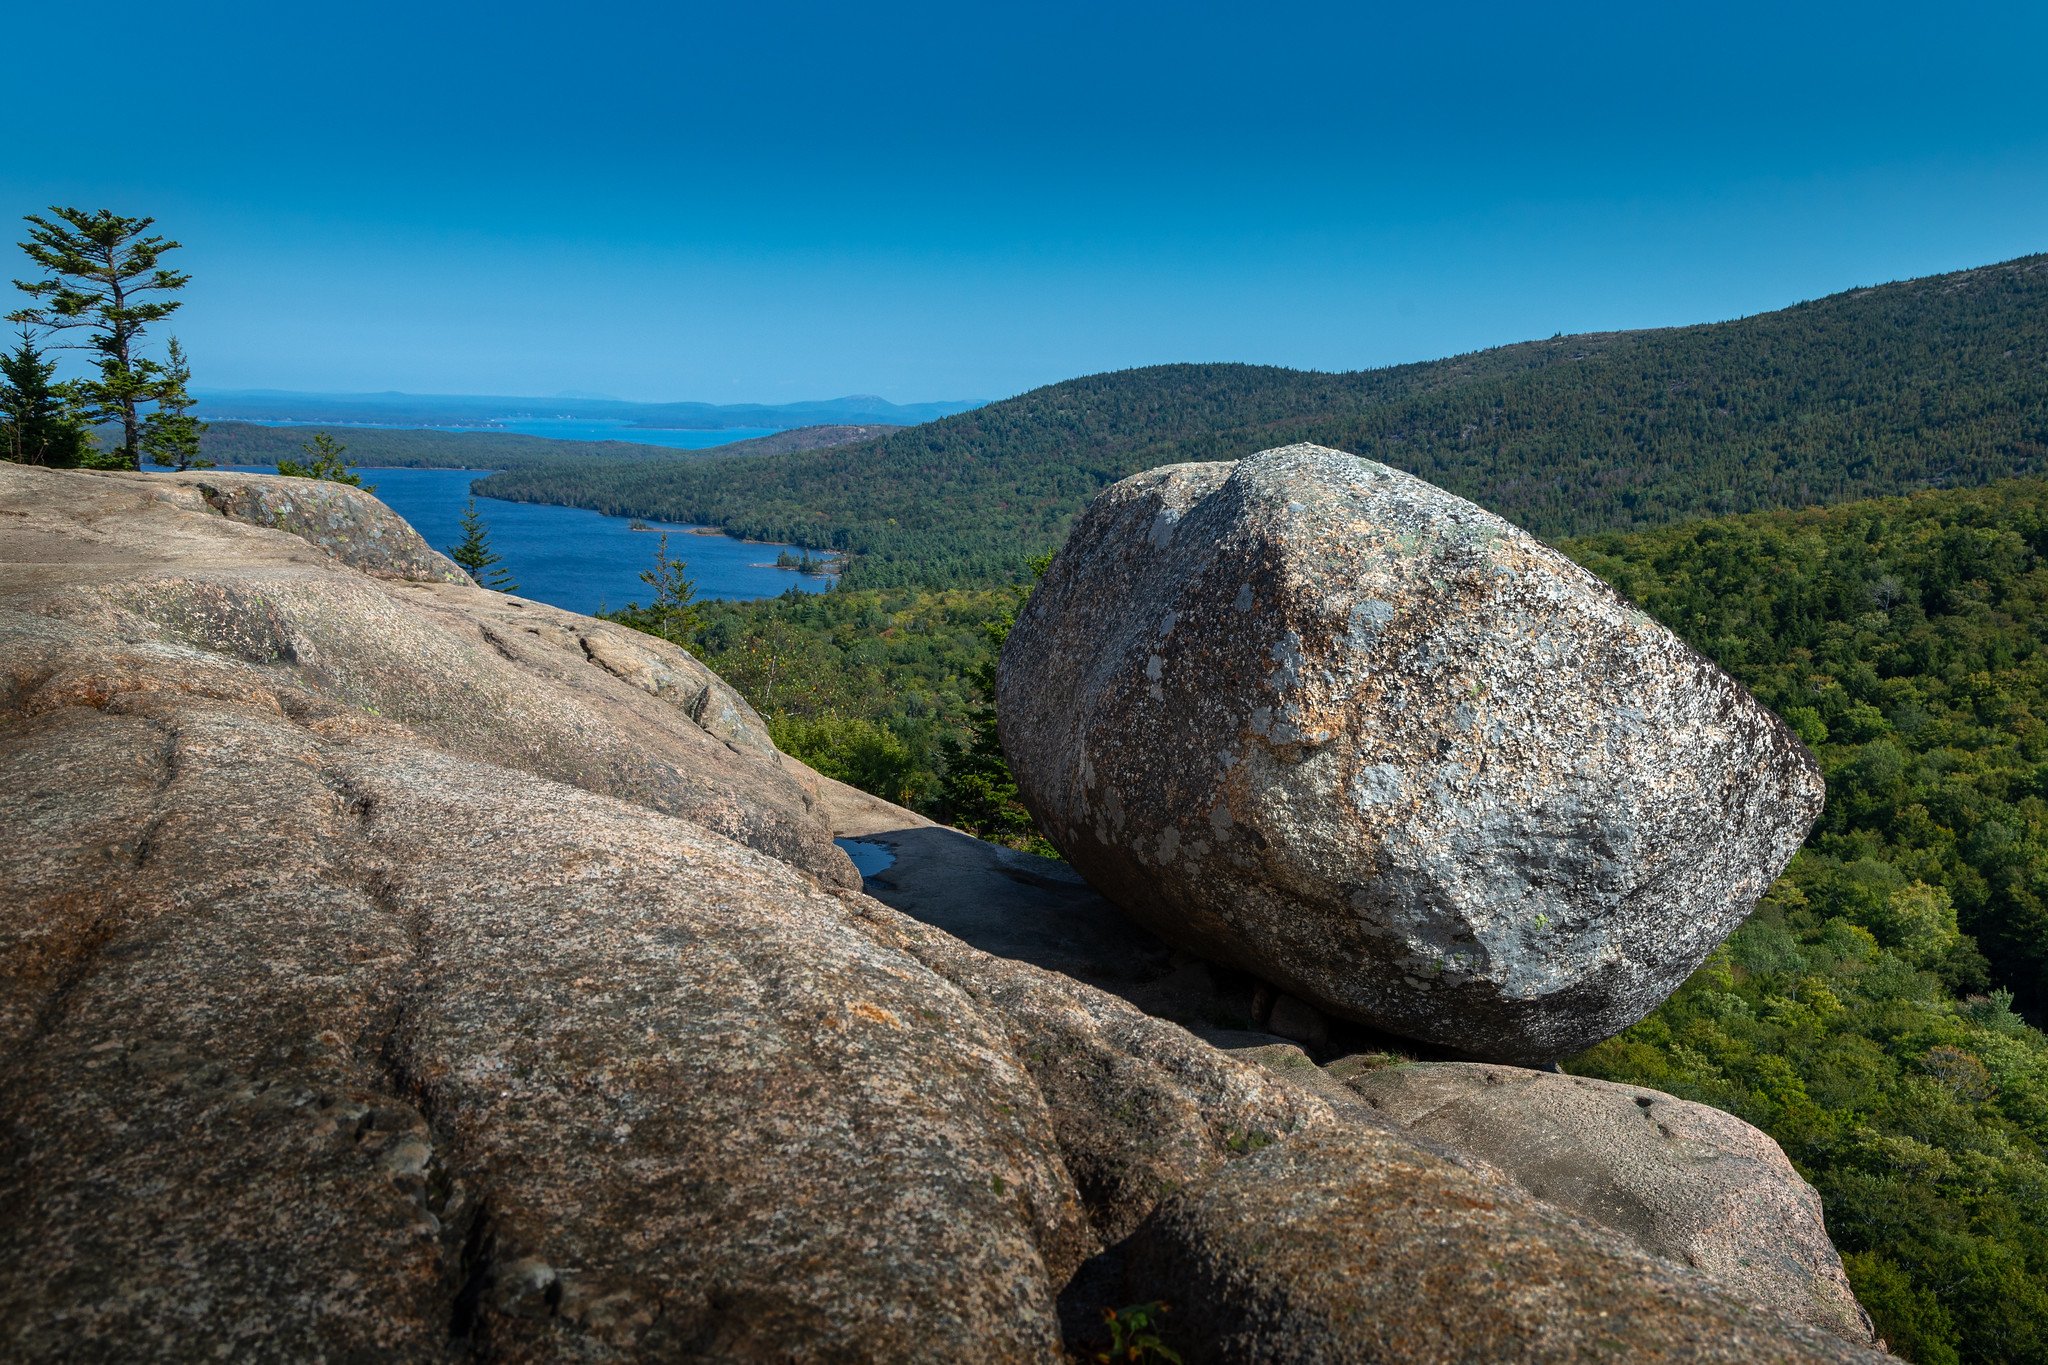
The famously precarious looking Bubble Rock
If you didn’t take the right fork off of Bubbles Divide, you’re mostly likely looking for Bubble Rock and the South Bubble Trail.
From that fork with North Bubble, Bubbles Divide will continue to rise, and just at the peak of that part of the trail, you’ll have to make another decision. This will occur approximately 300 feet after the North Bubble fork.
You’ll see the Bubbles Divide in front of you. Continue on if you want to see Jordan Pond.
However, you’re not here for that! Instead, take the trail that’s leading off to your left. This is where the South Bubble Trail starts.
South Bubble summit | source
While the North Bubble hike has most of the elevation on the way up, South Bubble has most of the climb on your way back.
The South Bubble trail continues to climb for a few hundred feet, though it levels out and begins going downhill quickly.
In just 0.2 miles of hiking through the pine forest, you’ll come out onto a rocky area. Bubbles Rock is hanging over the edge of the mountain to your left.
If you’re hiking here with kids, there are steep drop offs, so help them keep their footing if you’re looking for a photo with Bubbles Rock.
There will likely be others here. If there’s a line for a photo with Bubbles Rock, it moves quickly.
Once you’re satisfied with your photos, retrace your steps to the parking area, or extend your hike with the information below.
How to Extend This Hike

There are stone and wooden stair sections throughout these trails.
With the North and South Bubbles Trail as I’ve described above are the most popular ways to get to these viewpoints, the trails are part of a much larger tangle of trails and carriage roads.
If you’d like to challenge yourself more, you can try one of these variations.
South Bubble Loop Extension from Bubbles Parking Lot
Using the same parking lot as I noted in the main hiking guide above, you’ll start on the Bubbles Divide, hang left at the fork with North Bubble Trail, and then continue straight along Bubbles Divide until you hit Jordan Pond Loop.
Turn left onto Jordan Pond Loop and walk along this pondside path until you come to the bottom of the South Bubbles Trail, also to your left.
From here, hike up South Bubble Mountain, which includes rapid elevation gain and areas of rock scrambles.
You’ll then pass Bubble Rock on your right as you continue uphill, eventually coming back to Bubbles Divide.
From that intersection, turn right and go downhill until you reach the Bubbles parking lot again.
Total trail distance on this variation: 1.6 miles
South Bubble Loop Extension from Jordan Pond
You’ll use a different parking area for this variation, which will add additional distance to your hiking experience.
Instead of parking at Bubbles parking area, leave your car at the Jordan Pond House.
Walk behind the gift shop and restrooms and make your way down to the shores of the pond.
Turn to the right when you see the carriage road, and follow the Jordan Pond Loop as it turns to the left around the pond.
Continue hiking for about 1 mile, and look for a trail to your right. This is the bottom end of South Bubble Trail. Hike the South Bubble Trail uphill. Bubbles Rock will be on your right.
Remember, there is stead elevation gain and rock scrambles on this trail, so only attempt if you feel comfortable doing so.
Hike to the other end of South Bubbles Trail, turning left when you get to the intersection with Bubbles Divide.
Follow the trail downhill until you rejoin Jordan Pond Trail. Turn left, following the Jordan Pond Trail back to the Jordan Pond House and parking area.
Total trail distance on this variation: 3.5 miles
FREE Acadia National Park vacation planning resources!
Whether you’re in Acadia for a day or a week, you’ll want to browse through my ever growing collection of itineraries, must-do lists, hiking guides, and accommodations reviews for the park. You’ll also find guides to nearby Bar Harbor for even more coastal Maine fun.
North Bubble from Jordan Pond
Again, leave your car at the Jordan Pond House, and make your way down to the shores of the pond.
Follow the Jordan Pond Loop as it turns to the left around the pond.
Continue hiking for about 1 mile, and look for a trail to your right. This is the bottom end of South Bubble Trail. Hike the South Bubble Trail uphill. Bubbles Rock will be on your right.
When you reach Bubbles Divide, turn to your right. Then, in approximately 300 feet, turn onto North Bubble Trail and follow the directions above for your ascent.
On your return trip, you can either follow Bubbles Divide to Jordan Pond Loop and go back that way, or (the harder way), retrace your steps along Bubbles Divide to South Bubble Trail and then to Jordan Pond Loop.
Total trail distance on this variation: 3.5-4 miles
North Bubble from Eagle Lake
This variation leaves from the Eagle Lake parking area off of Eagle Lake Road.
Follow the carriage road nearly due south along the western shores of Eagle Lake.
Around 1.2 miles into the hike, you’ll see a trail to your left. This is Eagle Lake Trail, and you’ll need to walk on it for a short amount of time to get to the other end of North Bubble Trail.
In X feet, turn right onto North Bubble Trail. You’ll pass Connor’s Nubble as you reach the shorter summit on your way to North Bubble. This area provides pretty views of Eagle Lake below you.
Around the 1.75 mile mark, Eagle Road Carriage Road will cross the trail. Keep straight for North Bubble.
This section of trail is largely forested without any real views.
As you near the 2.5 mile mark, you’ll see the summit marker and the gorgeous views of Jordan Pond below.
Retrace your steps to return to the car.
Total trail distance on this variation: 4.6 miles
What to Bring to the Bubbles Trail
Water
While this trail is largely covered in trees, you’re still going to be sweating, and that means you need to stay hydrated.
Bring a water bladder in your day bag to ensure that you have enough water for the entire trip. Once you start any variation on this hike, you will not have anywhere to refill your bottle or water bladder if you go through your water too quickly.
Snacks
Did you know that eating any kind of salty snacks—even chips!—can help you avoid dehydration and replenish lost electrolytes while hiking? (As if I needed another excuse to eat Cool Ranch Doritos.)
So, pack those granola bars, bags of chips, trail mix, and other snacks and be sure to stop for a break regularly while hiking throughout Acadia National Park and on the Bubbles Trail.
Hiking Shoes or Boots
Whether you do the standard trail for North and/or South Bubble, or you do one of the variations, you’re going to want dedicated hiking shoes.
The many rocky areas and scrambles necessitate good tread and grip on your shoes or boots, which will, in turn, prevent you from having sore feet, a turned ankle, or a nasty fall.
I prefer wearing my Altra trail runners, which have a large, comfortable toe box, or my Keen Newport H2 hiking sandals when it is hot.
My husband only wears his Saloman hiking boots, so you’ll want to try on different styles to see which you prefer.
>> Learn more about the pros and cons of hiking boots, hiking sandals, and trail runners here. <<
Hiking Poles
If you’d like some extra support on the rockier sections, hiking poles might be the answer.
Some people love them and others avoid them like the plague, but I find them helpful on trails with more intense elevation gain. The poles help distribute some of the pressure from my ankles, knees, and hips, allowing me to hike longer and more comfortable over multiple days.
I prefer the collapsible hiking poles over the full length rigid ones, so I can easily stow them on the loops in my hiking pack when I need my hands for rock scrambles.
Final Thoughts on This Trail
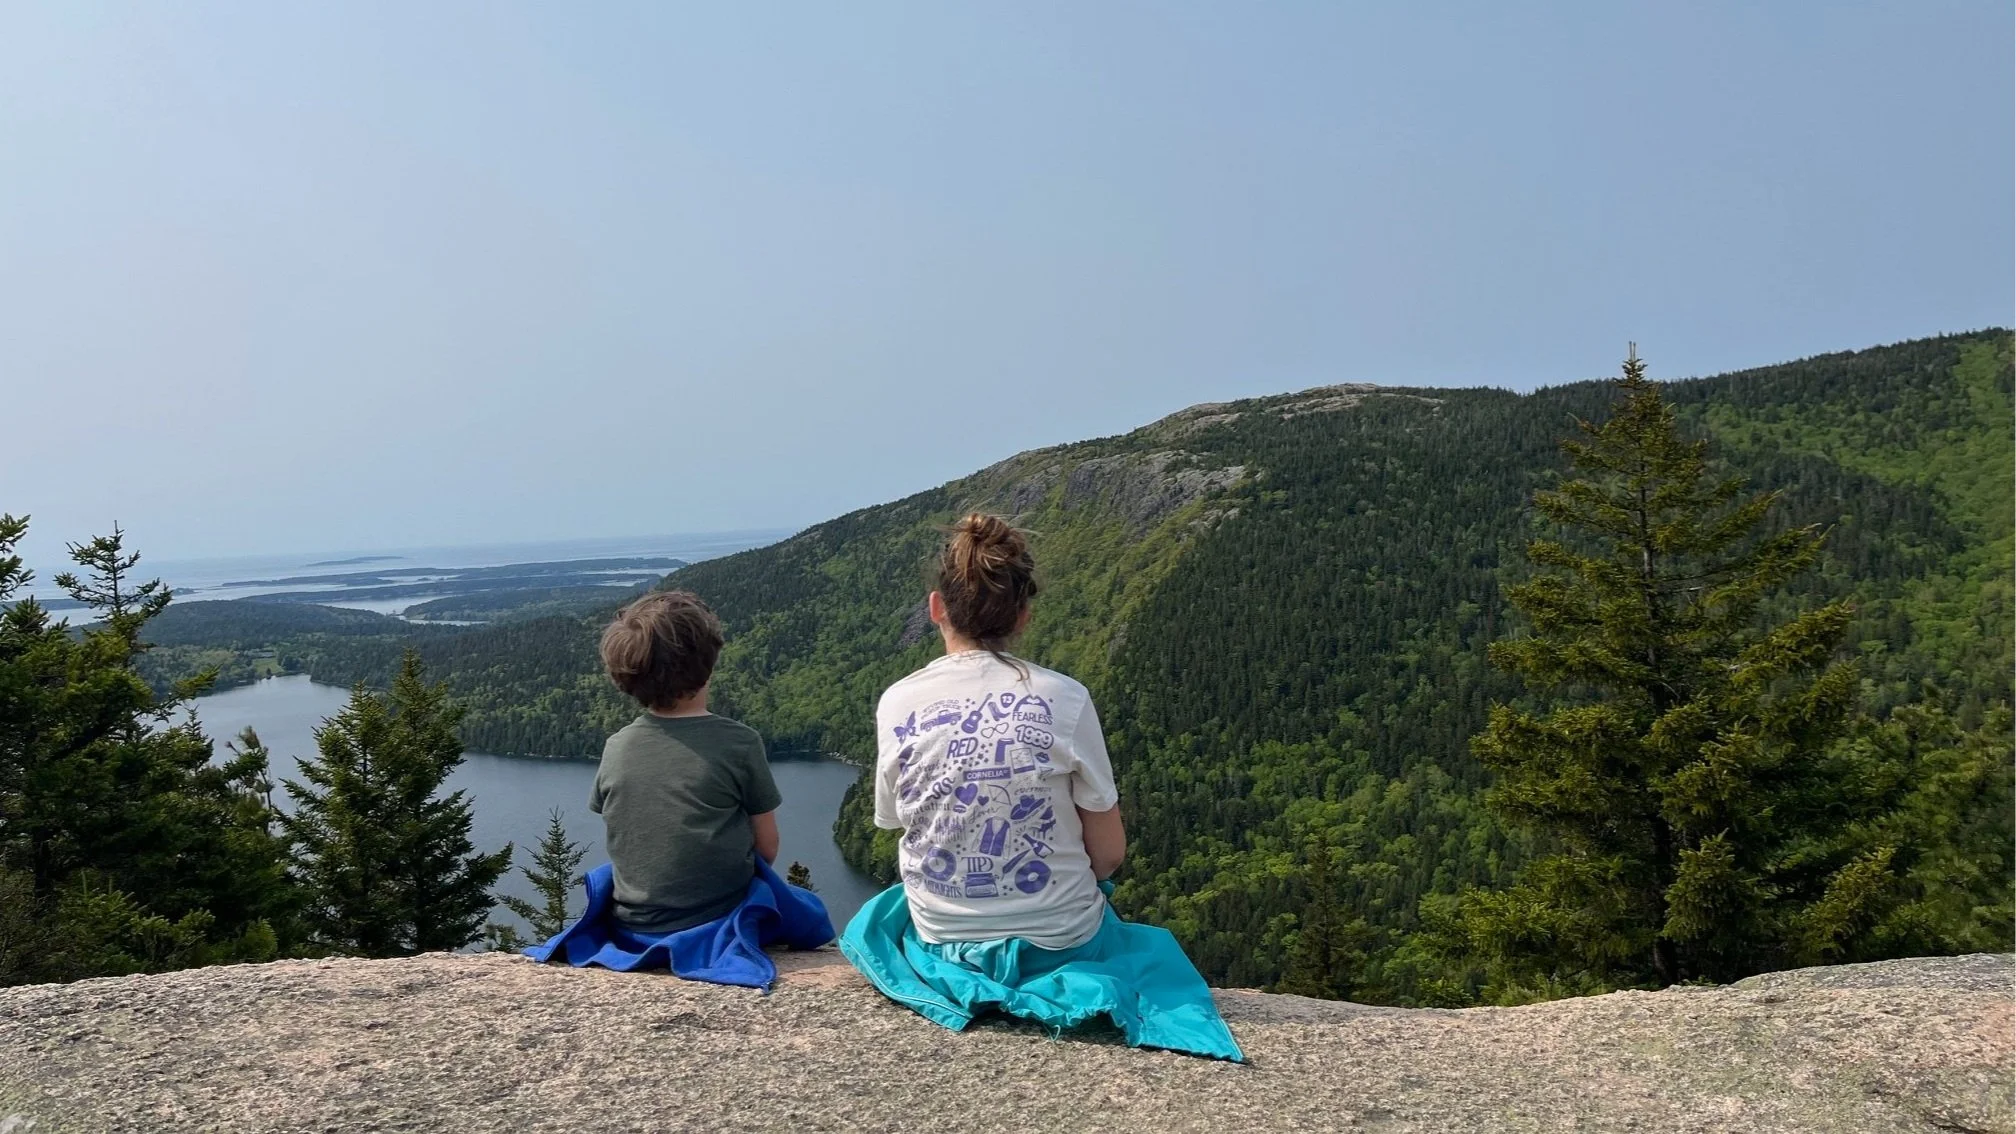
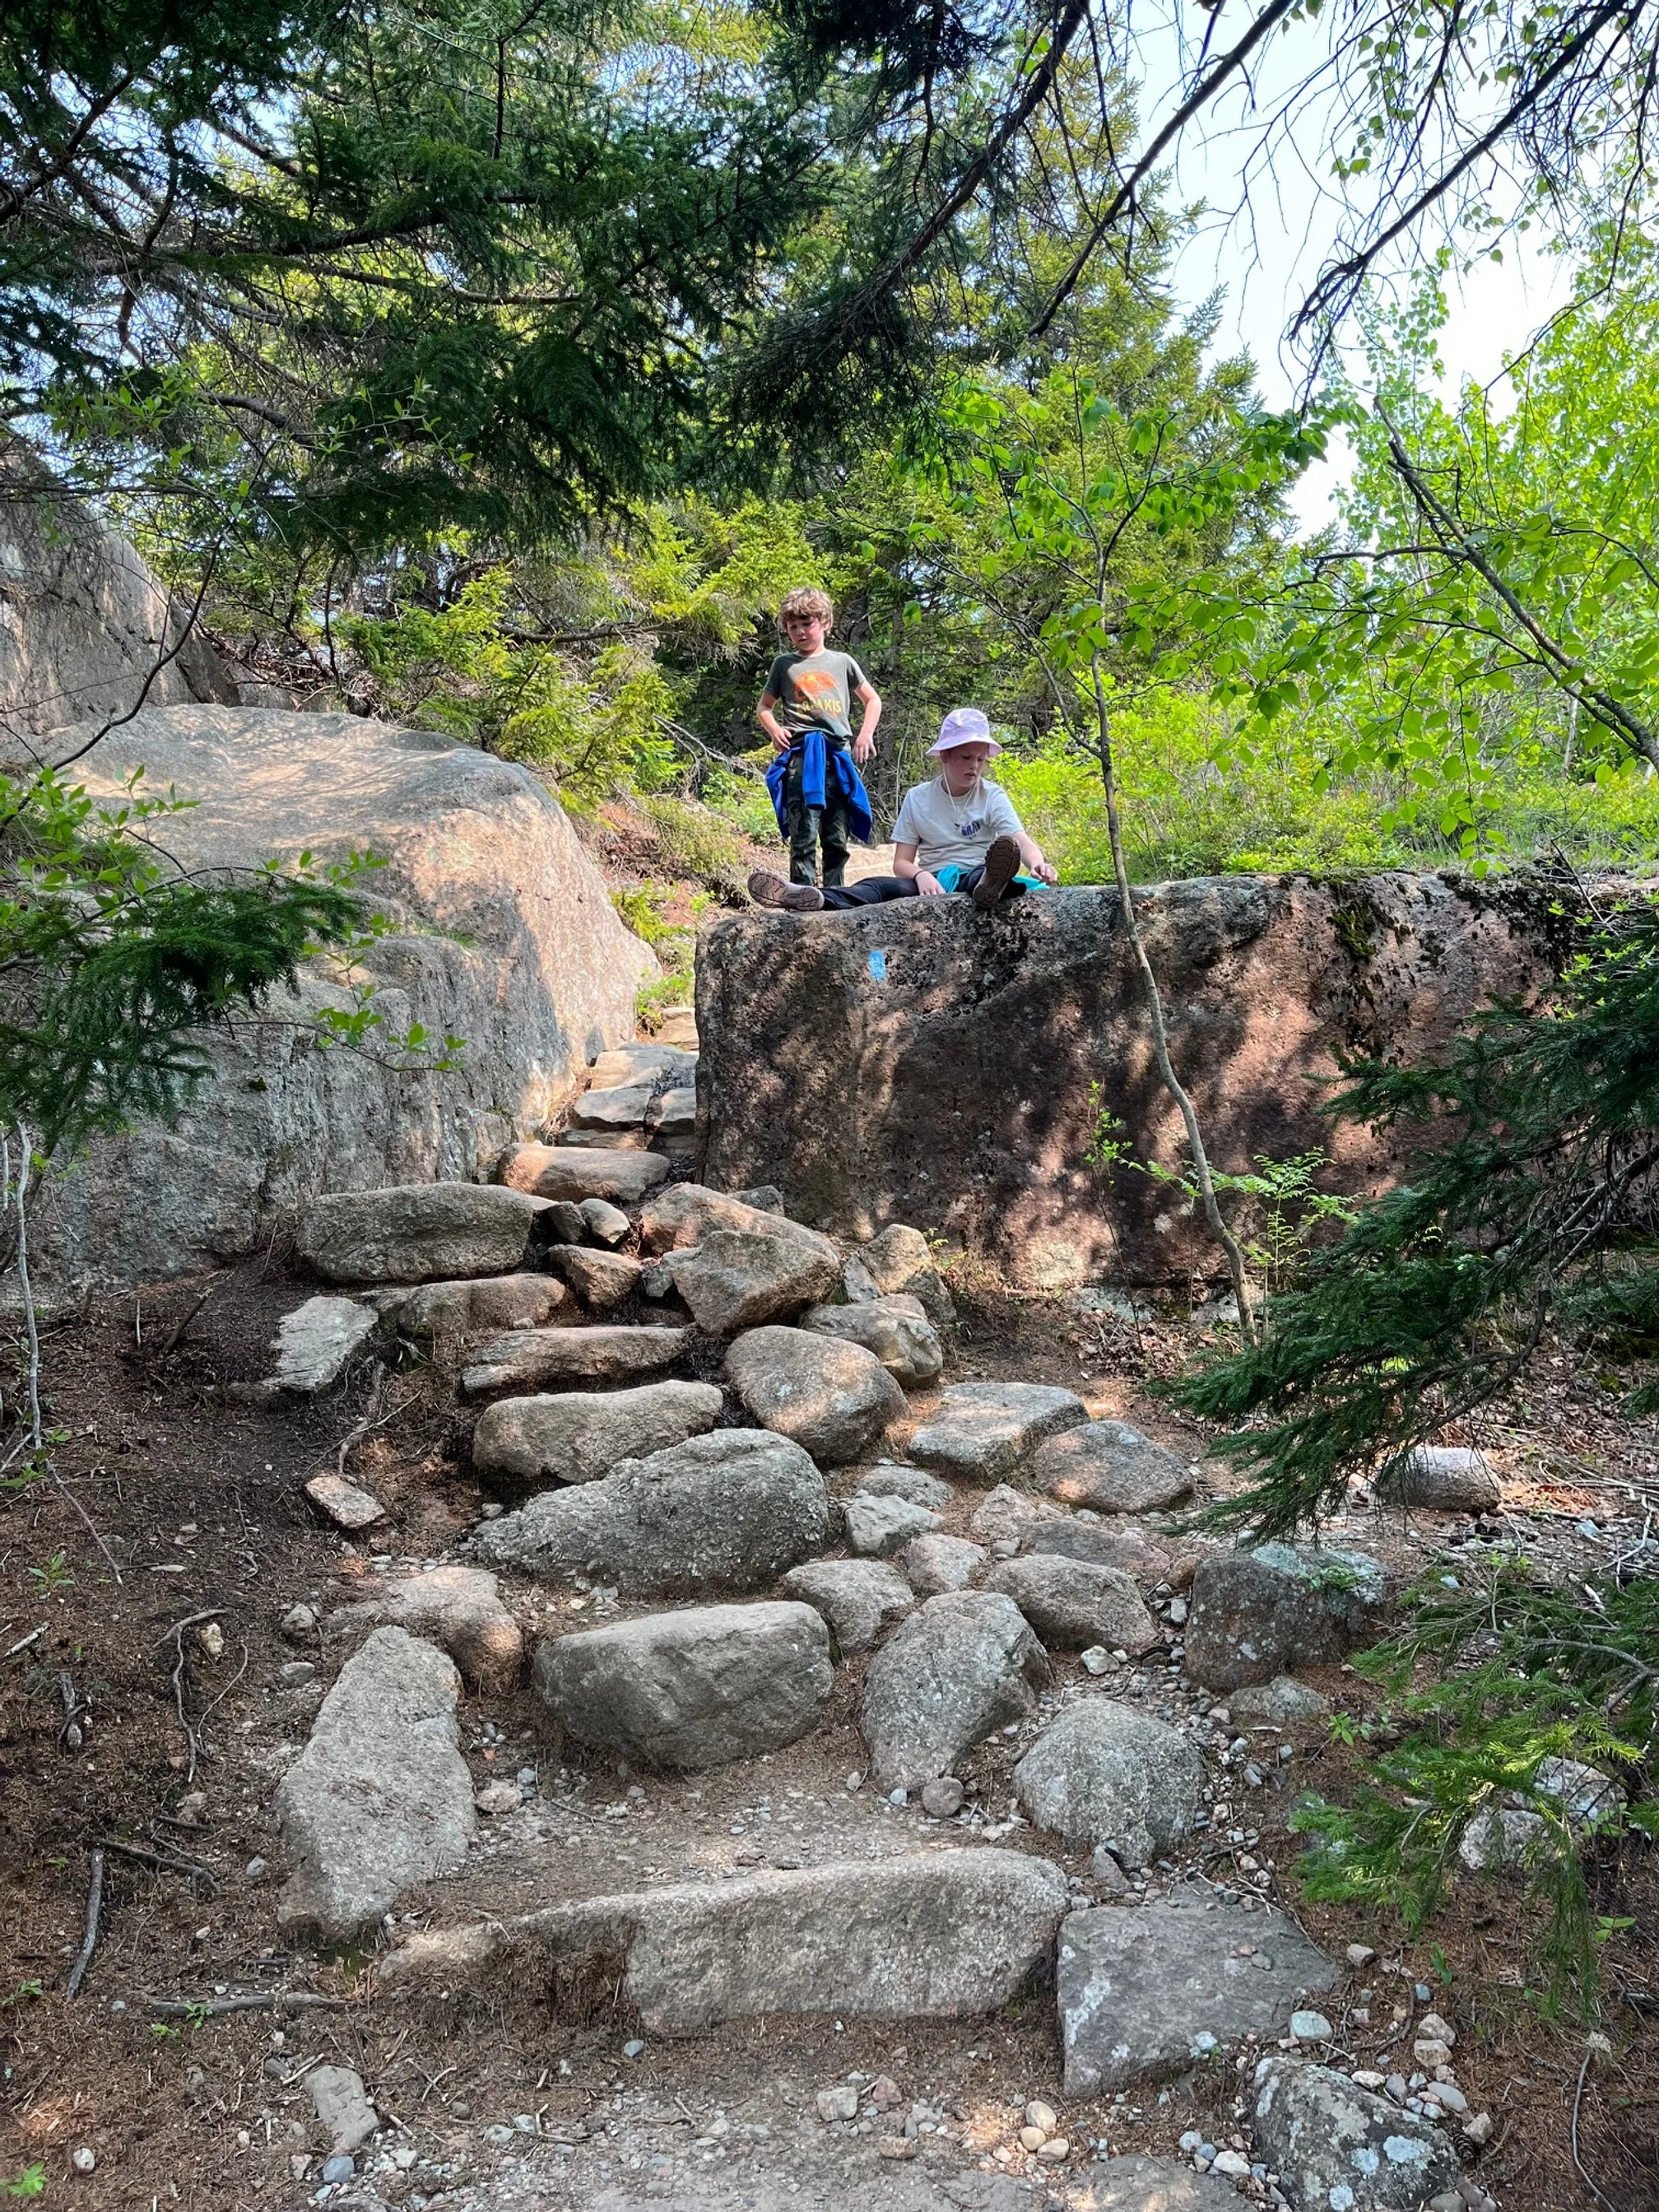
The Camping Kiddos overlooking Jordan Pond at the North Bubble Summit
This trail is a bit more challenging than what I have done with my kids in the past, but they leaned into the experience and, ultimately, loved it.
If you have a child who has hiking experience, definitely try out this one with them. My 8-year-old tried to speed run the entire thing because he discovered he really likes rock scrambles.
It’s given them (and me) the confidence to try new hikes with more challenging components as they get older!
If you’re not hiking with kids, these trails are more than likely doable for you if you’ve had prior hiking experience. The rock scramble sections are difficult if you have ankle or knee issues, so go slowly or turn back if you don’t feel comfortable.
The views from the summits are breath taking and rival what you’ll get on the much harder Beehive and Precipice Trails.
Definitely give one of these trails—or both!—a try when you’re in Acadia next.