1 Epic Week in Glacier, Yellowstone, and Grand Teton National Parks: Itinerary and Tips
Are you planning a road trip itinerary to Yellowstone, Grand Teton, and Glacier National Parks? Lucky you! These parks are absolutely breathtaking and have so much to offer.
Whether you enjoy hiking, wildlife, natural and geothermal wonders, waterfalls, lakes, or just driving through beautiful scenery, you will get all of that and more at these national parks.
This 7-day national parks road trip itinerary is perfect for first-timers and families looking to experience the wonder that is these 3 national parks.
It will give you enough time to see the highlights and still leave plenty to explore for any future trips.
These parks are ones that we have explored in depth and fallen in love with. My kids routinely ask to revisit all of them, which goes to show just how impressive they are.
As with all of my guides, this one is family friendly, but also offers plenty to do and see for any first time visitor.
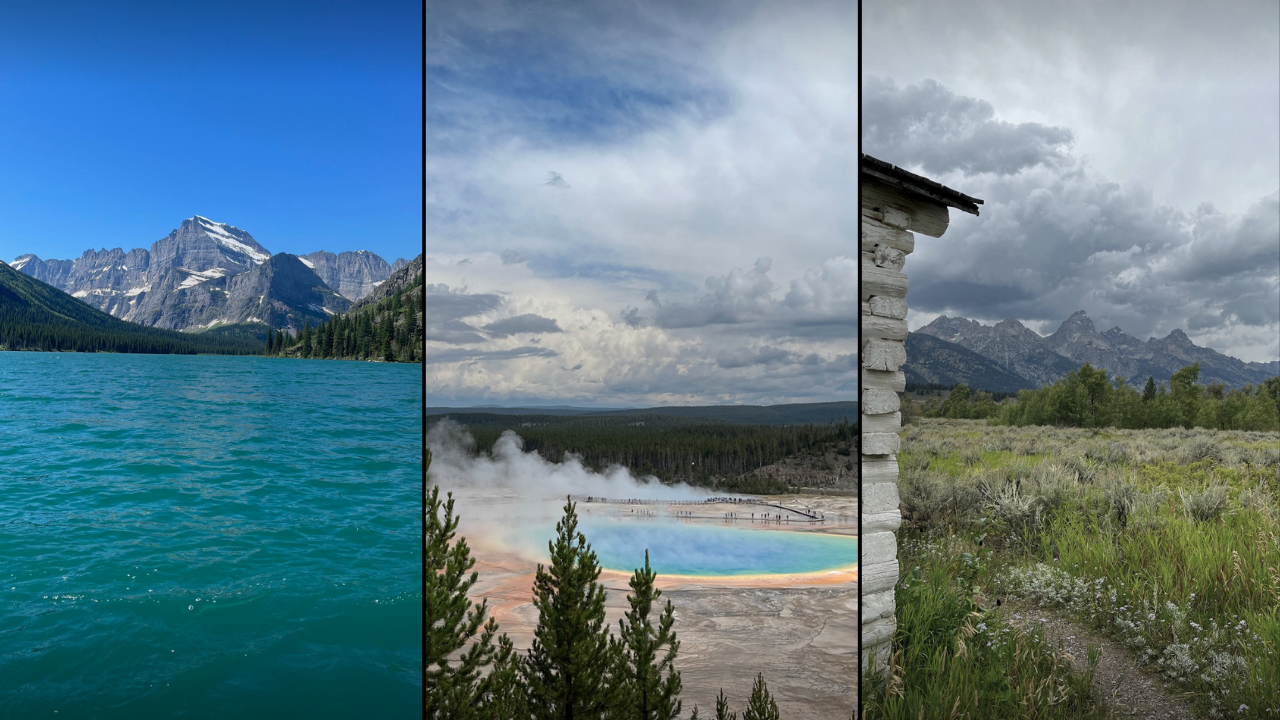
Left to right: St. Mary Lake in Glacier, Grand Prismatic Spring in Yellowstone, and Menor’s Ferry historic area in Grand Teton
This post contains affiliates. If you purchase through the links below, I will receive a commission at no charge to you.
Glacier, Yellowstone, and Grand Teton Road Trip Overview
If you’re like me, and you like to see the big picture before you get into the details, you’ll want to see the entire itinerary at a glance.
This can help you determine the best dates for this trip, so that you can then start looking for deals on airfare and rental cars.
Here’s the 1-week road trip itinerary breakdown to see all three national parks:
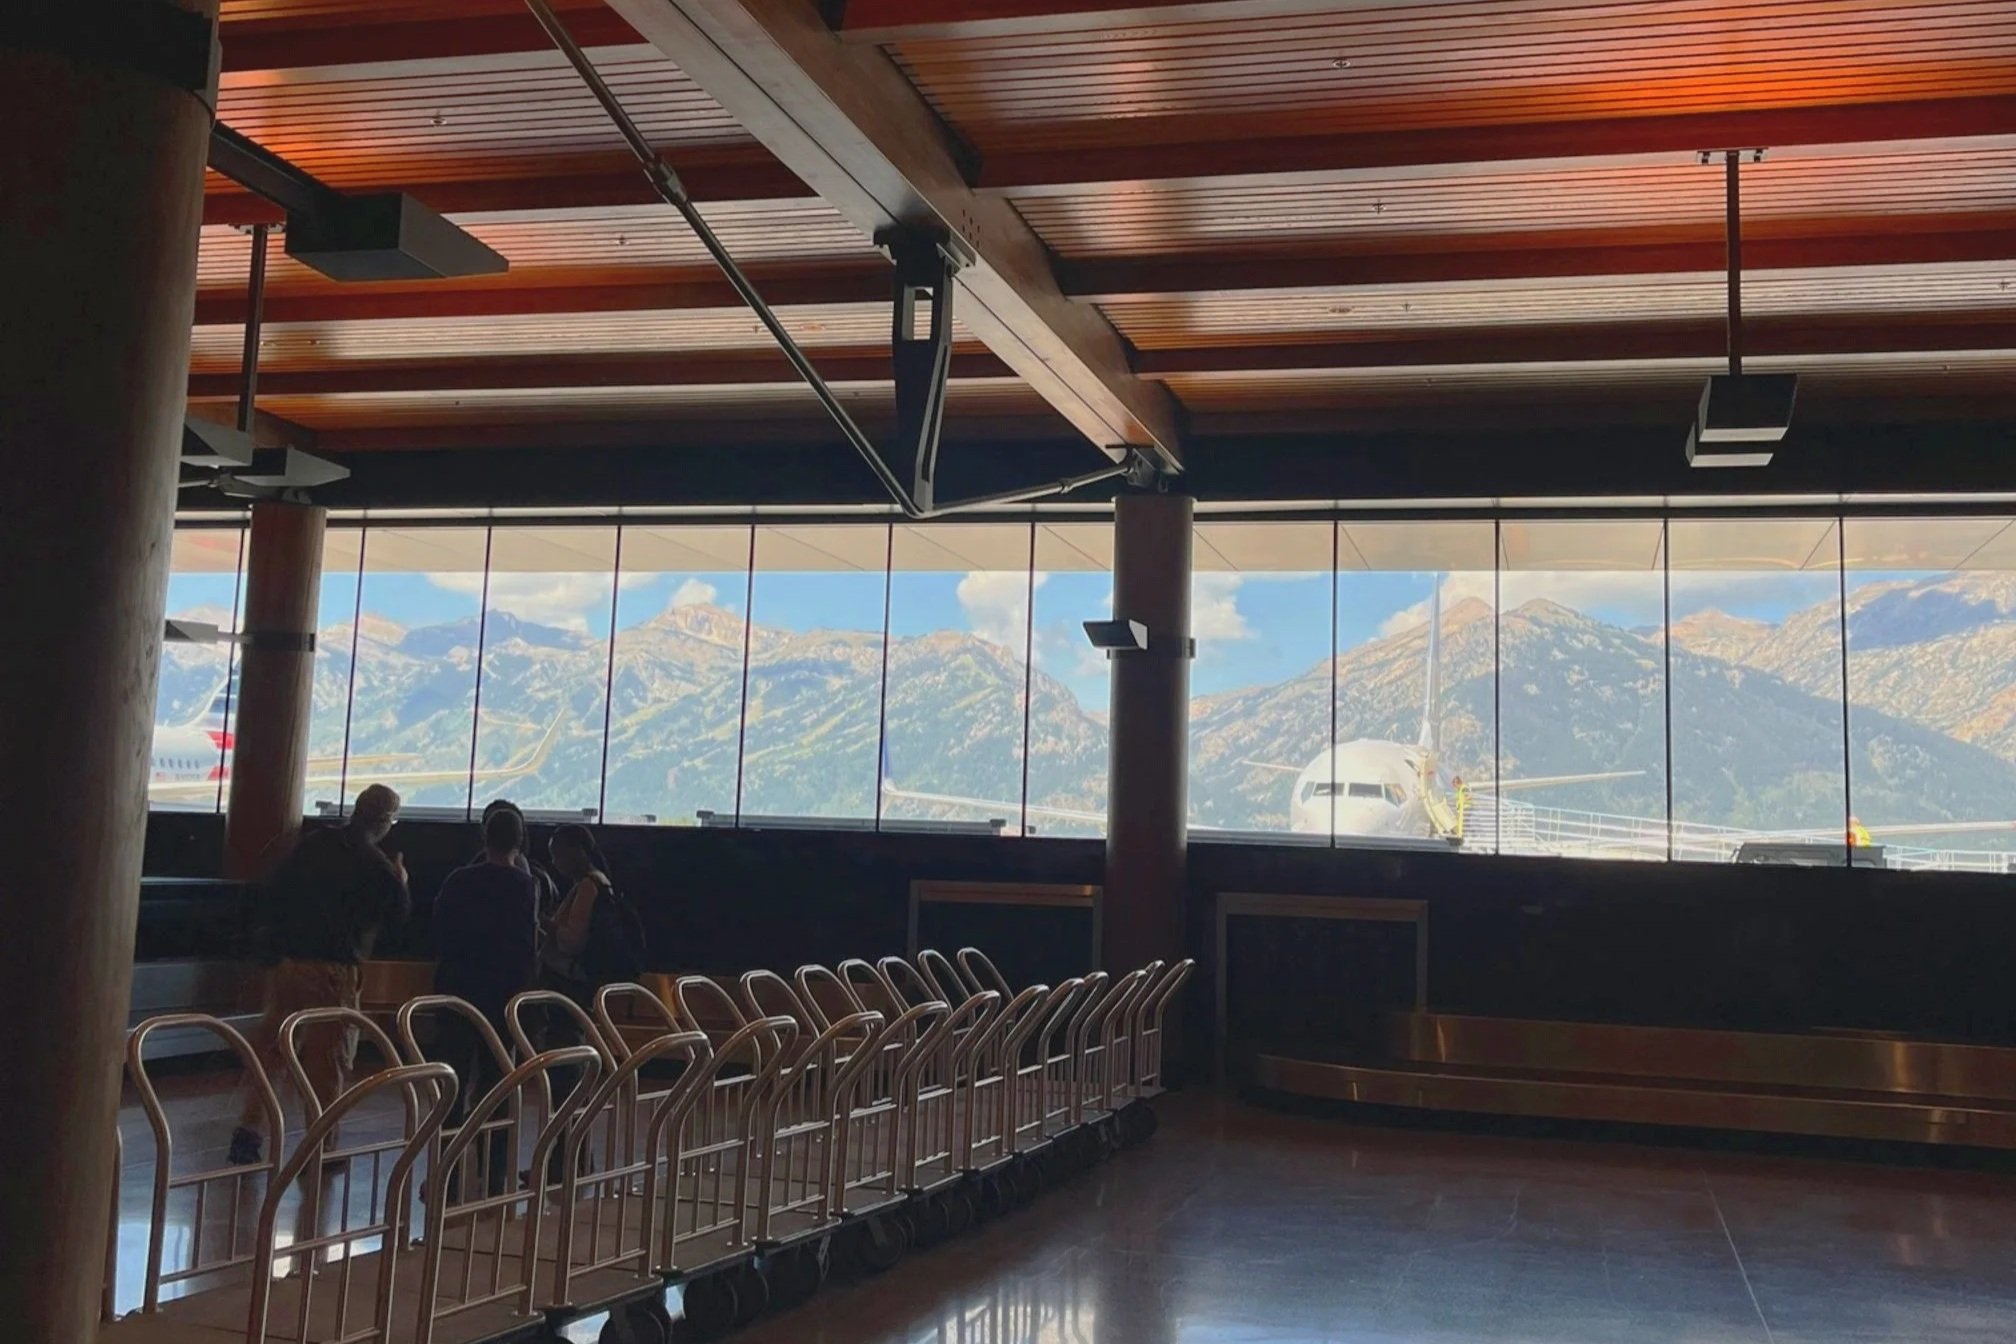
Travel day: Arrive at Glacier Park International Airport (FCA) in Kalispell. Pick up rental car and drive to campground or hotel in Hungry Horse or West Glacier.
Day 1: Glacier National Park. Start in West Glacier, drive Going-to-the-Sun Road, and end in St. Mary.
Day 2: Drive from East Glacier to Yellowstone.
Day 3: Explore Yellowstone National Park’s Mammoth Hot Springs and Tower-Roosevelt area.
Day 4: Explore Yellowstone National Park’s Grand Canyon area and Hayden Valley.
Day 5: Explore Yellowstone National Park’s Grand Prismatic Spring, Old Faithful, and West Thumb Basin areas.
Day 6: Drive to Grand Teton National Park to visit Colter Bay and do the Teton Park Loop Road.
Day 7: Explore Grand Teton National Park’s Jenny Lake area and take a river float tour.
Travel day: Return rental car. Leave from Jackson Hole Airport (JAC) in Jackson, Wyoming.
In the complete itinerary below, I’ll dive more deeply into each day’s activities. I’ve included tips for each focus area, suggested hikes and tours, recommended restaurants, and much, much more.
Complete 1 Week Glacier, Yellowstone, and Grand Teton Itinerary
This itinerary is going to work best if you have 7 full days to explore and 2 travel days.
If you find that you have a little wiggle room in your travel time, I have also included additional ways to expand your trip on each day’s schedule.
Since this road trip is a point-to-point journey, you'll start in one location and end at a different one.
Fly into Kalispell outside of Glacier the day before your itinerary begins, and then fly out of Jackson Hole Airport inside Grand Teton National Park the day after.
I do not recommend driving to your starting location to catch your return flight, as you'll need an additional travel day to make your way back.
This will be a very long driving day (about 500 miles and 8 hours of driving) after an action-packed week, and it, honestly, isn’t worth it even if you can save a few dollars on the flights.


Arrival Day: Kalispell, Montana

PIN ME!
There are two airports in Kalispell.
The smaller of the two and is run by the city of Kalispell.
You don’t want this one as it is used for small, regional air travel.
Instead, look for flights into Glacier Park International Airport (FCA).
This airport is on the northern end of Kalispell and is very convenient to the towns of Columbia Falls and Hungry Horse, Montana, on the way to West Glacier.
When we visited Glacier National Park, my dad, my kids, and I drove out on a much longer road trip, and then picked up my mom and my husband from this airport.
You’ll find directly flights here from all over the U.S., including Salt Lake City, Denver, Las Vegas, New York City, Chicago, and Dallas.
Pick up rental car
The airport isn’t big, so it is easy to get around in. The car rental places are in two different areas depending on which car company you’ve booked through.
Avis, Budget, Hertz, and National/Alamo are located in terminal while Dollar, Enterprise, and Thrifty are located across U.S. Highway 2.
For those rentals off-property, there is a free shuttle from the terminal.
I highly recommend booking through DiscoverCars.com, which allows for free cancellations up to 48 hours before your rental starts. They also have 24 hour customer service while you’re on the road, great deals, and pick-up locations across the U.S.
On your travel day, plan to arrive in Kalispell no later than mid-afternoon.
You’ll want to have plenty of time to pick up your rental car, prep for your exciting week ahead, and get to your accommodations.
NOTE: You cannot take a camper on Glacier’s Going-to-the-Sun Road that’s longer than 20 feet because there’s just not enough for it on the many sharp turns, tiny parking areas, and low tunnels.
For that reason, I would stick to renting a car and staying in cabins, glamping options, and traditional hotel rooms for this trip as you truly do not have time to backtrack to get your camper on such a tight schedule.
Stop by the grocery store.
From the airport, head to the grocery store to pick up essentials for this week.
There will be other opportunities to buy groceries, drinks, and snacks along the way, which I’ve noted below, but I like having a full ice chest from the get-go as this frees up more time for us to jump into action on our first full day.
I recommend the Super 1 Foods store in Columbia Falls for your first stock up.
It is massive with everything from grab-and-go deli items to essential dry goods. You can find a cheap cooler and bagged ice here, too.
Check into your accommodations.
From there, head to your accommodations. For this first night, I recommend staying either in Hungry Horse, Montana, which is just outside of the gates of the national park, or in Apgar Village in West Glacier.
Hungry Horse is a tiny little town, but it makes for a good jumping off point if you can’t get a hotel room or camping site in Apgar Village.
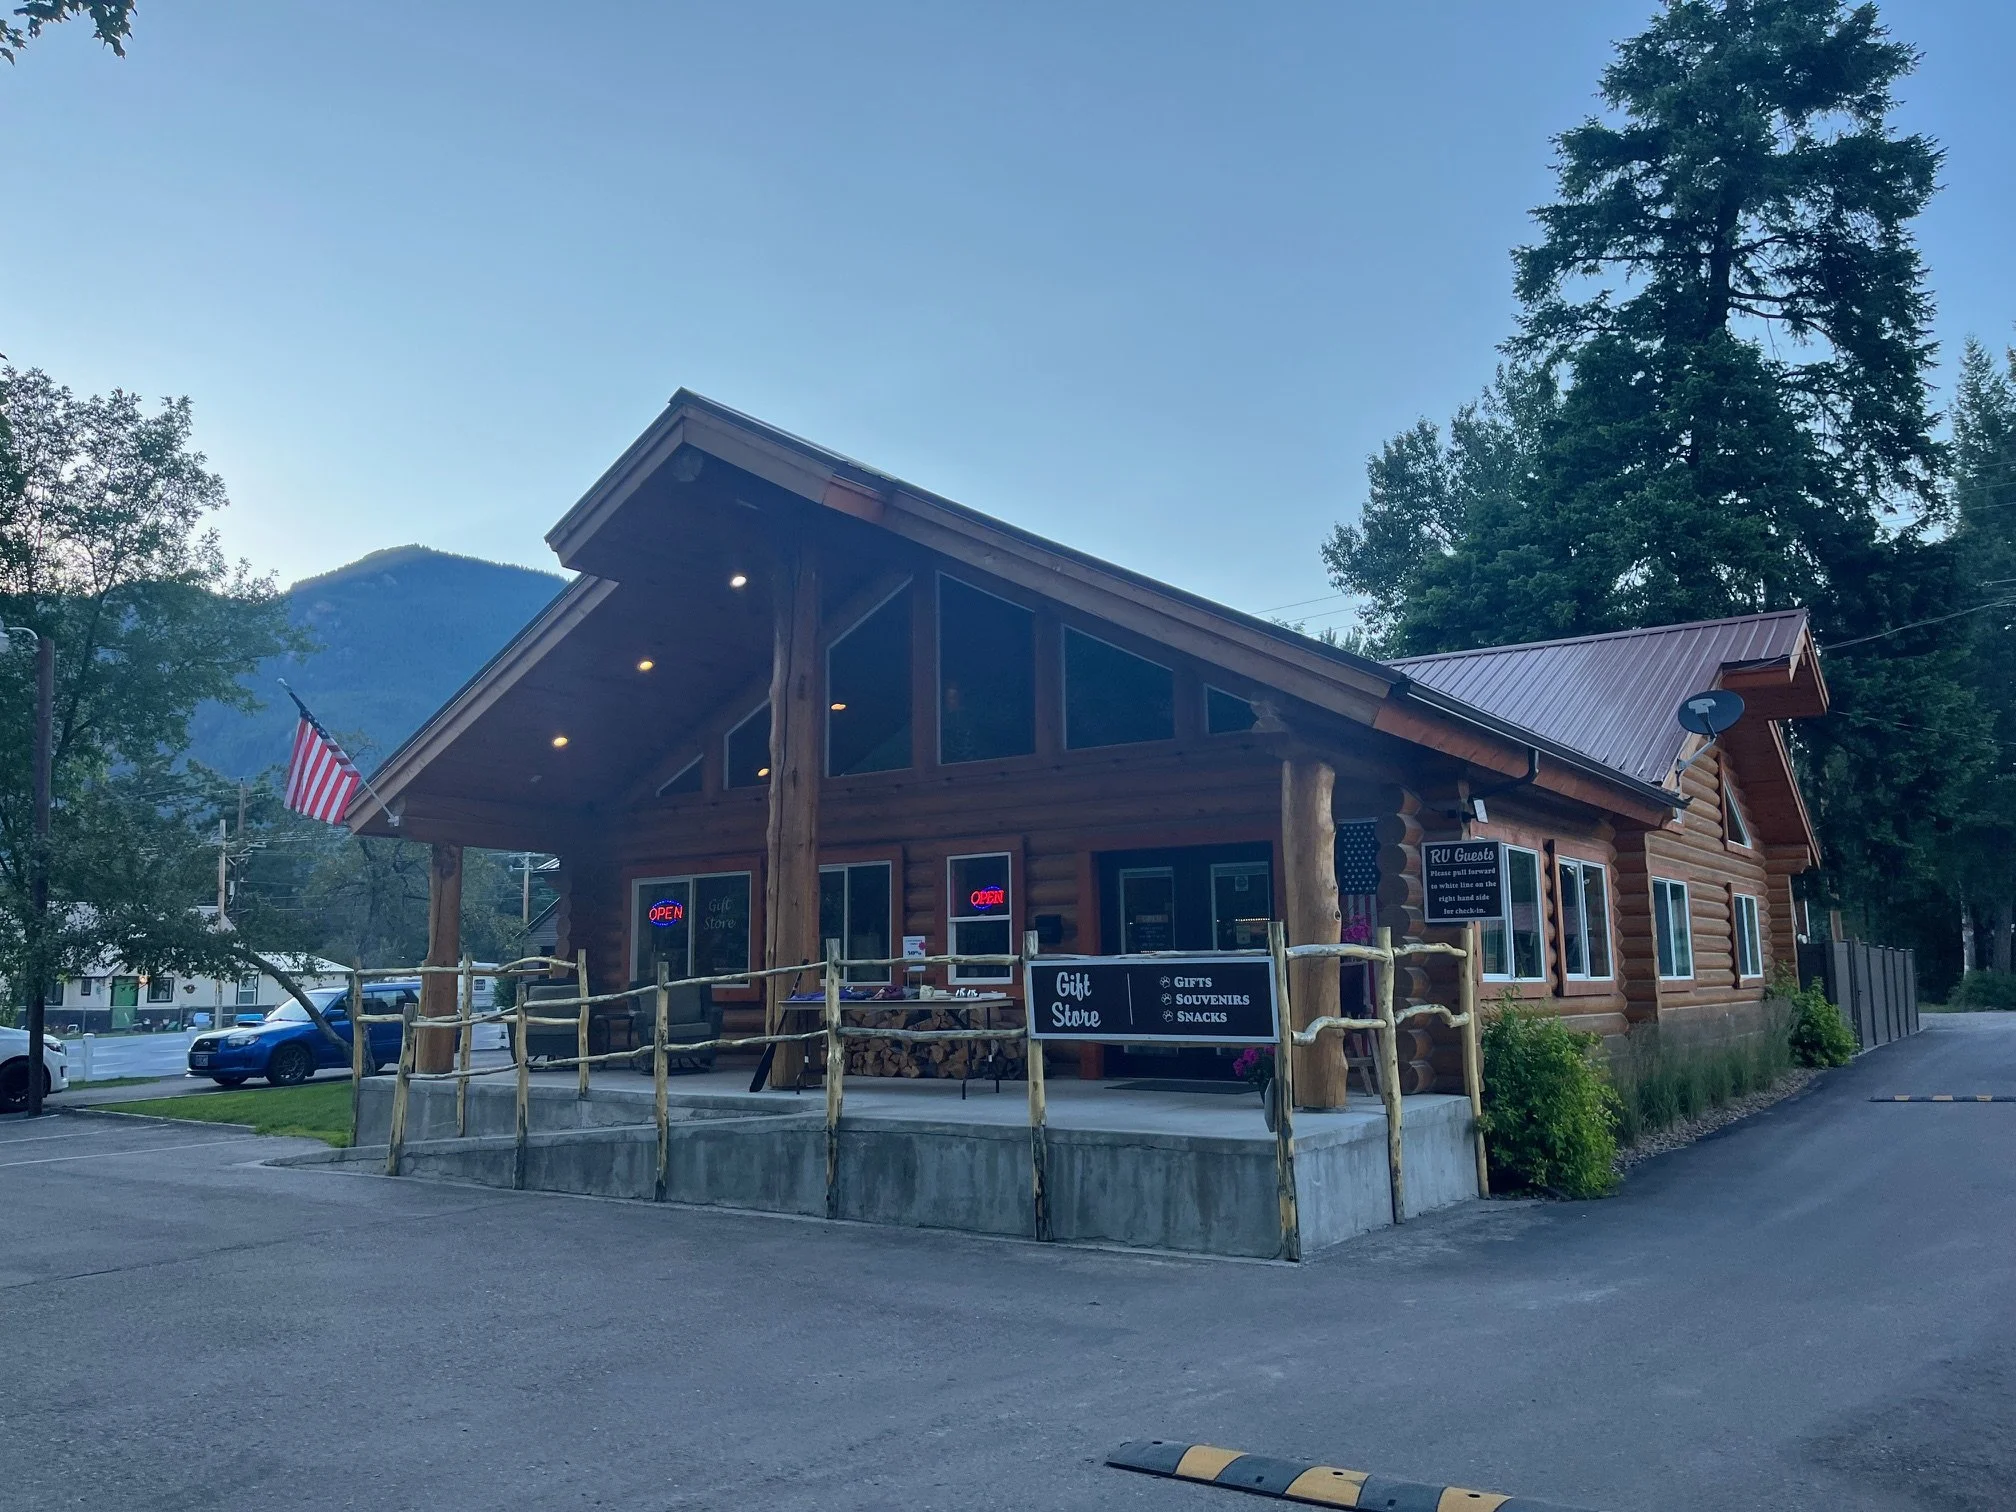
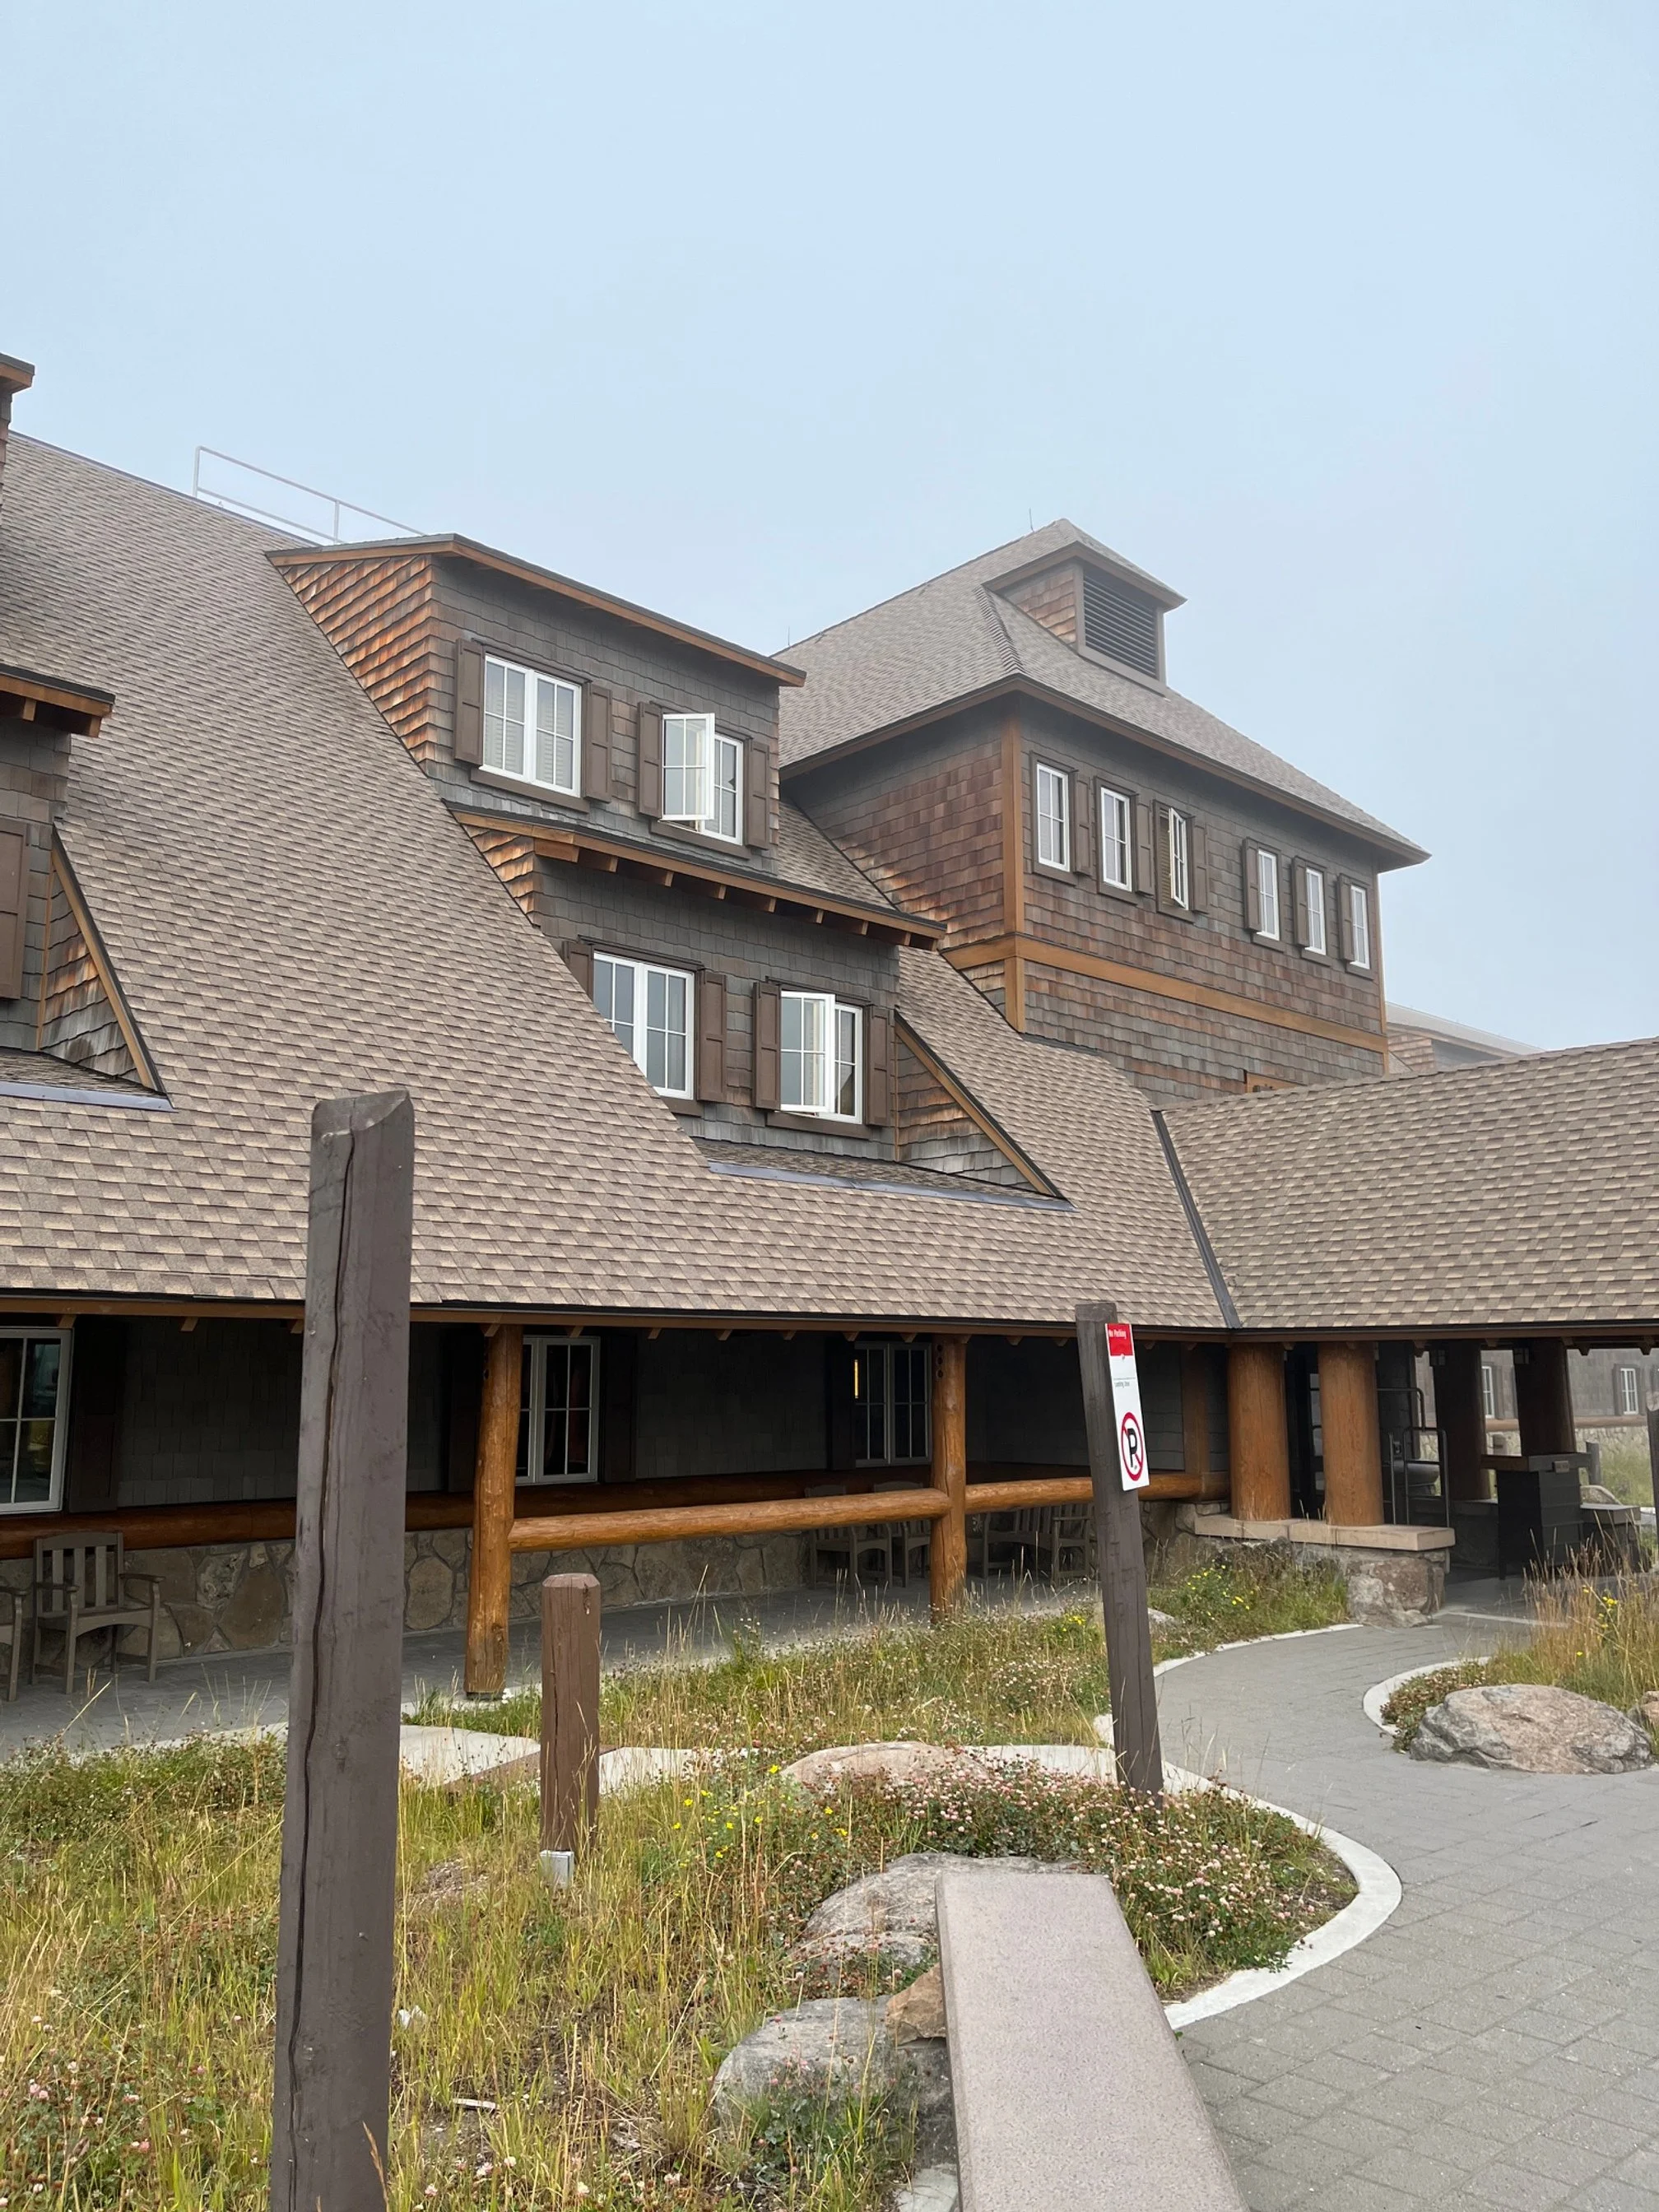
The front office and camp store for Beargrass Lodging and RV Resort
We enjoyed our stay at the Beargrass Lodging and RV Resort in Hungry Horse, and I’d highly recommend it for campers and non-campers alike. It’s a smaller campground, but it has a pool, playground, free games library, camp store, and laundry room.
Onsite are also cute hotel rooms with kitchenettes, which I love because you can cook your own meals and save money.
If you’d like to camp but don’t to bother bringing your gear, the Under Canvas Glacier glamping tents are gorgeous. The property is less than 15 minutes to Apgar Village, making it super convenient.
Enjoy your evening.
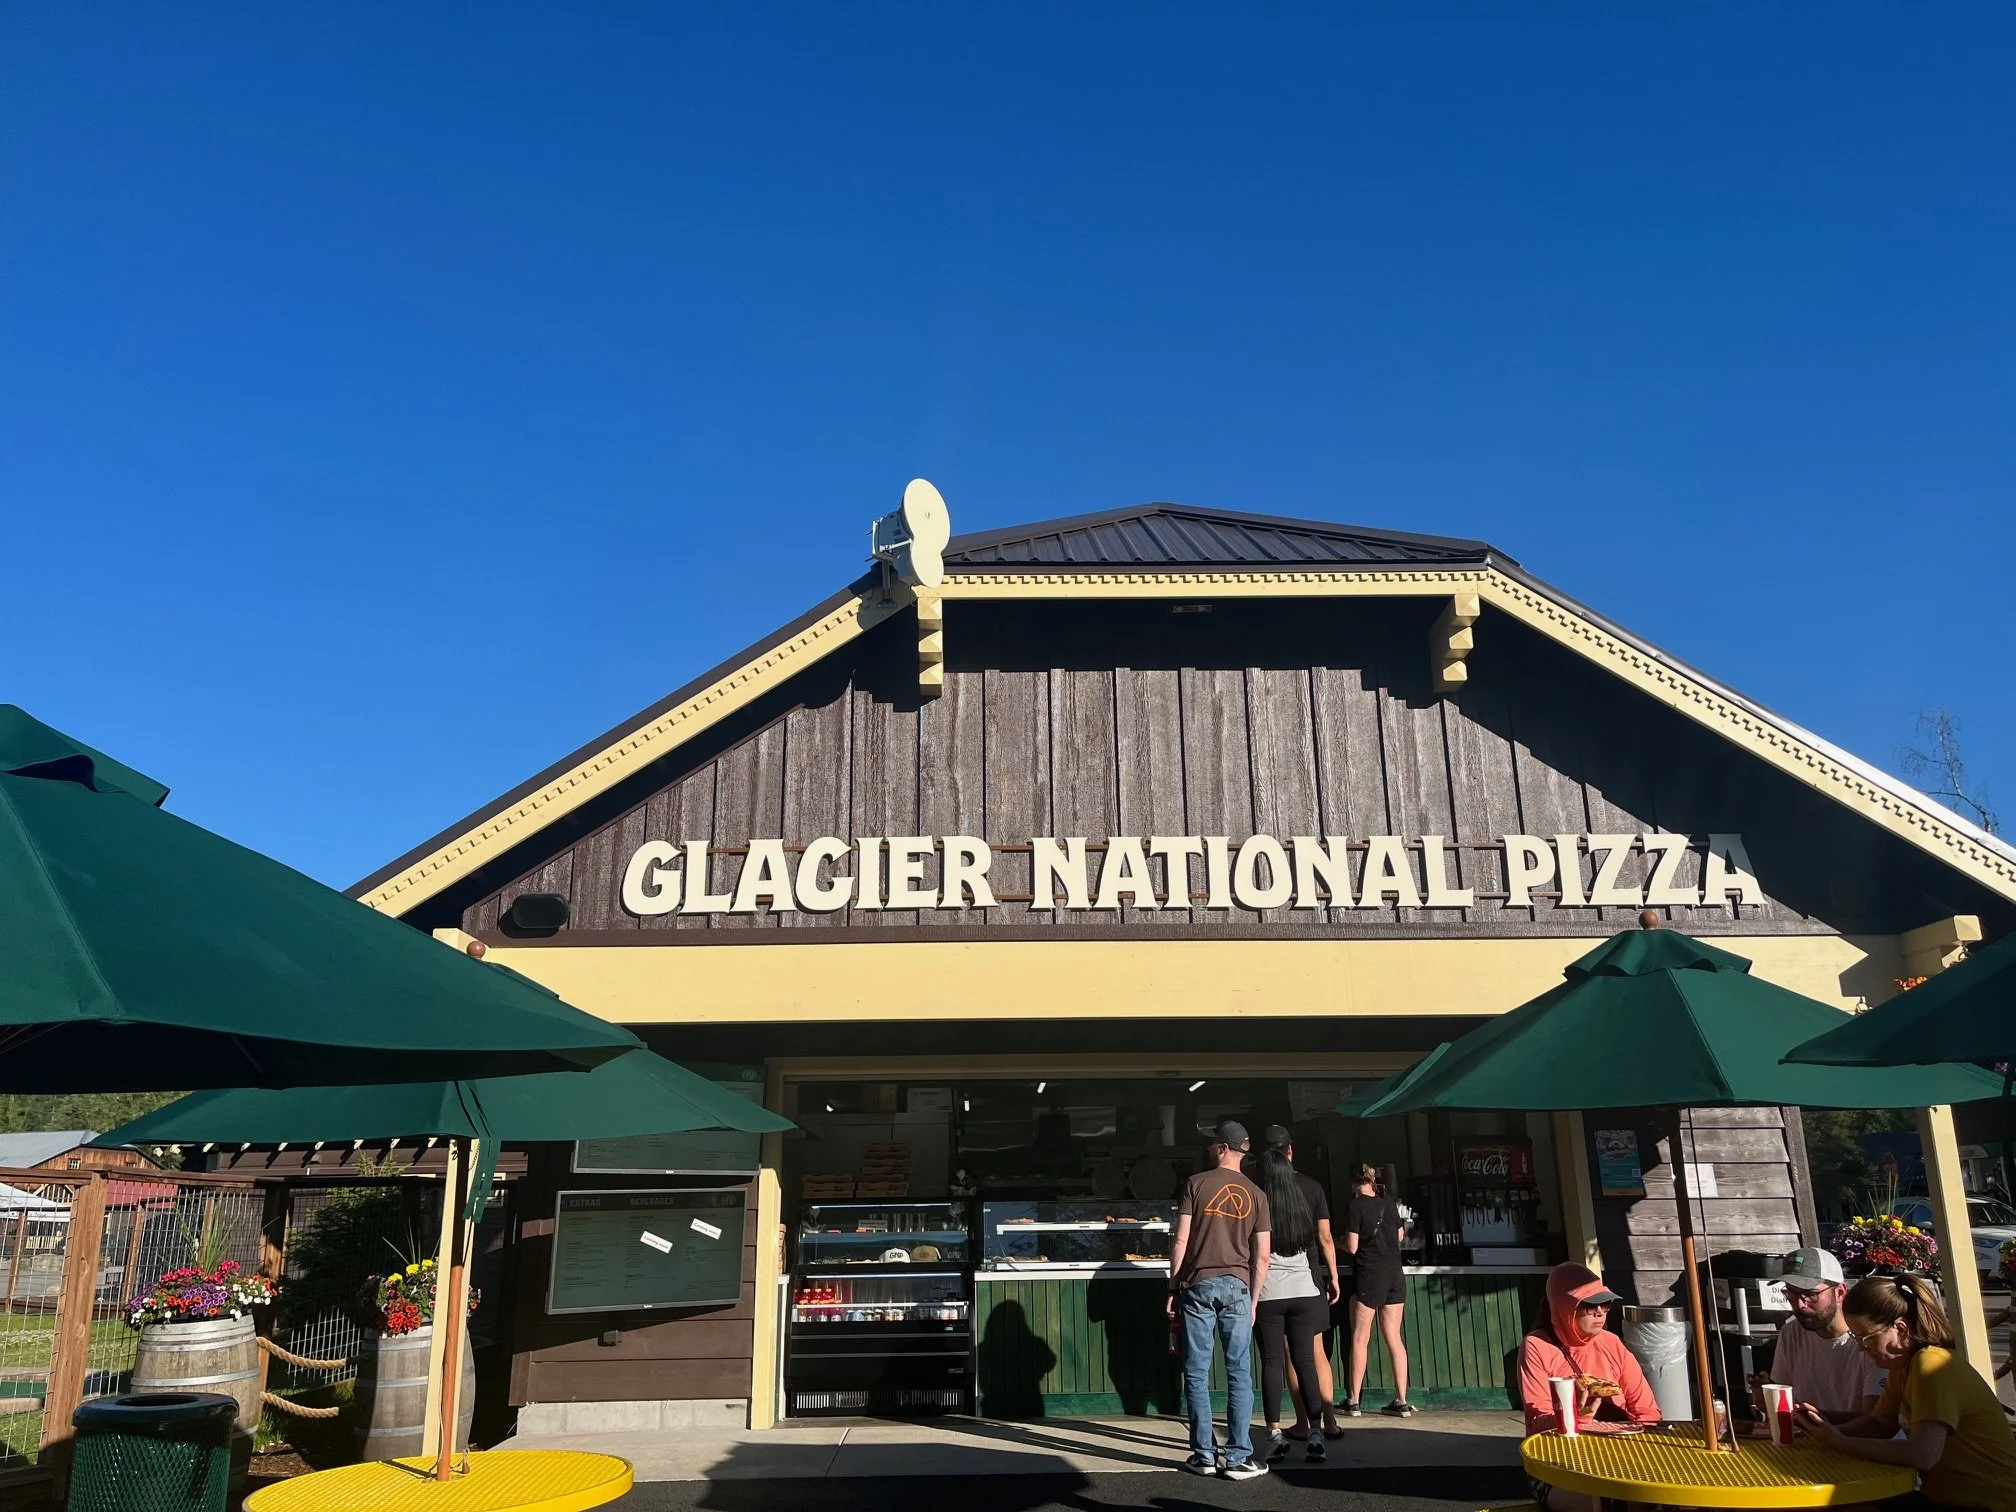
Grab a pie and garlic knots at Glacier National Pizza.
For dinner, cook at your hotel or campsite. If you’d rather go out, I recommend heading into West Glacier for delicious pizza at Glacier National Pizza.
This cute pizza shop has outdoor seating and huge pies. You can then challenge your travel buddies to a round of mini-golf at Golfing to the Sun next door.
Extend your time here further: This area of Montana is beautiful and has plenty to do before you even step foot in the national park.
There’s the Hungry Horse Dam and Reservoir to explore. You can walk across the dam for some fantastic views of the Columbia River below. This area has several great hikes, too.
NOTE: Get AllTrails+ for the most up-to-date information about the trails!
If you have kids, or love animals yourself, stop by Goats of Glacier, a working farm where you can pet alpaca, sheep, and, of course goats.
A little further afield, you can take a guided, illuminated kayak tour of Flathead Lake south of Kalispell. Montana’s lakes are gorgeous, and this would be a great time to see more.
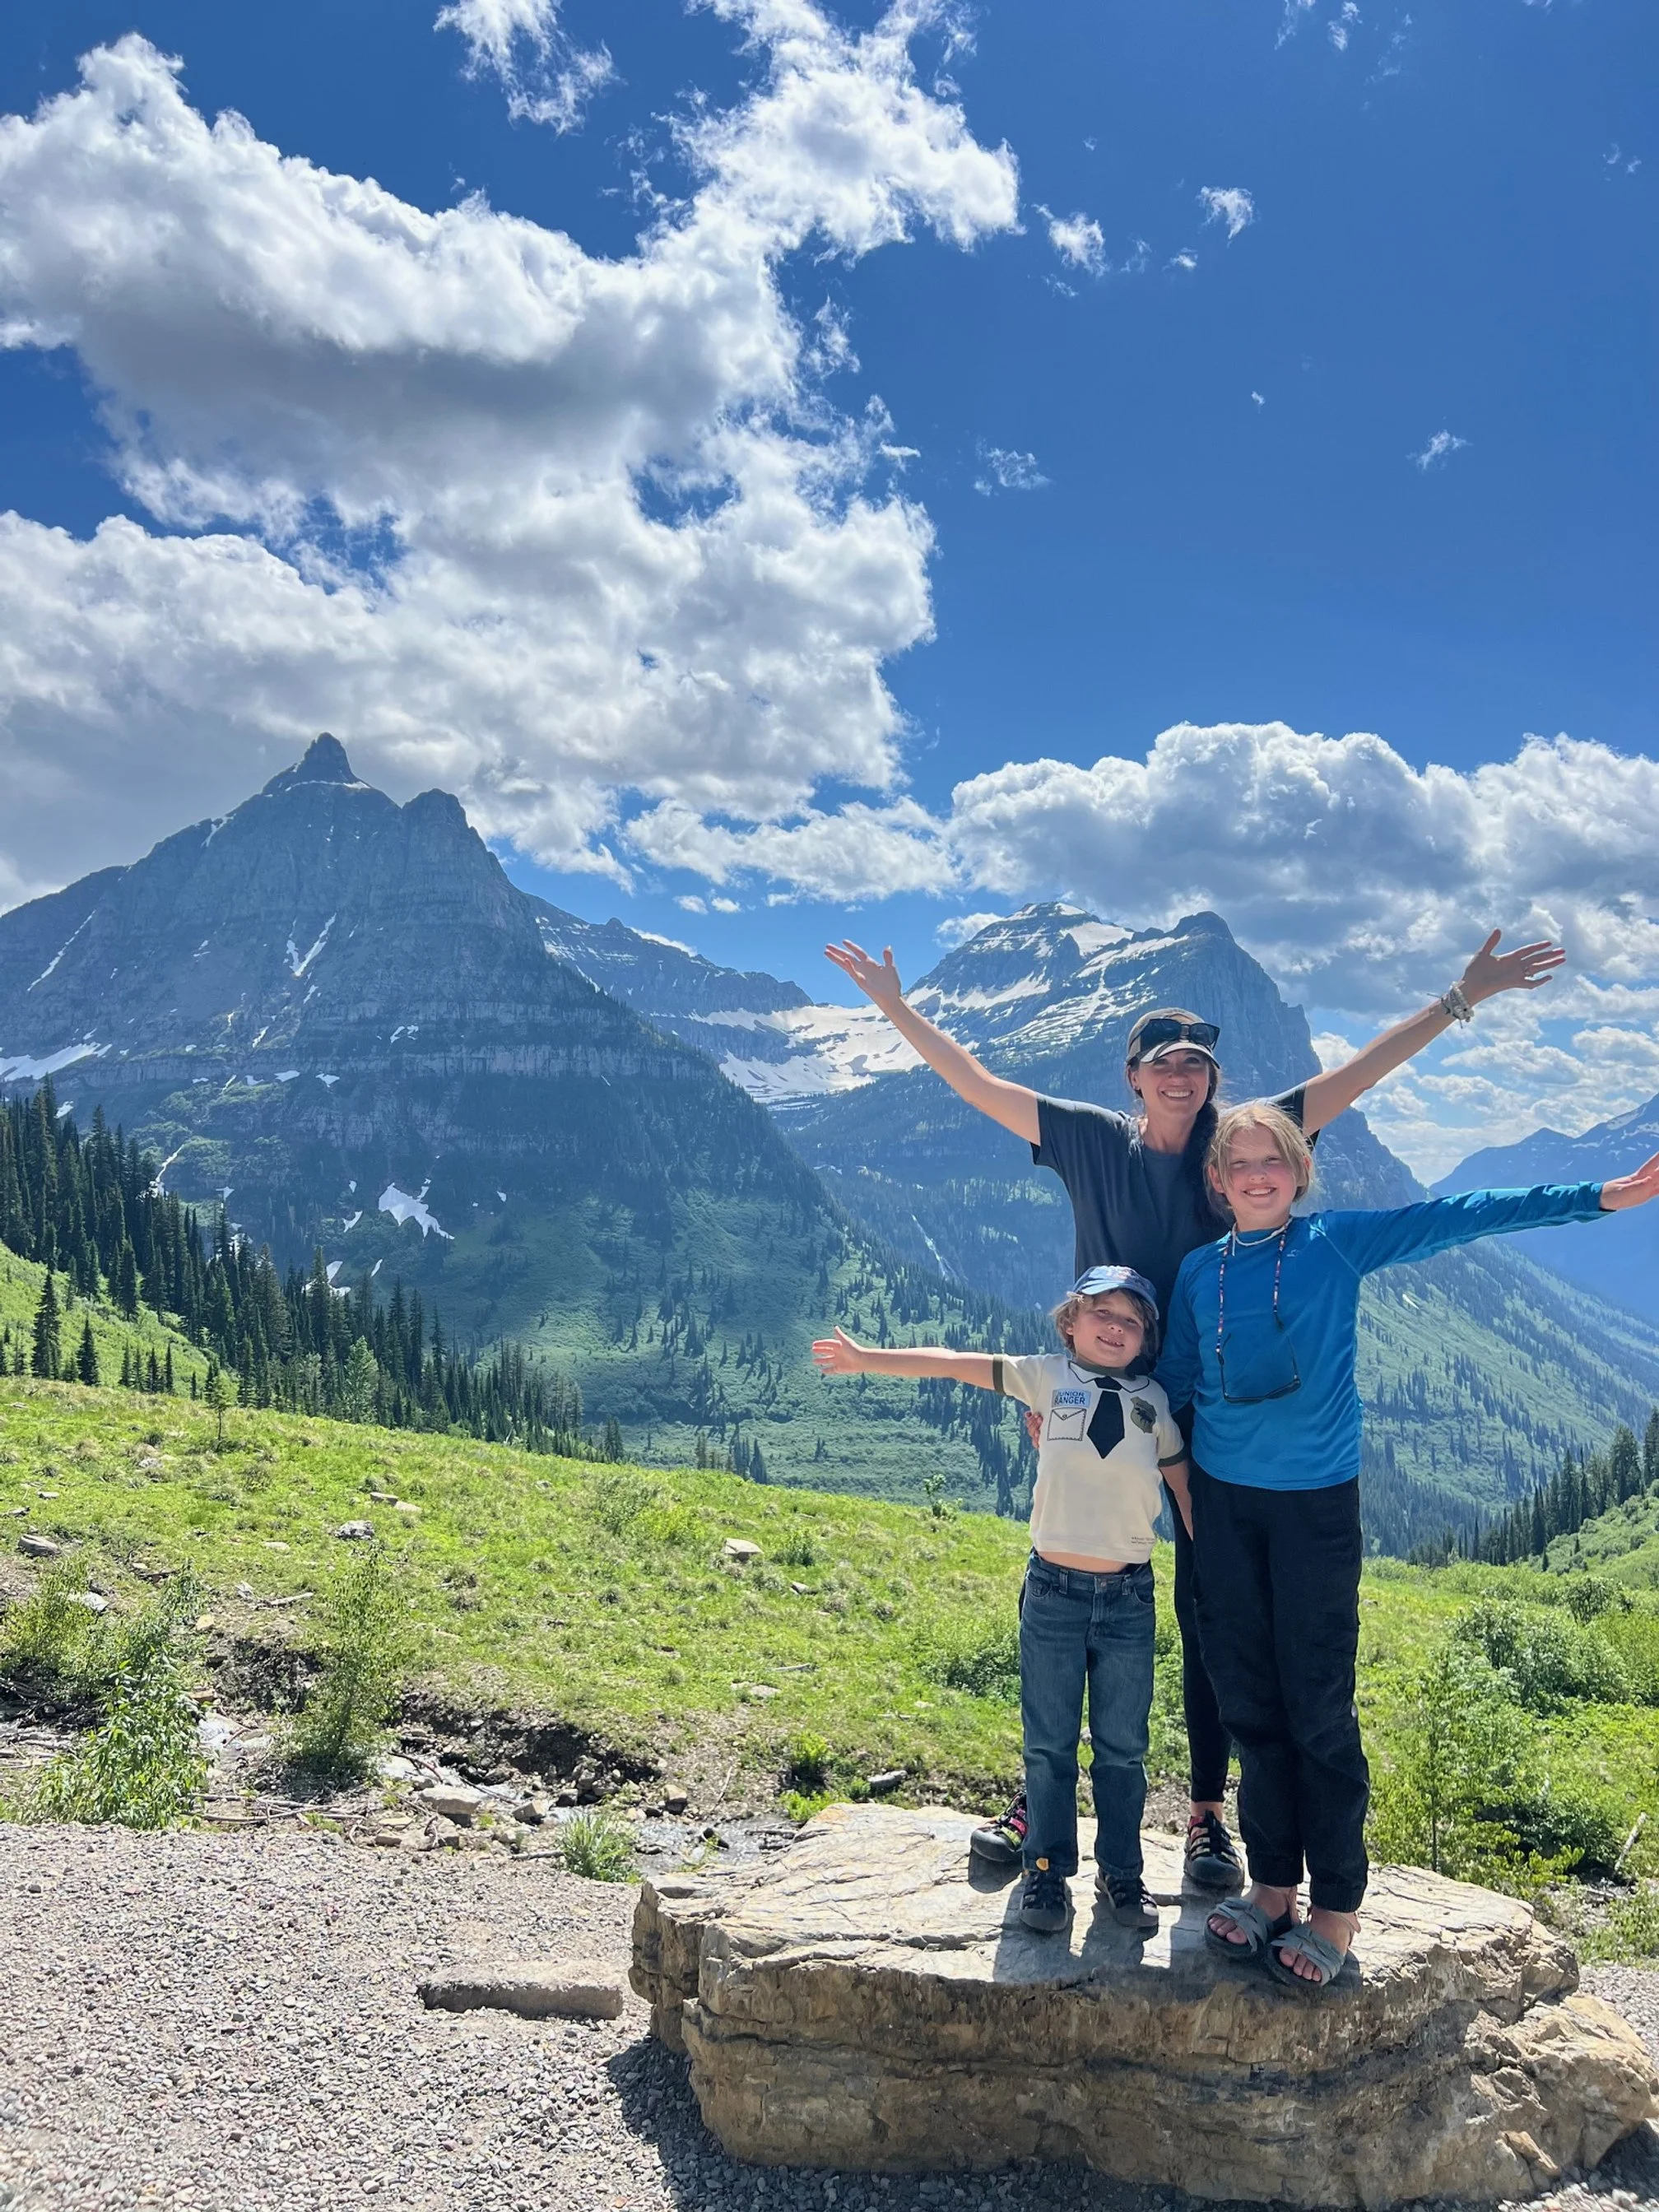
Day 1: Glacier National Park
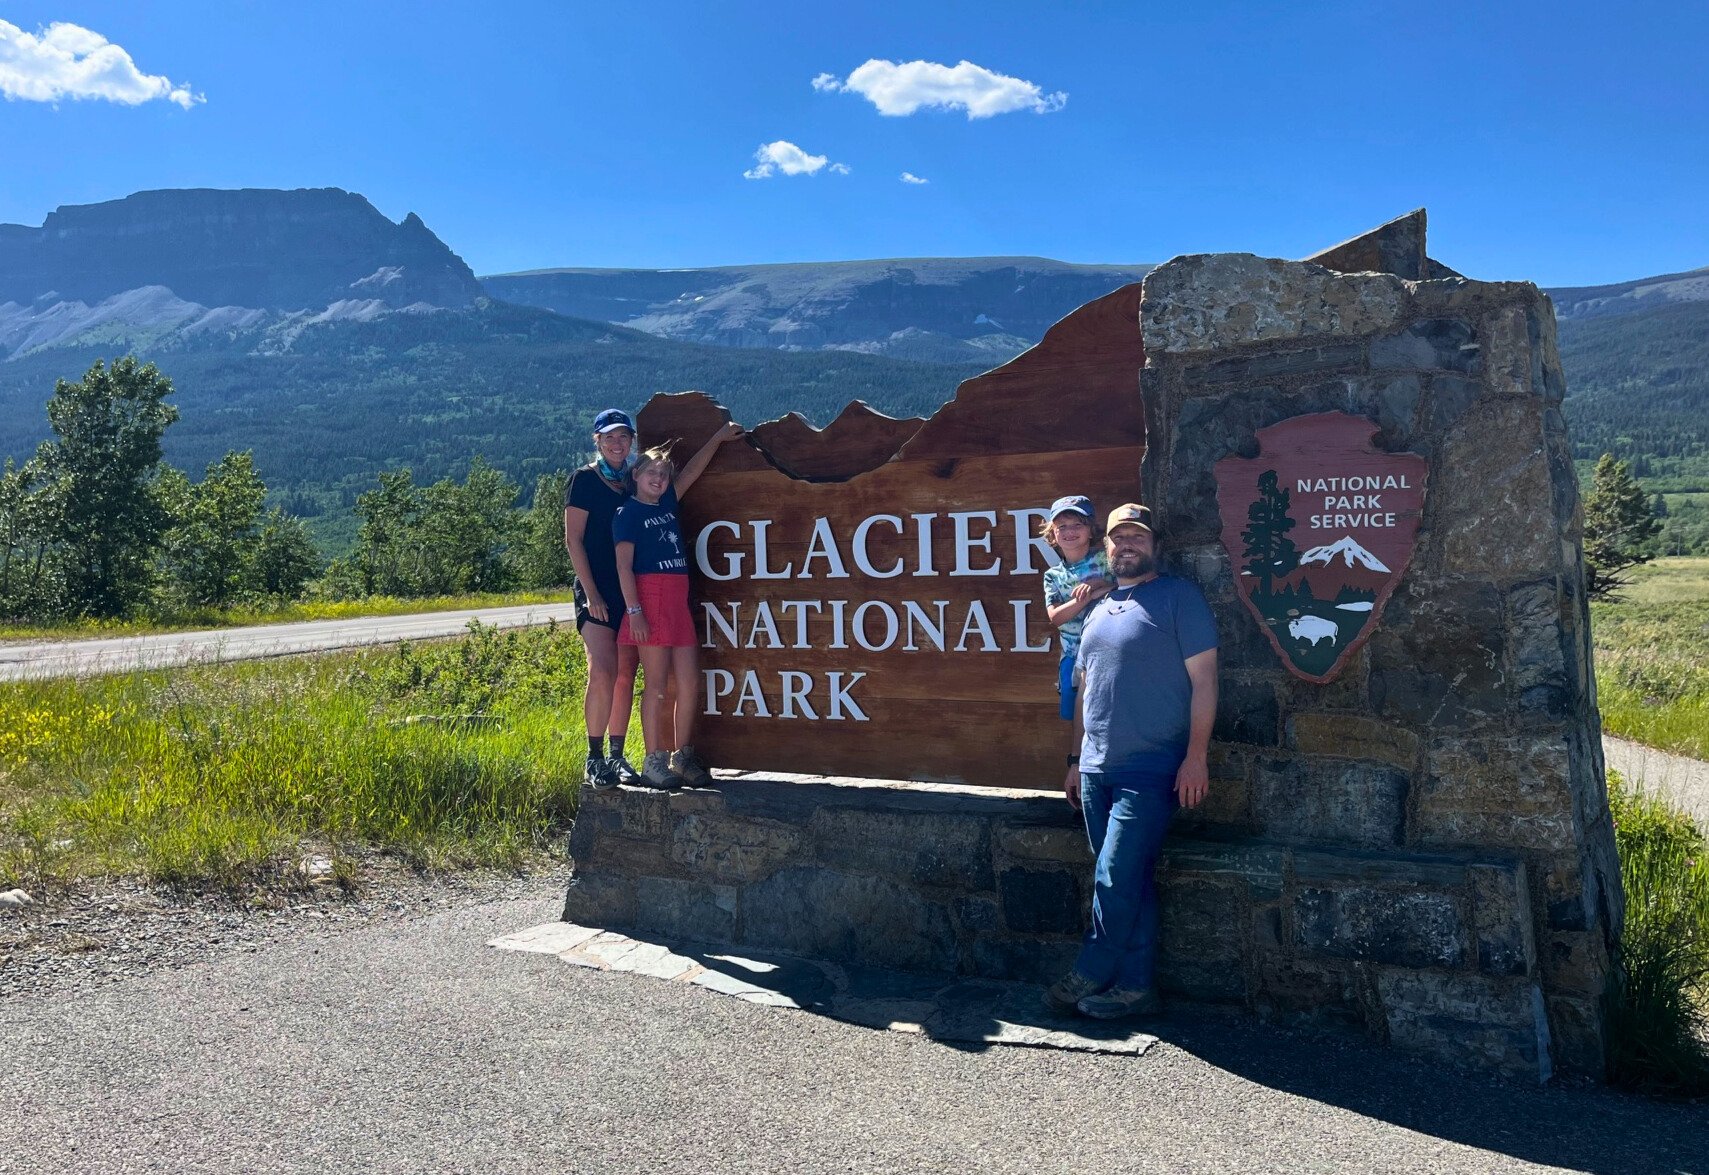
My family and I at the East Entrance to Glacier National Park in St. Mary

Cars line up at the west entrance to Glacier
Get up early and make the most of your one full day in Glacier.
You’ll spend most of your day driving Going to the Sun Road, but there are plenty of opportunities to get out and stretch your legs along the way.
NOTE: As of 2026, you do NOT need a reservation to access any part of Glacier National Park.
In years past, there was a vehicle reservations system in place if you were driving Going-to-the-Sun Road from West Glacier to St. Mary. However, it was stressful to get tickets (which often sold out on the same morning they were released), caused traffic snarls in Apgar Village where rangers were checking passes, and didn’t do much to take the pressure off of the crowded parking areas along Going-to-the-Sun Road.
Must Have for Glacier National Park!
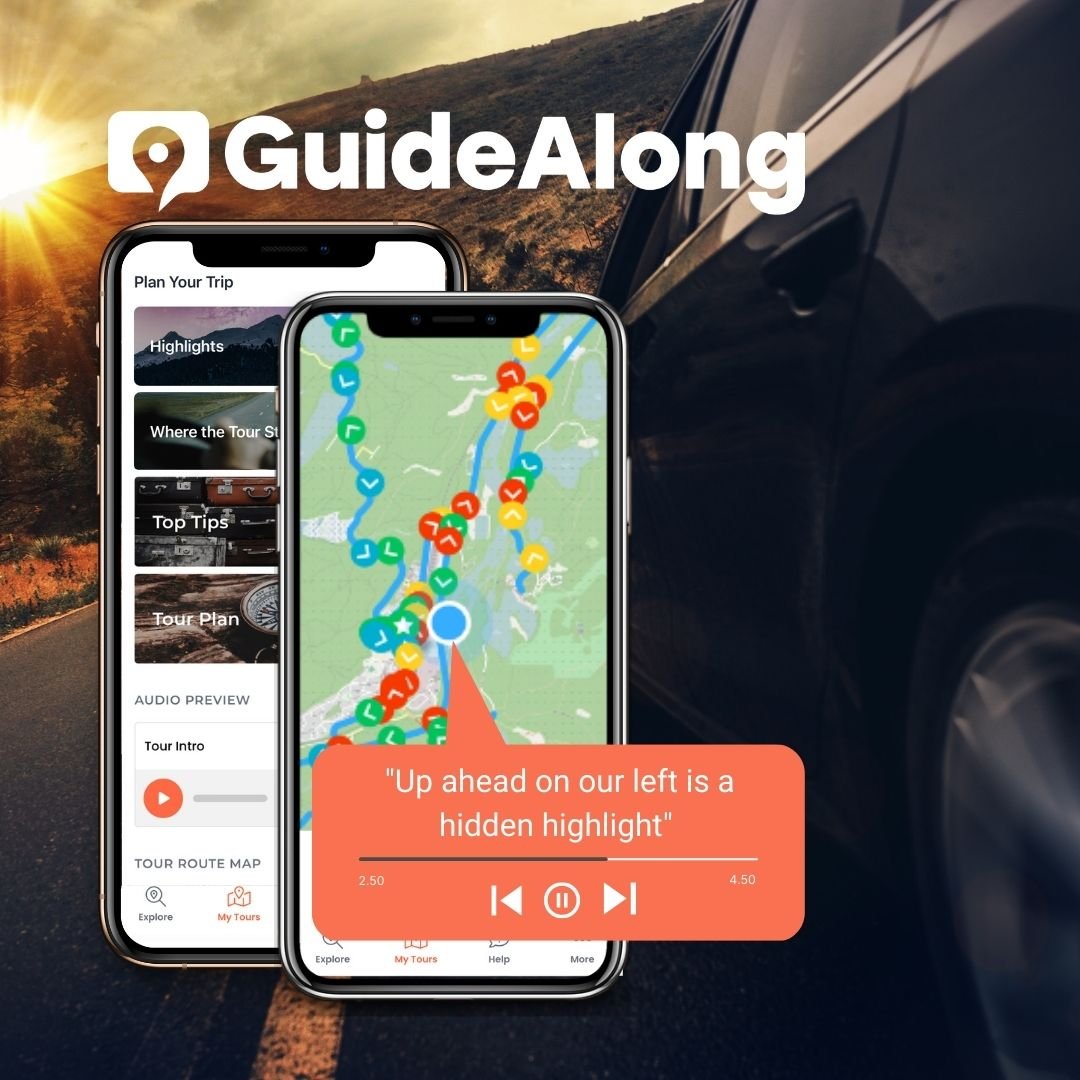
Grab the Glacier National Park GuideAlong audio tour to listen to while you’re driving today. We love these, as they share helpful information on the park’s geology, history, wildlife, and more!
Wake up early
The earlier you can be in the park, the better.
I'd suggest aiming to be there no later than 7:00 am, but if you can manage before that, you’ll be able to see even more of this incredible park.
Remember to pack up before you leave this morning, as you won’t be staying here for a second night.
Breakfast in Apgar Village
Start your day with breakfast at Eddie’s in Apgar Village. You can choose from light breakfast options like oatmeal or egg bites to go with your coffee or tea.
If you can nab one of the tables out on the small wooden deck, you’ll also get some lake views while you eat.
Lake McDonald Water Activities

Before you head further into the park, pause for a moment in Apgar Village.
If nothing else, walk down to the shore of Lake McDonald; there’s a small swimming beach down by the boat pier.
This is the part of the park where you’ll be able to see the brilliantly colored stones by the lake’s edge.
If you can spare an hour, I also recommend renting a motorboat, kayak, or paddleboard to explore Lake McDonald further.
There are rentals available at the Glacier Park Boat Rentals at the lake’s edge, or you can rent from Flathead Outdoors, which is located near the lake at the Cedar Tree Gift Shop.
Getting out onto the water allows you to see just how clear the lake is. You’ll be able to see fish on the bottom even from 40-60 feet above.
Read my complete guide to paddle boarding on Lake McDonald here.
Drive Going-To-The-Sun Road

This beautiful road cuts through the heart of the park, connecting Apgar Village in West Glacier to St. Mary on the eastern side.
The views on this road are probably the most gorgeous I have ever seen in my life, and you’ll want to meander your way across the park, stopping at the scenic overlooks frequently.
Some of the highlights include Logan Pass, Big Bend, Jackson Glacier Overlook, and Wild Goose Island Lookout.
With so many incredible overlooks, you'll have your pick of stunning locations to eat a picnic. I definitely recommend packing your lunch today since there aren't really any places to grab a bite to eat while driving Going To The Sun Road.
Review possible stops ahead of time with my driving guide to Going-to-the-Sun Road here.
Take a hike.
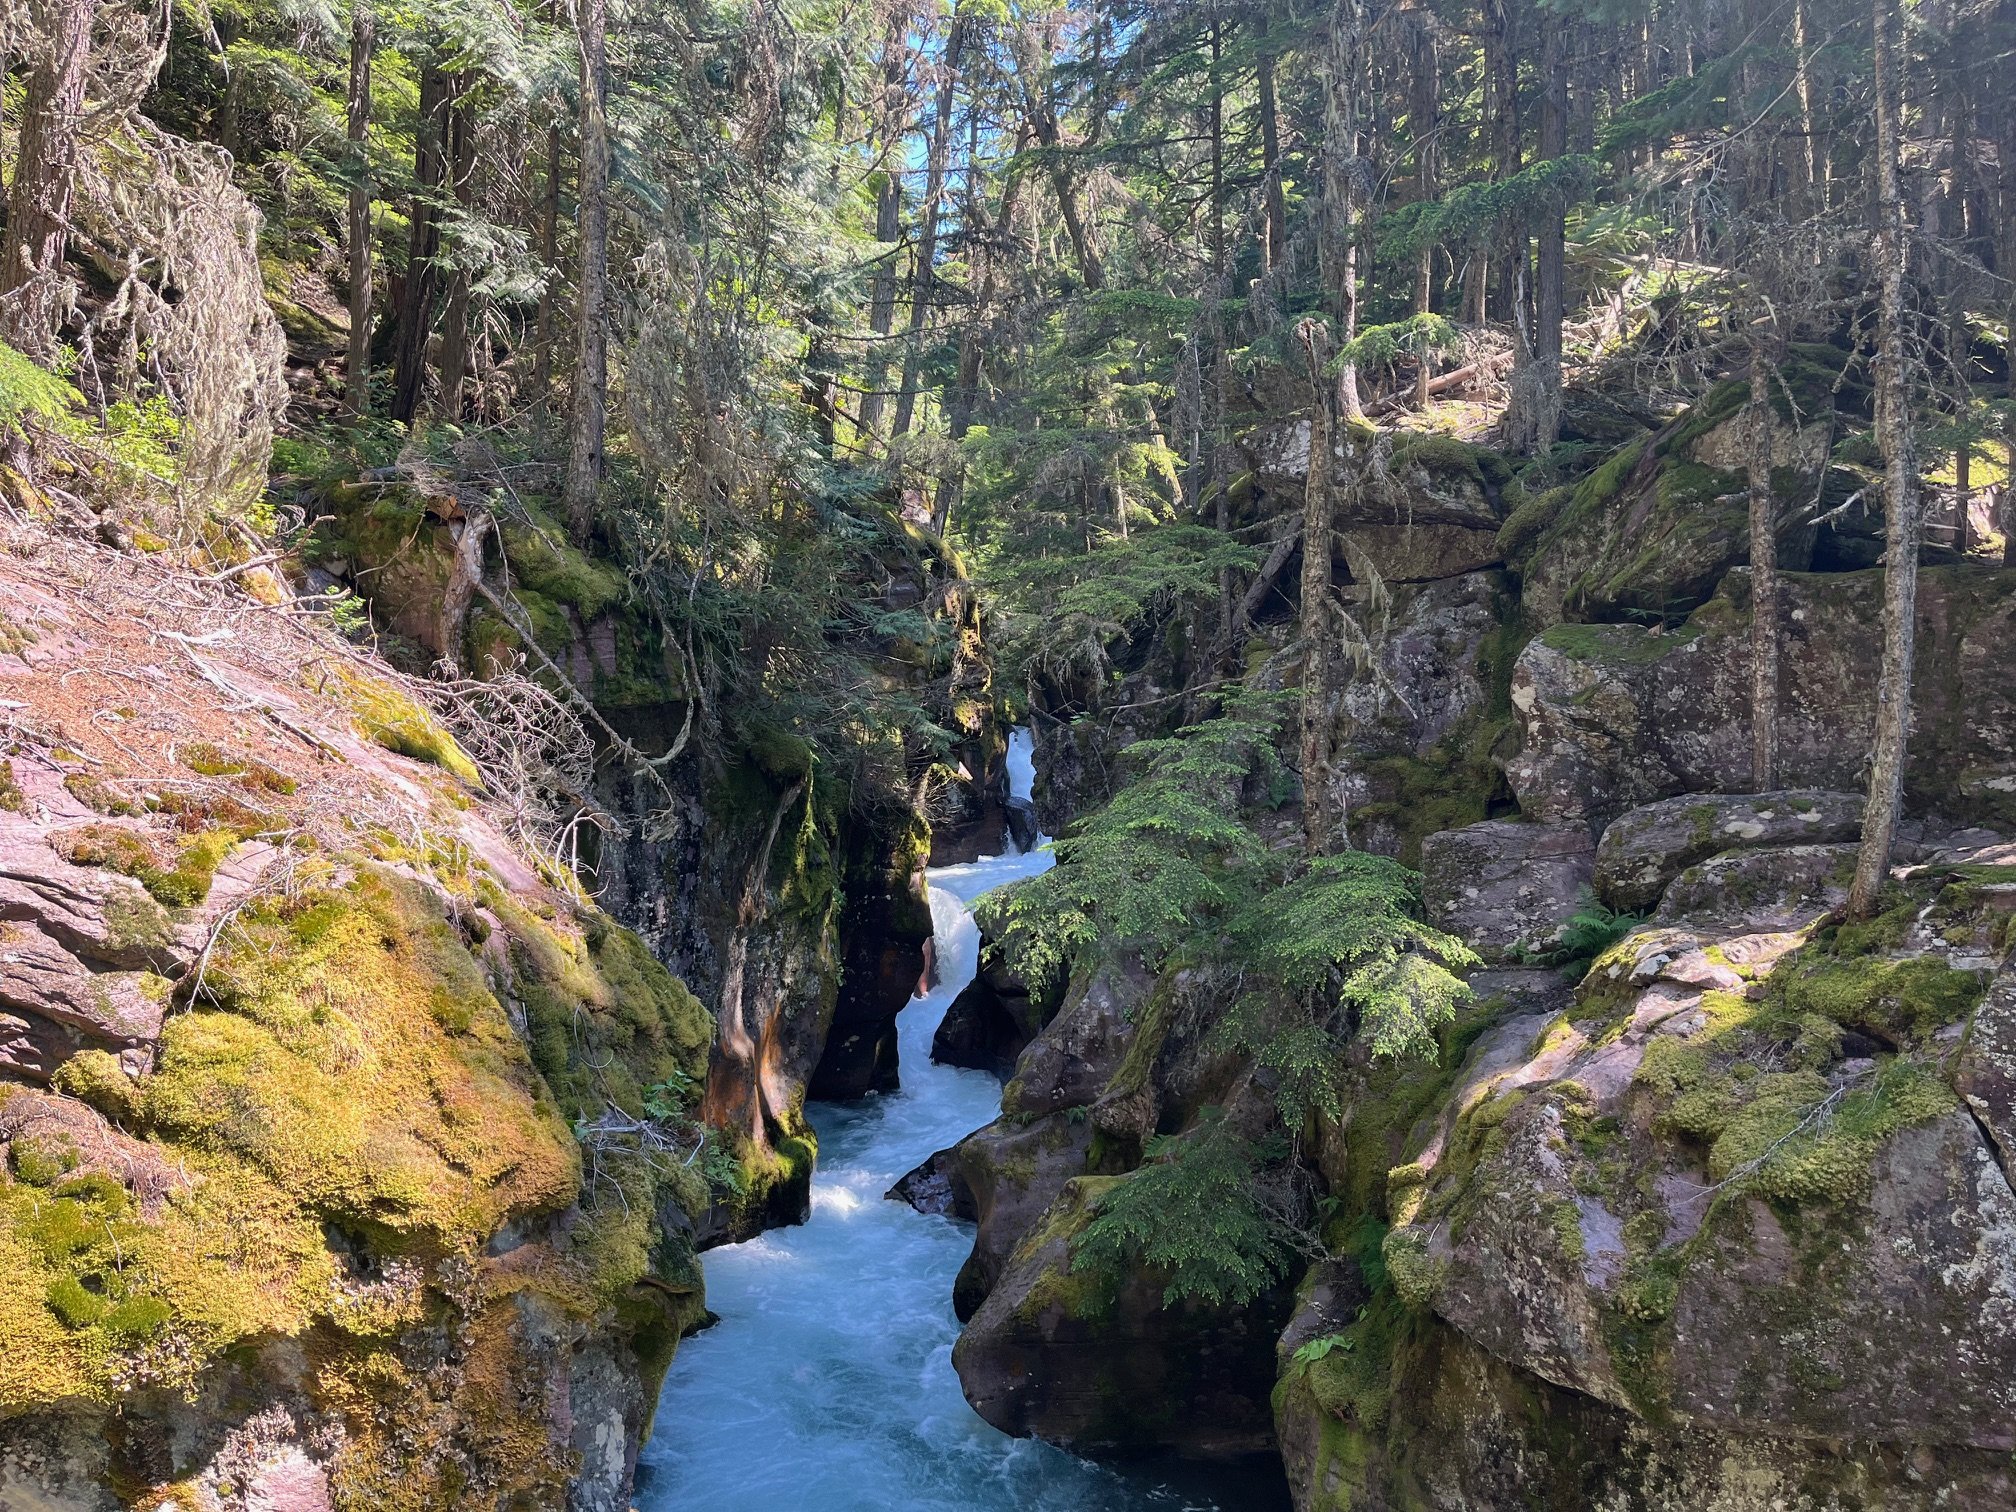
Avalanche Gorge on Trail of the Cedars
There are so many incredible hikes in Glacier that you could be here for a week and not hike them all.
For this one-day itinerary, I’d recommend that you pick one of the following to do as your core hike:
Trail of the Cedars and Avalanche Lake, which share a trailhead in West Glacier, or
Hidden Lake Trail at Logan Pass.
Both of these options have challenging parking situations since the interest level in both far outstrips the current available parking.
Be prepared to circle the parking lots if you don’t see a spot on your first go-round. I’ve found that the crowds turn over more quickly at Logan Pass than they do Trail of the Cedars/Avalanche Lake since many visitors are just at the former for the restrooms, gift shop, or ranger desk.
If you’re traveling with kids or just want an easy hike, Trail of the Cedars is flat and short, and it goes by the gorgeous Avalanche Gorge.
The Hidden Lake Trail has both an overview about halfway through and a trail terminus if you’d like a longer hike.
Dip your toes in glacial water.
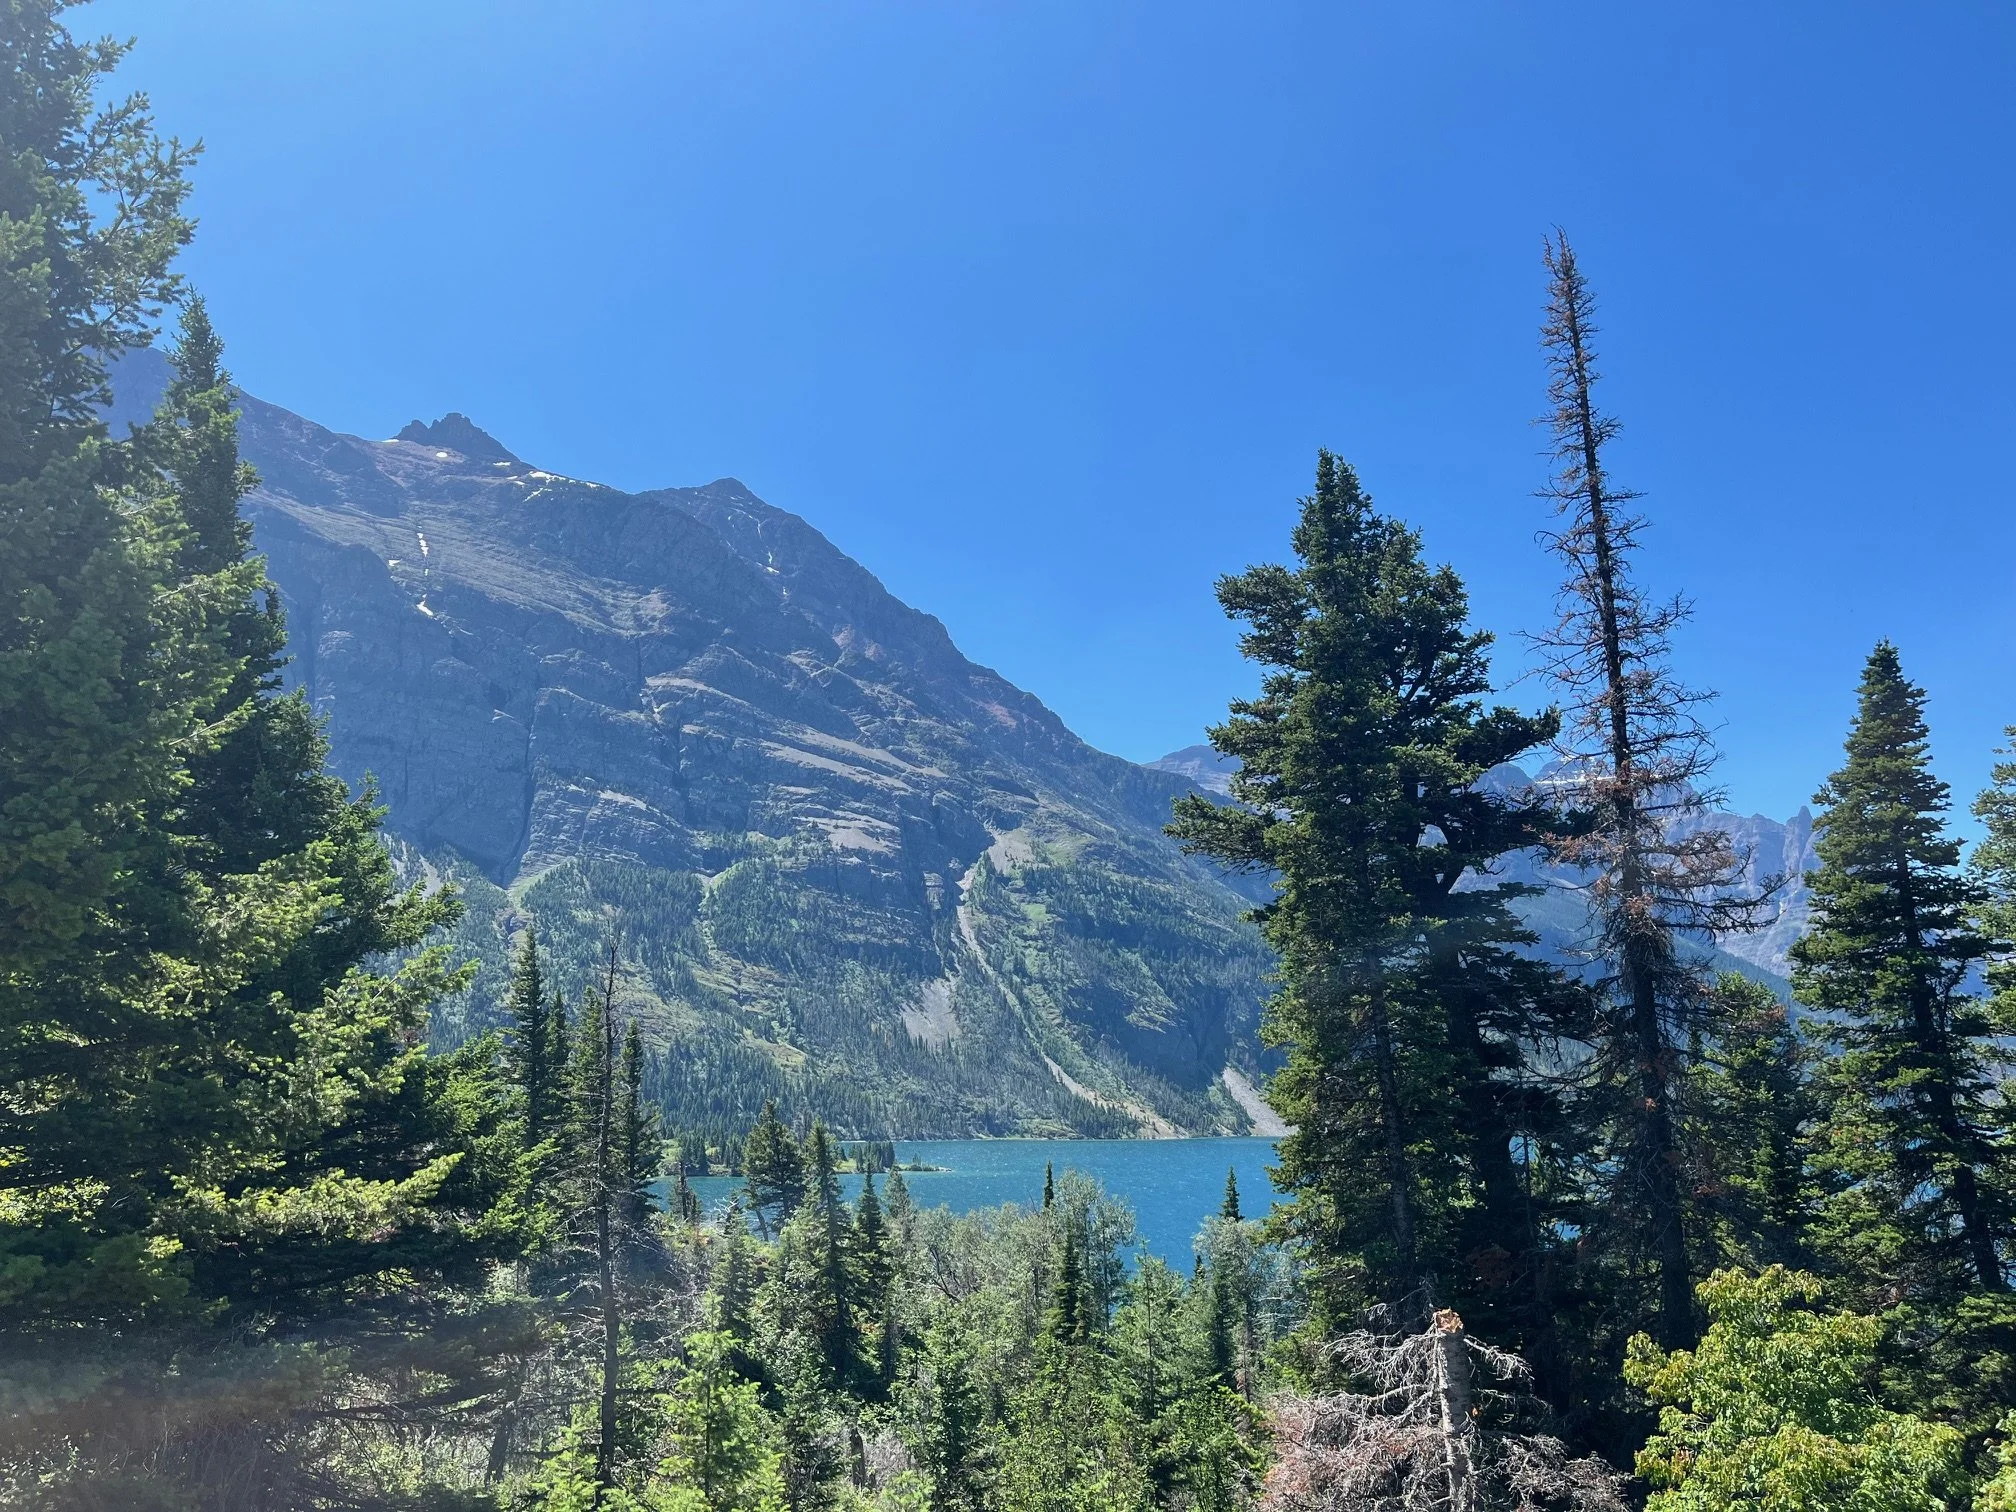
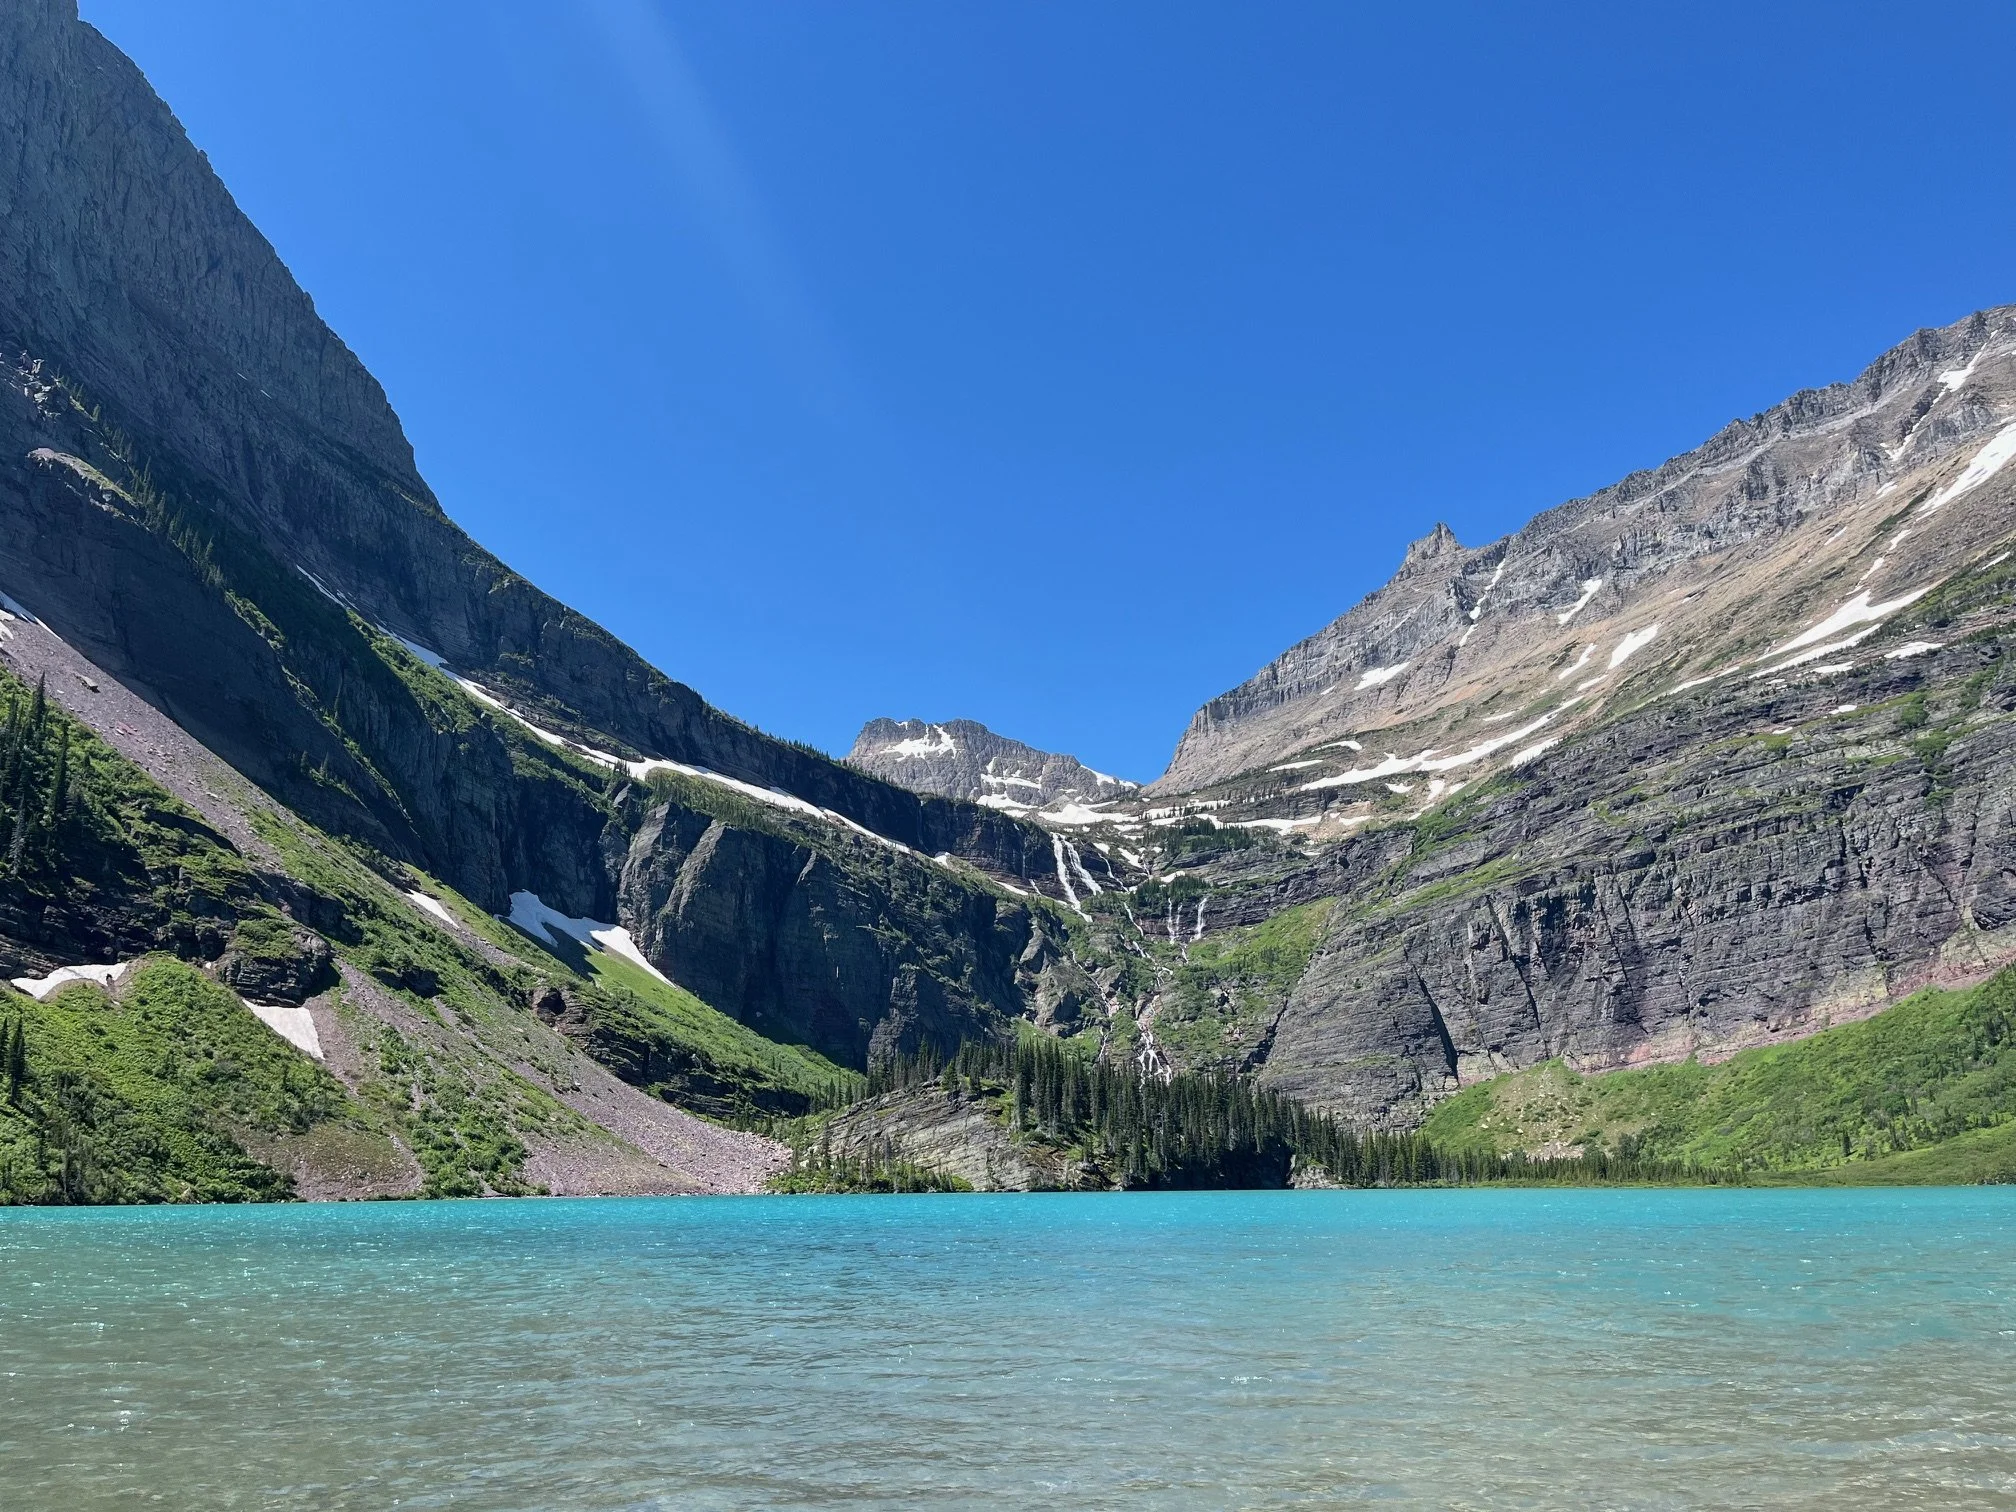
If you want to experience the insanely cold glacial lake water, I recommend heading down to the water at St. Mary Lake and discovering if you have the guts to take a dip.
There’s easy access to the water at the Rising Sun Boat Dock. Just look for the tiny trail to the right of the dock, where you can wade into the water away from any kayakers who are launching.
My husband and kids all decided that they wanted to do a cold plunge here, and had the best time shrieking and splashing around.
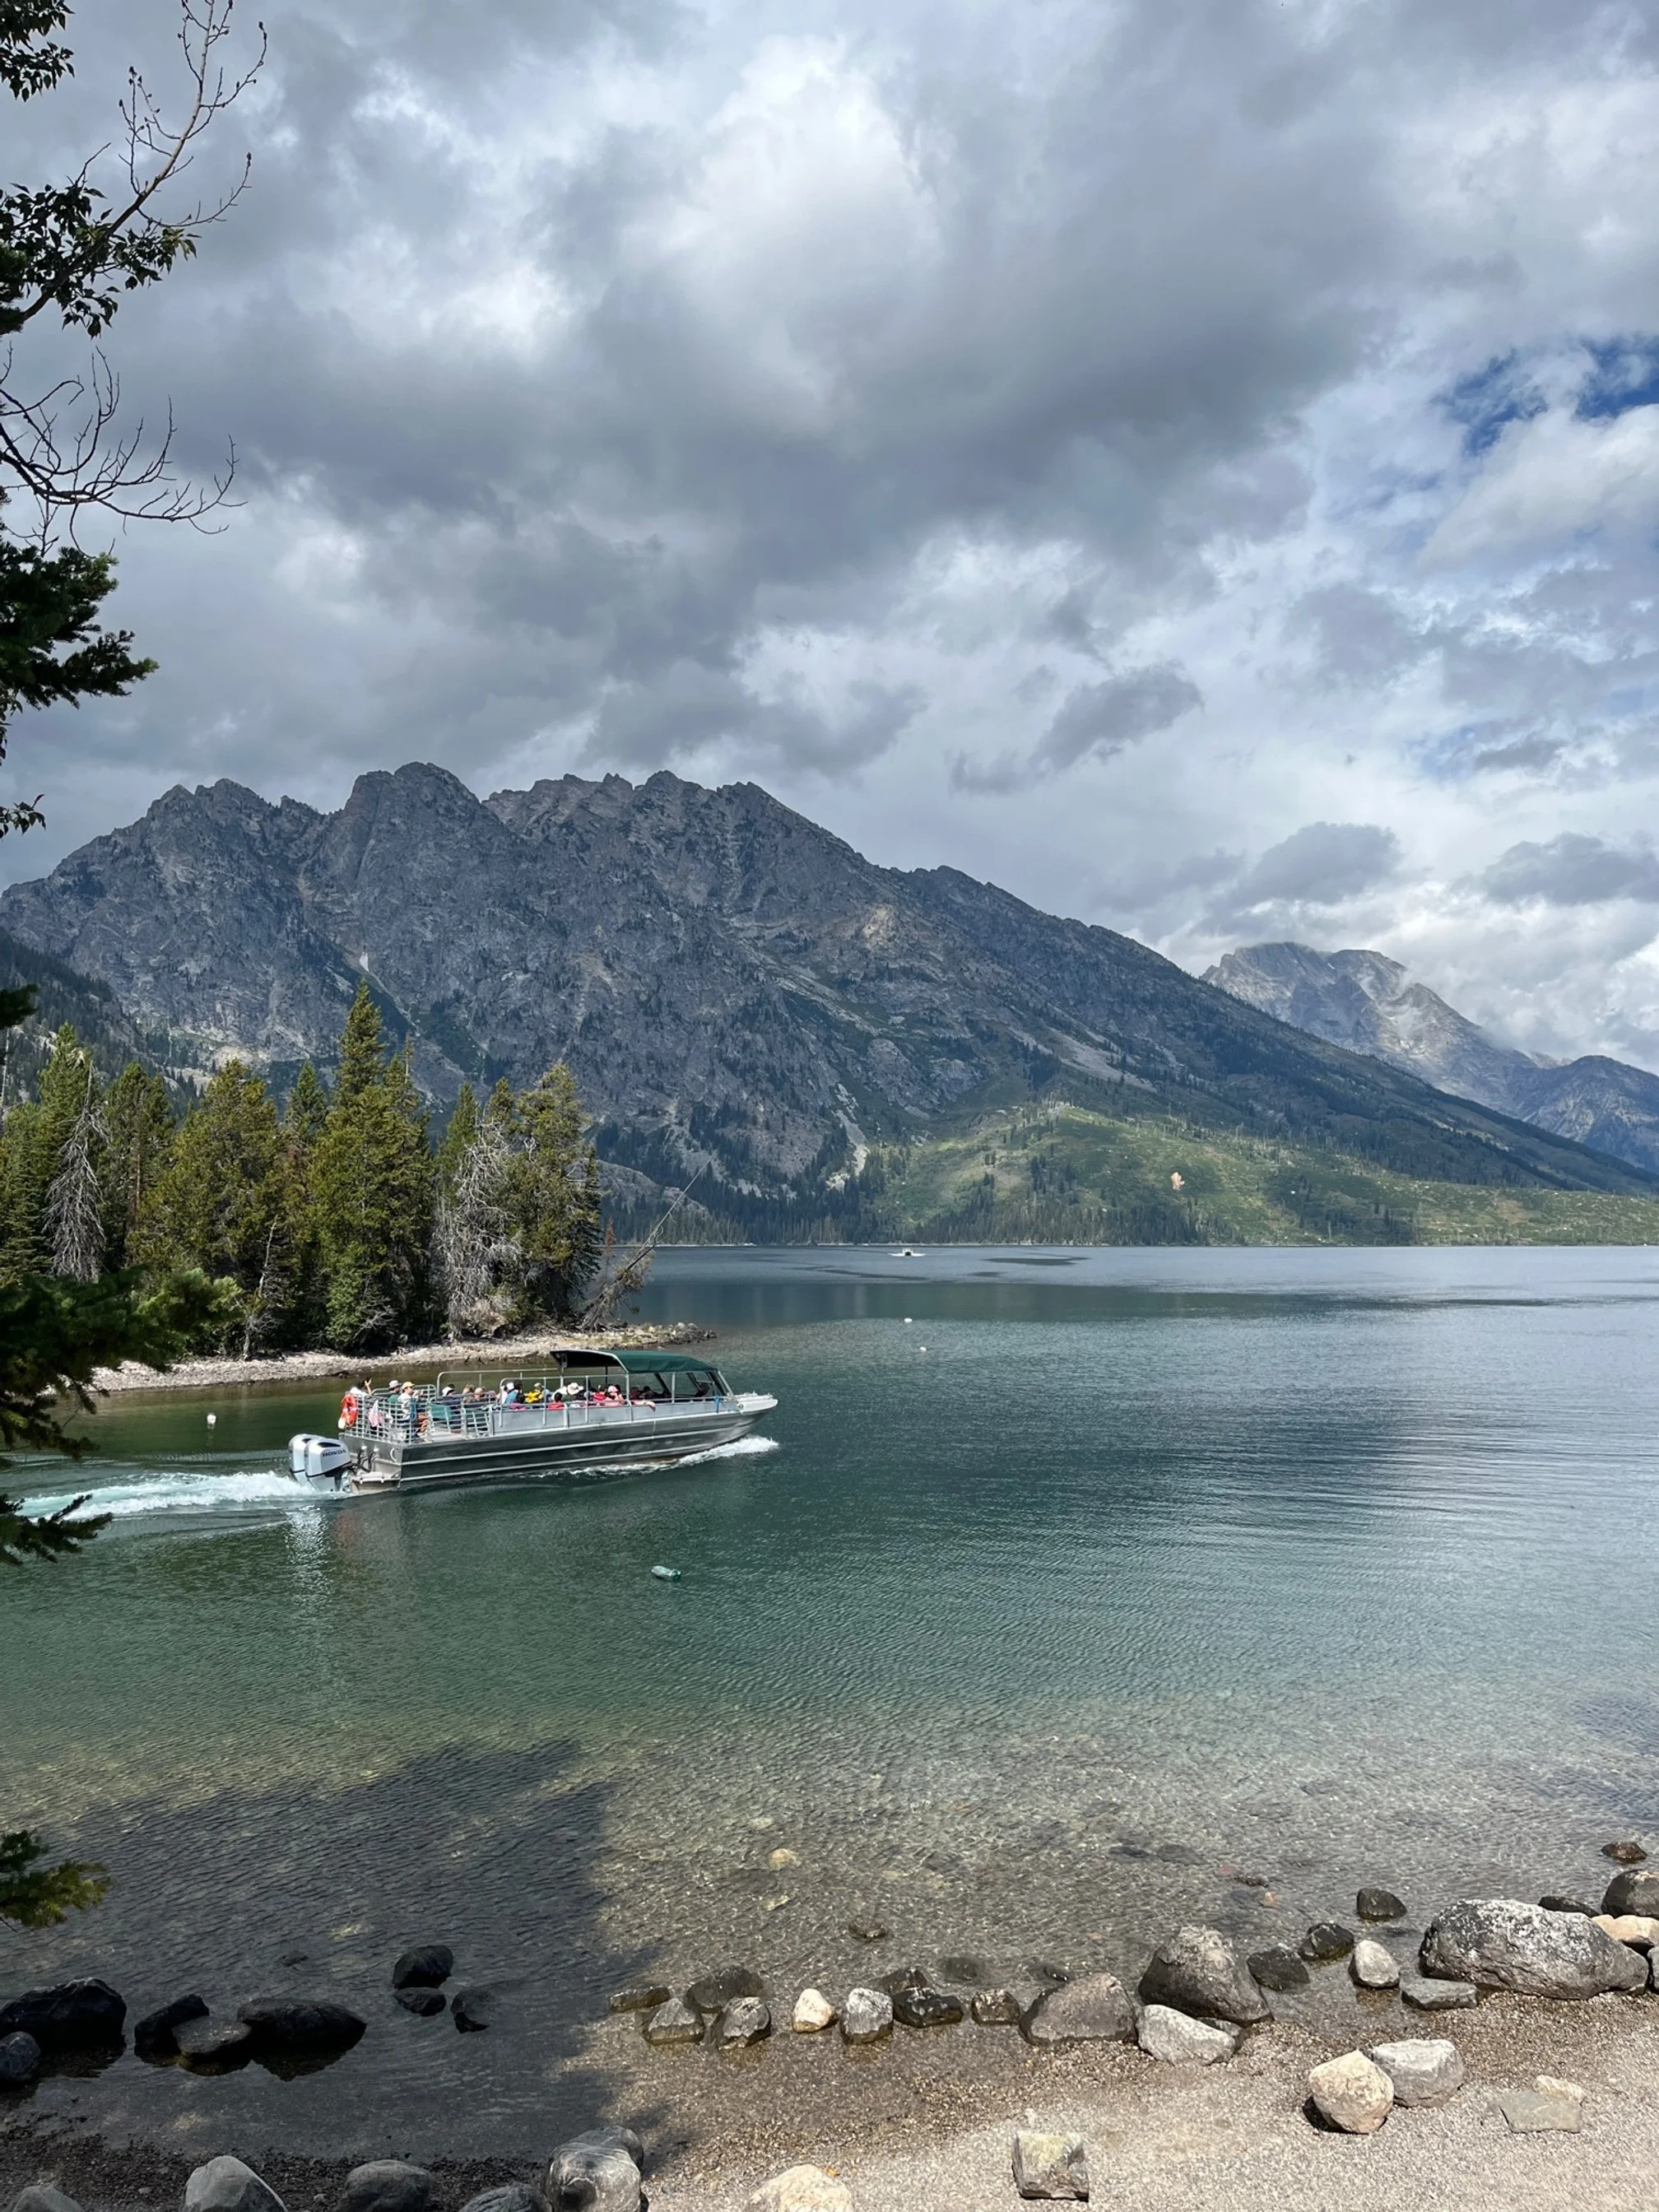
Take a boat tour.

The Glacier Boat Company does an excellent tour of St. Mary that you should try to squeeze into your schedule today if at all possible.
These tours include a guided ride around the lake on one of the fleet’s historic boats, and a short hike to Bering Falls on the shores of St. Mary Lake.
When booking, get one of the 4 or 5 PM tours, which will still allow you to do everything else noted above without feeling rushed.
Have dinner and check into your accommodations.
St. Mary is small, and there are only a handful of restaurants if you’d like to go out to eat. All of them are pricey for what you get, so you’ll have to decide if you want to splurge here or have something out of your grocery stash.
The Curly Bear Cafe has some good sandwiches if you want something quick. There’s also Rising Sun Pizza, but I’d only get that if you didn’t just eat pizza the previous night in West Glacier.
For accommodations, you have a couple of great options in this area. Stay outside of the park’s eastern gate for better deals and bigger rooms.
The hotel at St. Mary Village sits at the eastern most corner of the lake, so you’ll get incredible views from many of the rooms.
For more of a glamping experience, the St. Mary/ East Glacier KOA has standard KOA cabins (no attached bathrooms), deluxe cabins (ensuite bathrooms), and cute cottages.
Extend your time here further: West Glacier and Going-to-the-Sun Road might be the most popular parts of Glacier National Park, but there’s still so much more to discover.
If you have an extra day and want to see more of the park, I’d suggest going north to the Many Glacier area of the park to do the boat and hiking tour.
You’ll have access to the Grinnell Lake Trail here, which is one of my favorite easy hikes in the park.
Or, you could head south to the Two Medicine area of the park, where you’ll find the unique double cascade of Running Eagle Falls Trail.
Both tend to be less busy than the areas that you’ll see on the one day you have available on this itinerary, and they’re a good contrast.

FREE Glacier National Park Planning Resources!
There’s much more to planning a Glacier National Park vacation than what I can fit into this itinerary. Click through to my complete Glacier planning page to get detailed information on activities, hiking guides, additional itineraries, and more.
Day 2: Drive from Glacier to Yellowstone
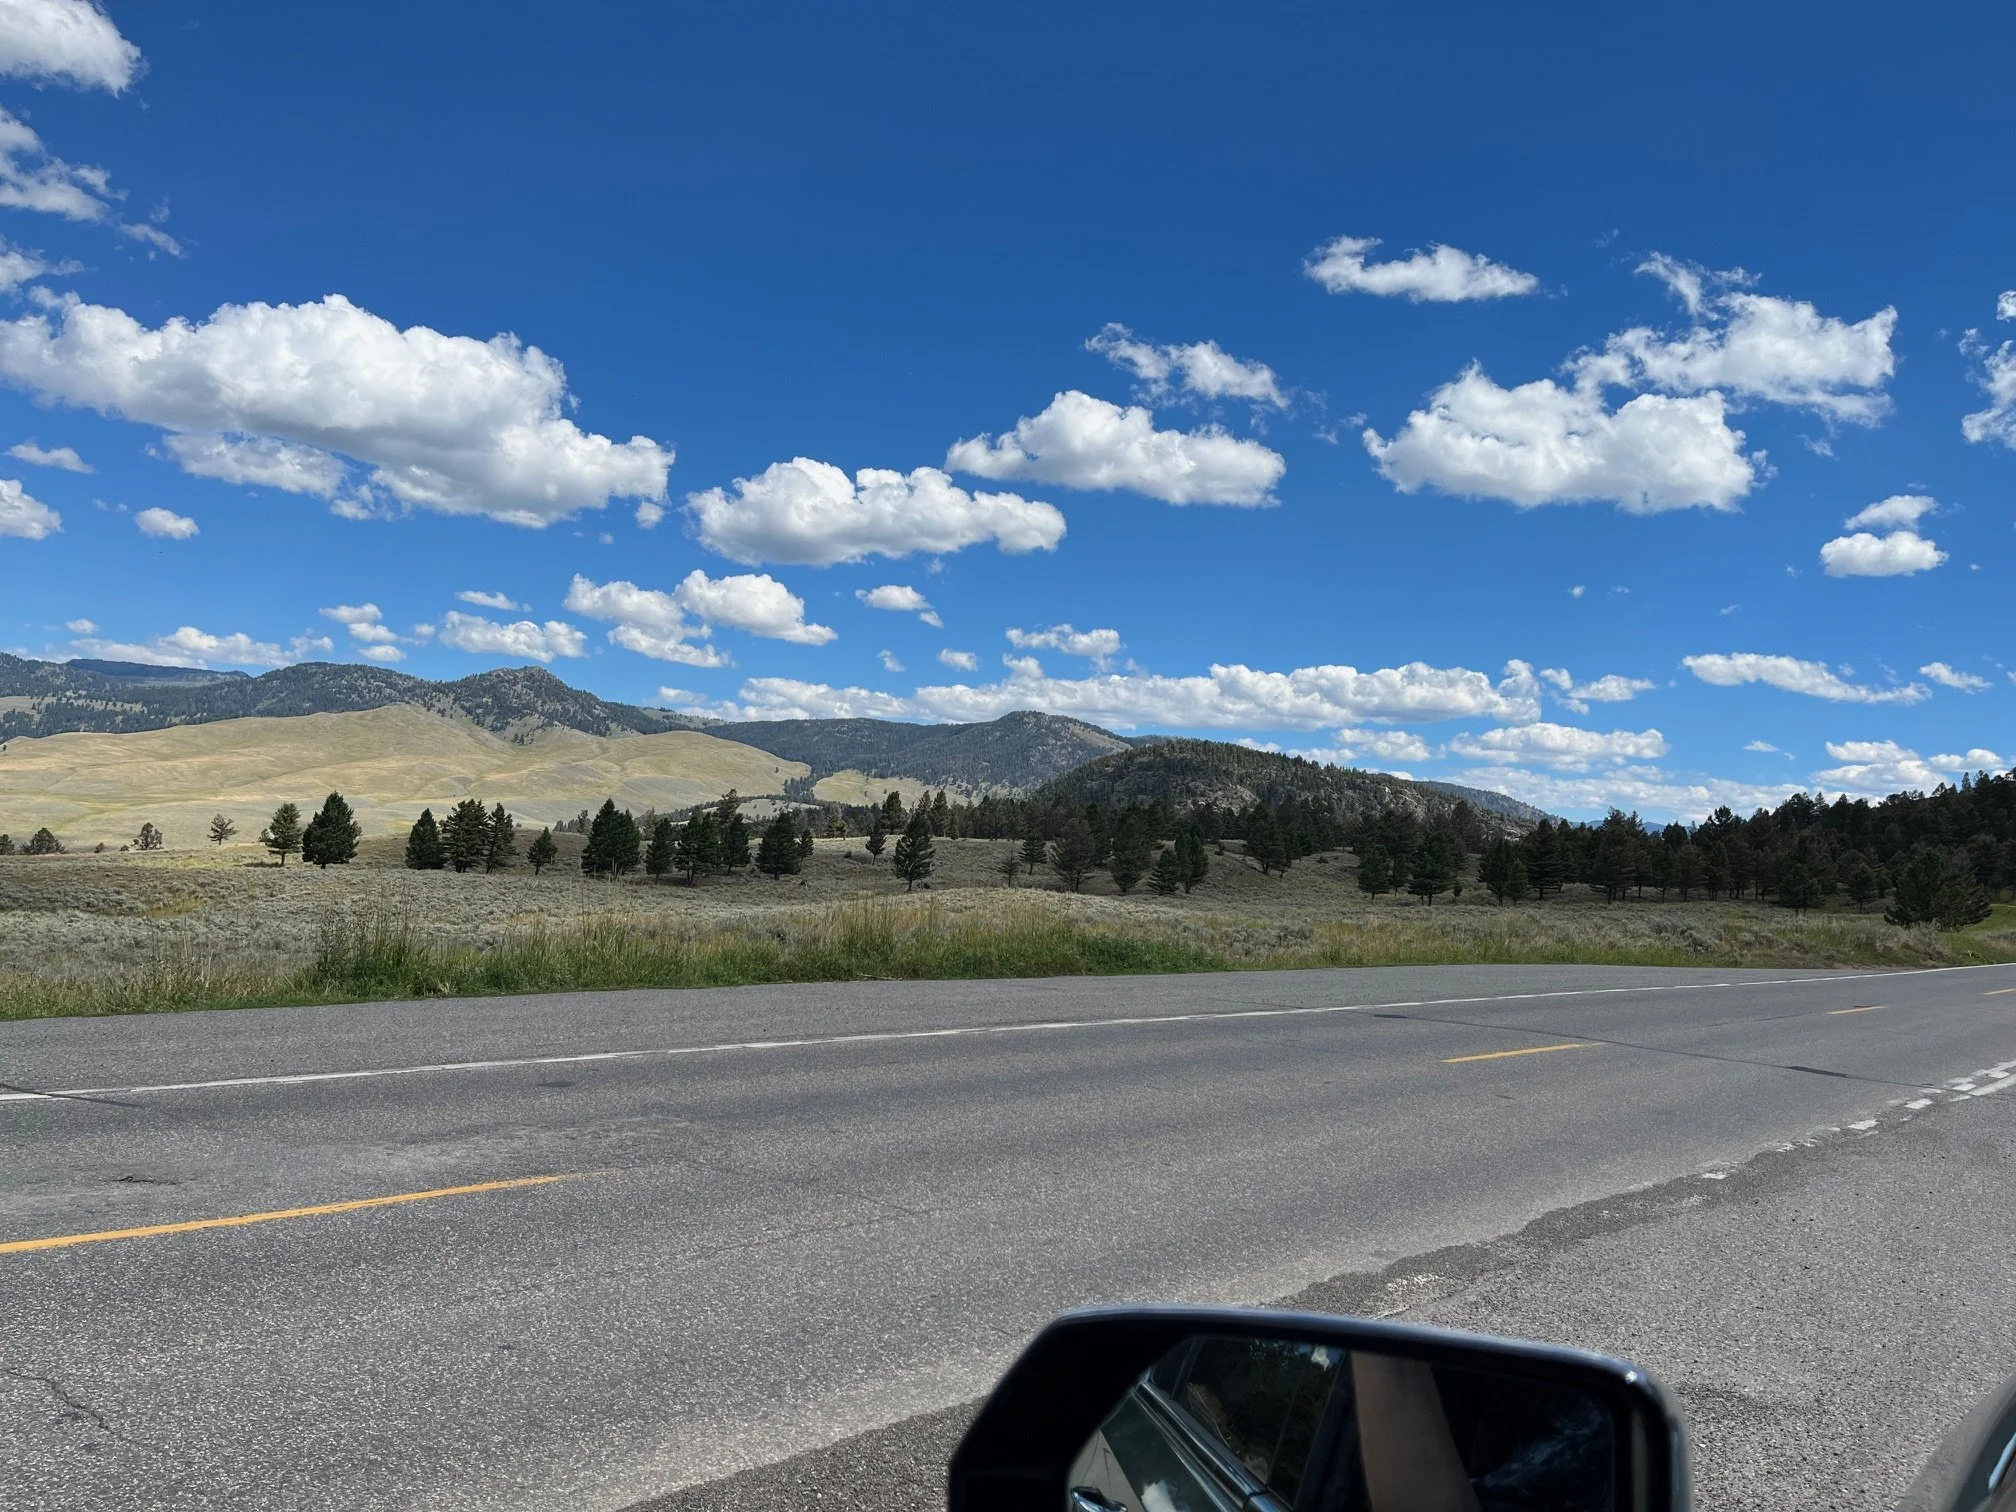
Much of the driving today is on smaller roads with great views.
On your second day, you’ll be driving from the east entrance of Glacier National Park to the north entrance of Yellowstone.
Take Highway 89 past Browning and Piegan until it intersects with Interstate 15.
Take the interstate south to Great Falls, then hop onto Highway 87.
At Armington Junction, join Highway 89 south, which will take you all of the way to Gardiner.
It will take about 6.5 hours to drive this stretch without any stopping.
You’re probably going to want to get out just to break up the day, so here are a few things to consider along the way.
NOTE: Both of my suggested stops are roughly at the halfway point between St. Mary, Montana, and Gardiner, Montana.
Lewis and Clark Interpretive Center
You’re following in the footsteps of the famous Meriwether Lewis and William Clark in this part of your journey.
So, what better why to remember this part of American history than to learn more about the team at this museum in Great Falls, Montana?
The men and their native guides, including Sacagawea, made the arduous 2 year journey from Illinois to Oregon in order to provide information to the U.S. government on the new Louisiana Purchase lands.
There’s an interactive history museum here if you’re ready to immerse yourself in that, or there are walking trails if you just need to catch your breath on today’s road trip.
Sluice Boxes State Park
If you’d rather focus on the outdoors during your stop, you can visit Sluice Boxes State Park, which is right off of Highway 89 below Great Falls.
Steep cliffs rise almost perfectly vertically over Belt Creek for views that look like something out of a fantasy novel.
Stop off at the scenic overlook in the park for a picnic tailgate with a view.
Arrive in Gardiner for the night.
Once you arrive in Gardiner, prep for the next few days in Yellowstone National Park.
While there are stores in the park, you’re doing to pay much higher prices than if you purchase snacks and drinks in Gardiner. Top up anything that’s running low in your cooler or snack bin at Ridley’s Gardiner Market on Scott Street.
If you need to do laundry at this point in your trip, there’s the North Entrance Wash Tub.
Then, check into your accommodations for the evening. You’ll want to rest up after a long day of driving so you can hit the park hard in the morning!
I think that the wildness of this part of the Mountain West just calls for glamping over a traditional hotel room, so I recommend staying at either:
Yellowstone’s Treasure Cabins on 5th Street,
Yellowstone River Cottages on Scott Street, or the
Dreamcatcher Tipi Hotel on Maiden Basin Drive.
Must Have for Yellowstone and Grand Teton!
Before you head into the park, download the Yellowstone and Grand Teton audiotour bundle on your phone. You’ll learn fascinating facts as you drive along, and the tour starts and stops automatically as you reach points of interest.
We never go to the national parks without it!
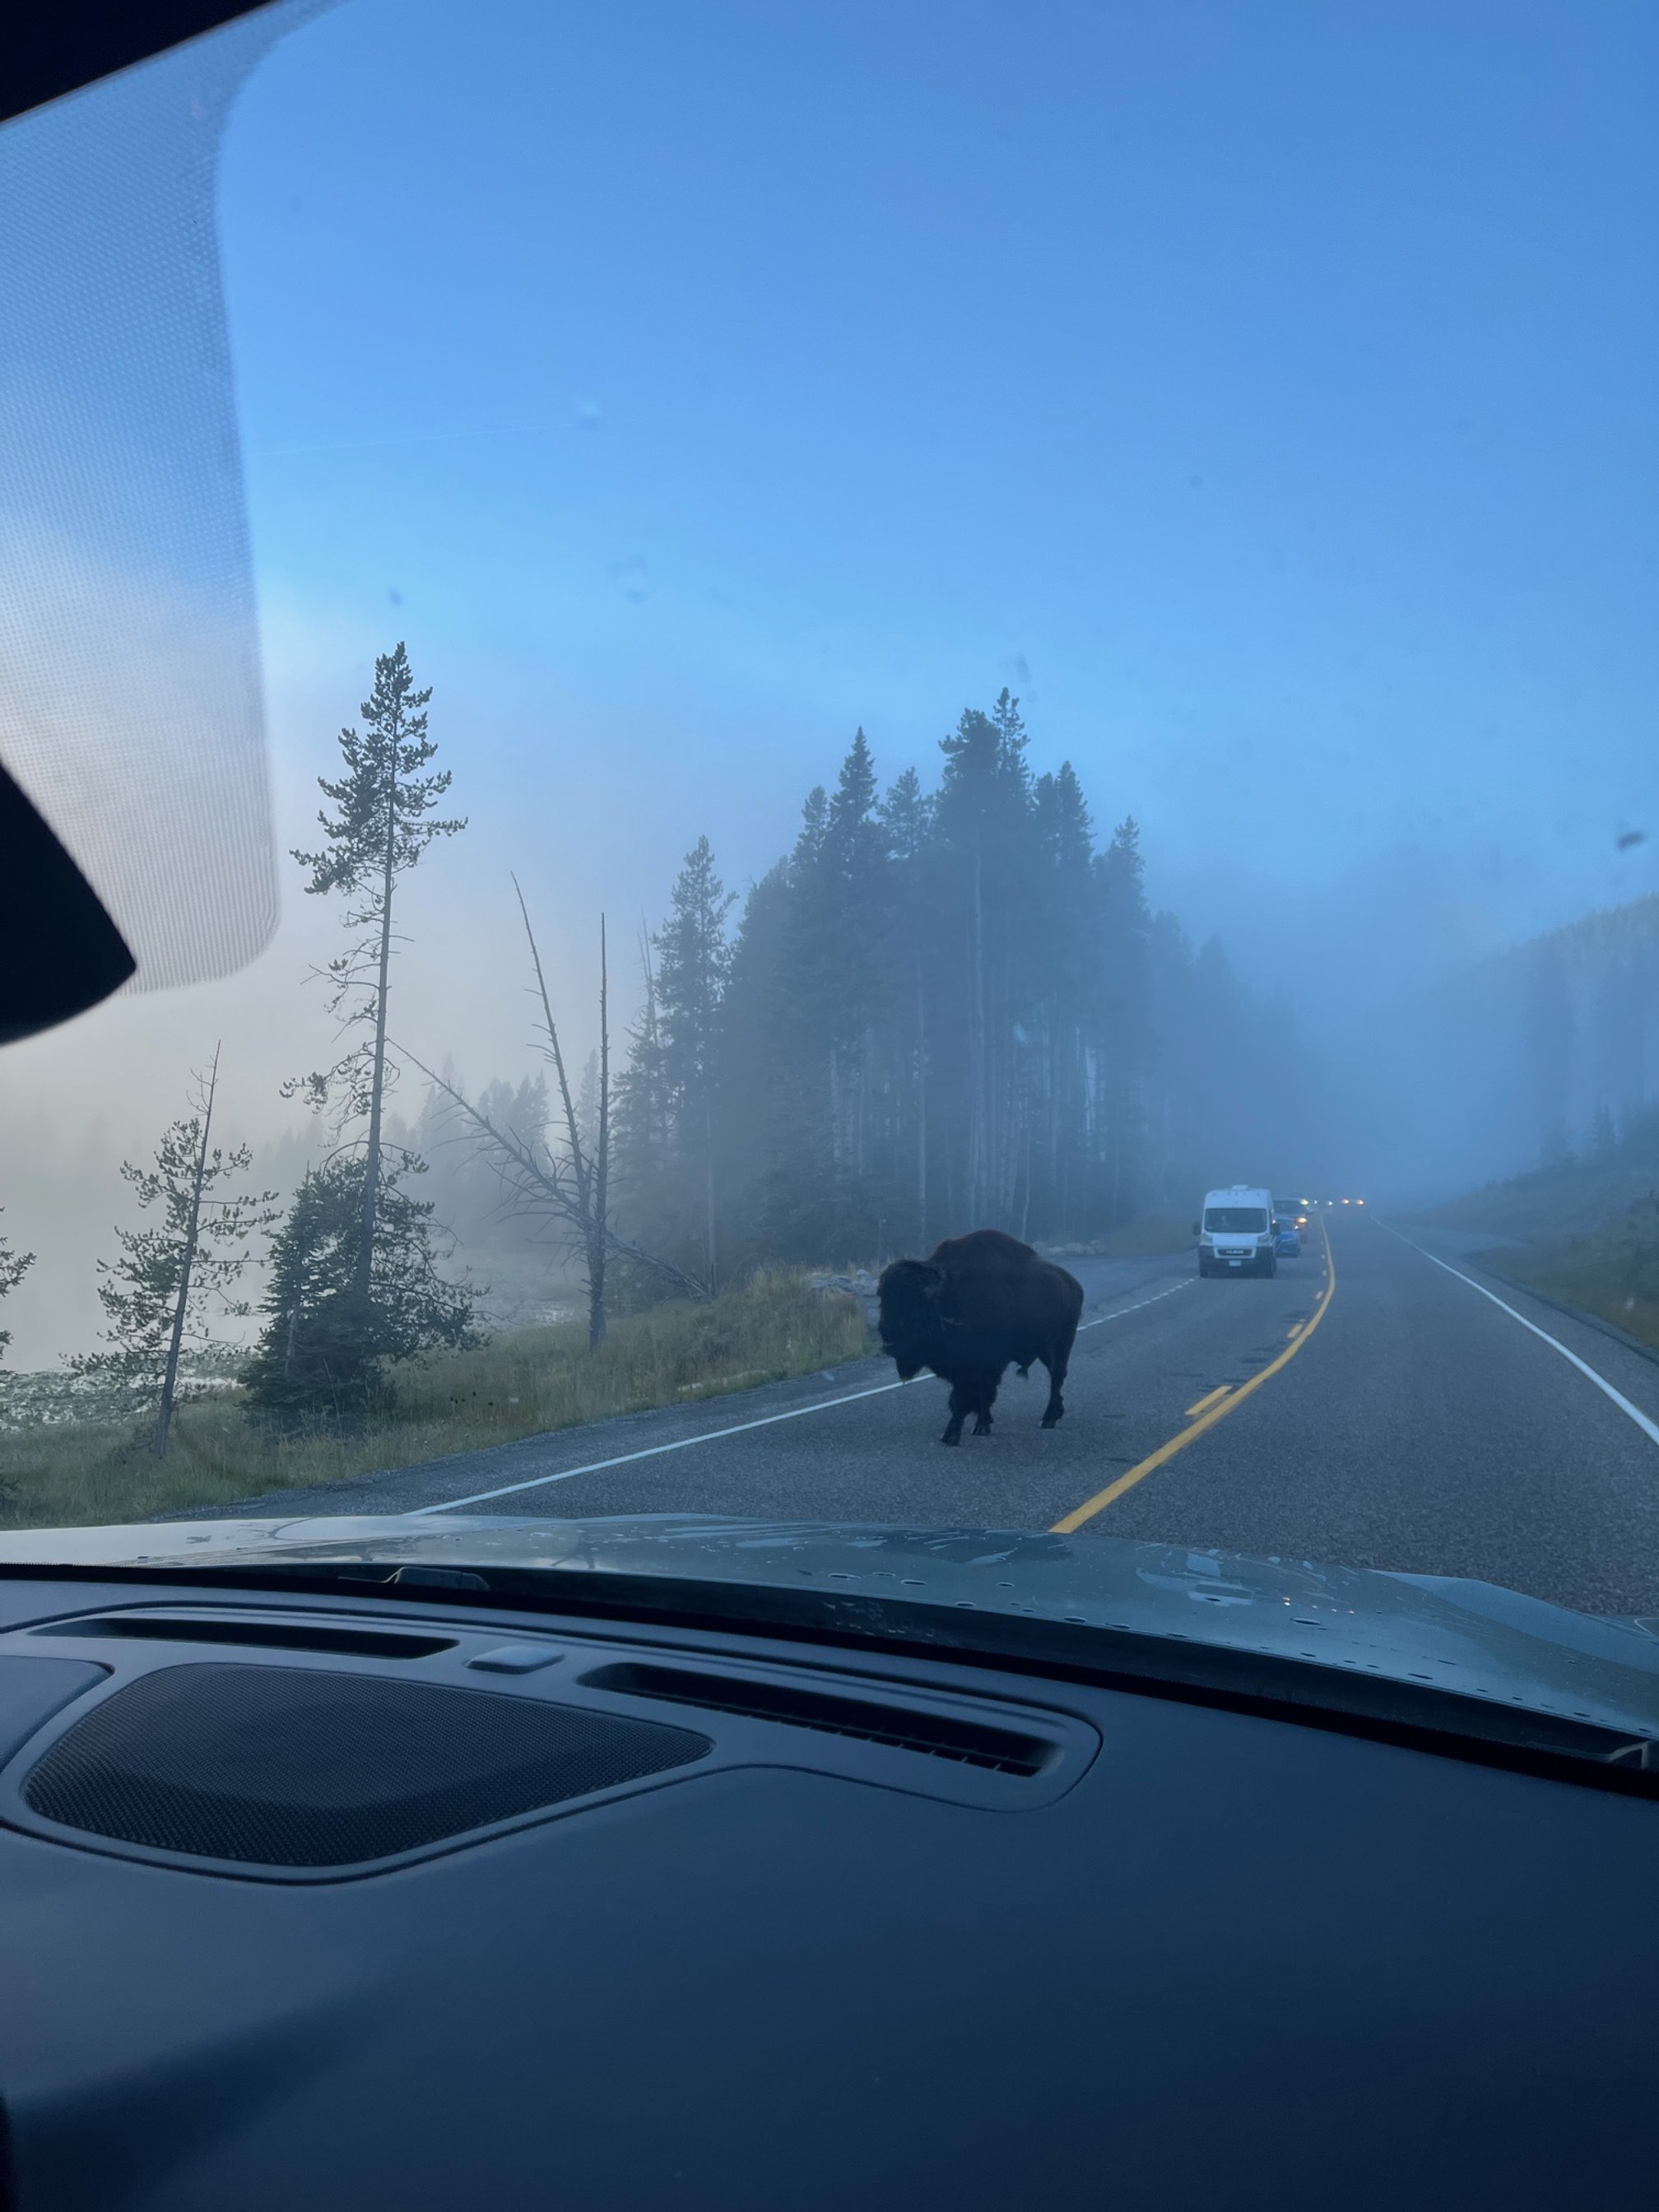
Day 3: Yellowstone National Park
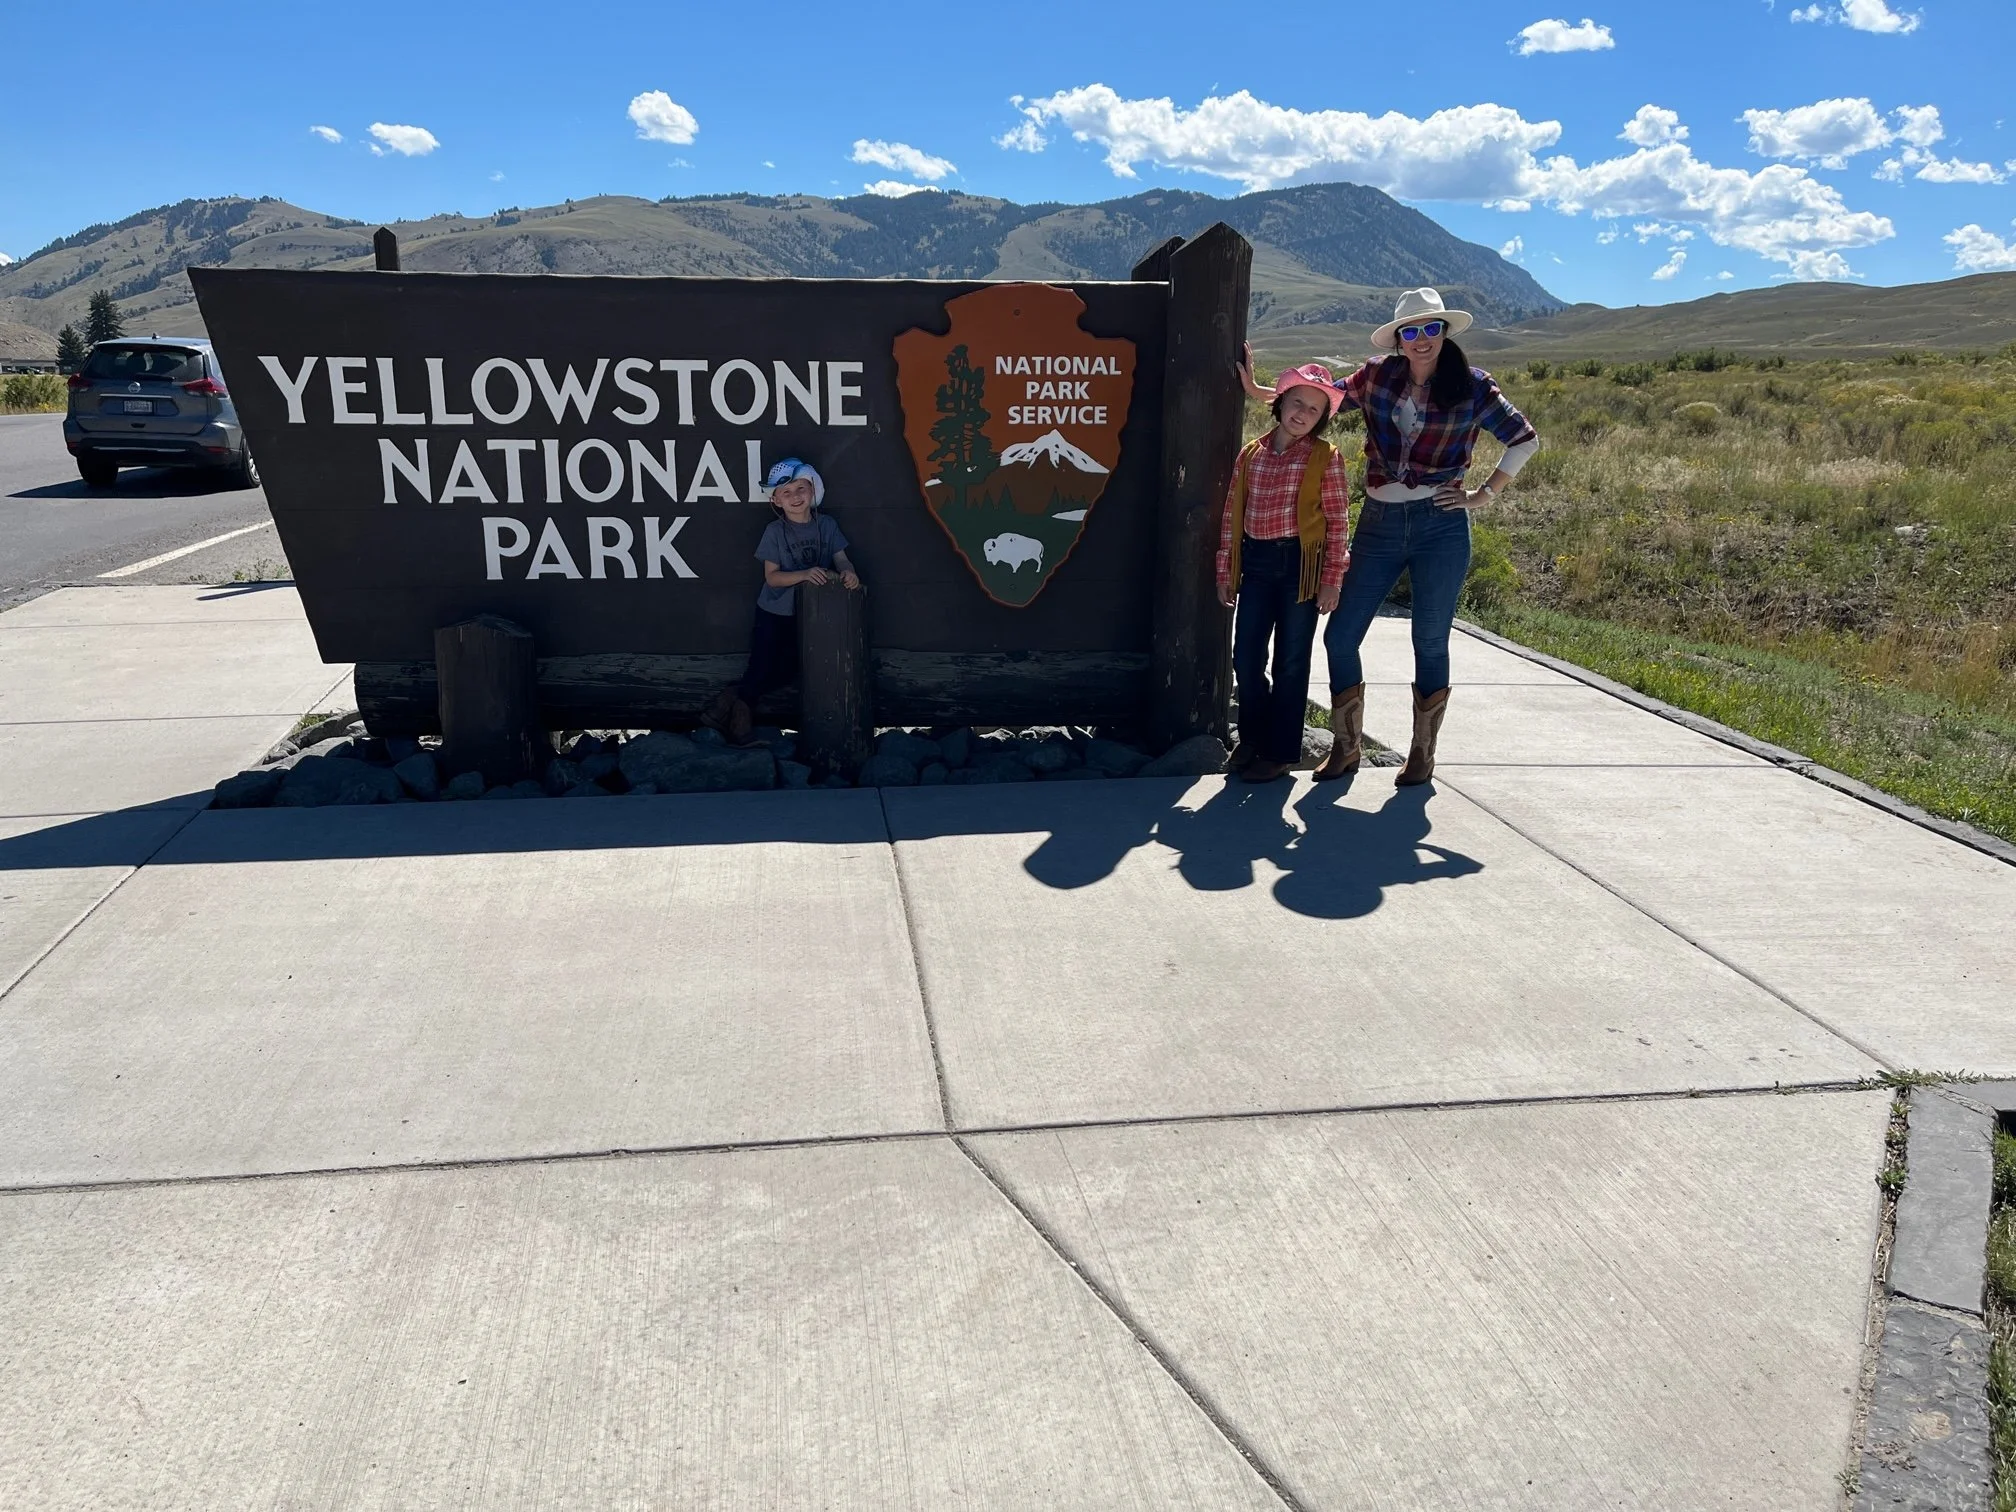
At the entrance sign near Gardiner, Montana
Today will be packed with wildlife encounters, otherworldly hydrothermal features, and a dining experience that you’ll never forget.
Roosevelt Arch
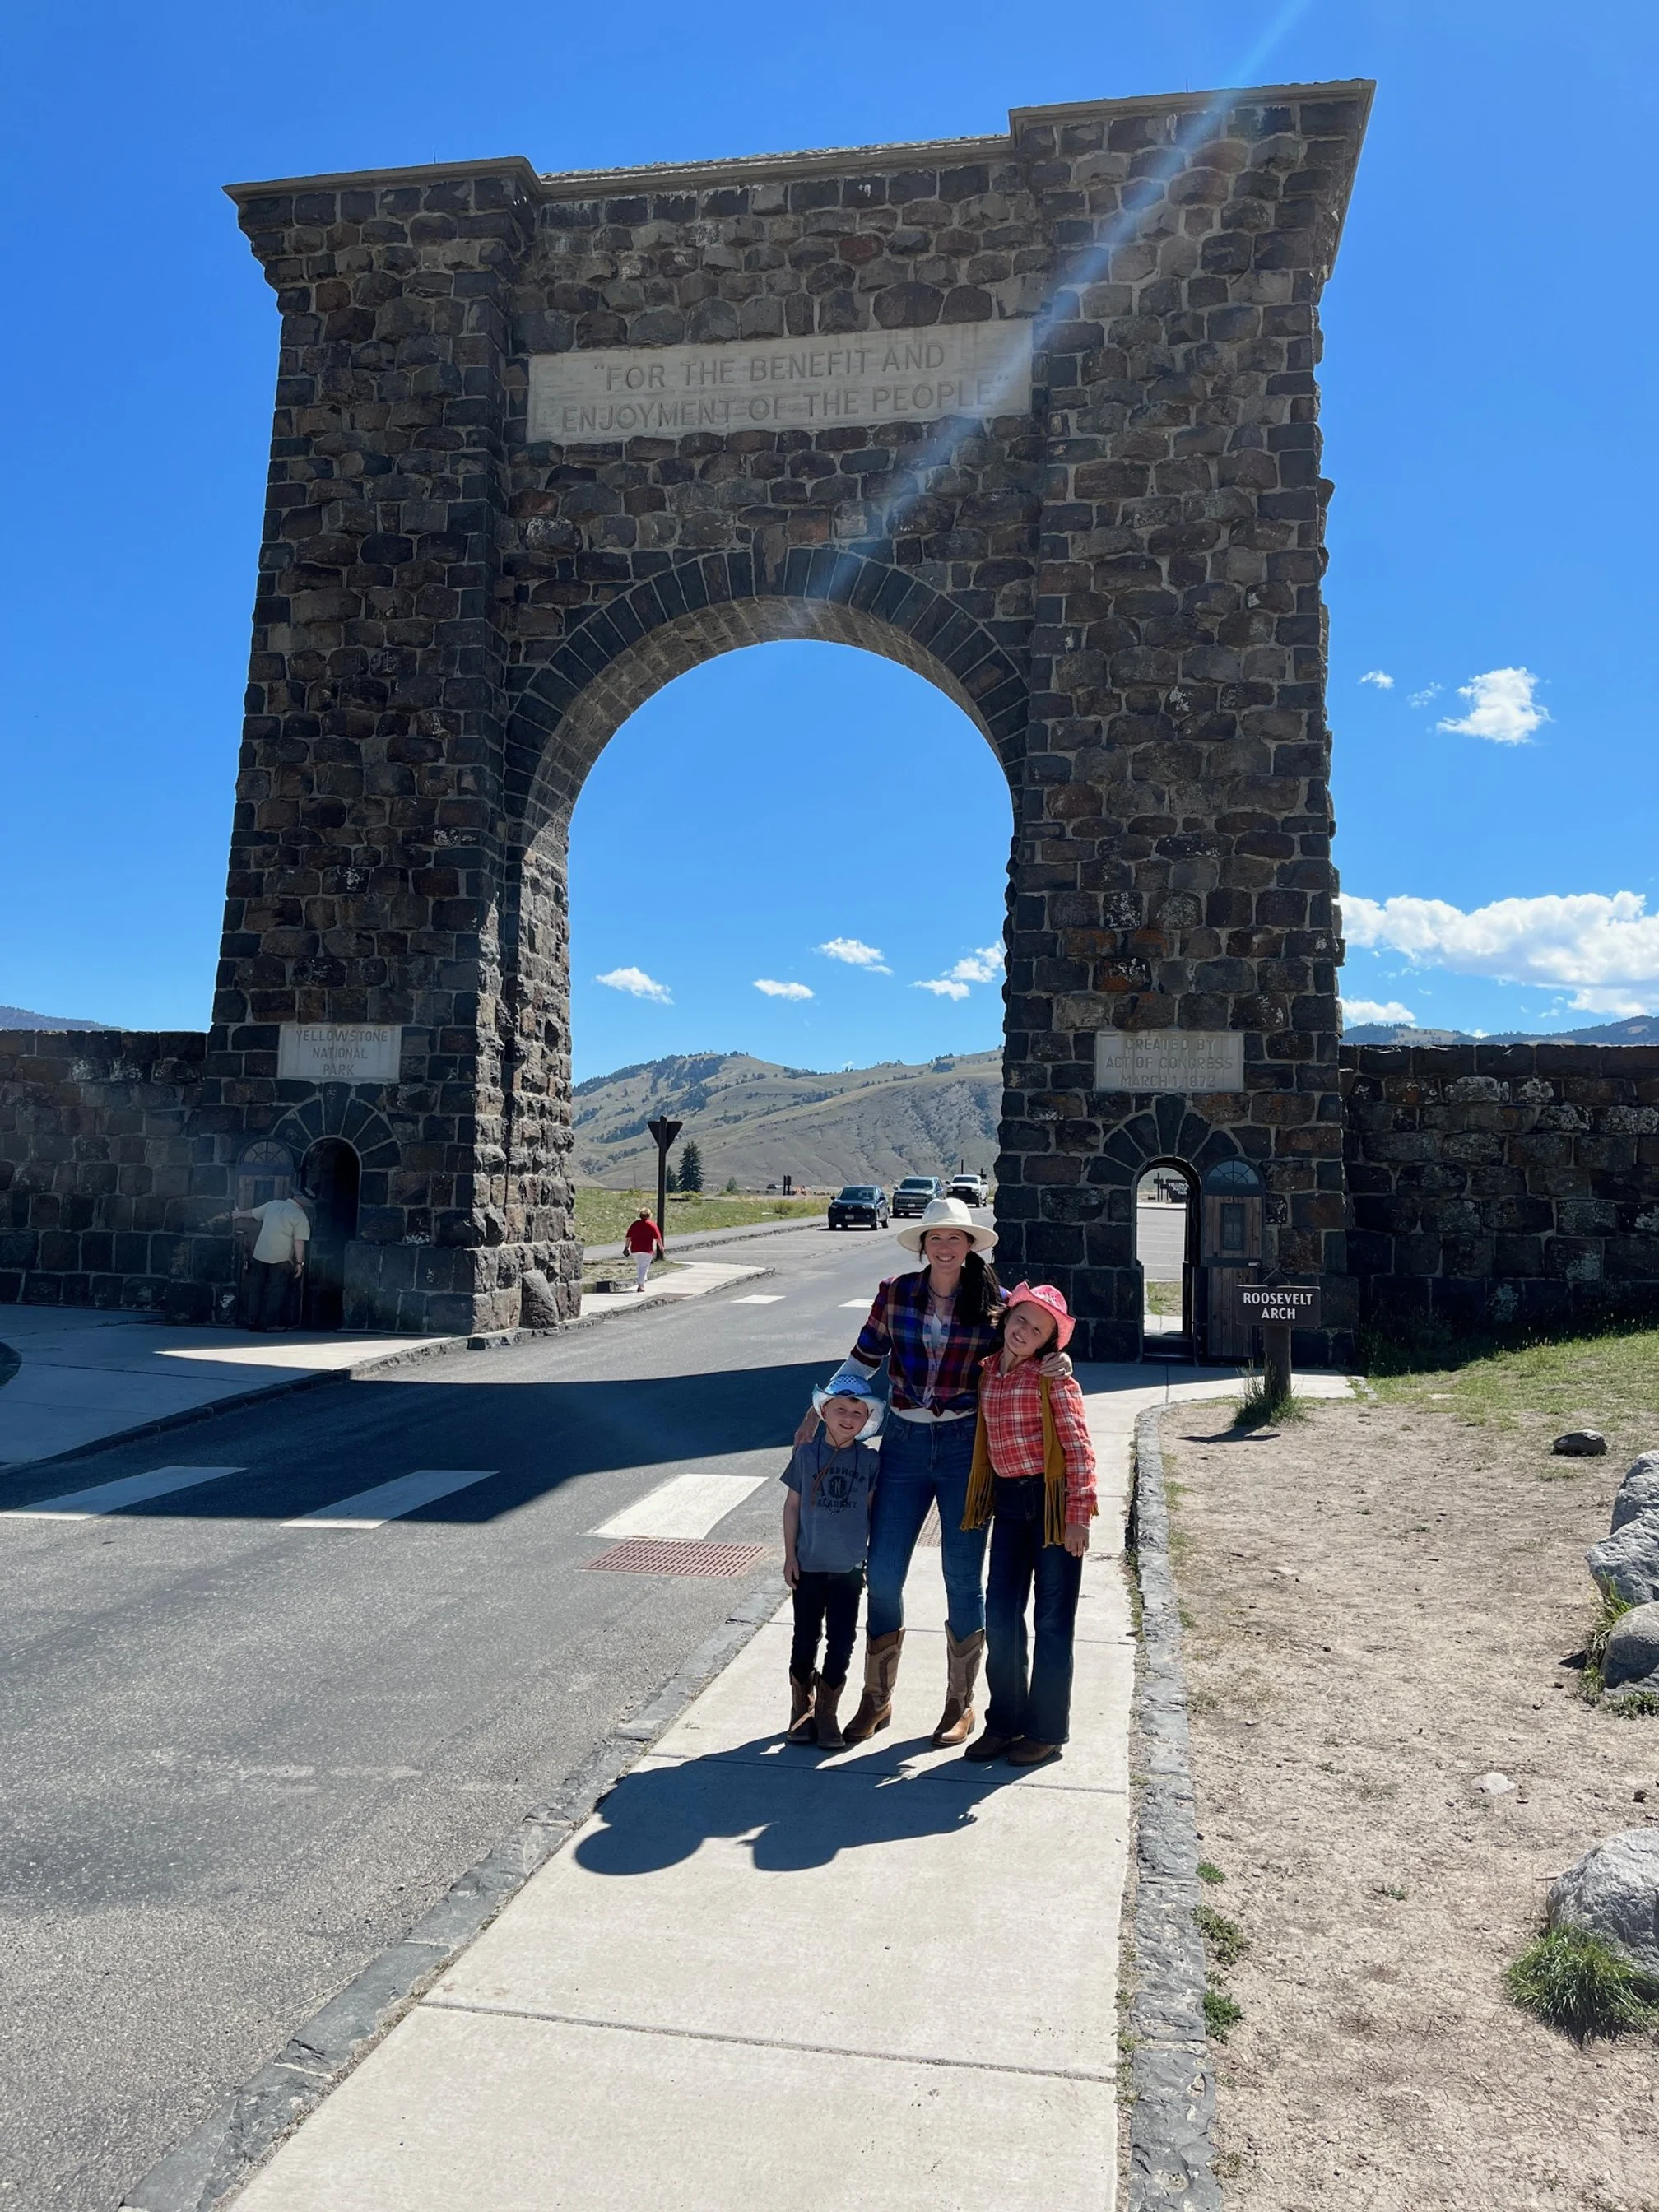
The Camping Kiddos and I at Roosevelt Arch
Pack up and head into the park via the North Entrance.
I’d also fill up your rental car one more time before you head into the park. There are gas stations in Yellowstone, but you’re going to pay a premium.
Before you pass through the official entrance station, you should pause for a moment at the Roosevelt Arch, a stone entryway constructed in 1903.
It’s named after Teddy Roosevelt, who helped place the cornerstone, for his support in getting the national parks system started.
You’ll have to go a couple of hundred feet of your way to see this gate, but this iconic structure is a reminder of the park’s long history.
There is parking available for the arch on either side of the road.
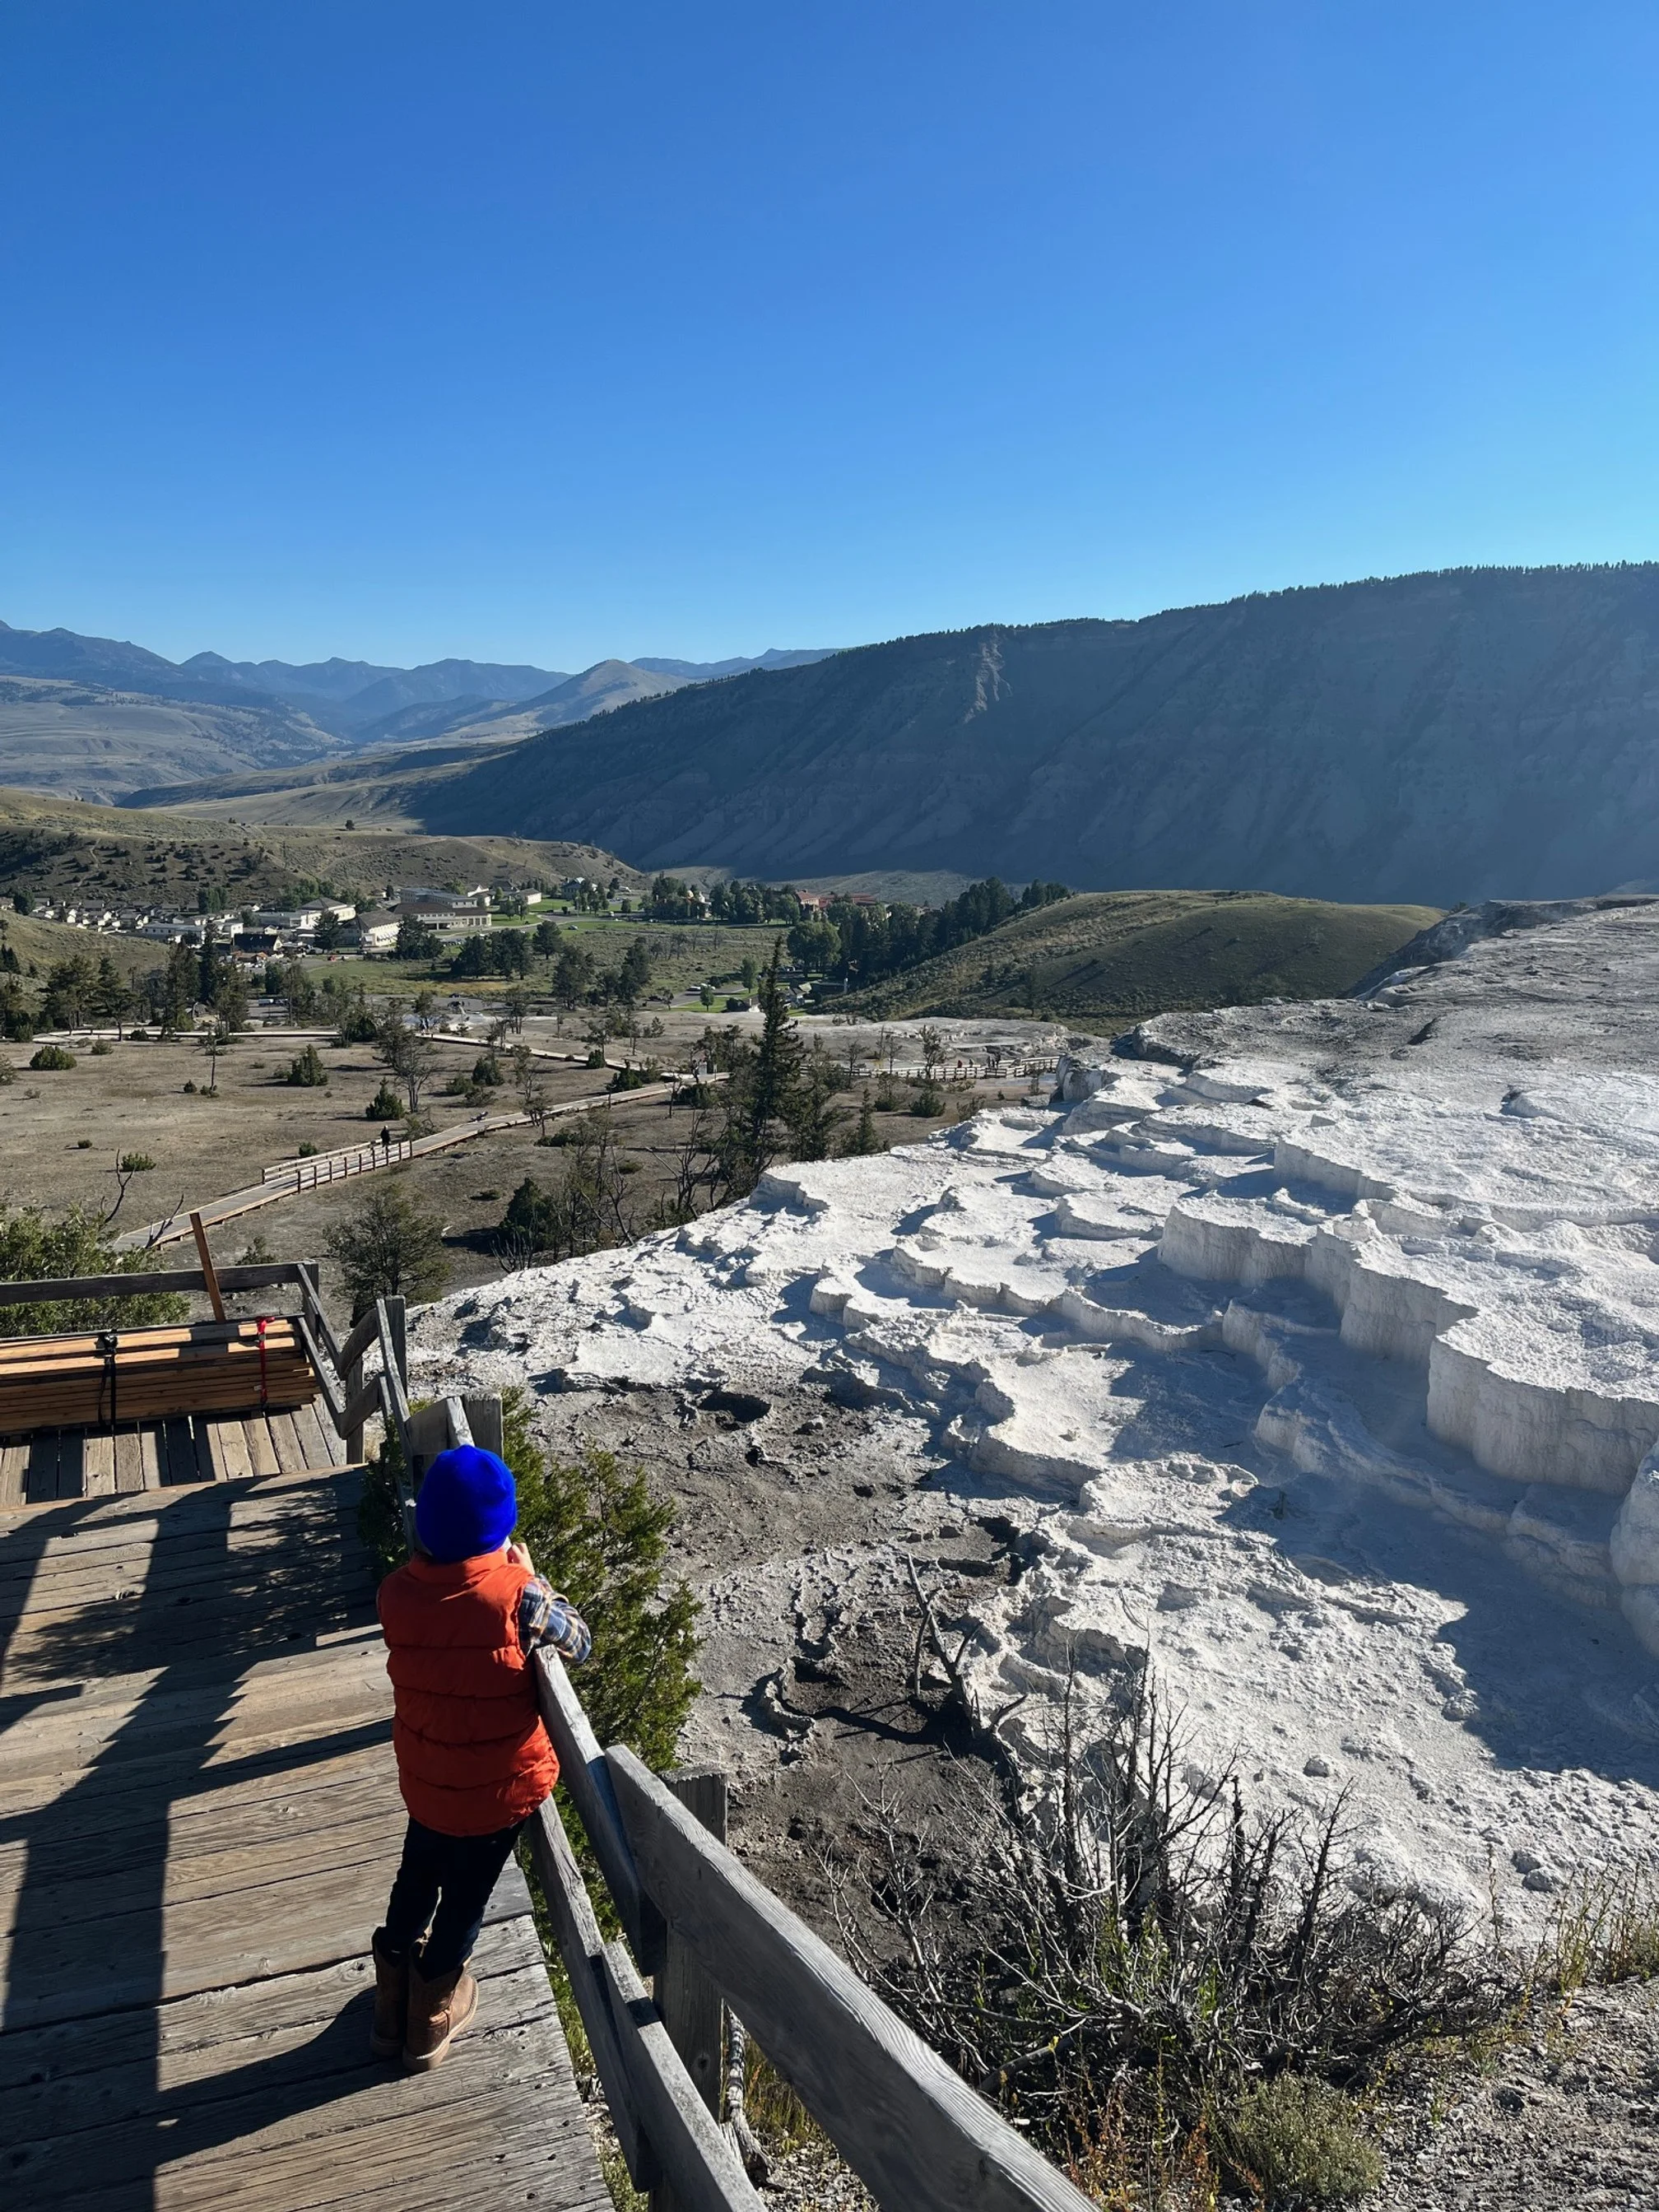
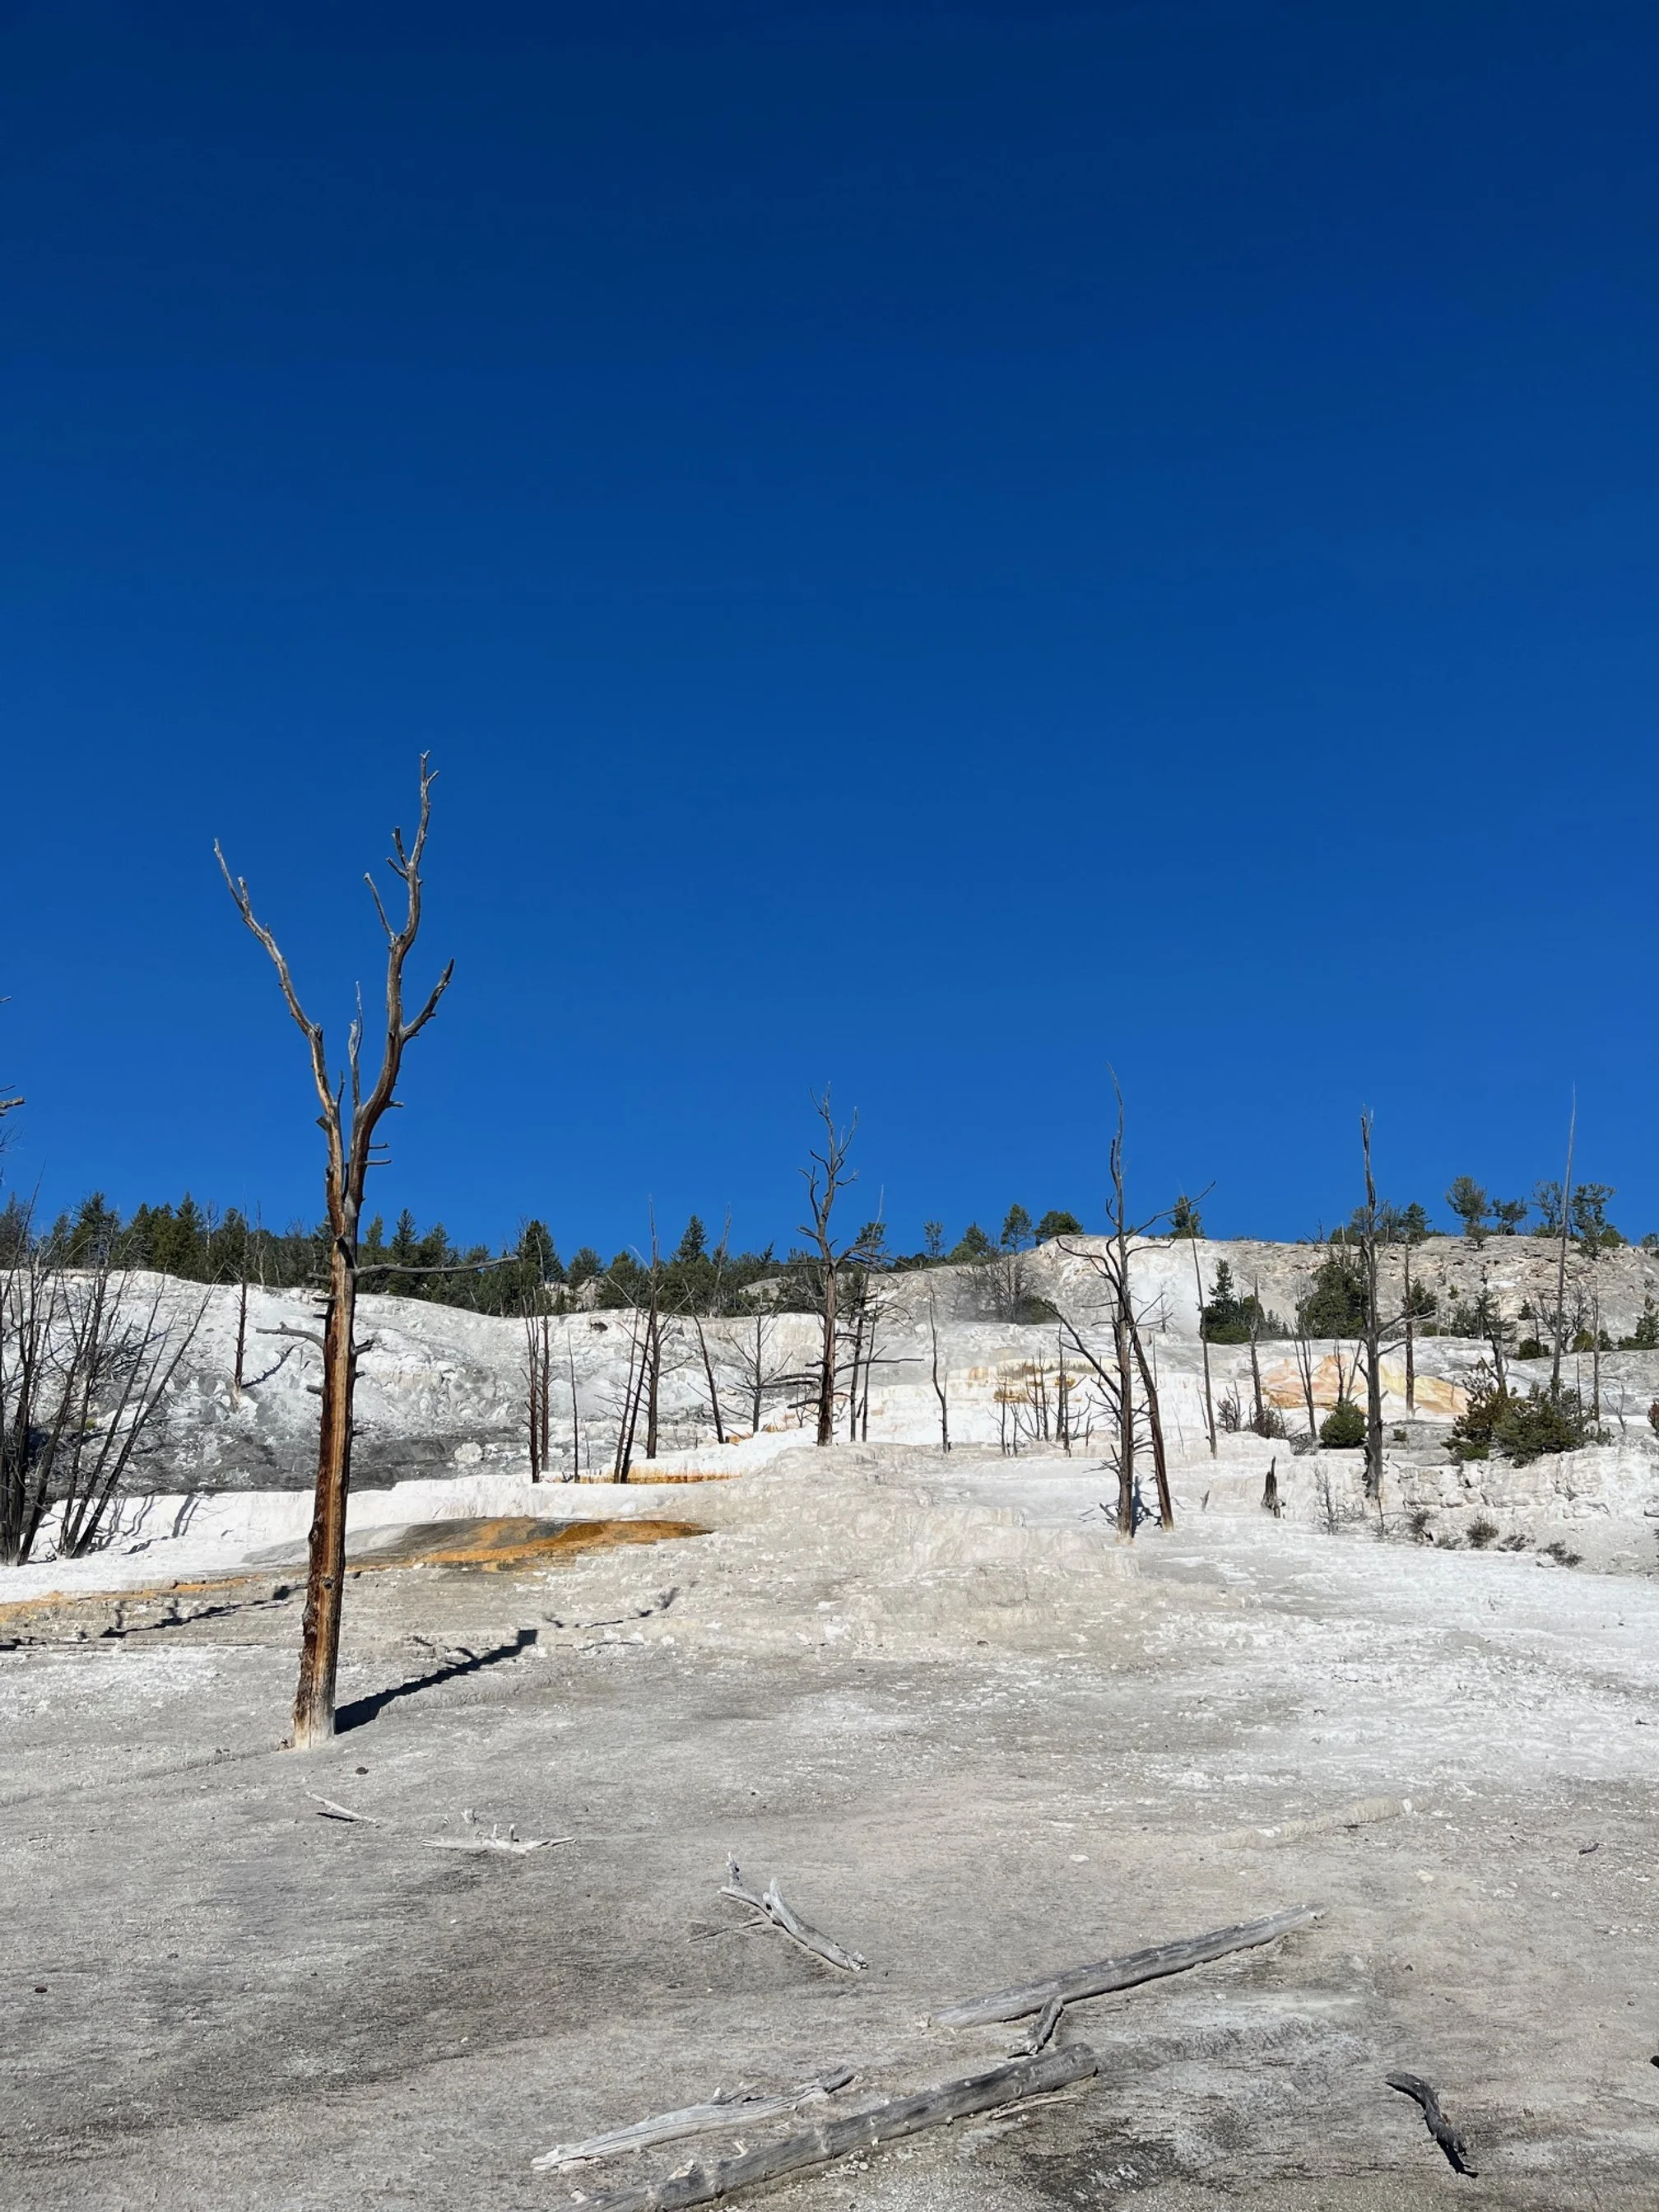
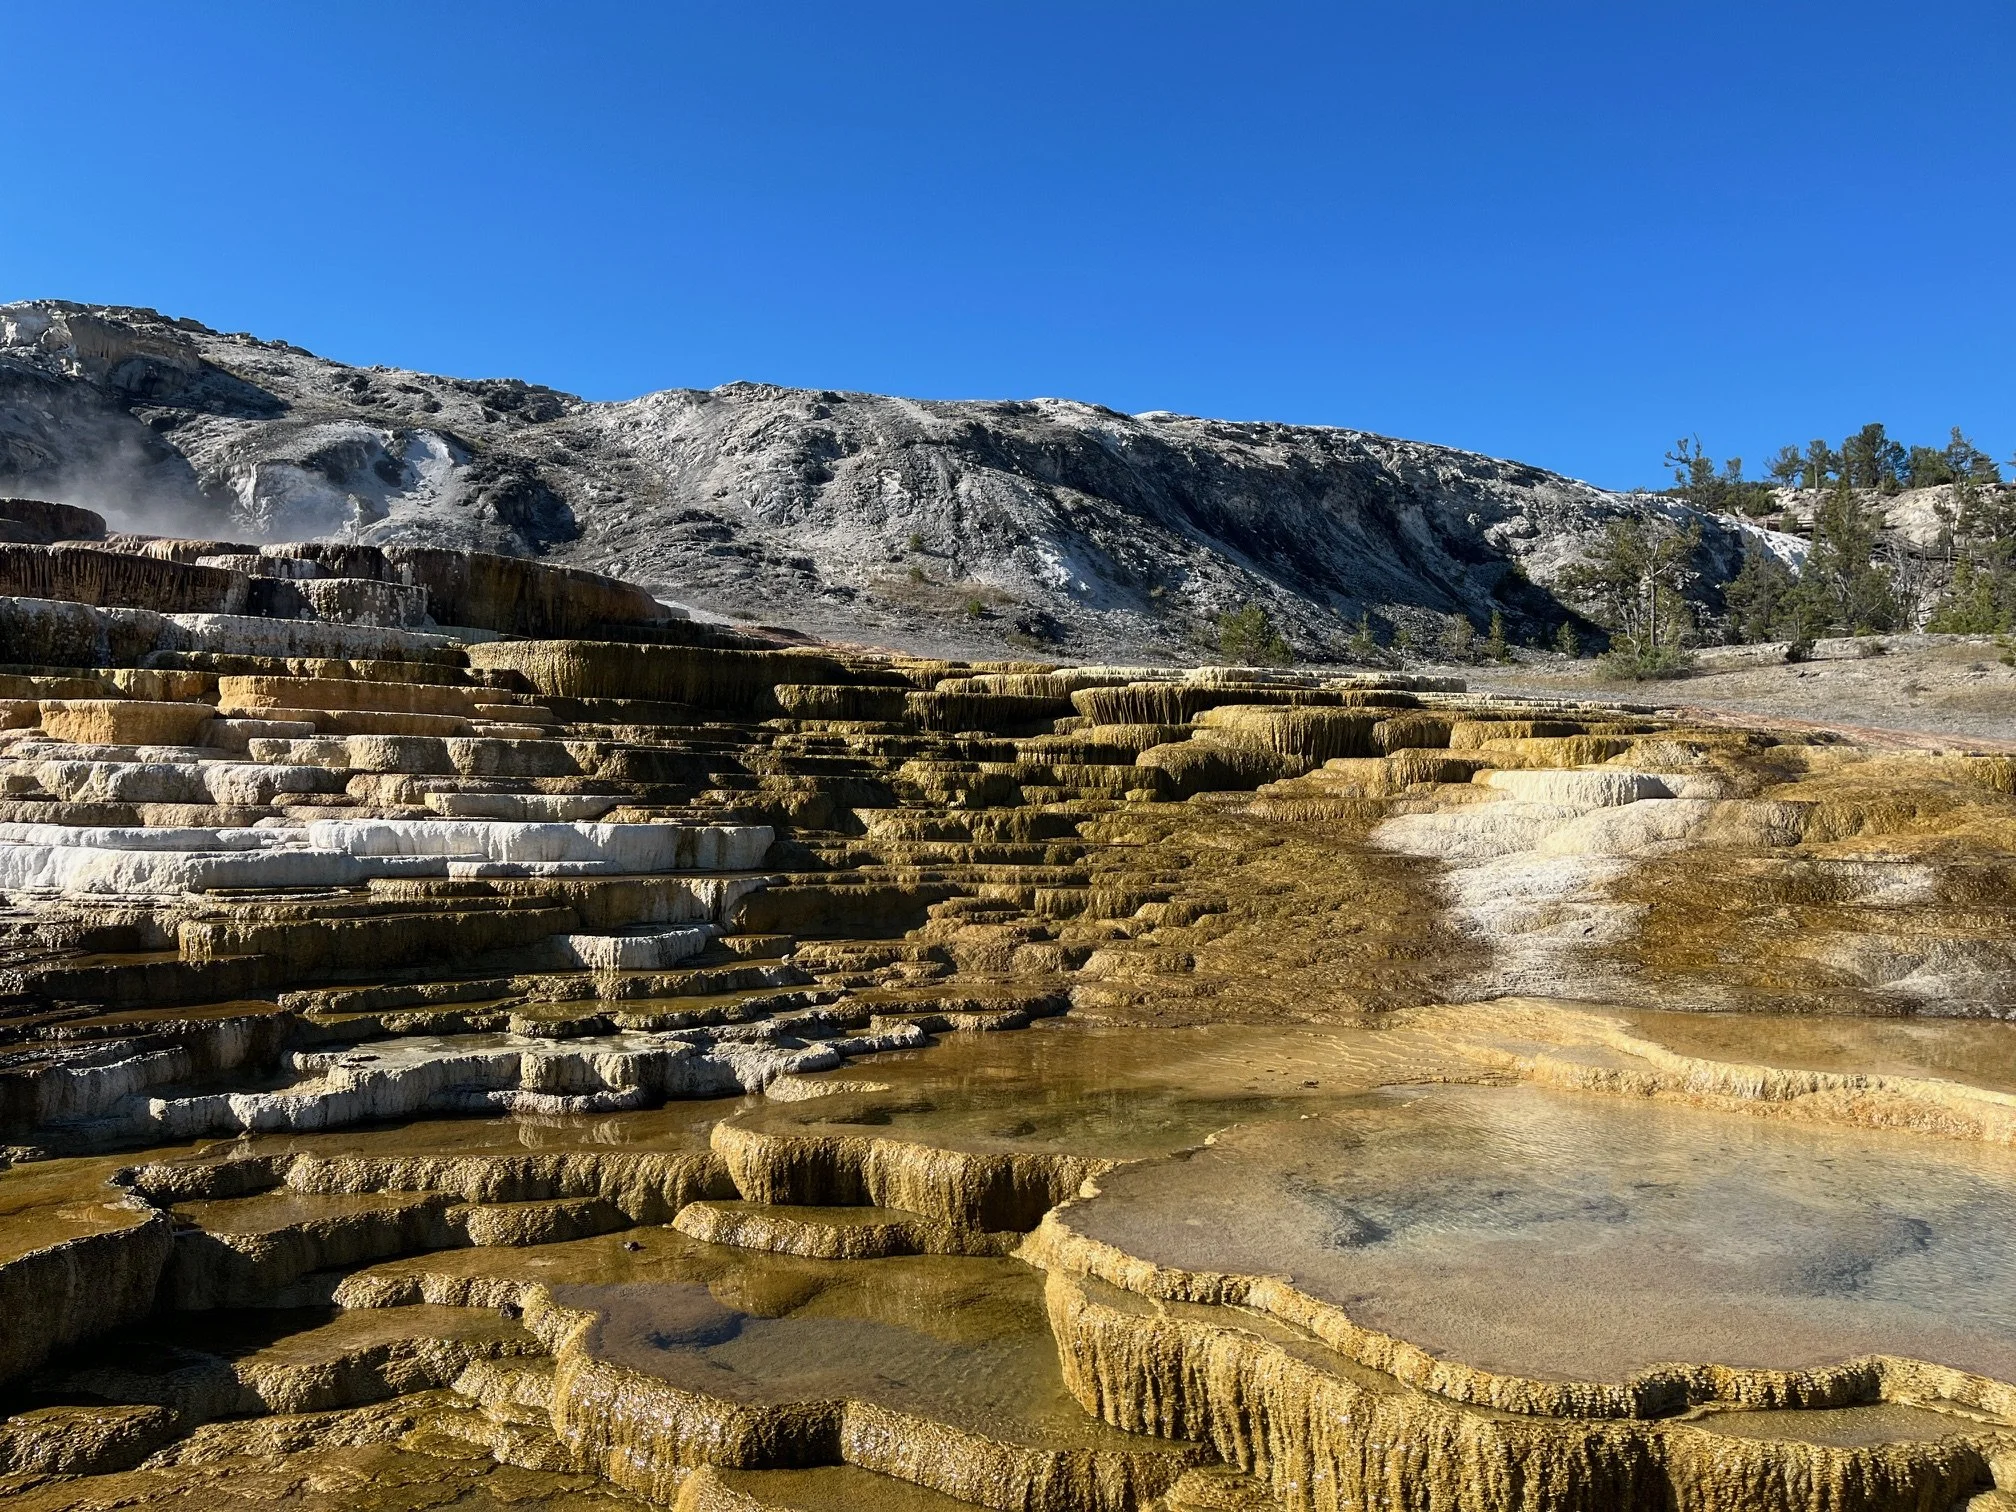
Explore Mammoth Hot Springs
Once you go through the entrance station and pay your entrance fee (or use your America the Beautiful pass!), you’ll wind your way south on Highway 89 for about 5 miles, crossing into Wyoming before you arrive in Mammoth Hot Springs.
There’s a visitors center here with exhibits on the park’s wildlife. You can also purchase bear spray and learn to use it from a ranger.
Next to the visitors center is a self-guided walking tour of the historic buildings in Mammoth, Wyoming. This used to serve as Fort Yellowstone, and many of the houses and other structures are still in use today by the park service.
You’ll want to spend the bulk of your time walking and driving around the Upper and Lower Terraces of the hot springs, though.
Driving further into the park, you’ll come to the Lower Terraces, first. Here, you’ll find the beehive shaped Liberty Cap, the remnants of a now dormant spring, and the Devil’s Thumb Terrace, one of the most striking and colorful of the hot springs.
There are a series of boardwalks connecting the Lower and Upper Terraces, which you can use to access the upper area. Or, you can drive around to the Upper Terrace if you’d prefer.
There’s much more to see on the Upper Terrace than what can be accessed by the boardwalks, so be sure to slowly drive the Upper Terrace Loop Drive, too.
Undine Falls and Wraith Falls
When you’ve had your fill of the hydrothermal features here, get back in your rental car and head east on Grand Loop Road.
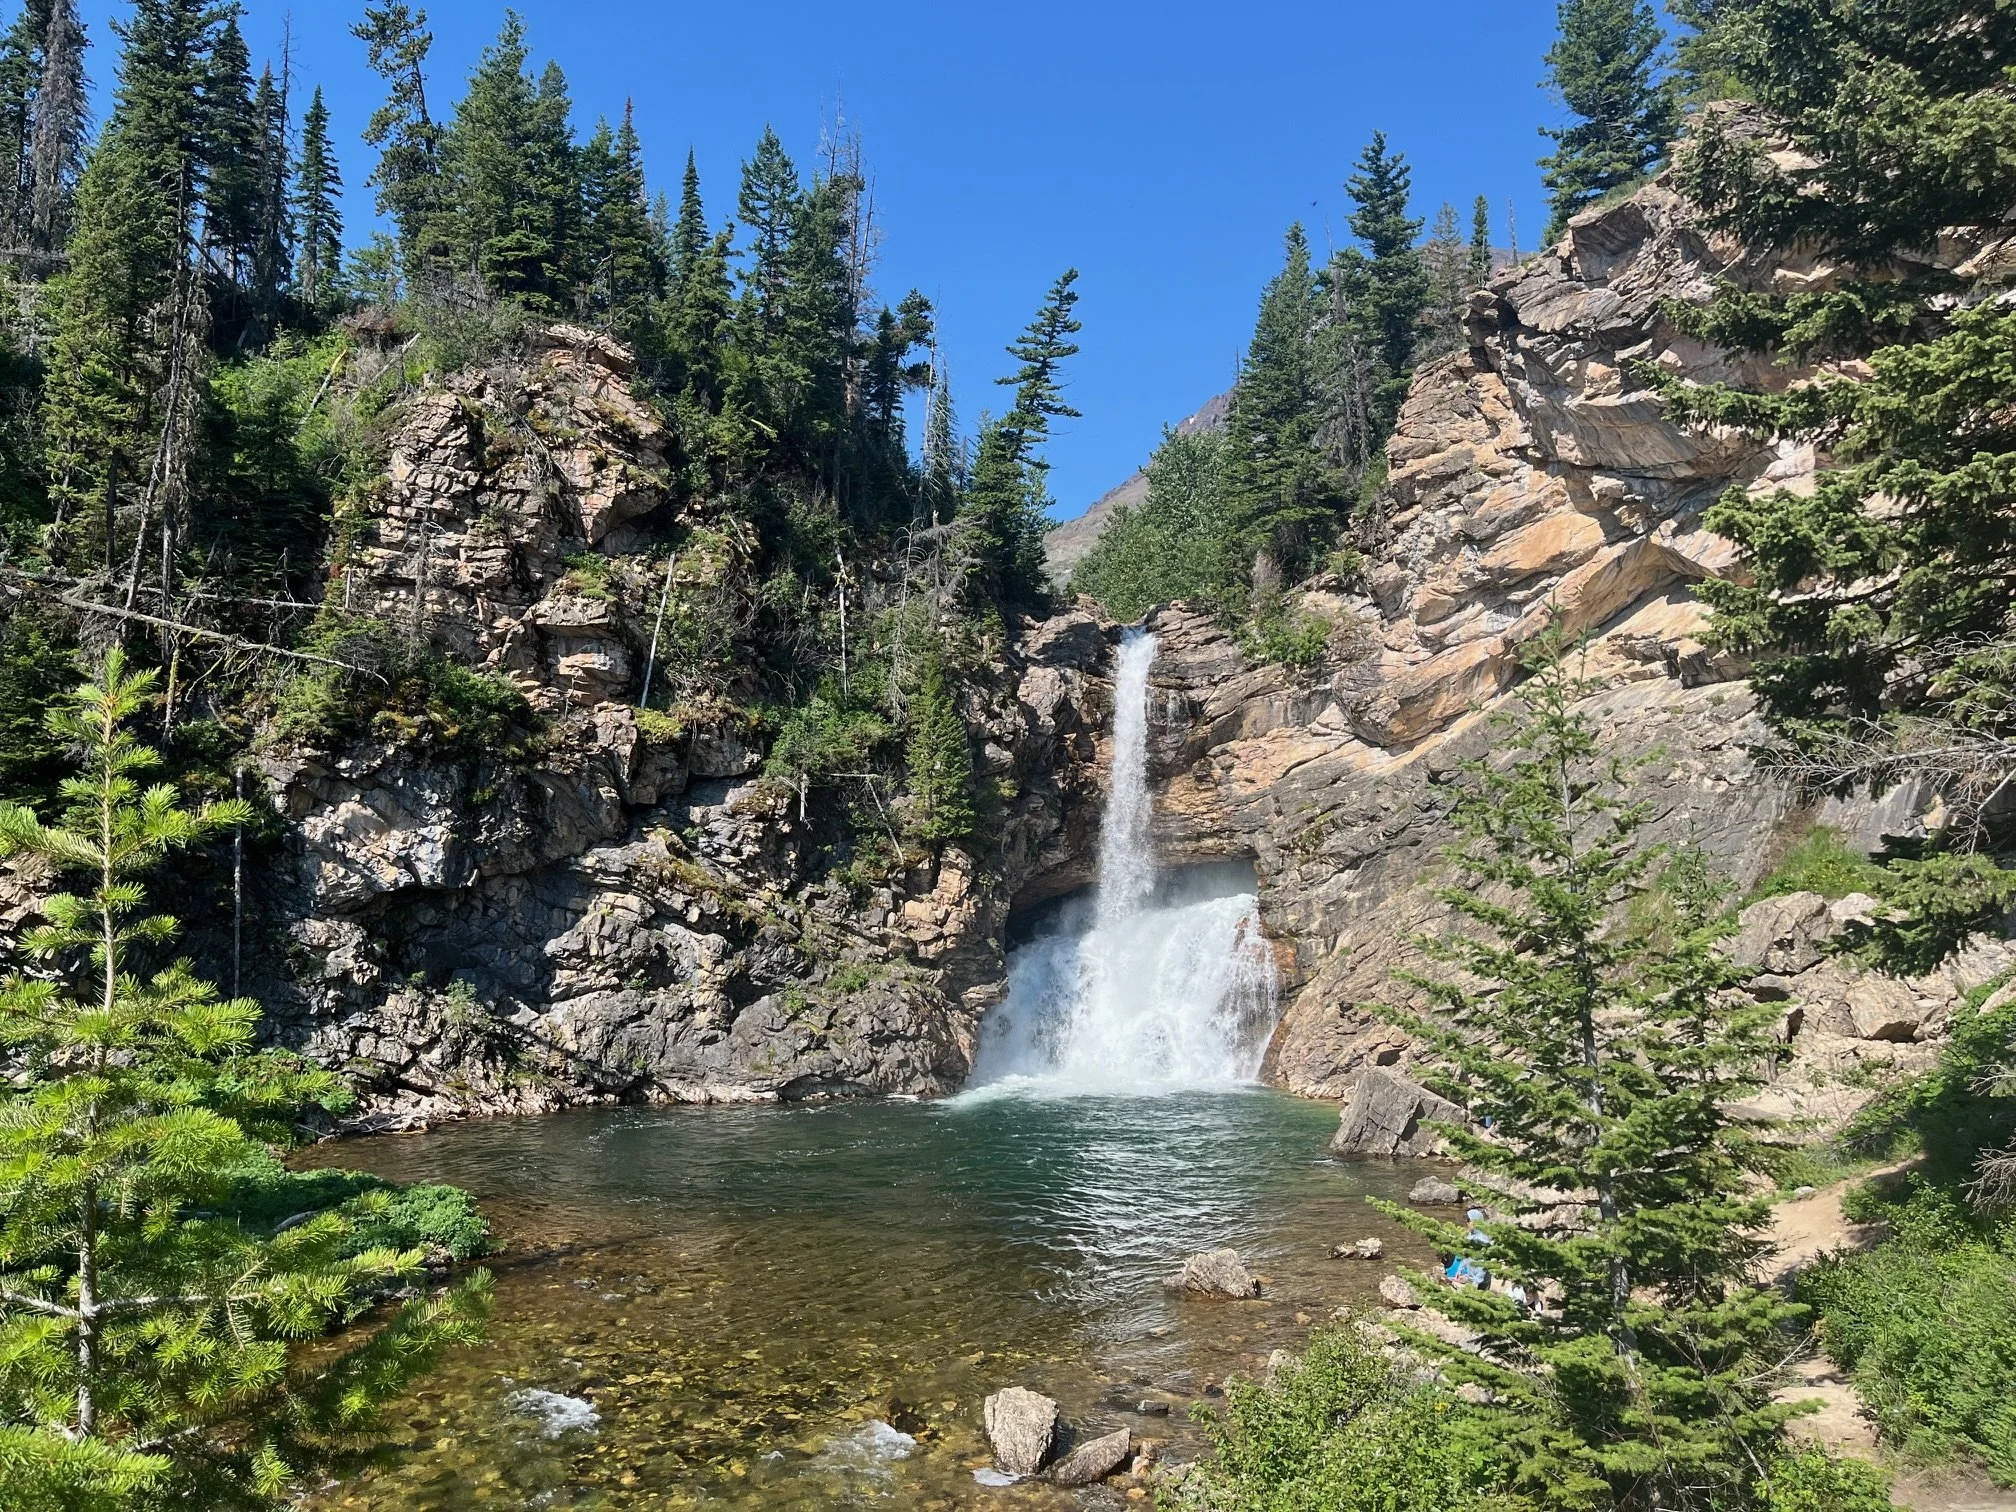
In 9 miles, look for the viewpoint of Undine Falls. You can see the falls directly from this roadside area, or you can hike down to the falls, which will take 1-2 hours, depending on how quickly you hike.
If the parking area is too full there, try for a spot at the Wraith Falls trailhead. This is another easy waterfall hike that should only take about an hour.
Petrified Tree
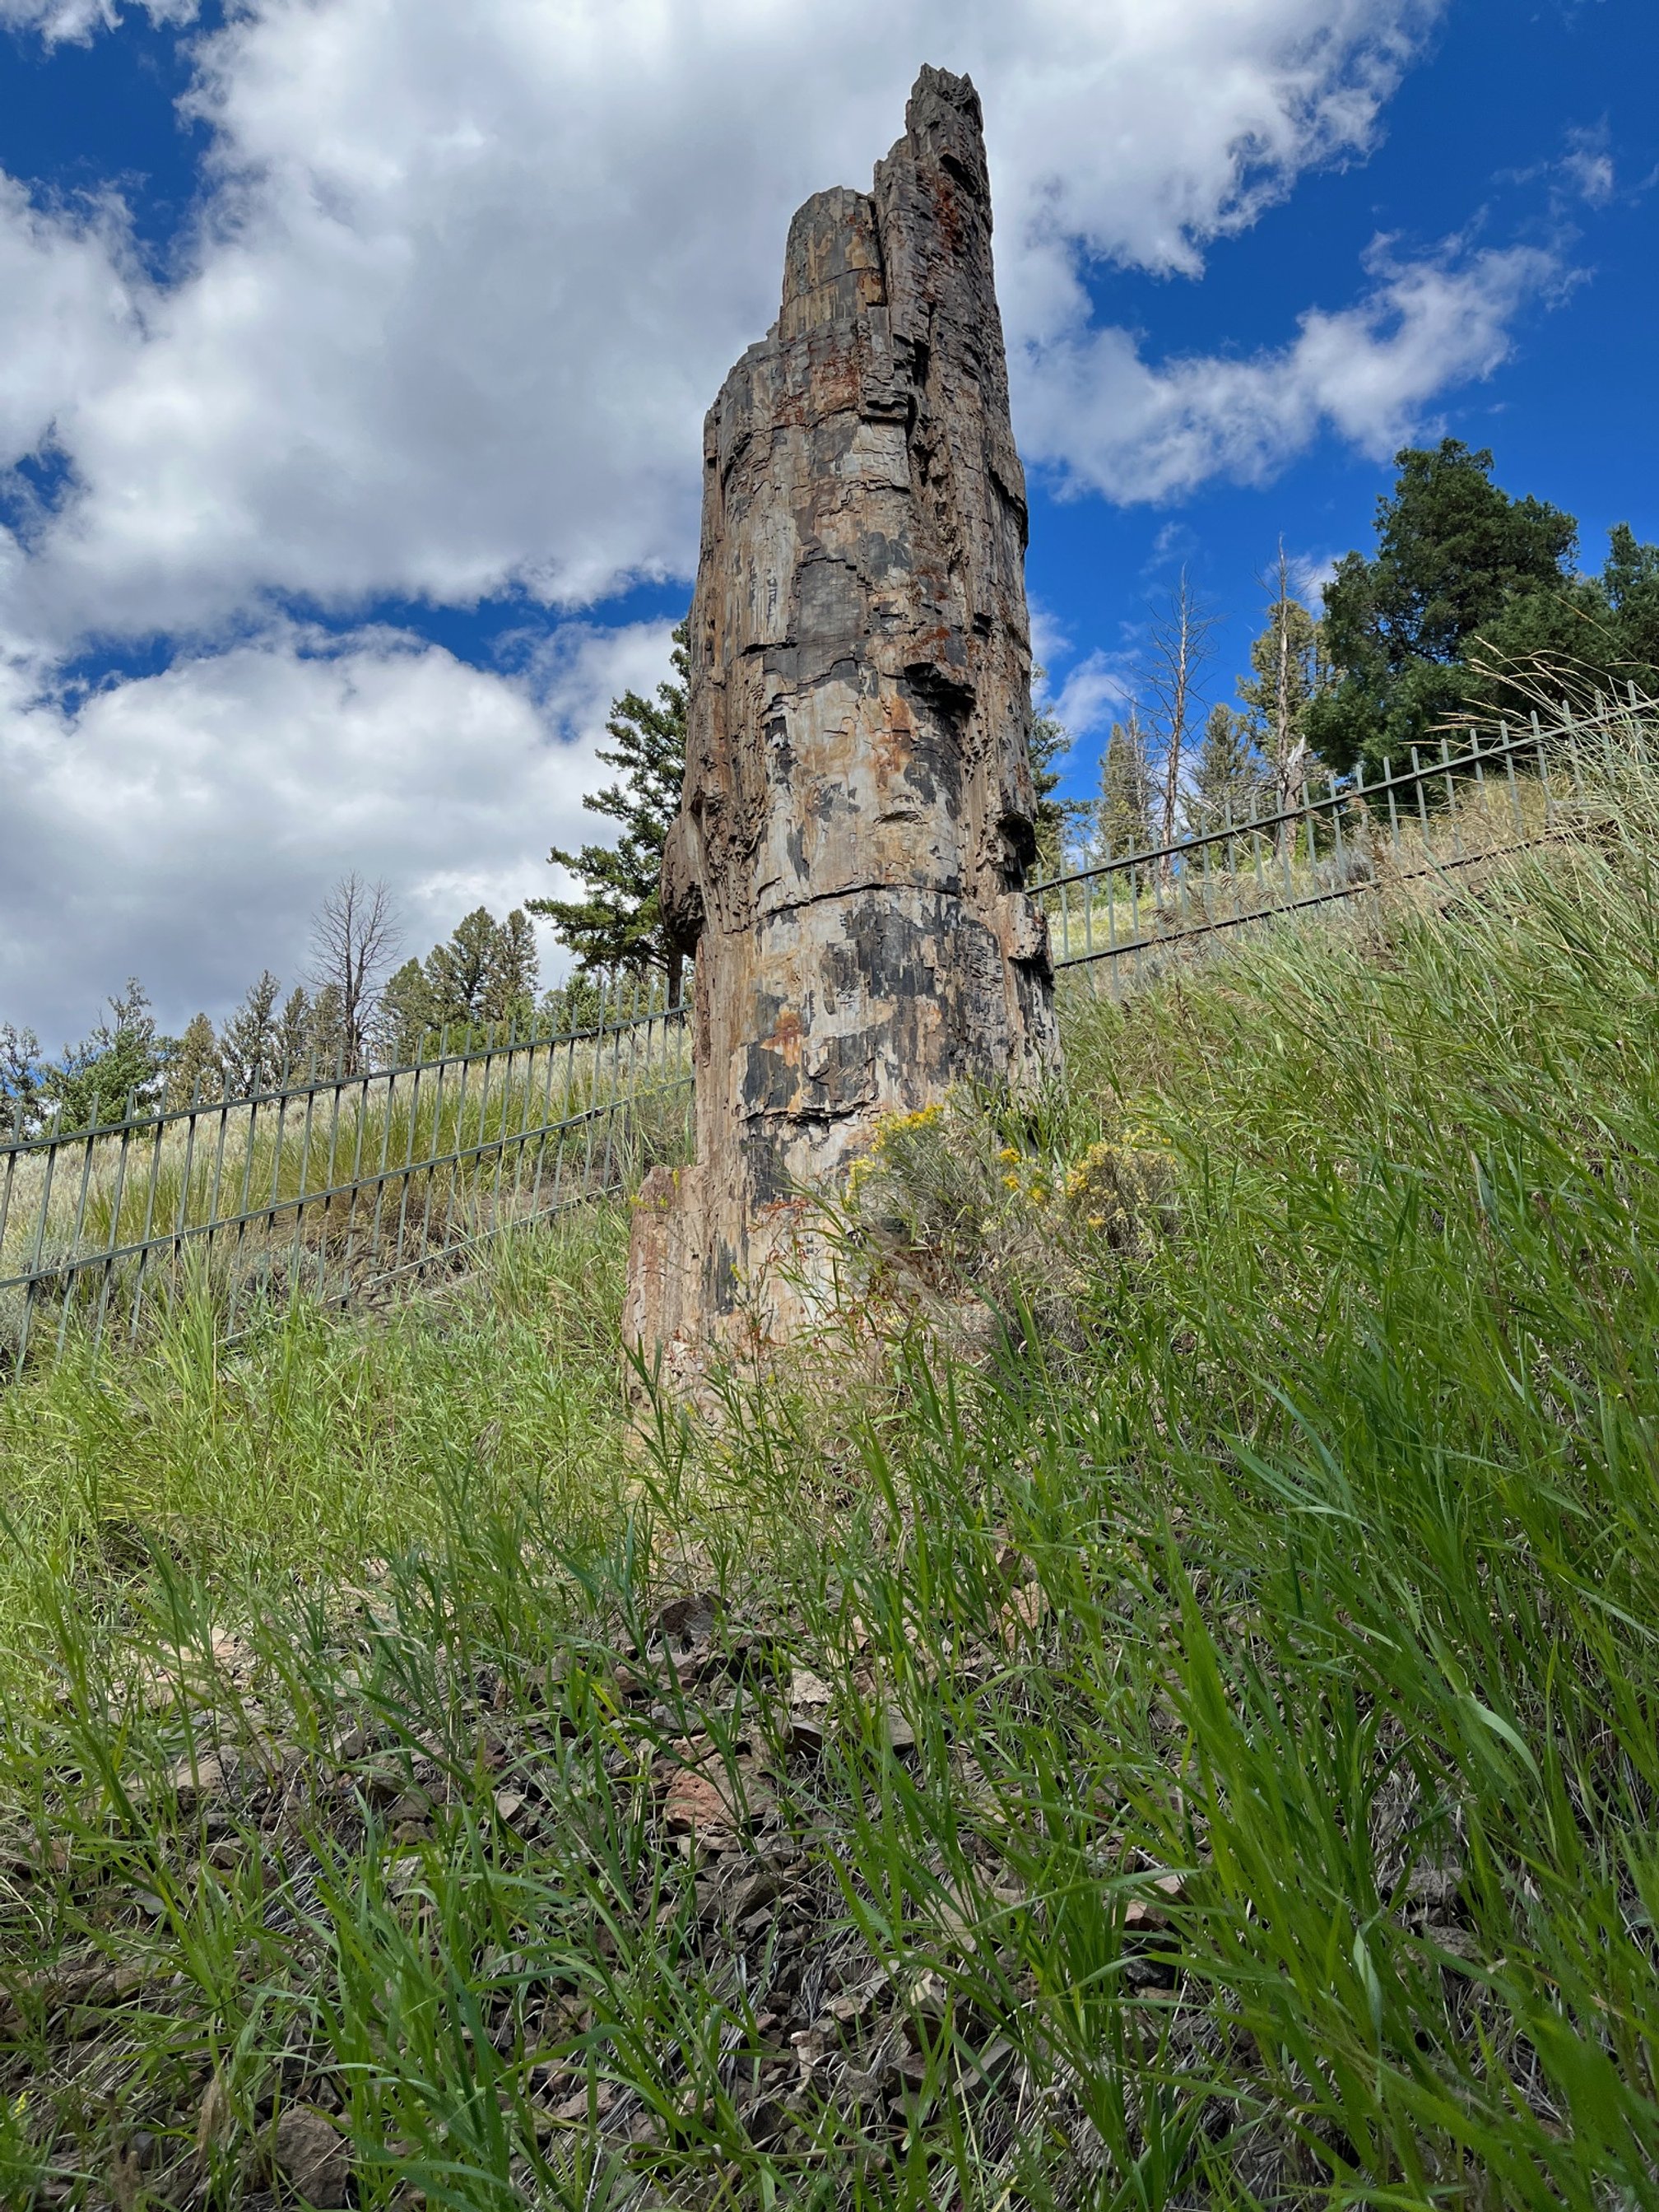
The petrified tree of Yellowstone
12 miles further east on Grand Loop Road is the turn off for Petrified Tree.
While it’s not as impressive as the fields of petrified wood at Petrified Forest National Park in Arizona, this particular tree tells quite a story.
This lone tree was once one of thousands that covered these hills.
It was petrified upright (which is also unusual), and sits behind a fence.
There used to be three trees here, and no fence, but in the early 1900s, people chipped away so many souvenirs that they destroyed the other two.
There’s a small parking area, but people move in and out quickly.
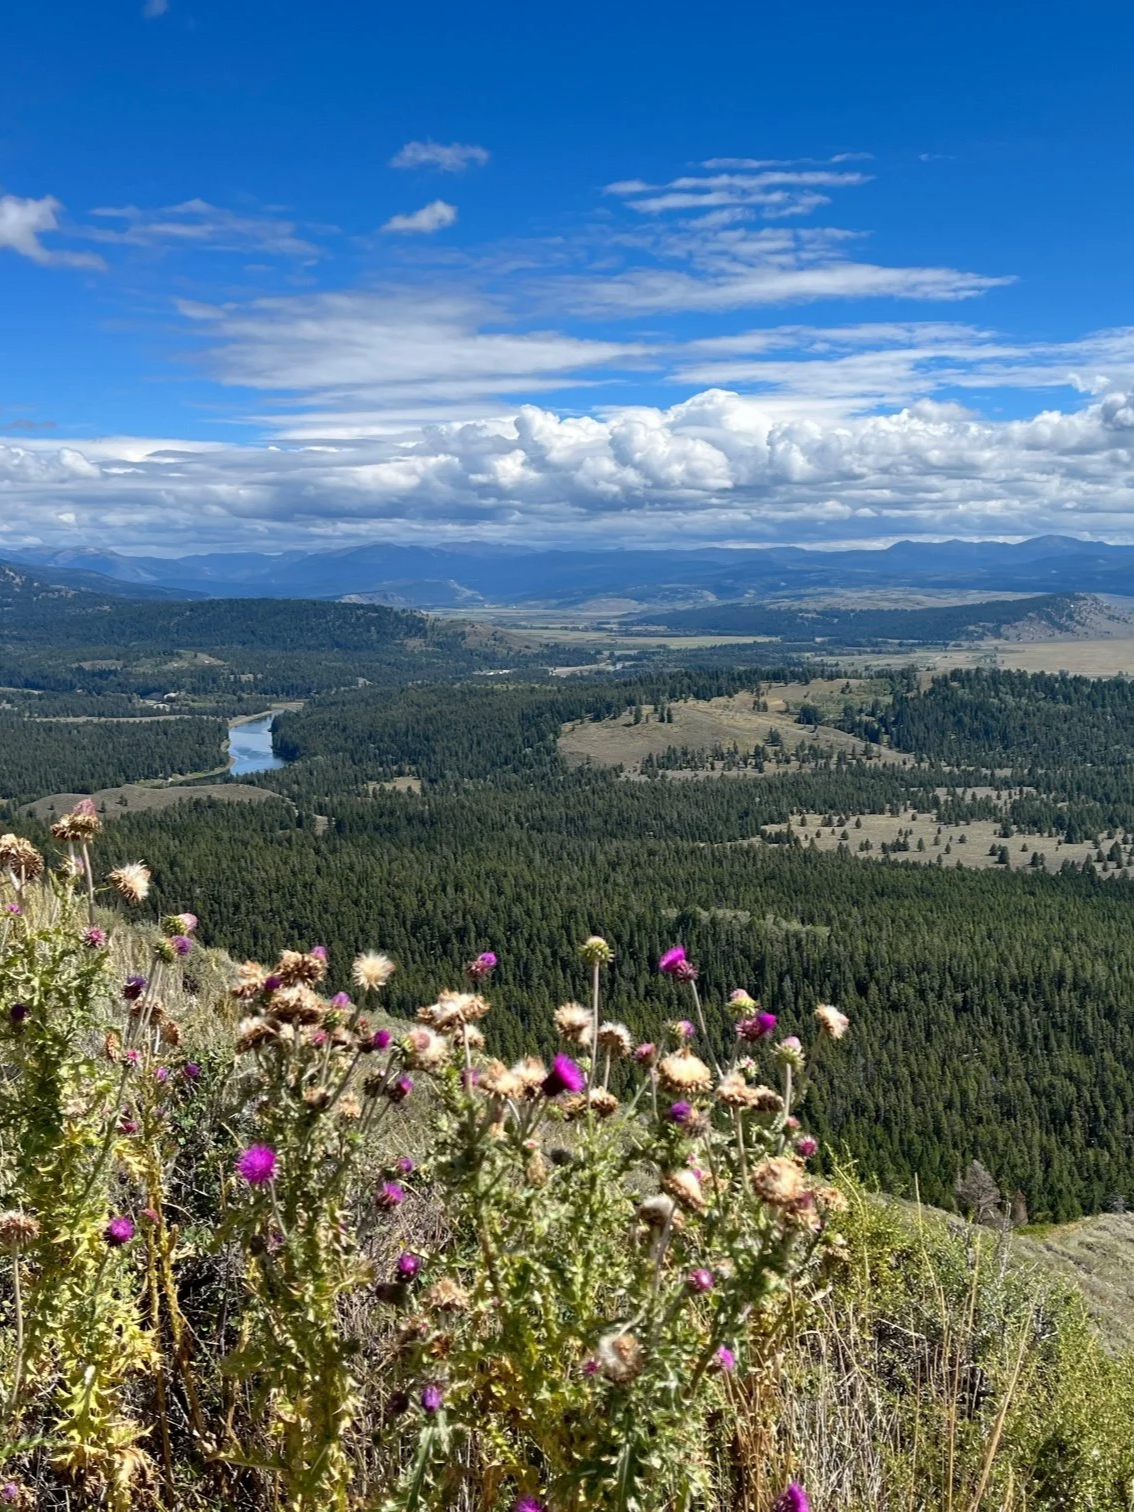
Lamar Valley
From here, you’ll continue east, turning onto Highway 212 when you get to the Tower-Roosevelt intersection.
You’re coming back to stay here tonight, but there are things to see and do before you loop around.
While you can see bison, pronghorn, and other wildlife anywhere in the park, Lamar Valley is one of the places that you’re more likely to see them.
Cruise slowly along the road from Tower-Roosevelt to the park’s north entrance near Silver Gate, Montana.
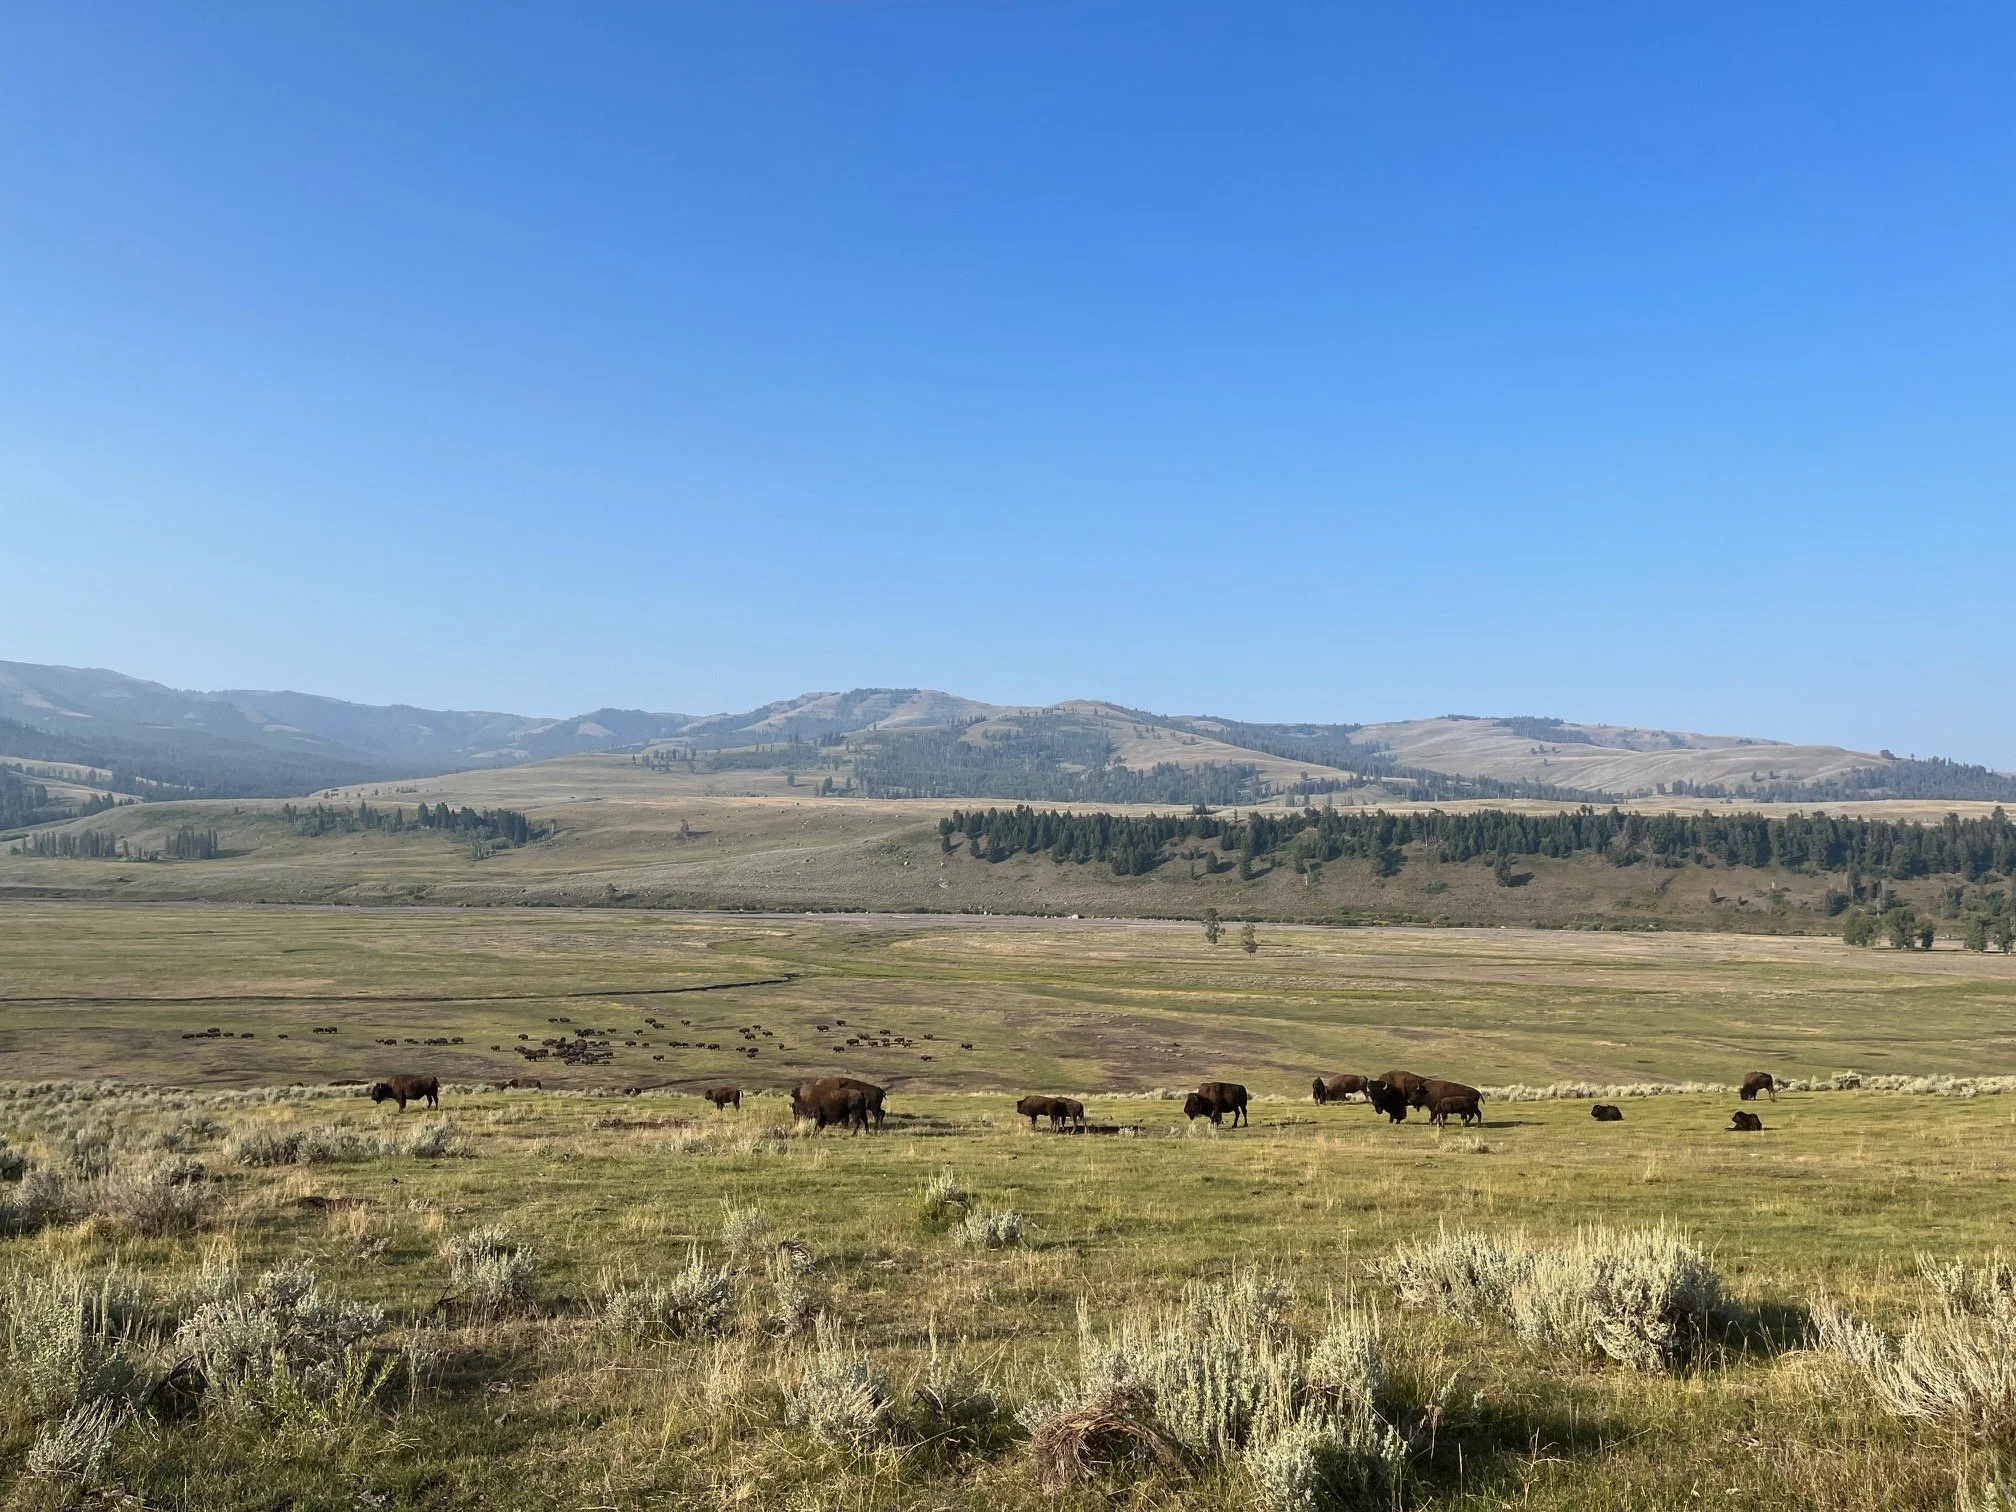
Bison grazing in Lamar Valley
If you see wildlife (or if the wildlife starts crossing the road), pull over and view from the safety of your car. Also, check out my tips for wildlife safety below.
On the far end of Lamar Valley, cross into Montana and head into Cooke City. You can stop at the historic General Store here to pick up a snack, or sit down for lunch at Beartooth Cafe, which has delicious sandwiches and salads.
After lunch, work your way back to Tower-Roosevelt, looking for more wildlife as you cross Lamar Valley again.
Check into your cabin.
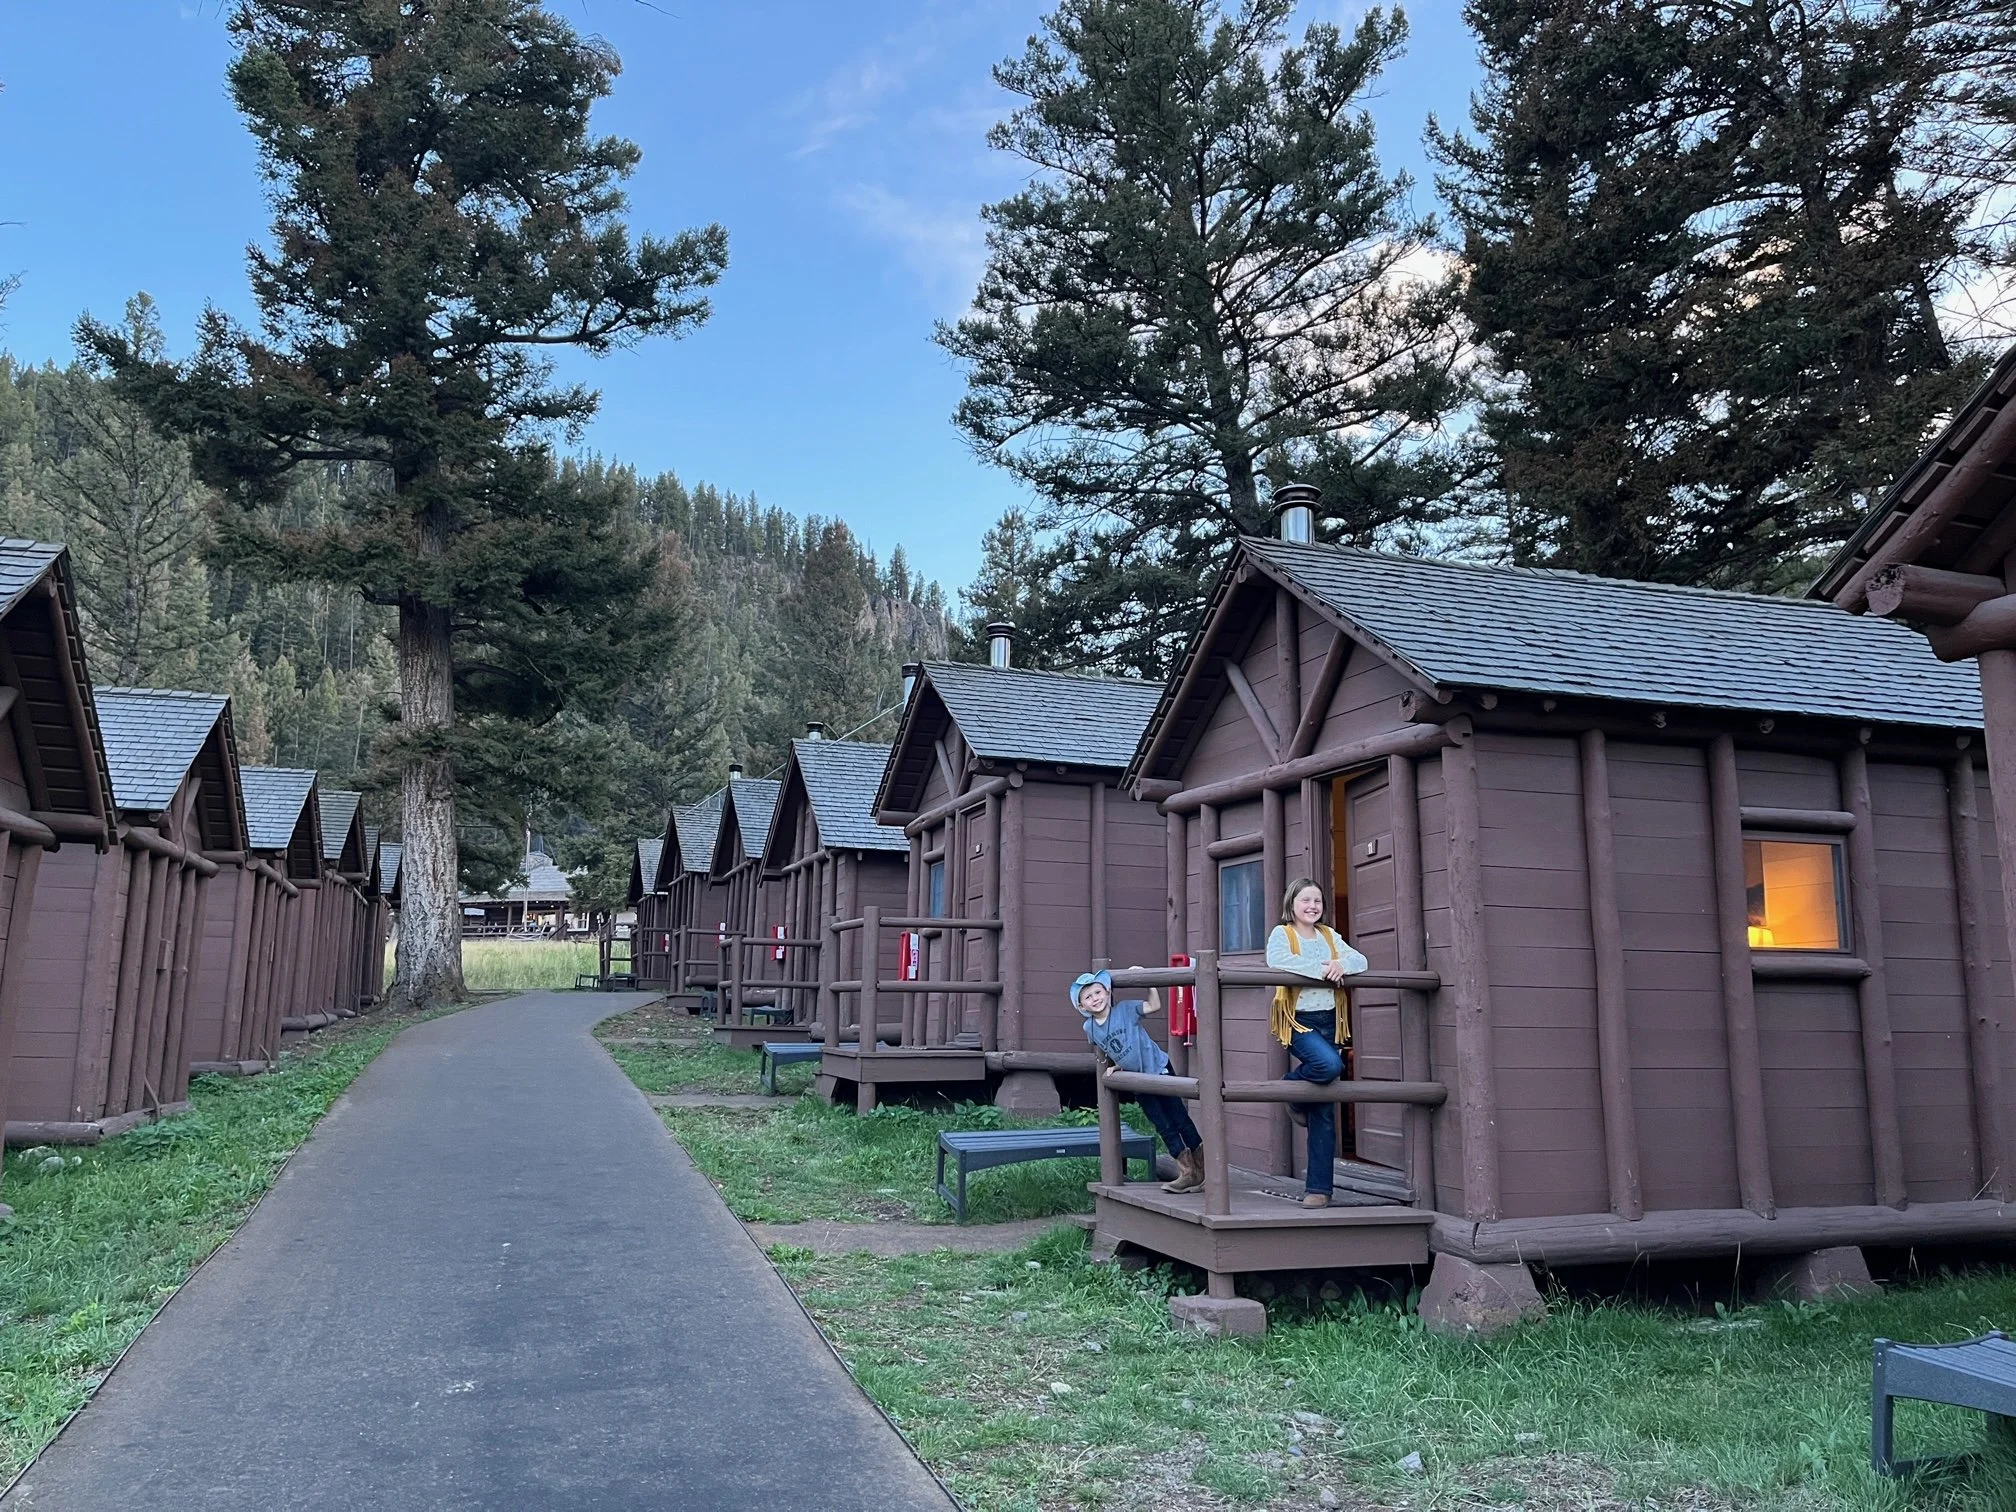
The cute cabins at Roosevelt Lodge
Tonight, you’re sleeping at one of my favorite places to stay in Yellowstone National Park: the cabins at Roosevelt Lodge.
These cabins range from 1 bed rustic cabins to 3 bed cabins with an ensuite bathrooms.
Many of them are historic cabins that were moved from other areas around the park to find a permanent home here.
>> Read my full review of the Roosevelt cabins here. <<
You can unload your bags and relax at your cabin for a bit before your final activity of the day.
Trail ride and cowboy cookout
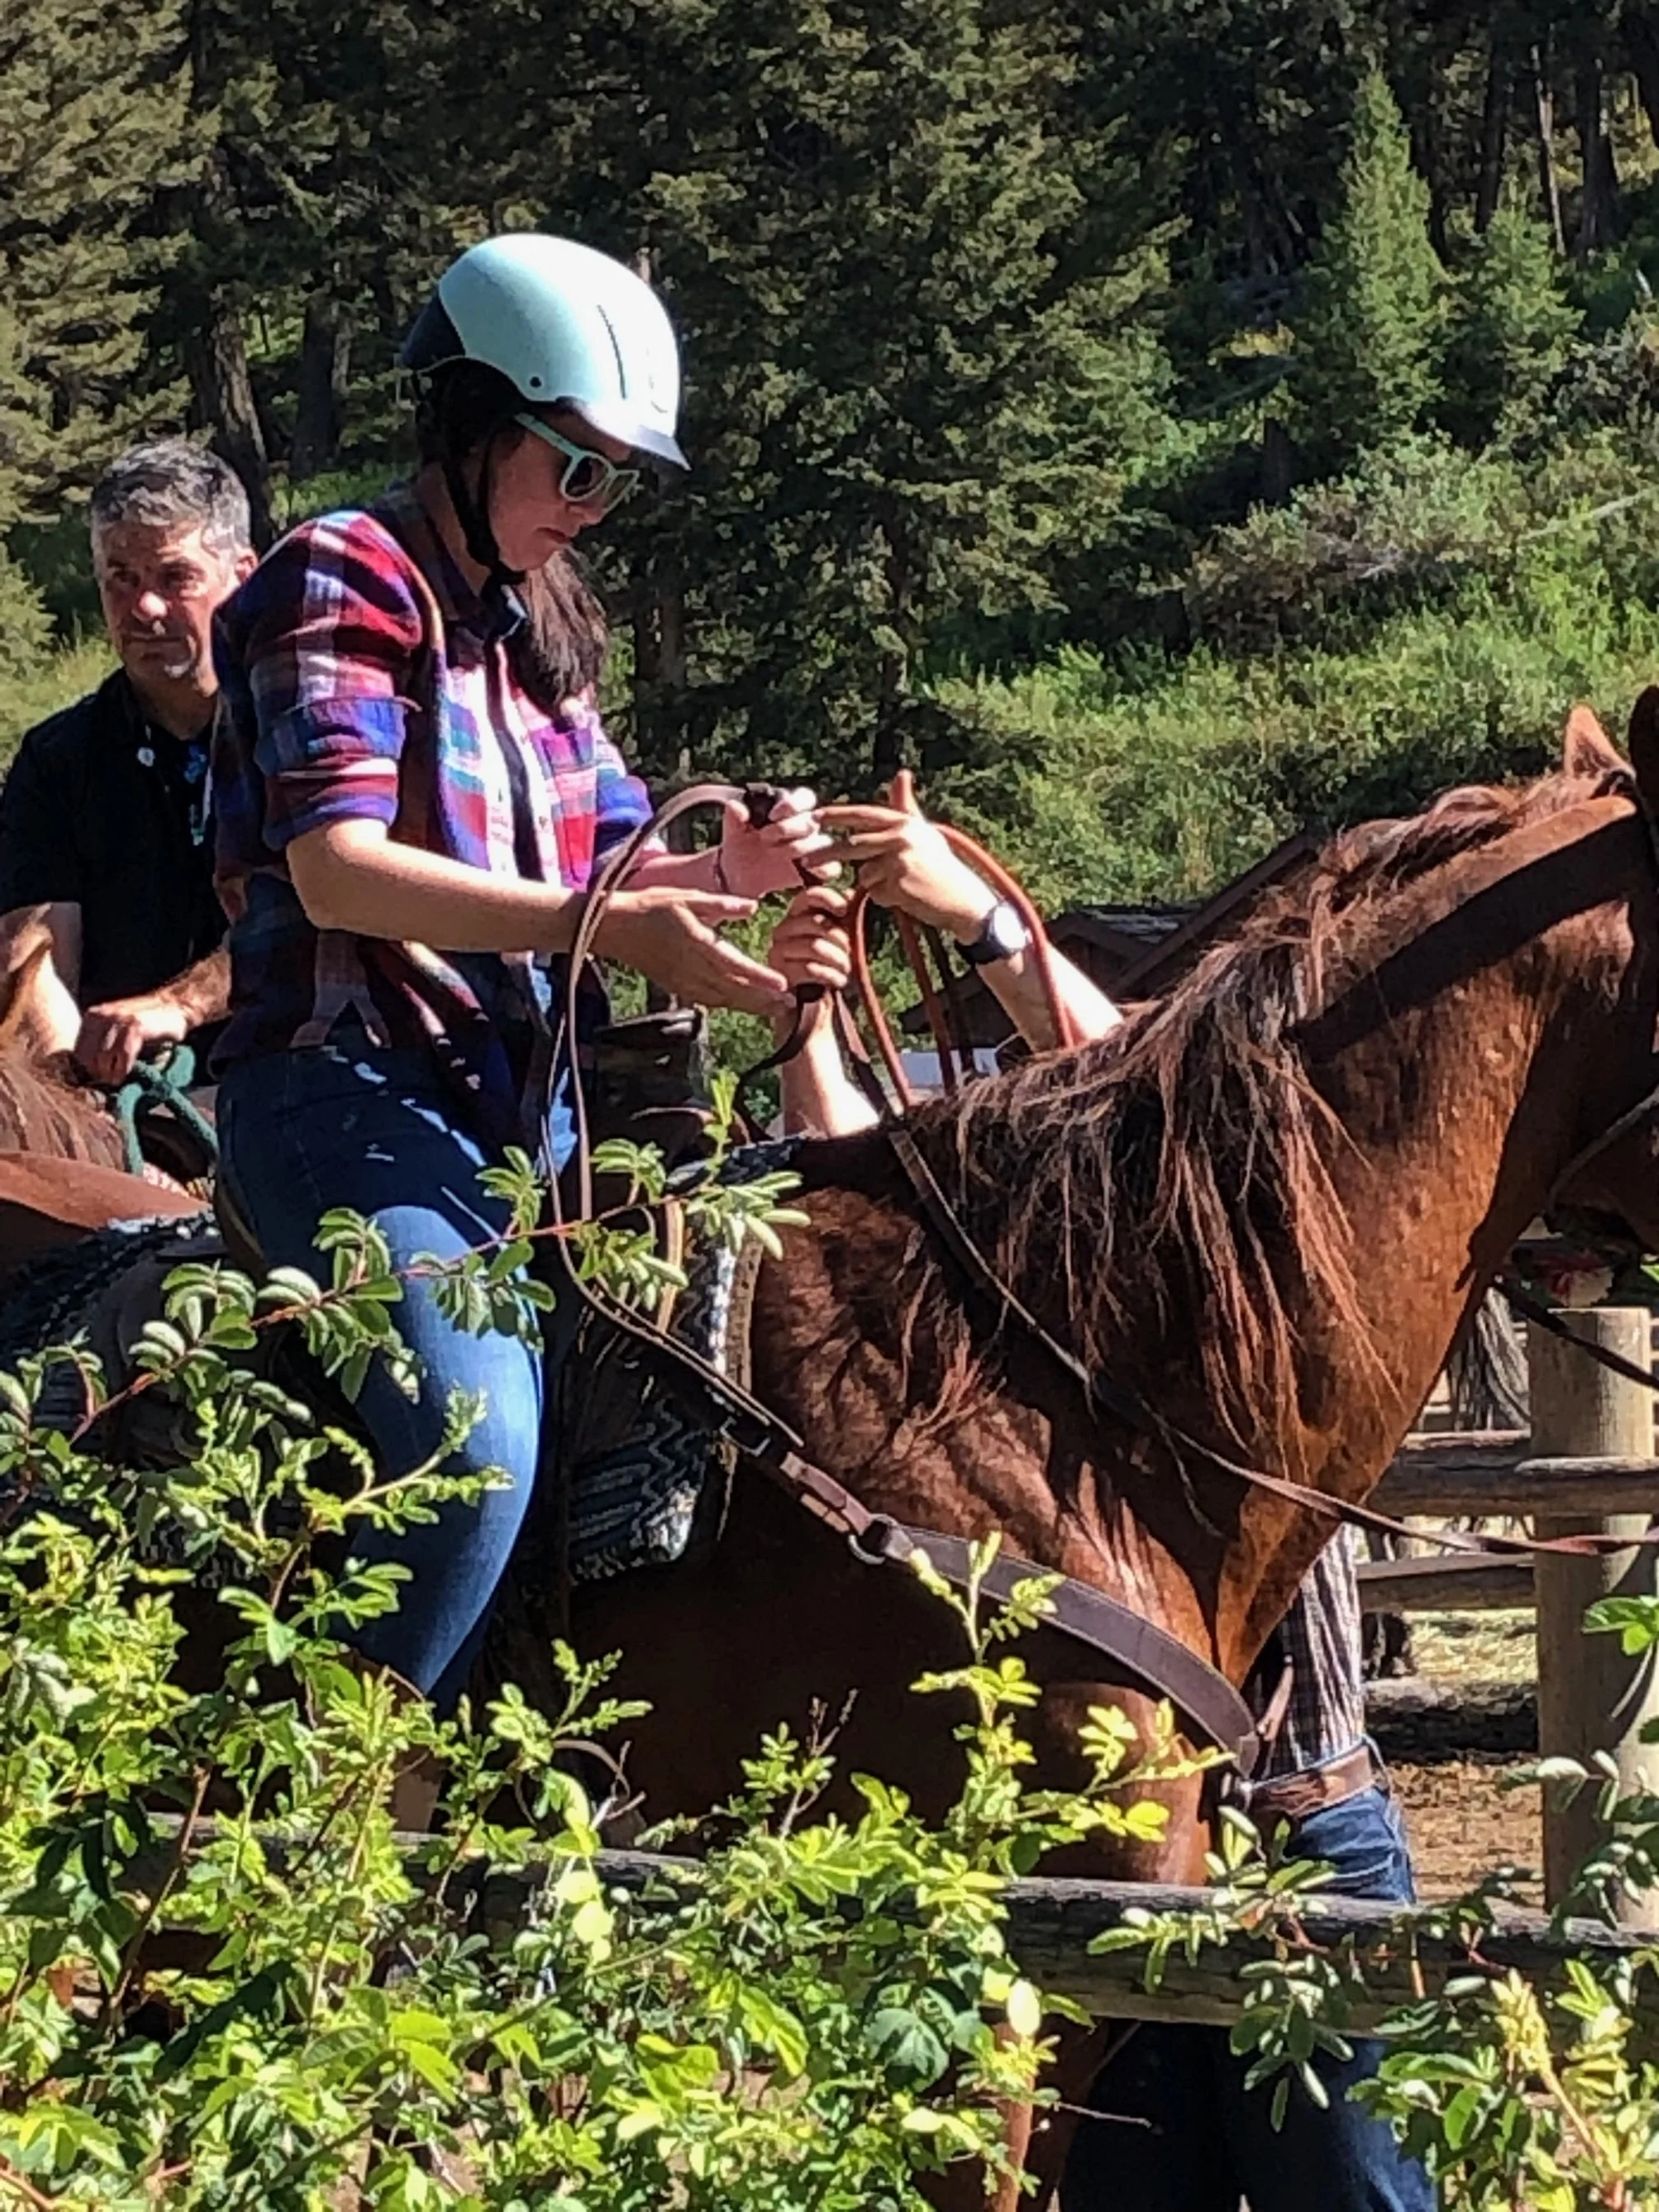
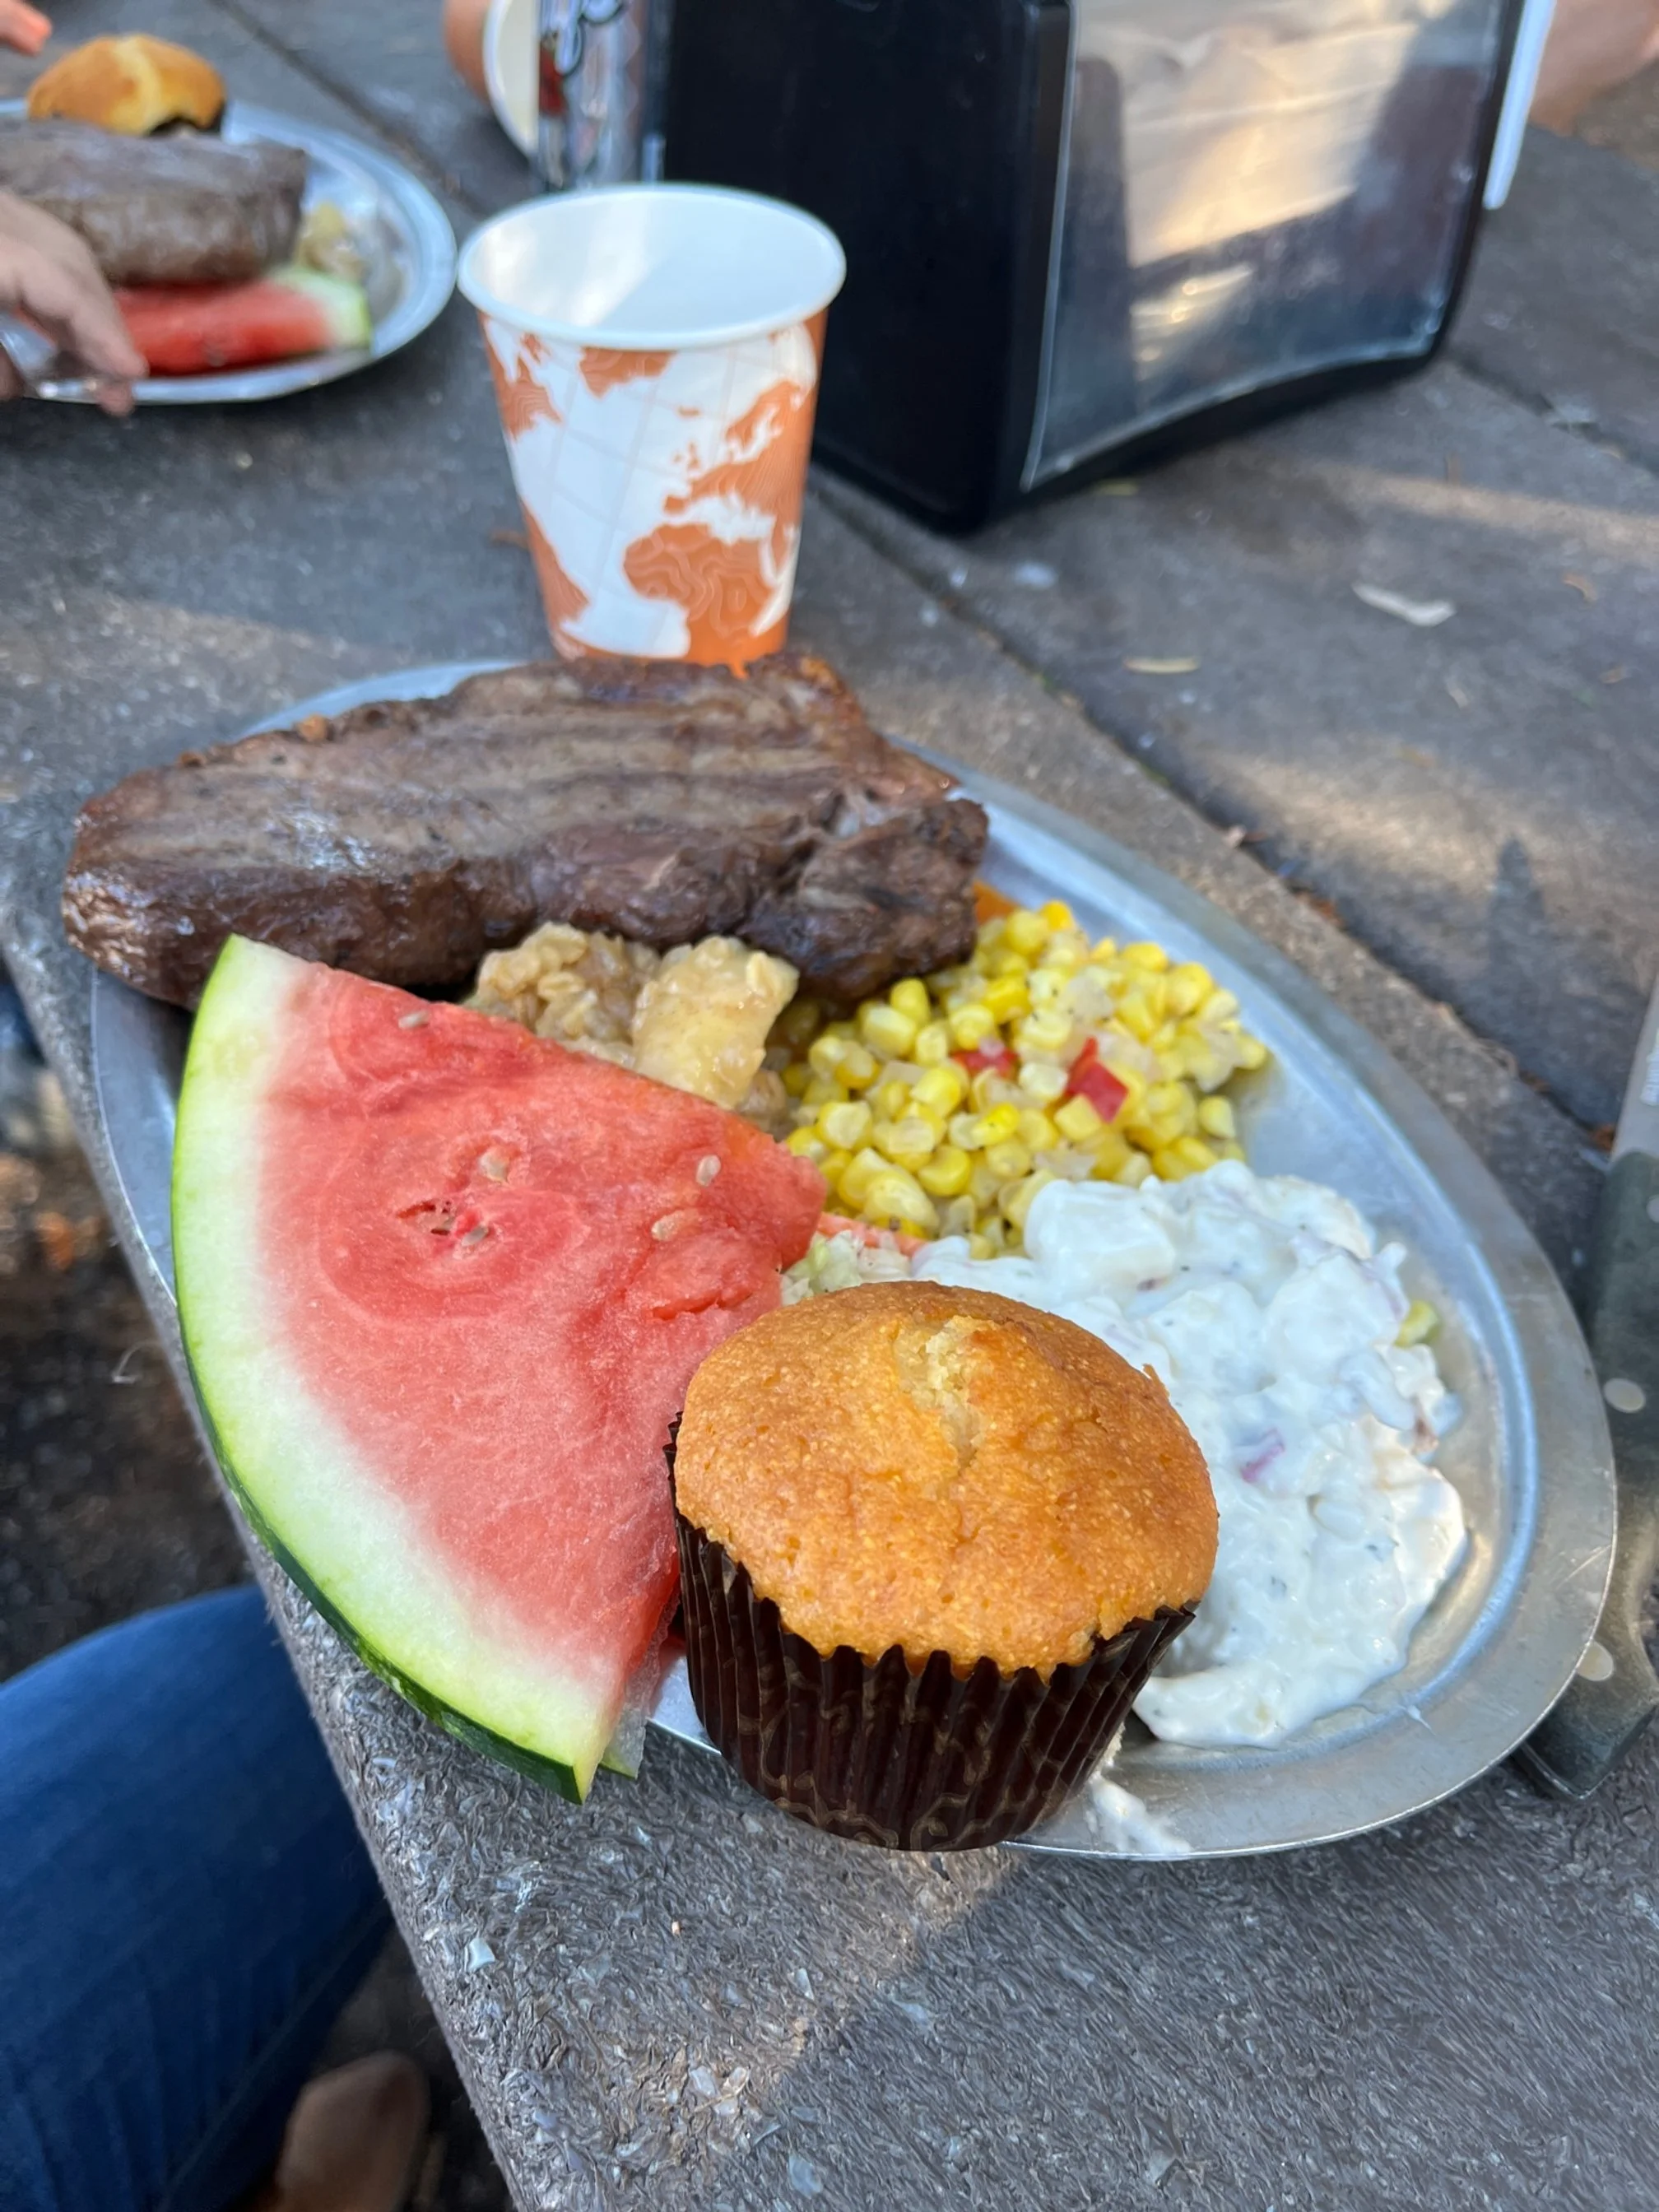
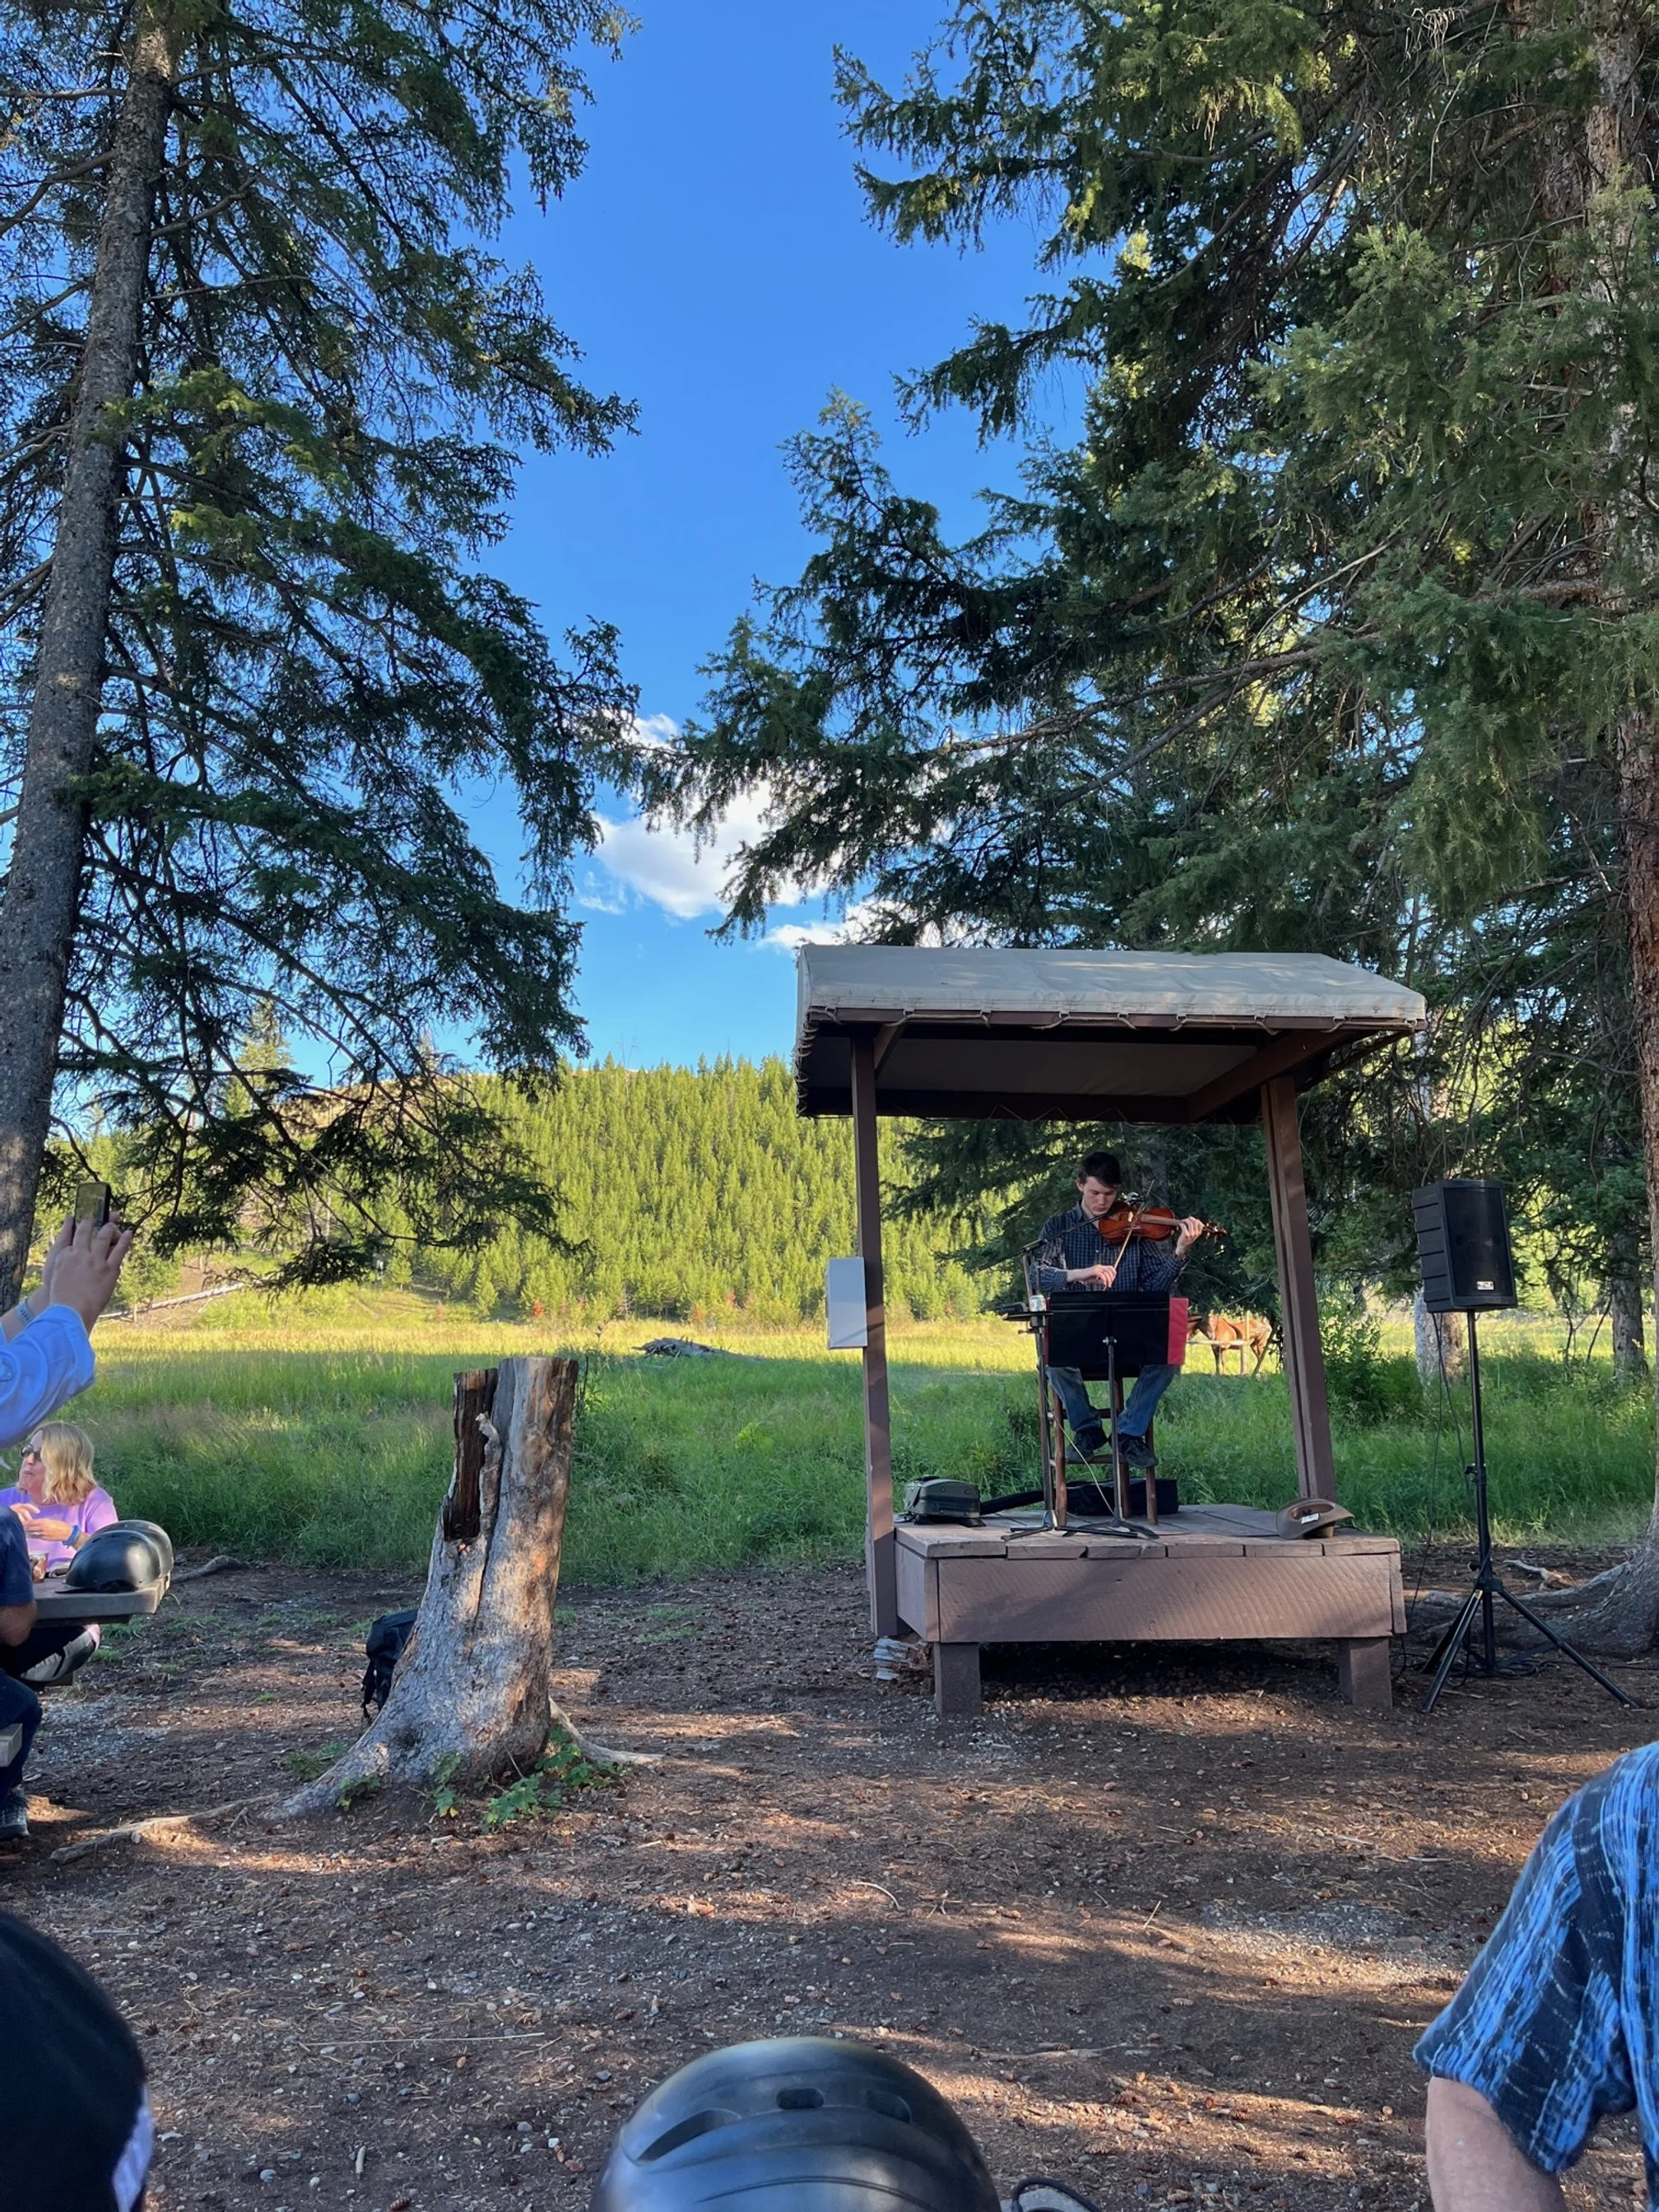
Tonight, you’re eating under the big Wyoming sky as you follow a historic stagecoach trail to an outdoor kitchen and picnic area.
You can choose to join the cowboy and cowgirl guides on a trail ride, or hop on one of the provided stagecoaches instead. These options allow the entire family to experience this activity since there are age restrictions on the trail ride.
At the other end, you’ll tuck into a hearty meal of steaks, cornbread, beans, fruit, and much more, all while a live fiddler shares classic cowboy tunes.
>> Read my full review of the Old West Dinner Cookout here. <<
Extend your time here further: If you had another day, you could follow the Beartooth Highway further into Montana. It is a spectacular day trip from Tower-Roosevelt, and well worth your time if you have it.
Day 4: Yellowstone National Park
When you wake up this morning, head to the lodge to get your complimentary grab-and-go breakfast and coffee. These bags usually have fruit, yogurt, and other continental breakfast style items.
Then, pack up and get into your rental car and head south on Grand Loop Road.
For today’s driving stretch, you’re headed into the more mountainous areas of the park, passing Mount Washburn and Dunraven Pass along the way.
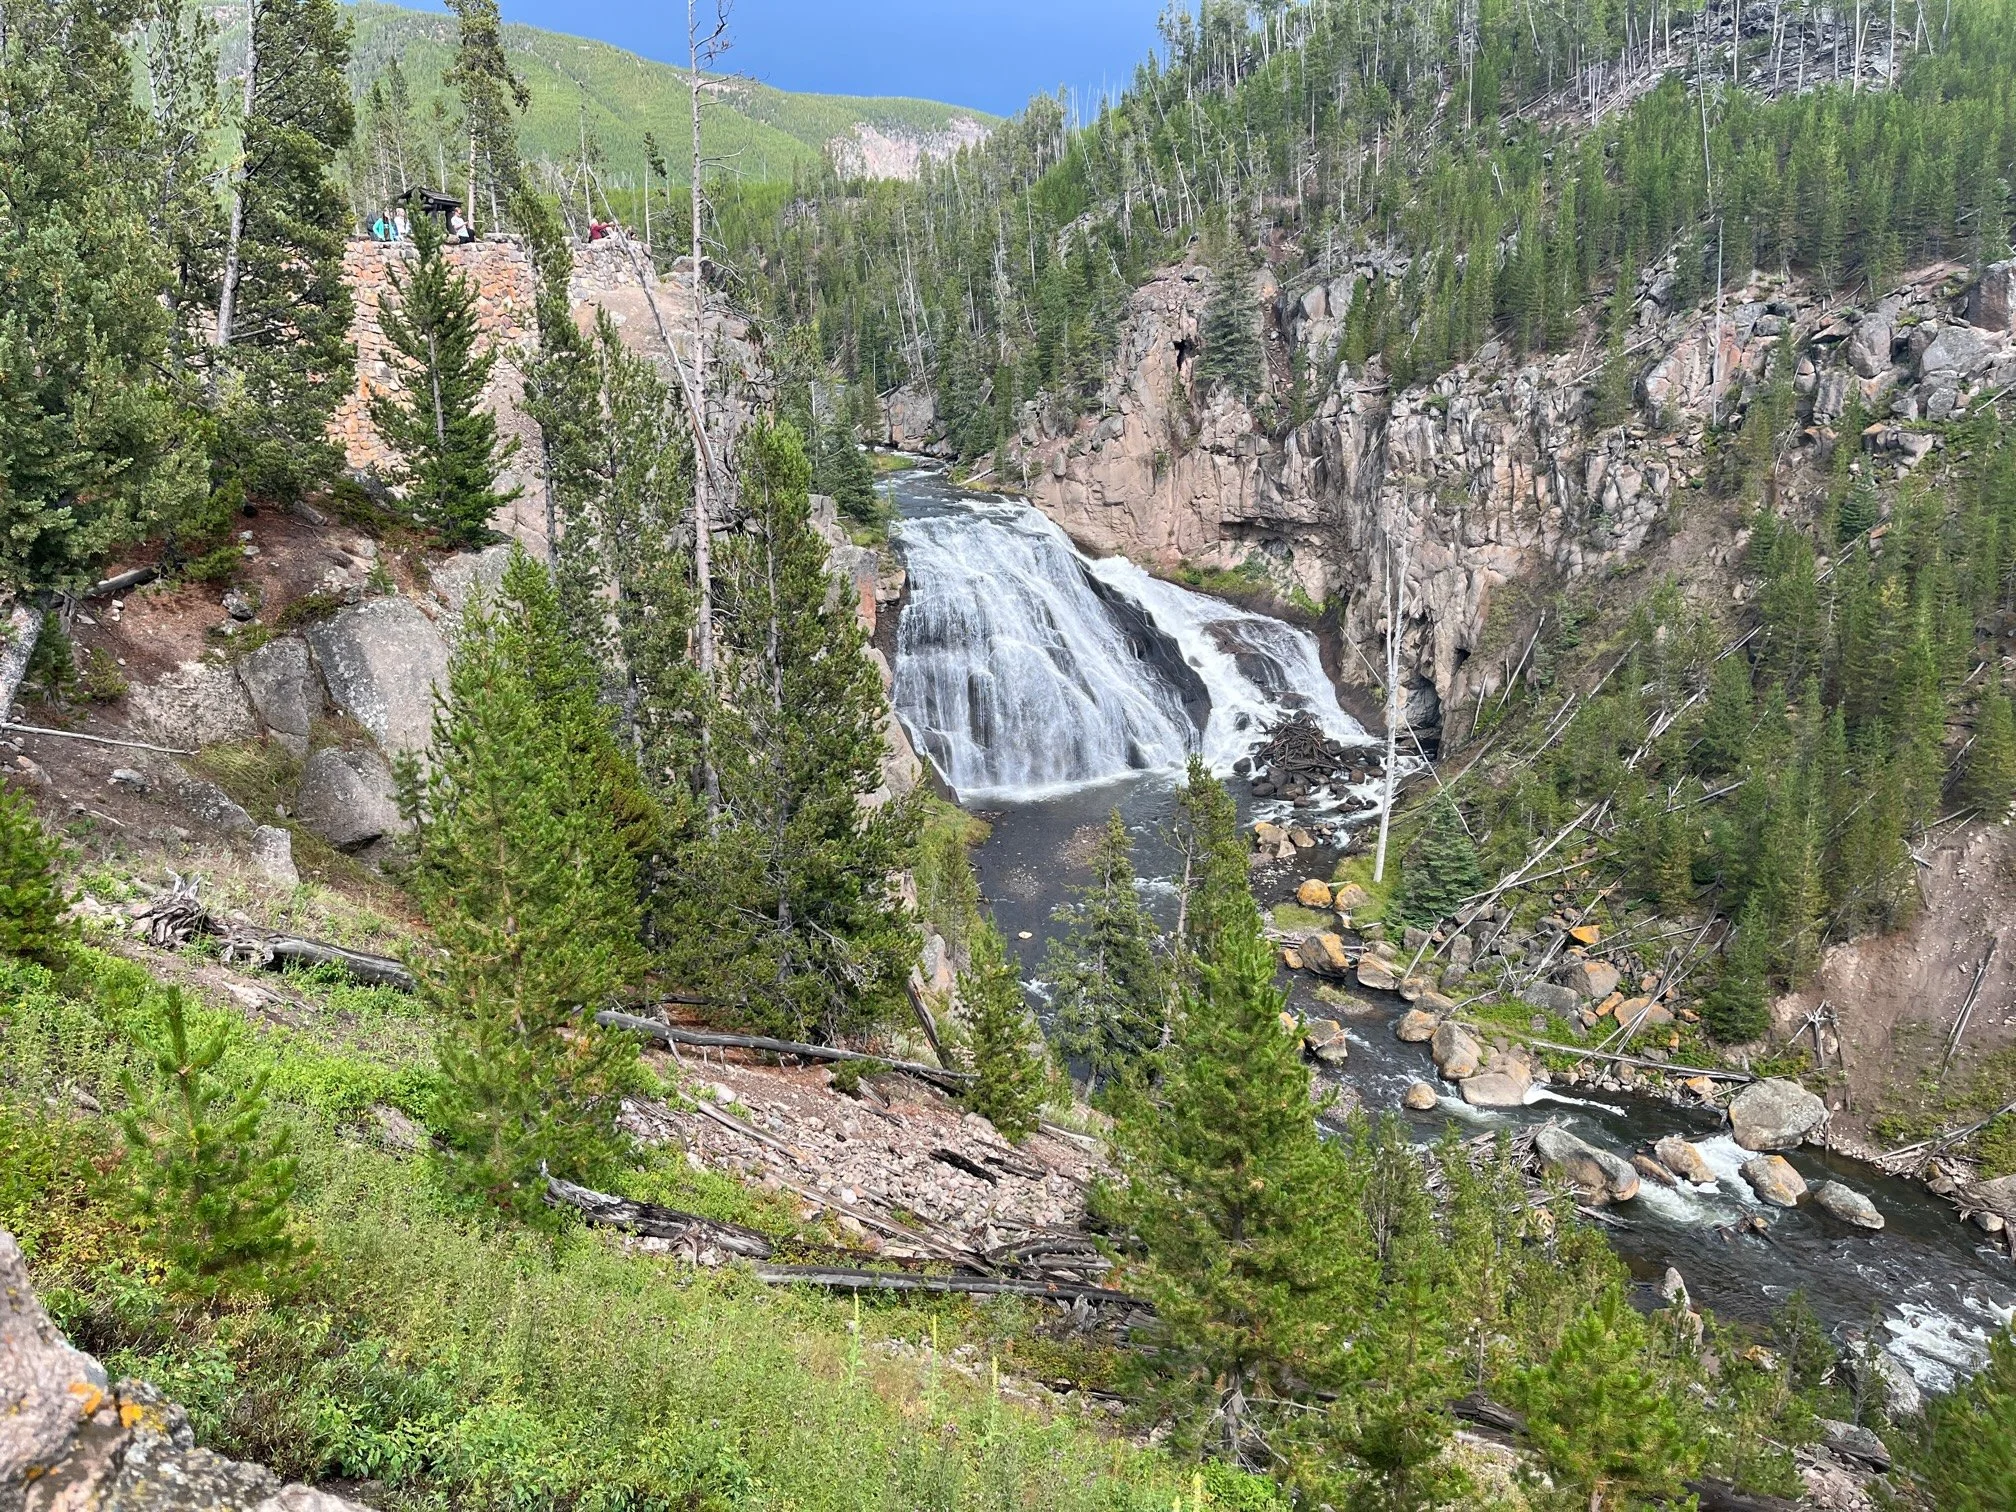
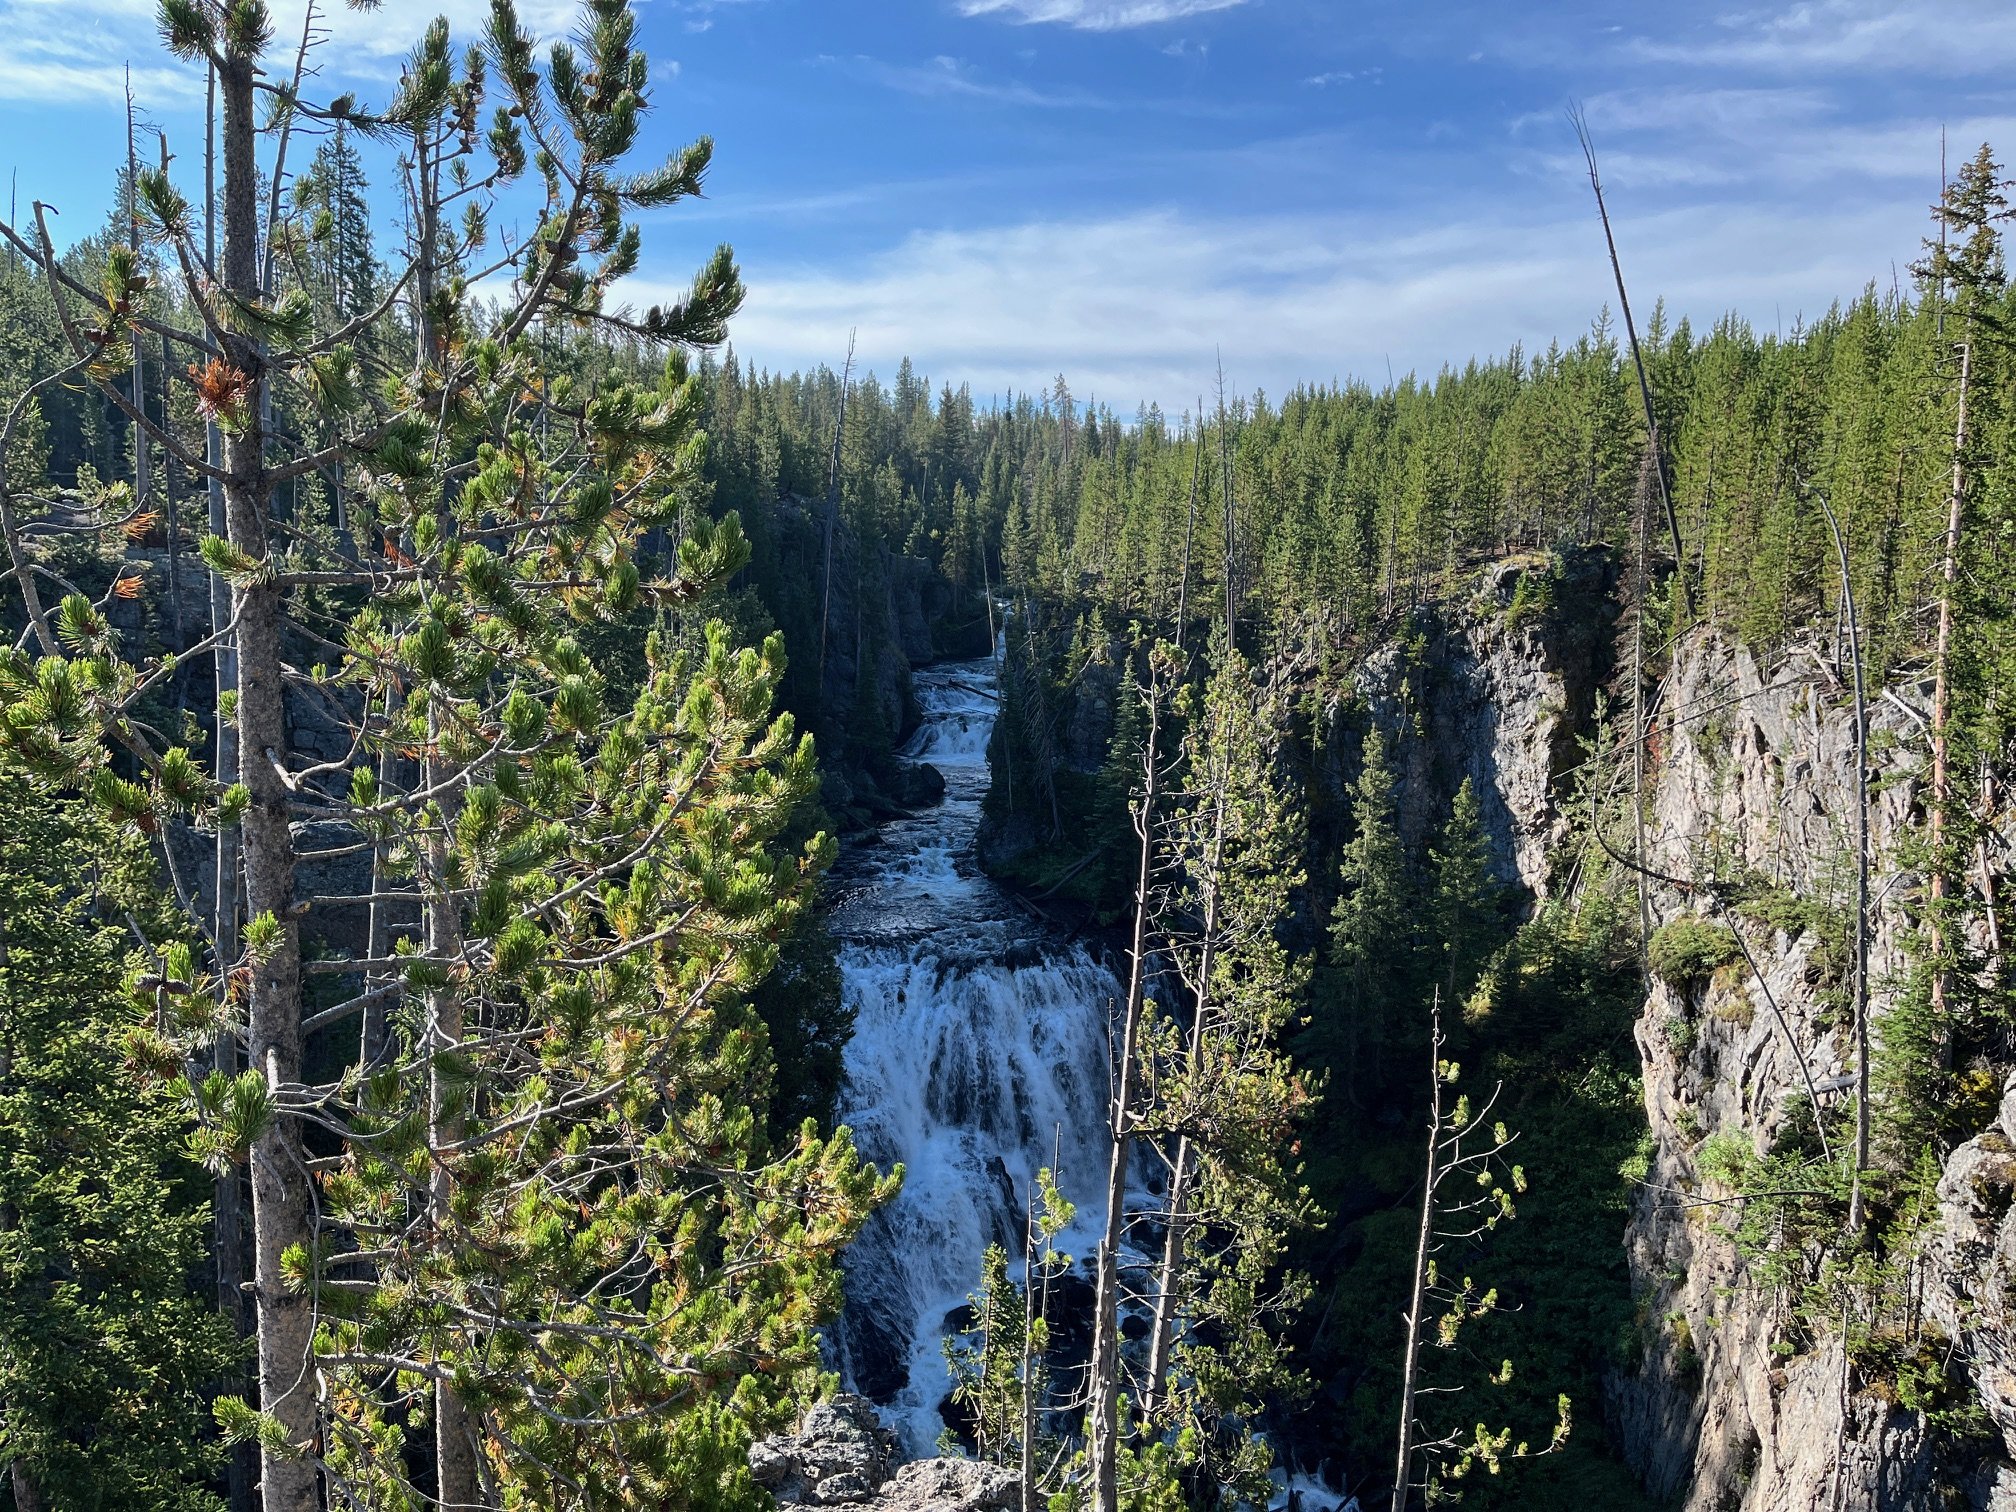
Tower Falls
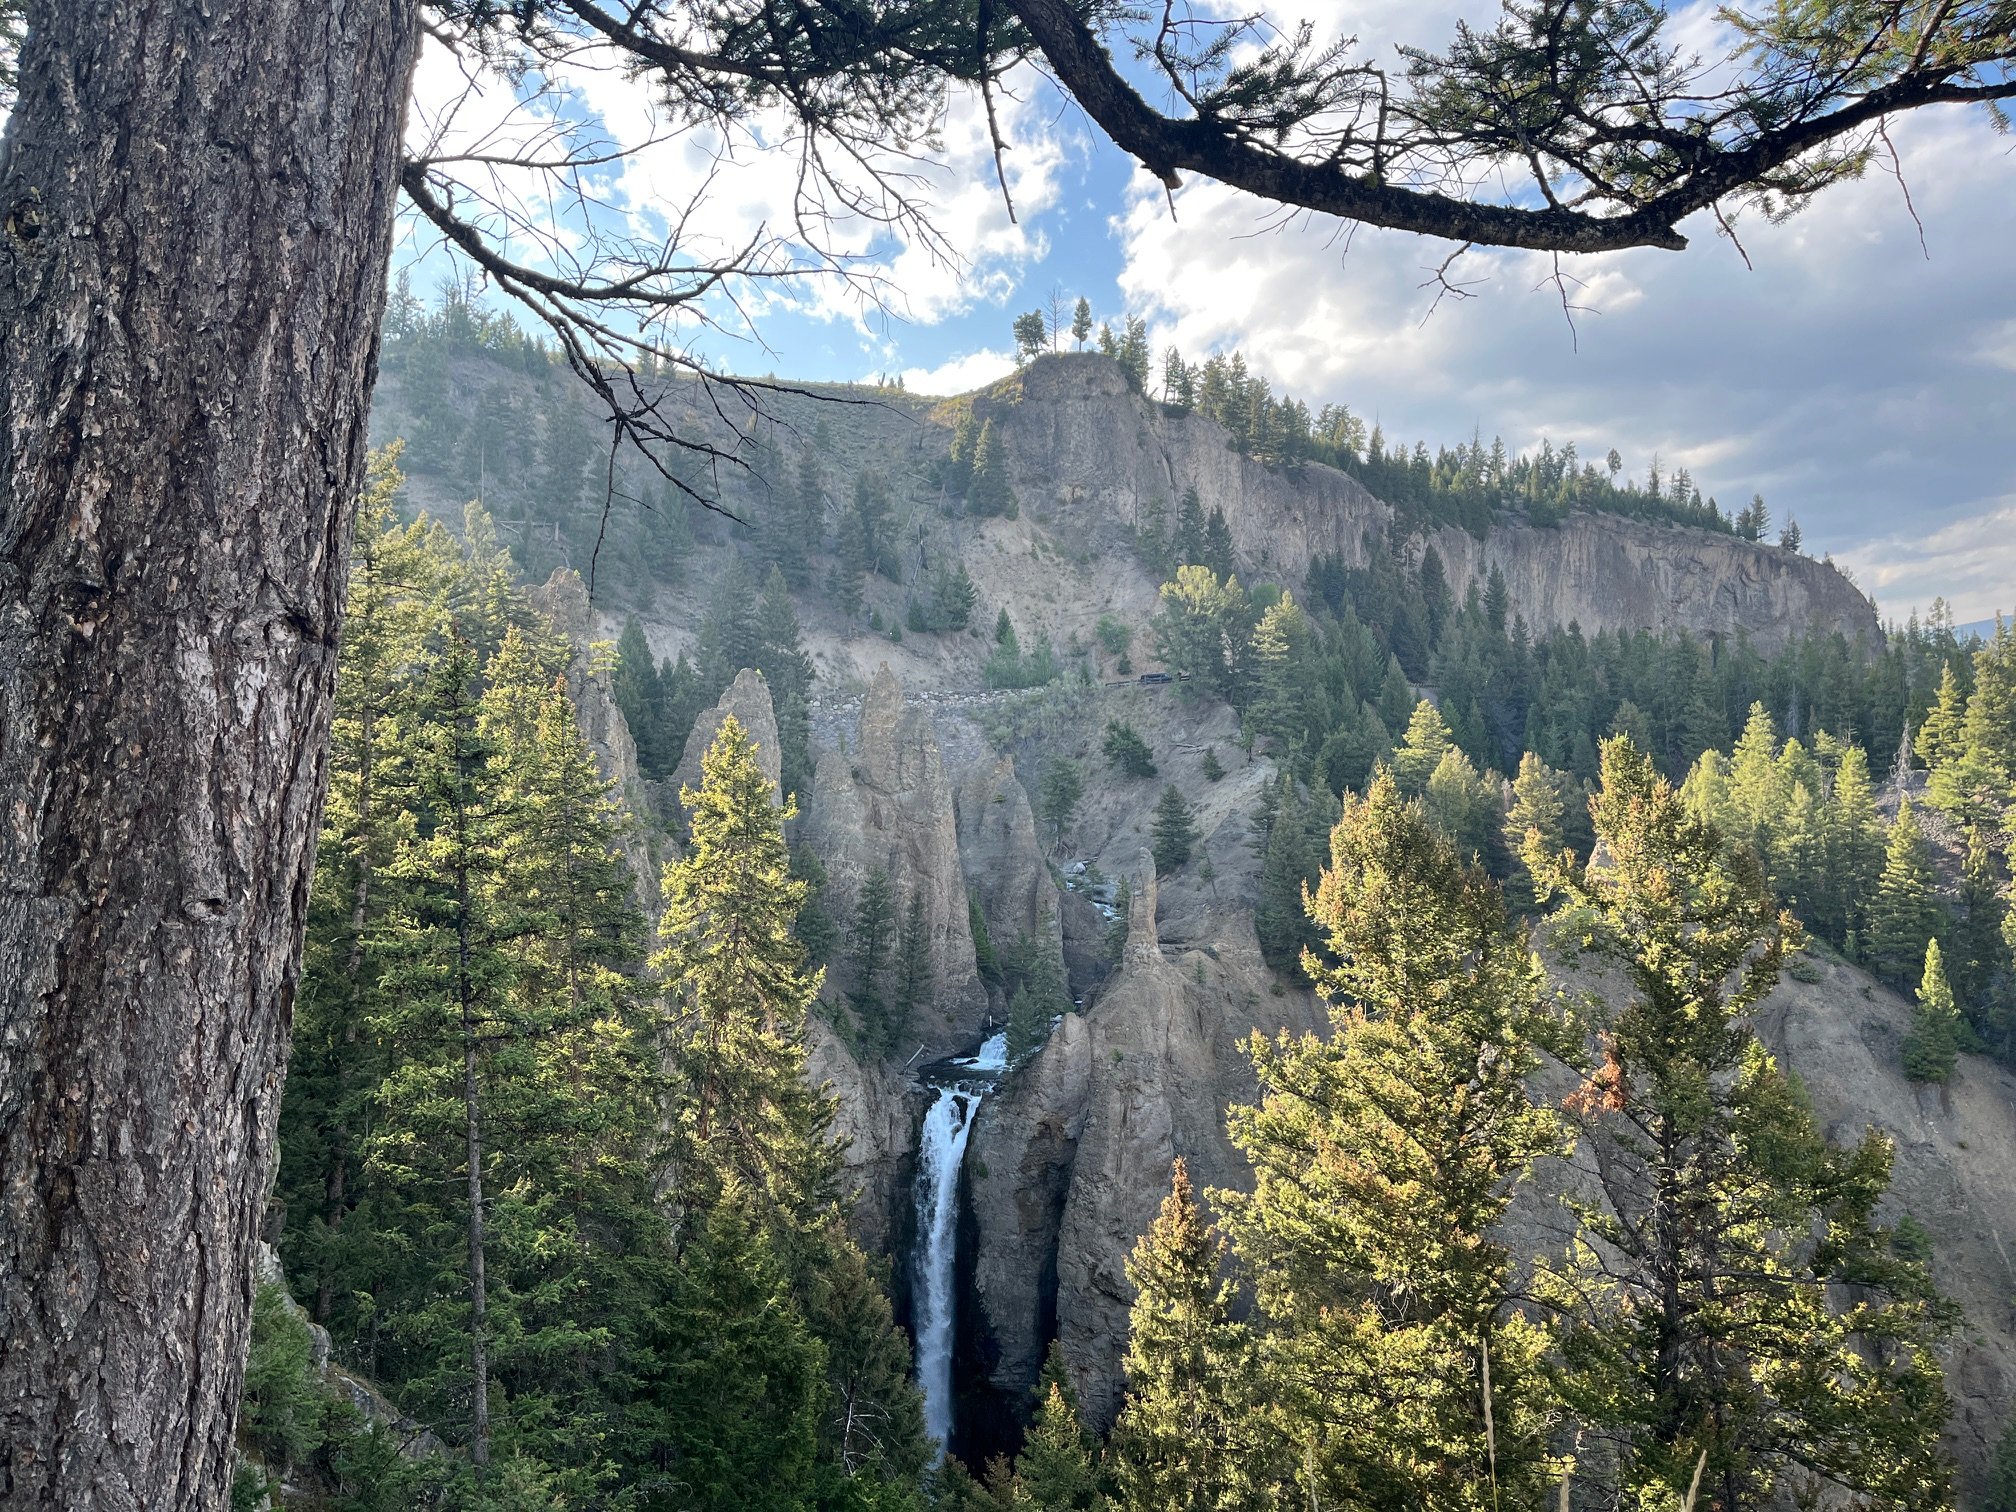
The rock formations on either side of the cascade give the falls its name
But first, stop at Tower Falls, which is 2 miles from your cabin.
There is a pretty overlook to the falls that’s just a short, paved walk from the parking lot.
You can also hike down to the banks of the Yellowstone River, but keep in mind that it is a steep return and you’ll want to prepare with hiking shoes and plenty of water.
You won’t be able to see the falls from this vantage point, but the river is beautiful and often uncrowded.
Mt. Washburn Hike/Scenic Overlook
If you want to do a longer hike, you might be able to squeeze in the 6-mile out and back Mt. Washburn Trail further down Grand Loop Road, but you’ll have to give up some of the suggested activities at the Grand Canyon of Yellowstone, below.
Even if you don’t do the Mount Washburn hike, you should still stop at the Washburn Hot Springs Overlook for a moment.
The Grand Canyon of Yellowstone
Pass through Canyon Village and drive to the north rim of the canyon.
Your first stop in this area of the park is also one of the most dramatic: the Brink of the Lower Falls viewpoint.
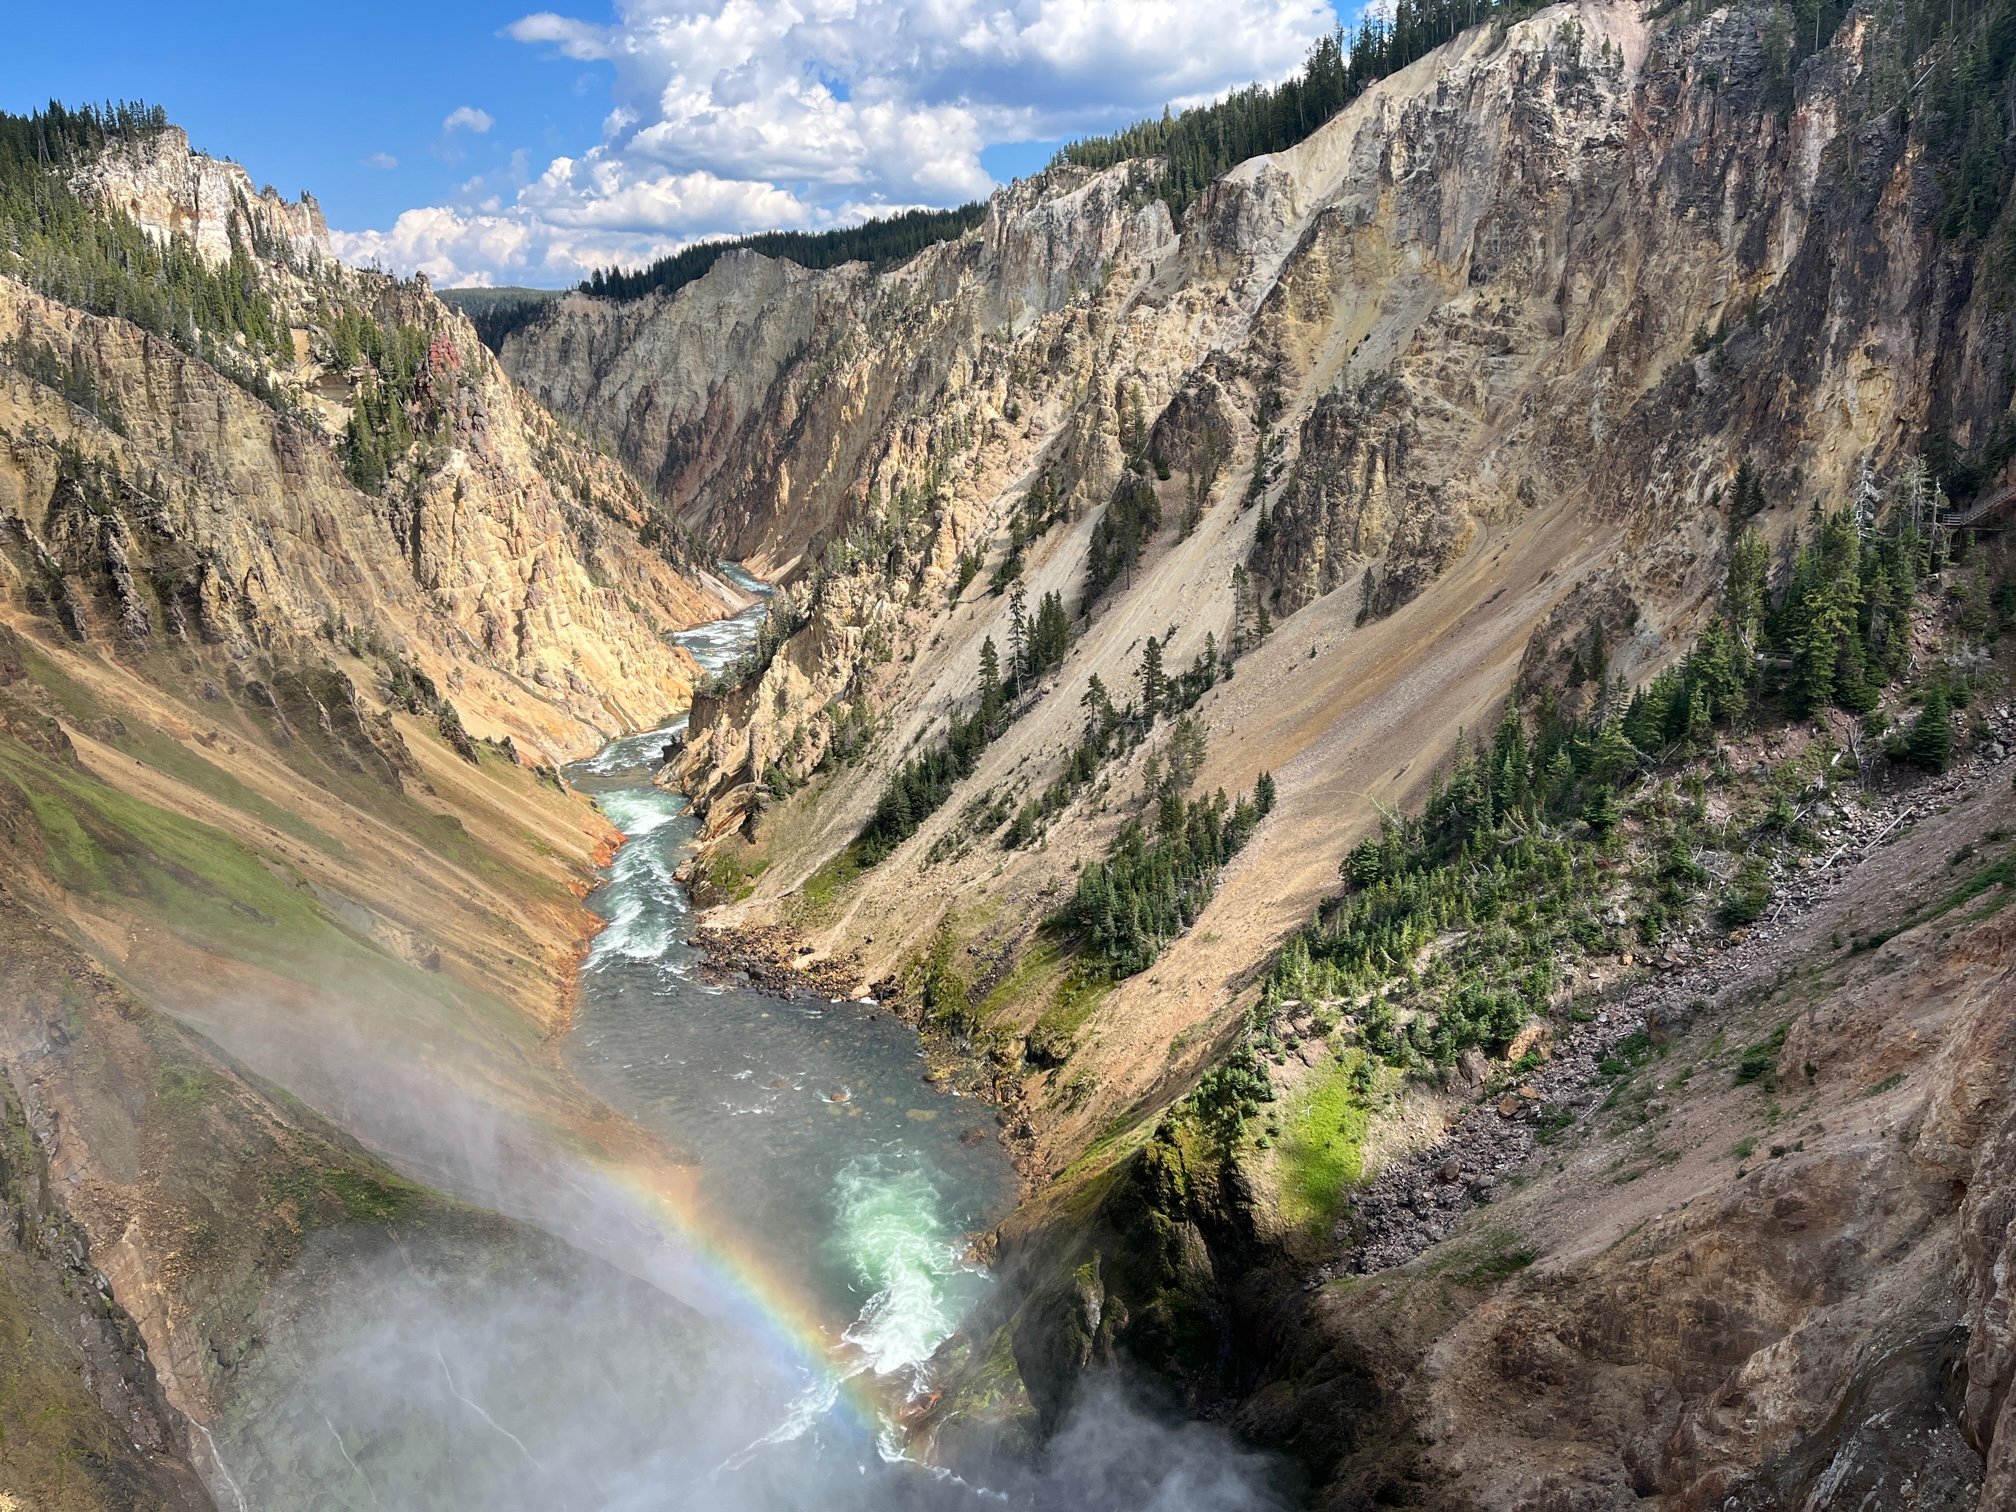
The view from the viewpoint at Brink of the Lower Falls
While the hike down to the platform is short, it’s also steep. (Easy going down, but that return uphill can be tough.)
From the viewing platform, you’ll get some of the most stunning views of the falls, the canyon, and the Yellowstone River that you’ll find anywhere. I’d even go so far to say that this view is better than the one you’ll get from Artist Point since you’re literally standing on the edge of the falls and looking down.
Make the uphill climb to return to your car. Continue on North Rim Drive, stopping at either Lookout Point, Grand View, or Inspiration Point. I don’t think you need to do all of them since the views are similar, and you don’t want to burn out on the canyon yet.
Then, make your way around through Canyon Village, and onto Grand Loop Road again. Follow the signs for the canyon, only head to the South Rim this time.
Park in the first large parking area that you come to, which is for the Upper Falls viewpoint.
Starting at the paved overlook area, hike along the South Rim Trail towards Artist Point. This trail, which has multiple overlooks, is flat and generally easy, though you will want to watch kids on the sections where there are drop offs and no railing.
You’ll end up in the parking area for Artist Point. Cross that and explore around the paved viewing area to see long range views of the falls from a new perspective. It’s really cool to see the view point where you started your canyon adventures!
Retrace your steps to your car, and return to Canyon Village.
Washburn Building at Canyon Lodge
Check into your hotel.
I recommend staying at Canyon Lodge, which is a sprawling complex of more than 400 rooms in 6 different eco-friendly buildings.
These are within easy walking distance of the restaurants at Canyon Village and the Canyon Visitors Education Center, which has some great displays on seismic activity in the park.
We preferred the retro feeling Canyon Village Fountain and Grill, but it closes annoyingly early for dinner.
NOTE: For more details on this restaurant and others in park, check out my guide on where to eat in Yellowstone.
Extend your time here further: You won’t have time for Mud Volcano (one of my favorite hydrothermal areas of the park!), Lake Yellowstone, or Hayden Valley, other wildlife hotspot, with this itinerary. If you’d like to explore this area of the park more, stay a second night at Canyon Village and spend the day visiting those and taking a ranger-led tour of Lake Yellowstone.
Day 5: Yellowstone National Park
On your final day in Yellowstone, you’ll head south on Grand Loop Road to see the most famous attractions. We’ve saved the best for last!
Snack on something you’ve brought in your grocery stash for breakfast, or grab something from the pastry and bagel selection at Canyon Lodge Falls Cafe.
Either way, you’ll want an early alarm and a quick meal so that you’ll have plenty of time to explore today.
From Canyon Village, head west on Norris Canyon Road.
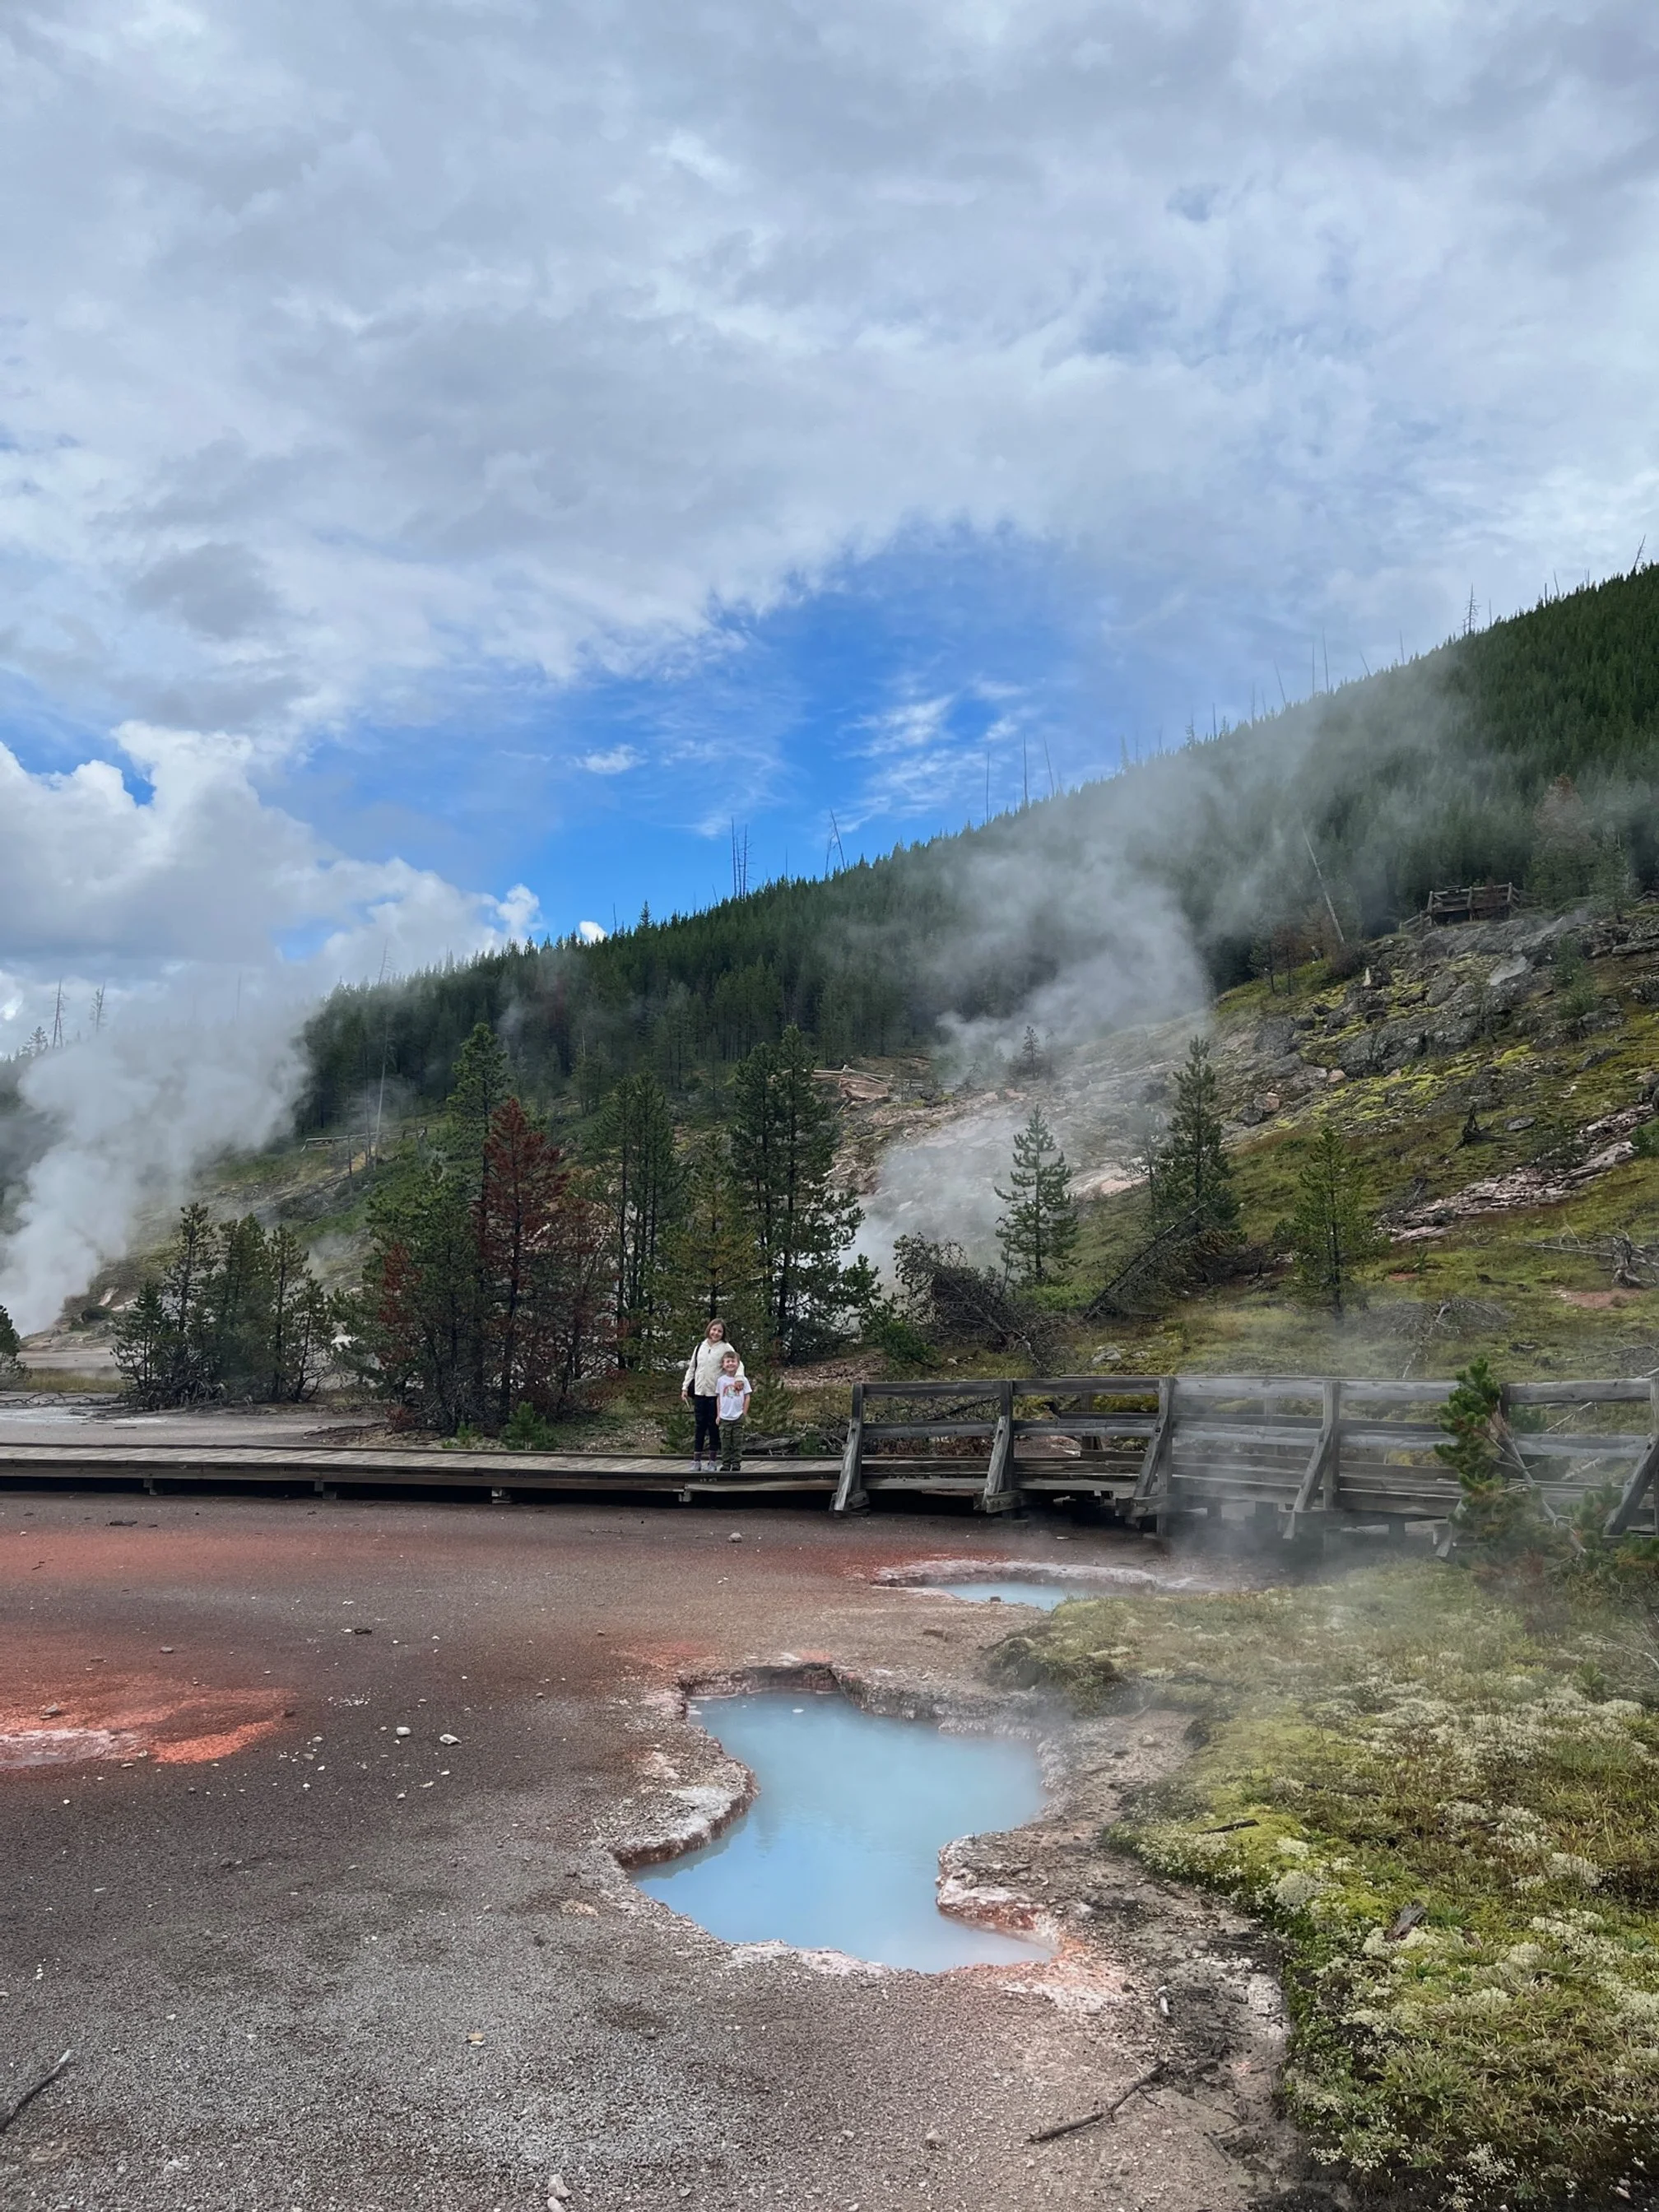
The Camping Kiddos on the Artists Paint Pots Trail
Artists Paint Pots Trail
This easy trail is a good place to stretch your legs, and see several of the park’s hydrothermal features.
There are goopy, bubbling mud pots at the top of the trail, brilliantly blue hot springs, and a red steam vent.
The section of the trail before you get to the boardwalk loop can get muddy after a rain, so wear hiking boots.
Learn more about what to expect in my hiking guide to the Artists Paint Pots Trail.
Gibbon Falls
This is another great way to break up the driving today.
Gibbon Falls is right off of Grand Loop Road and offers 2 different view points depending on how far away from the car you’d like to get.
Both are paved and good for strollers and wheelchairs.
Gibbon Falls from the second overlook
Grand Prismatic Spring
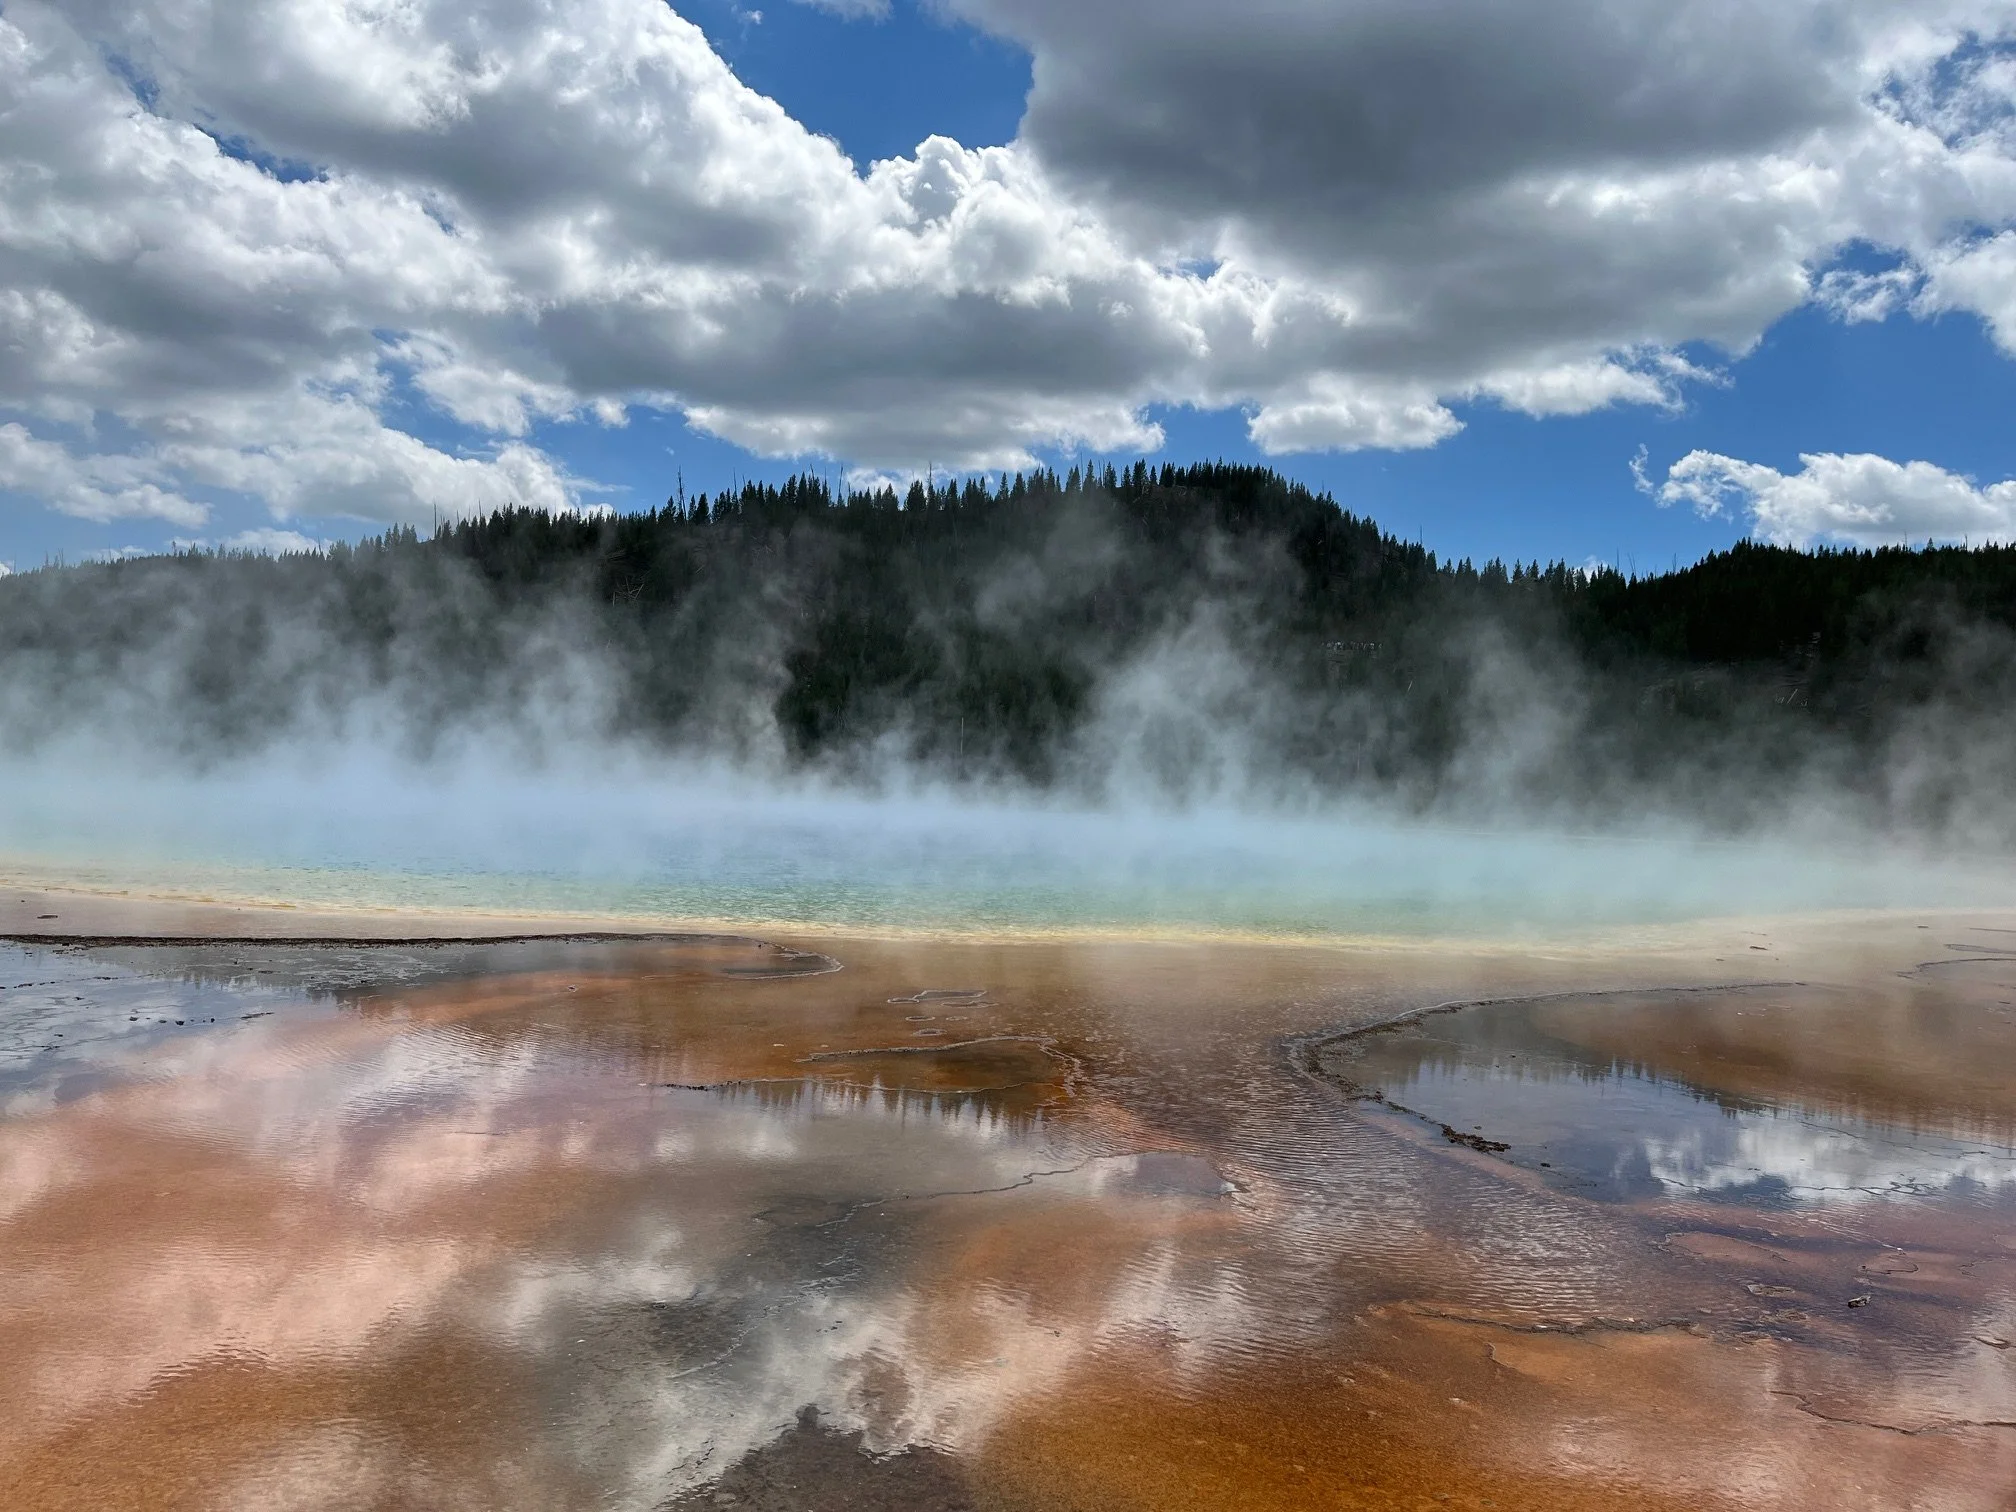
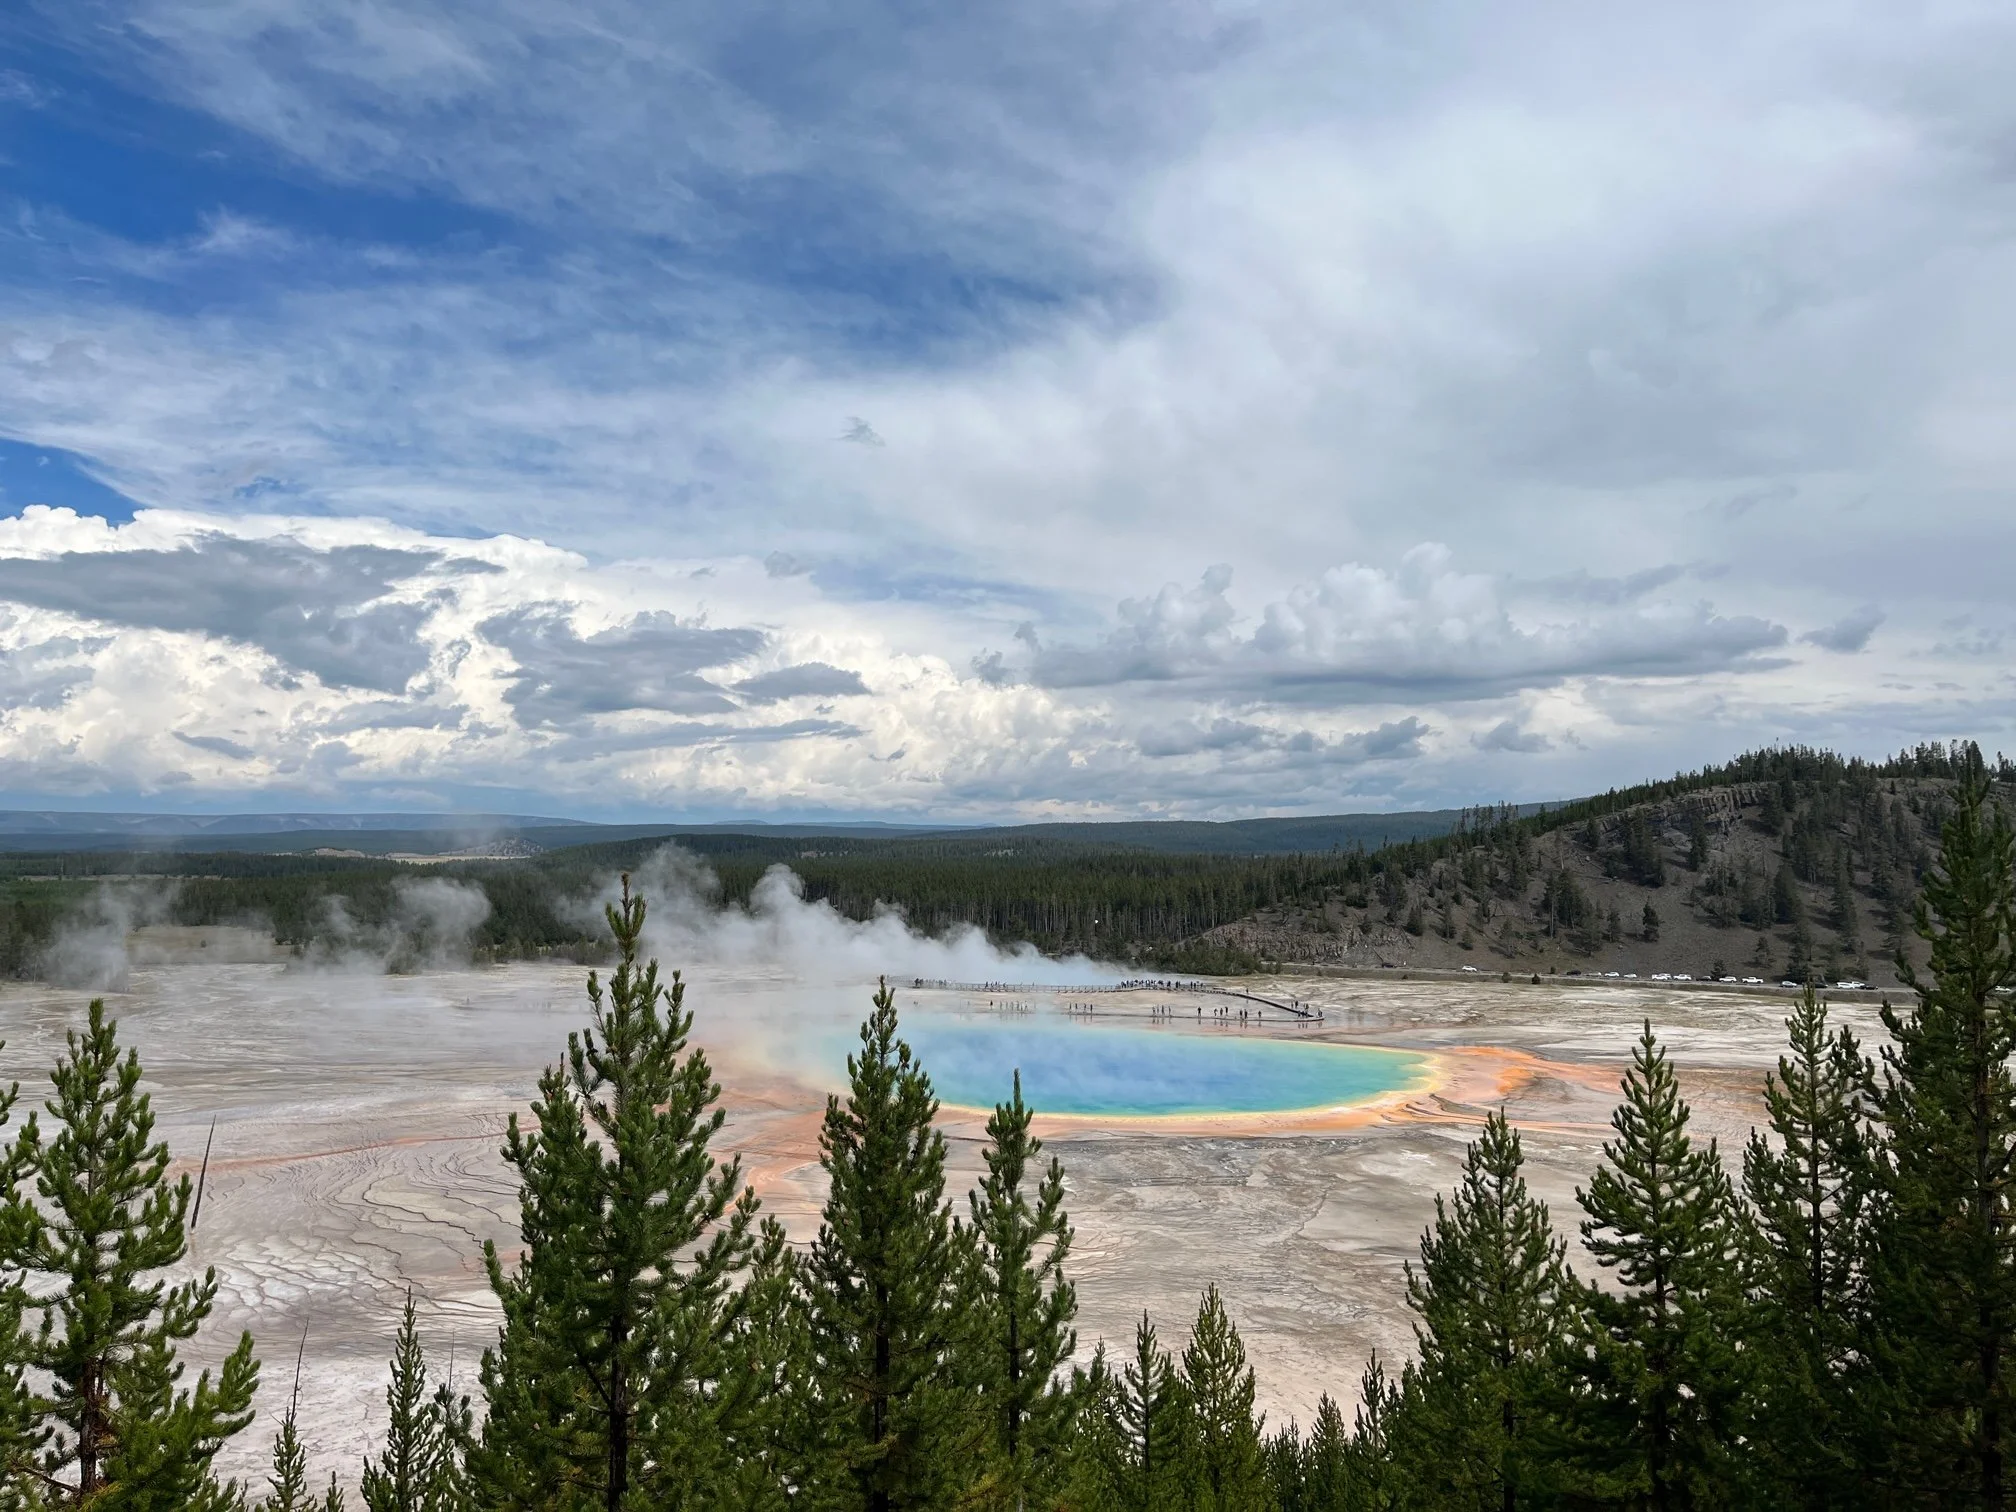
The colors in this iconic Yellowstone hot spring really are that bright!
You’ll come to the boardwalk viewing area first on this itinerary, and I think it is worth your time. Parking can be tough here at peak times, but be patient. Spots will open up.
I’d also highly recommend doing the Grand Prismatic Spring Overlook Trail via the Fairy Falls Trail, too. This gives you an even better view of the colorful spring since you’re viewing it from above.
Find that just around the bend on Grand Loop Road from the parking area of the boardwalk.
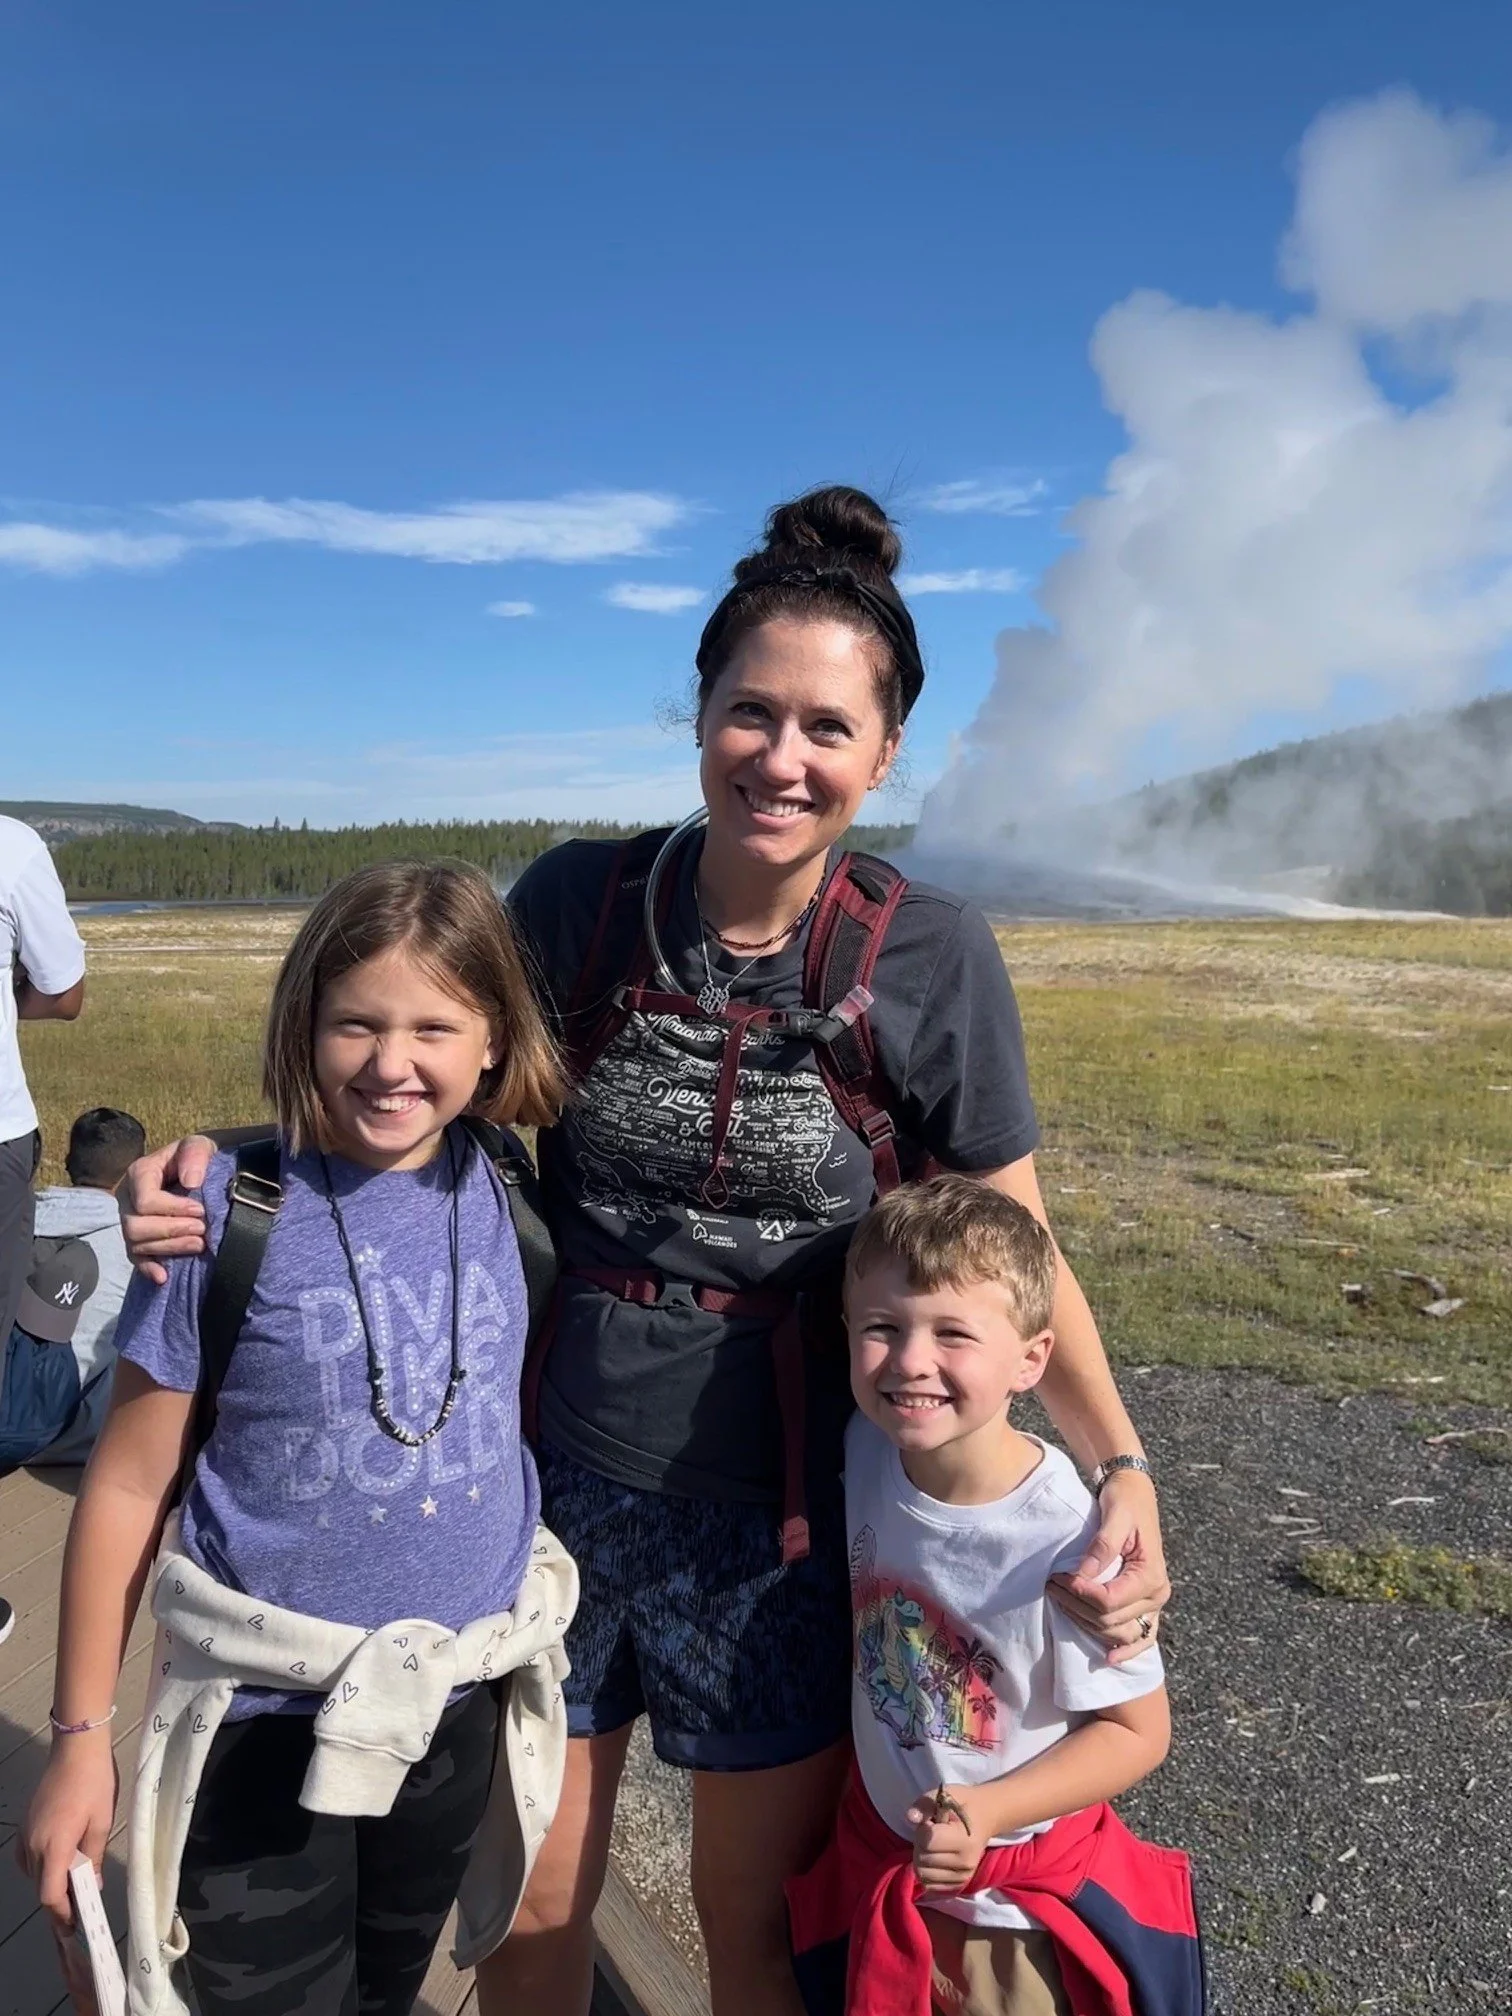
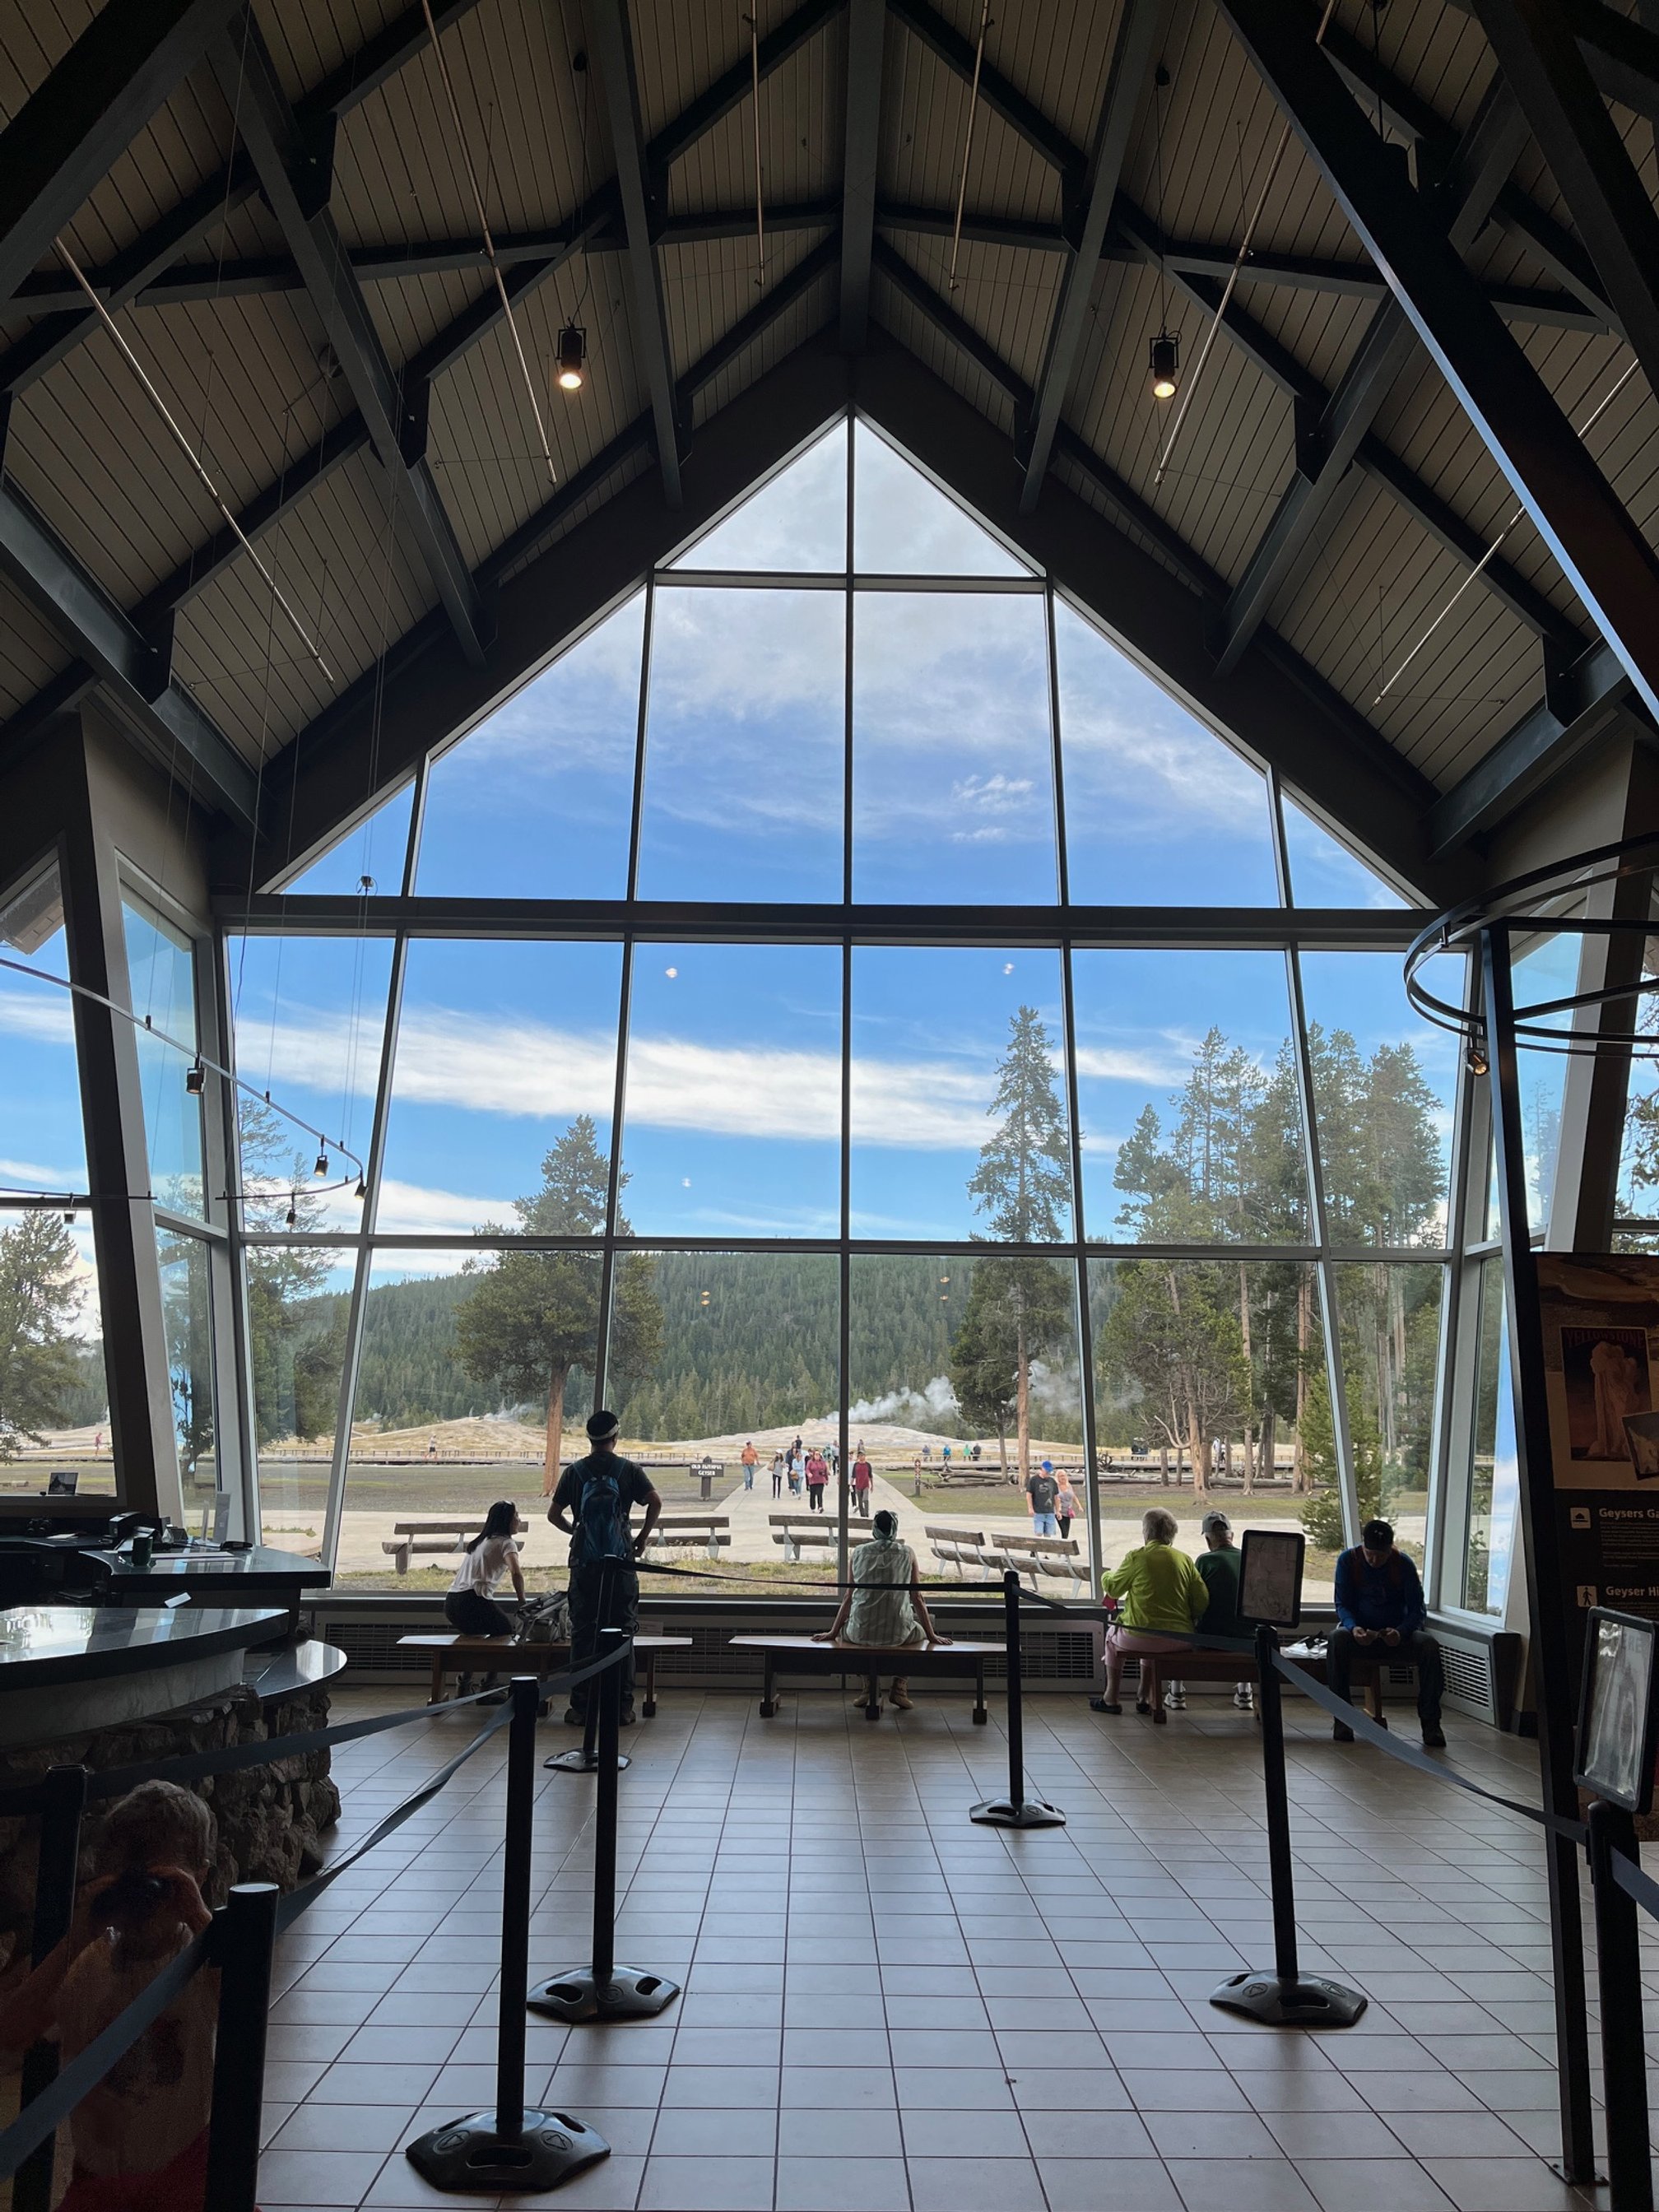
At Old Faithful
Old Faithful and Upper Geyser Basin
Now, what is likely the most anticipated moment of your time in Yellowstone: the famous Old Faithful geyser.
Park in the large parking area behind the Old Faithful Lodge and walk to the large boardwalk that surrounds Old Faithful.
Be sure to time your visit with the NPS app, which keeps a running estimate of when the geyser will next put on a show.
When you’ve see this natural spectacle, you can explore more of the geyser basin, which includes more than a dozen other geysers and hot springs.
If you haven’t had a picnic lunch in your car by this point in your day, you could go to the cafeteria at the Old Faithful Lodge and then sit by one of the huge windows overlooking Old Faithful.
You’ll find everything from burgers to barbecue here.
Kepler Cascade
Kepler Cascade from the overlook area
This pretty waterfall has a long bridge that extends out to a looking platform, and it’s a good place to stop for photos or to catch your breath after the crowds at Old Faithful.
Parking usually isn’t a problem here, making it a good place to linger.
West Thumb Geyser Basin
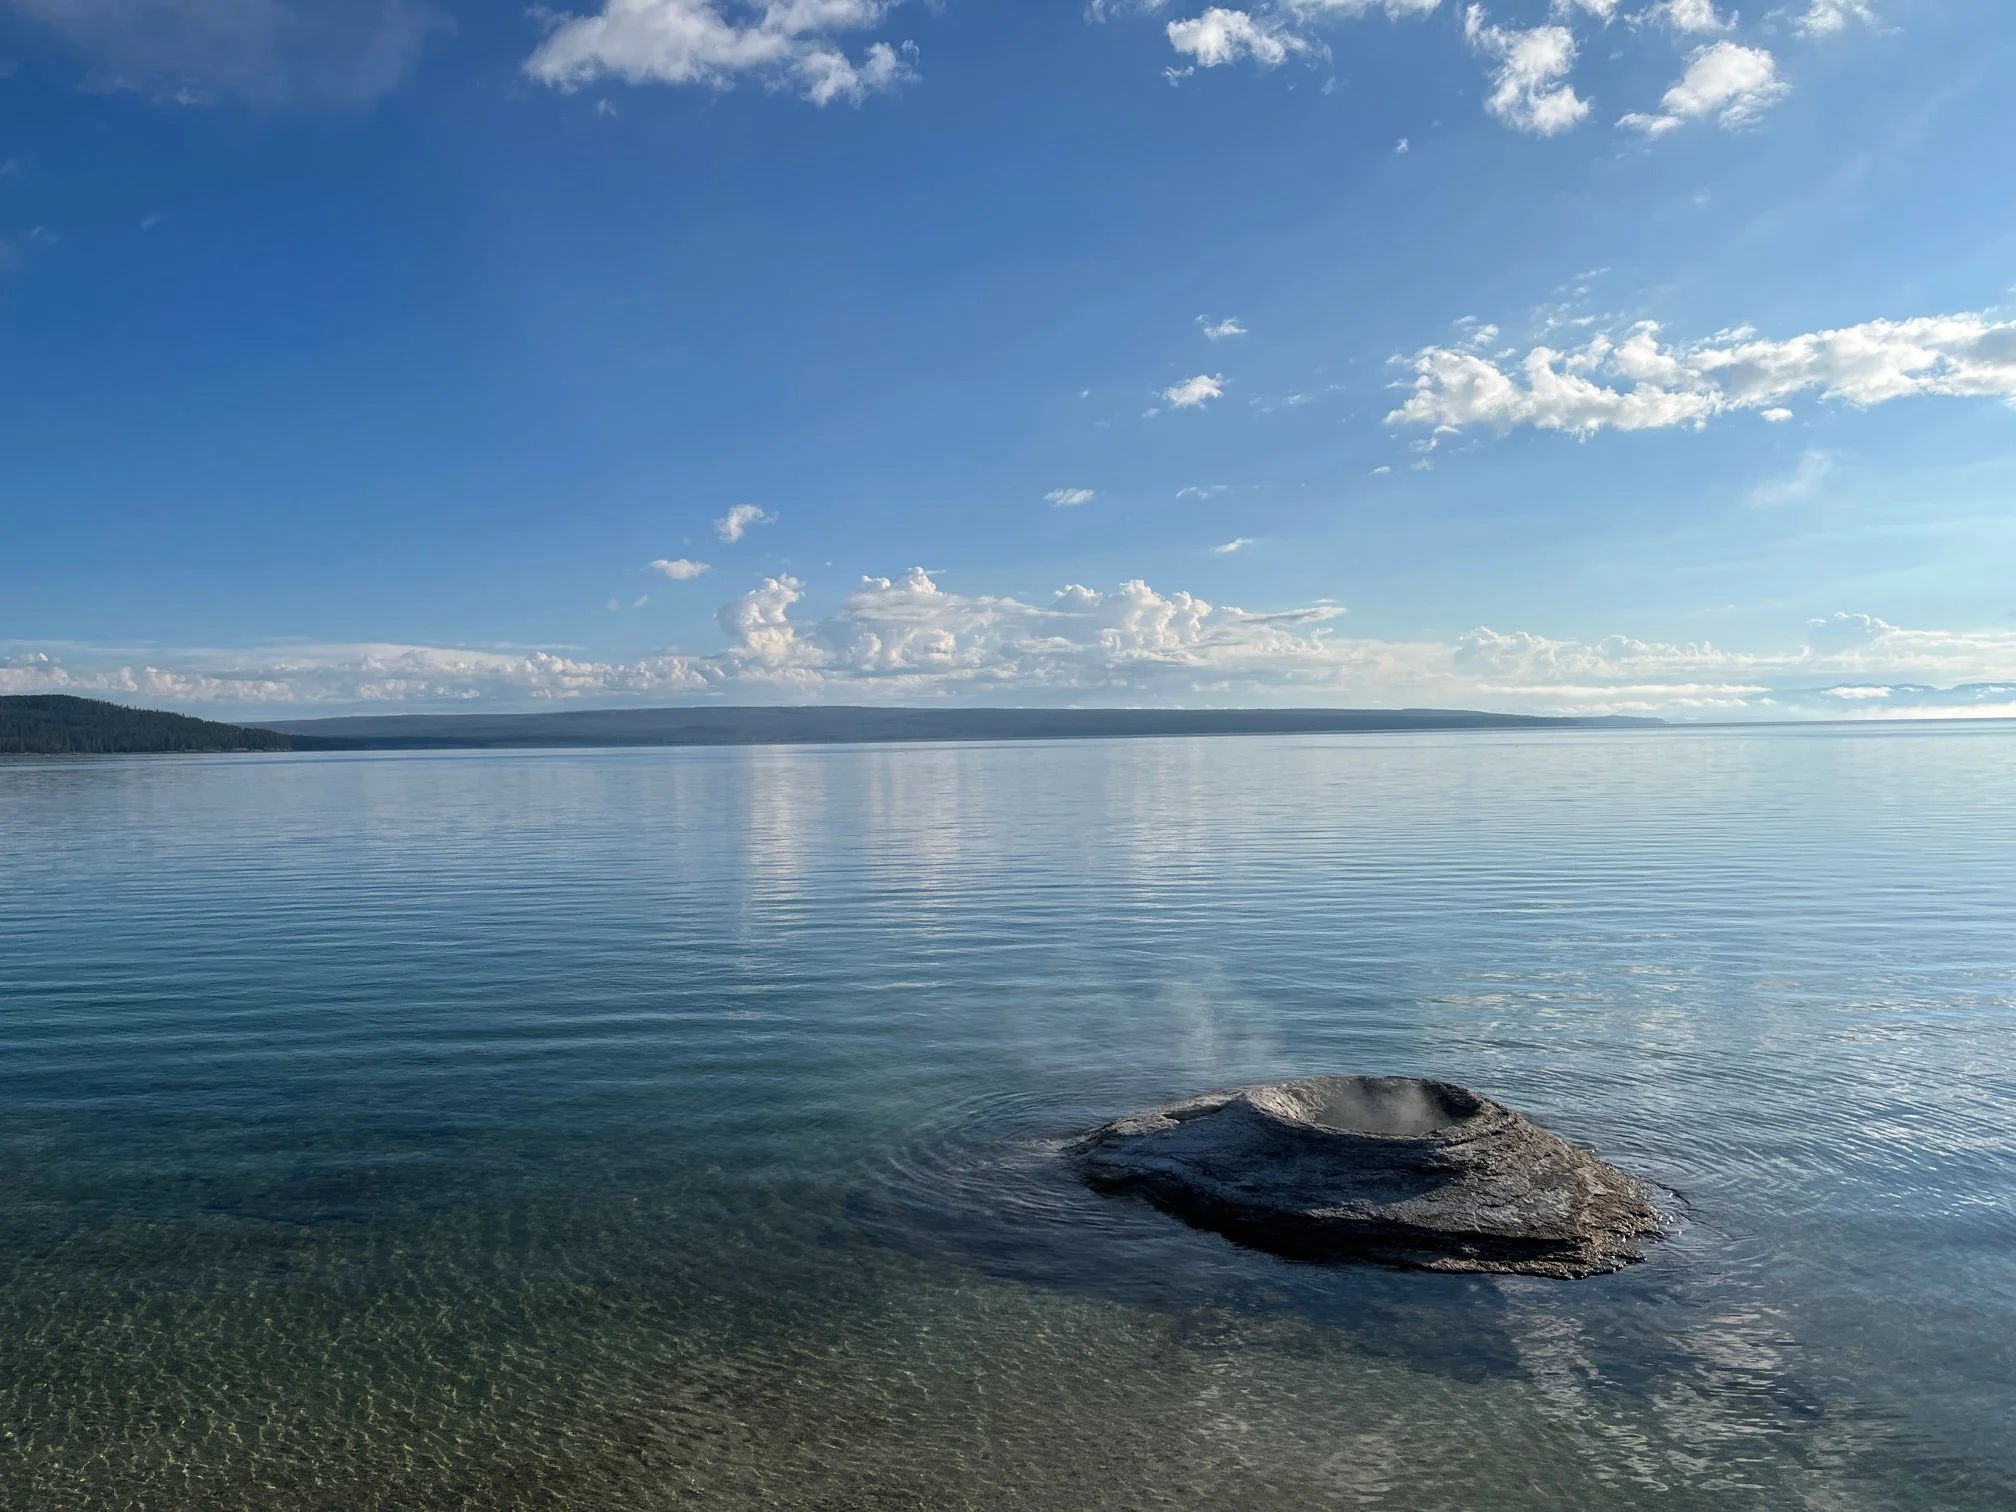
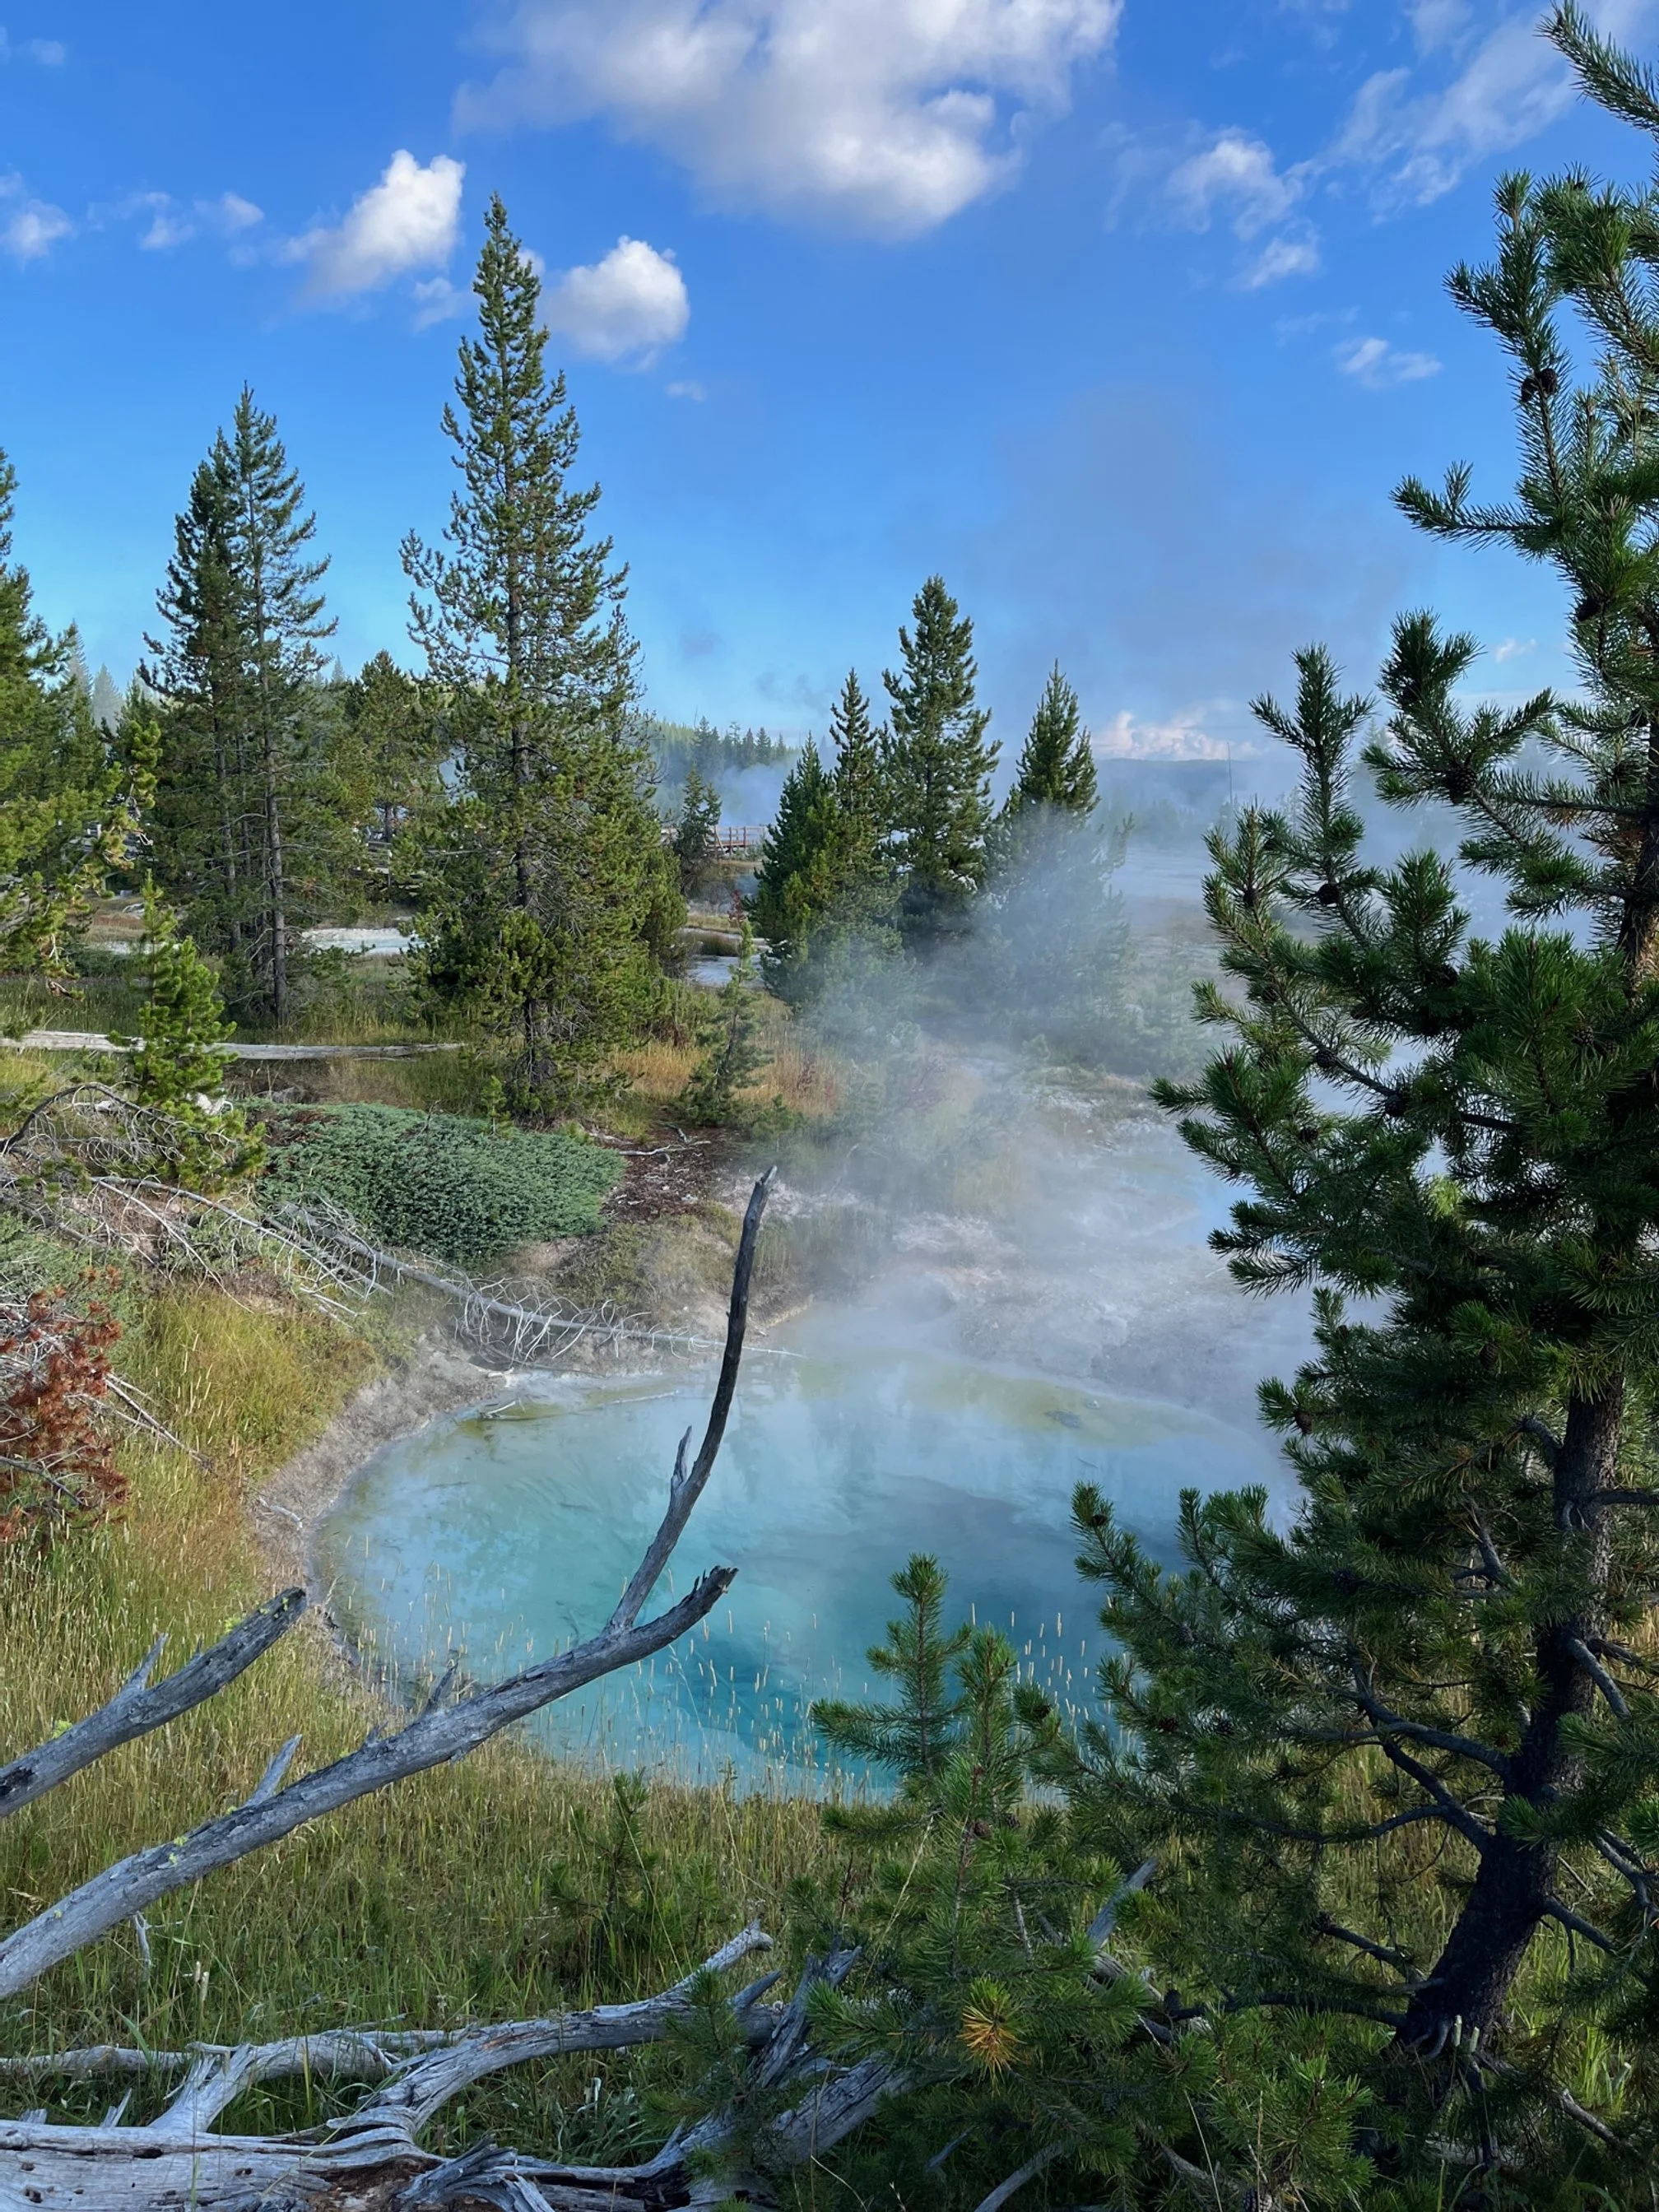
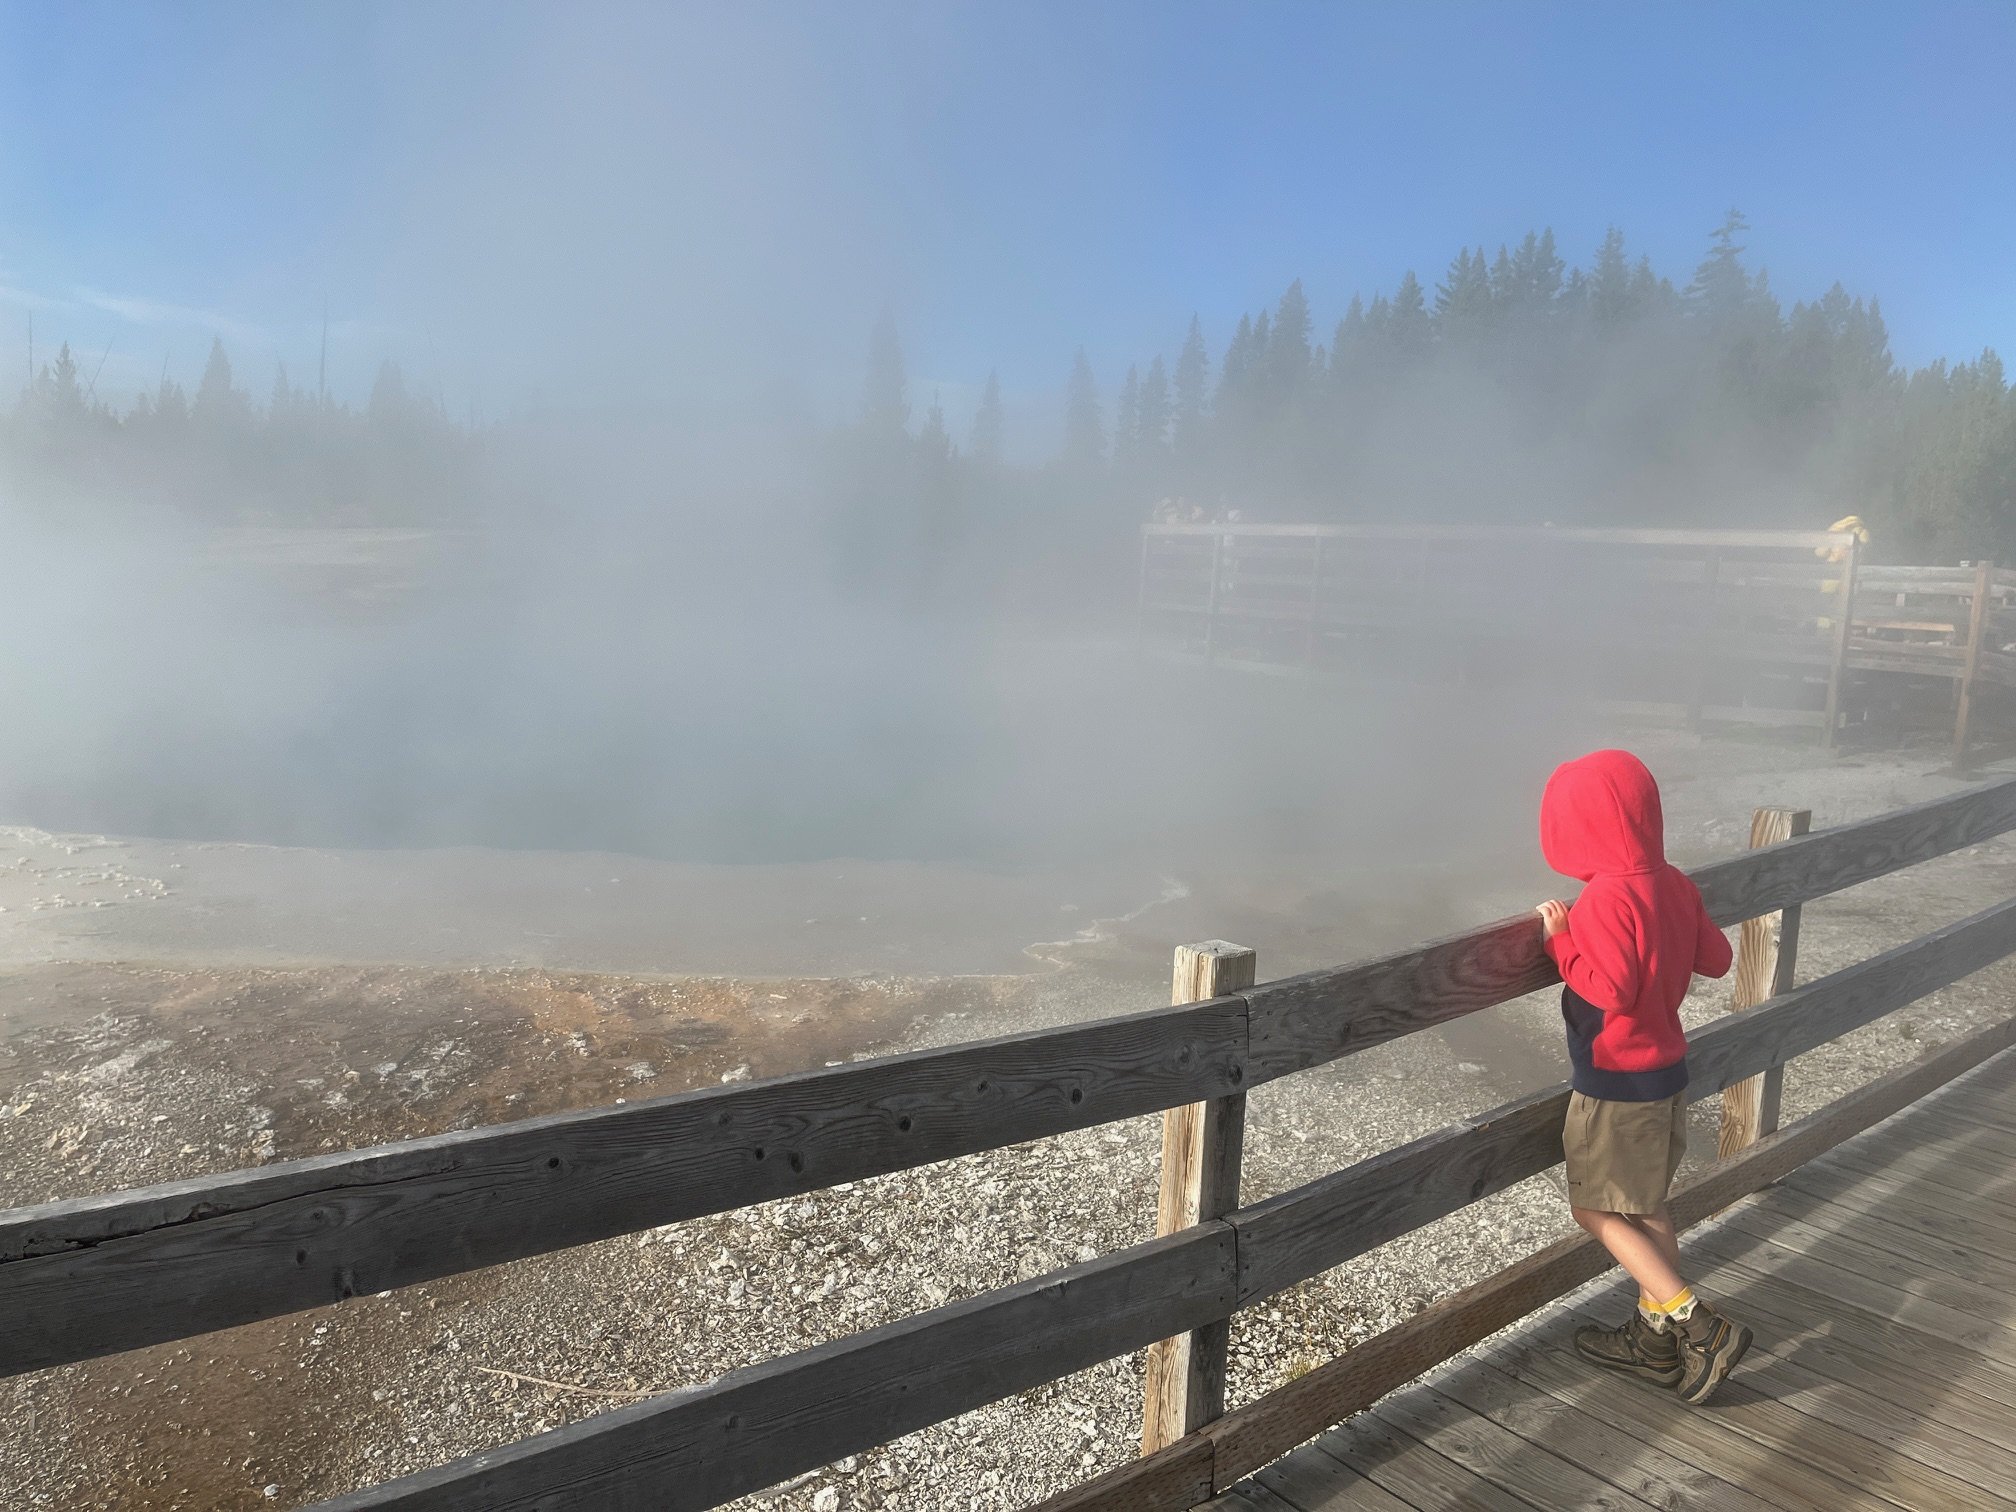
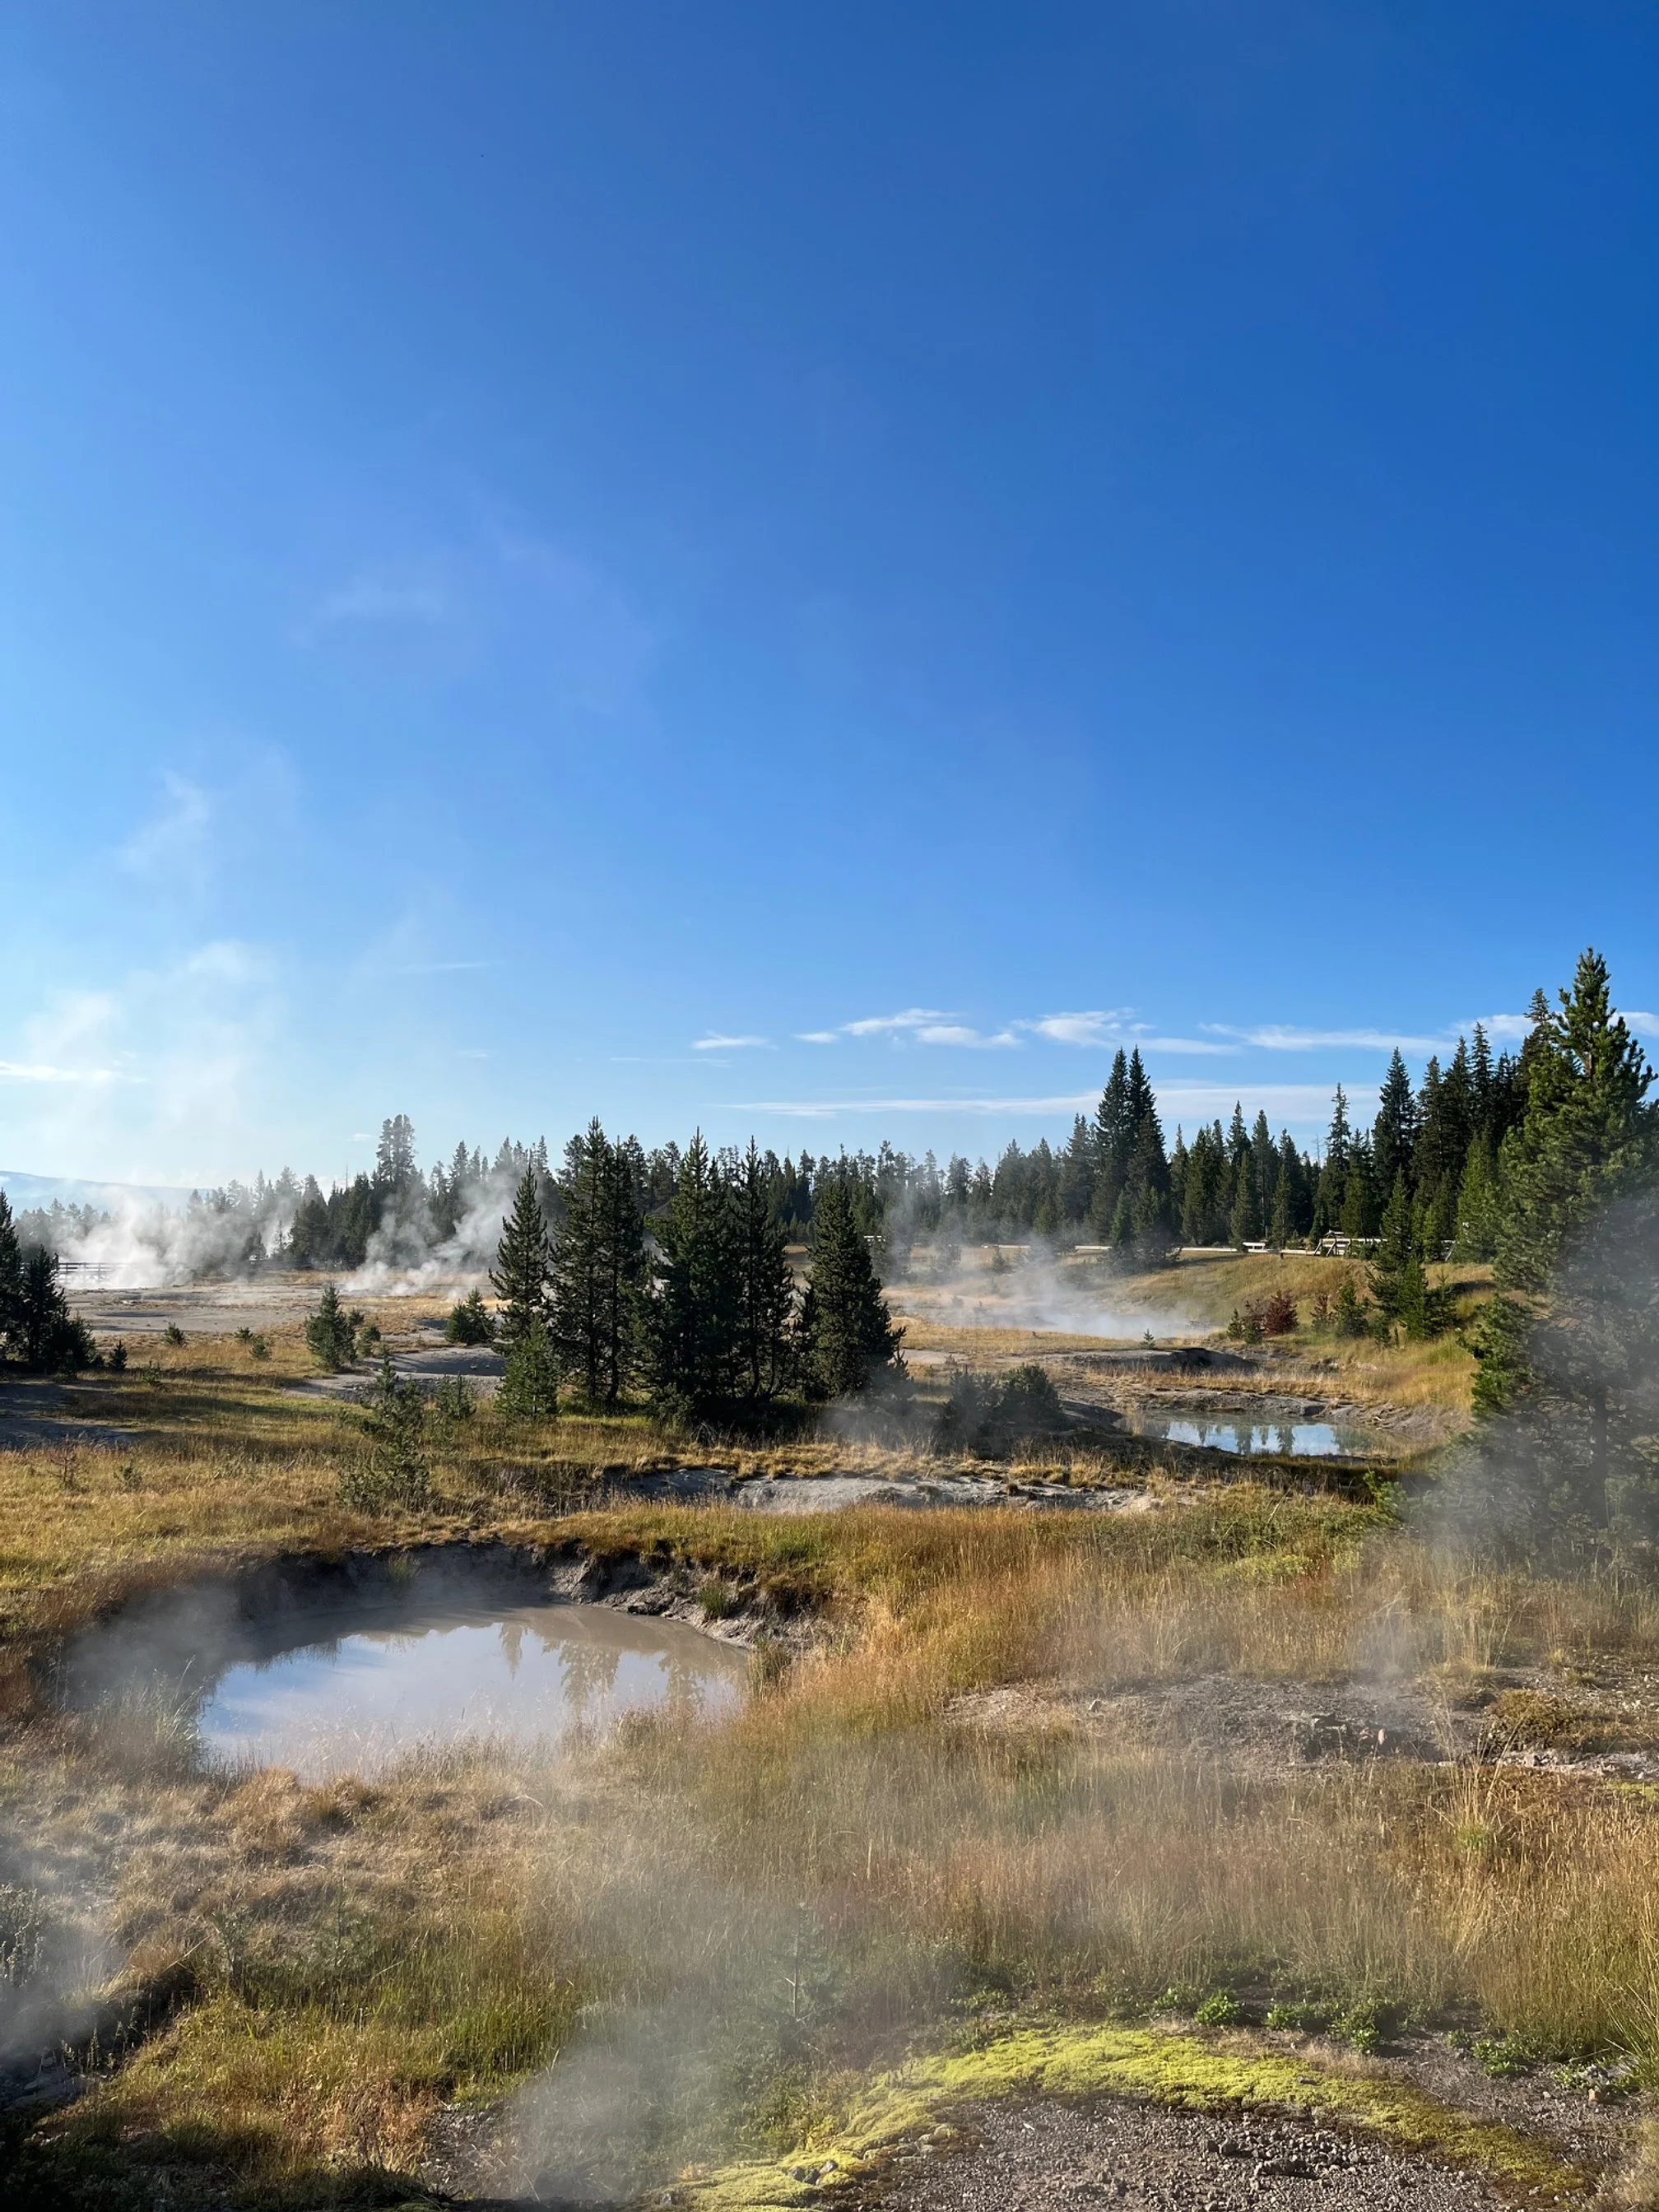
If you’re not too burnt out on hydrothermal features, this smaller basin is a good stop before you check into your hotel.
The most famous feature here is Fishing Cone, a small but immediately recognizable geyser on the edge of Lake Yellowstone.
There are also several other hot springs that share the brilliant blue hues you’ve seen at Artists Paint Pot and Grand Prismatic Spring.
You’ll even find a couple of the springs out in the parking lot!
Check in your hotel.
For your last night in Yellowstone, you’re staying near the southern entrance in Grant Village.
The rooms here are smaller than what you’ll find at Canyon Lodge, but they’re clean and serviceable.
It’s also right on the edge of Lake Yellowstone, so take some time to walk along the water’s edge as the sun goes down.
Have dinner by the lake.
Of the two dining options available here, I prefer the Grant Village Lake House.
It feels less formal than the Grant Village Dining Room, and offers up tacos with an incredible view of the lake.
Extend your time here further: You didn’t make a stop at Norris Geyser Basin today, despite driving right past it. I know that everyone’s appetite for geysers is different, and I didn’t want to pack in too many. If you want to do another geyser basin boardwalk, you can squeeze that in.
FREE Yellowstone National Park Planning Resources!
Visiting Yellowstone National Park can be the trip of a lifetime, and you don’t want to start your visit without all of the information. Click through to get every one of my best tips, itineraries, kid-friendly guides, hiking details, and more!
Day 6: Grand Teton National Park
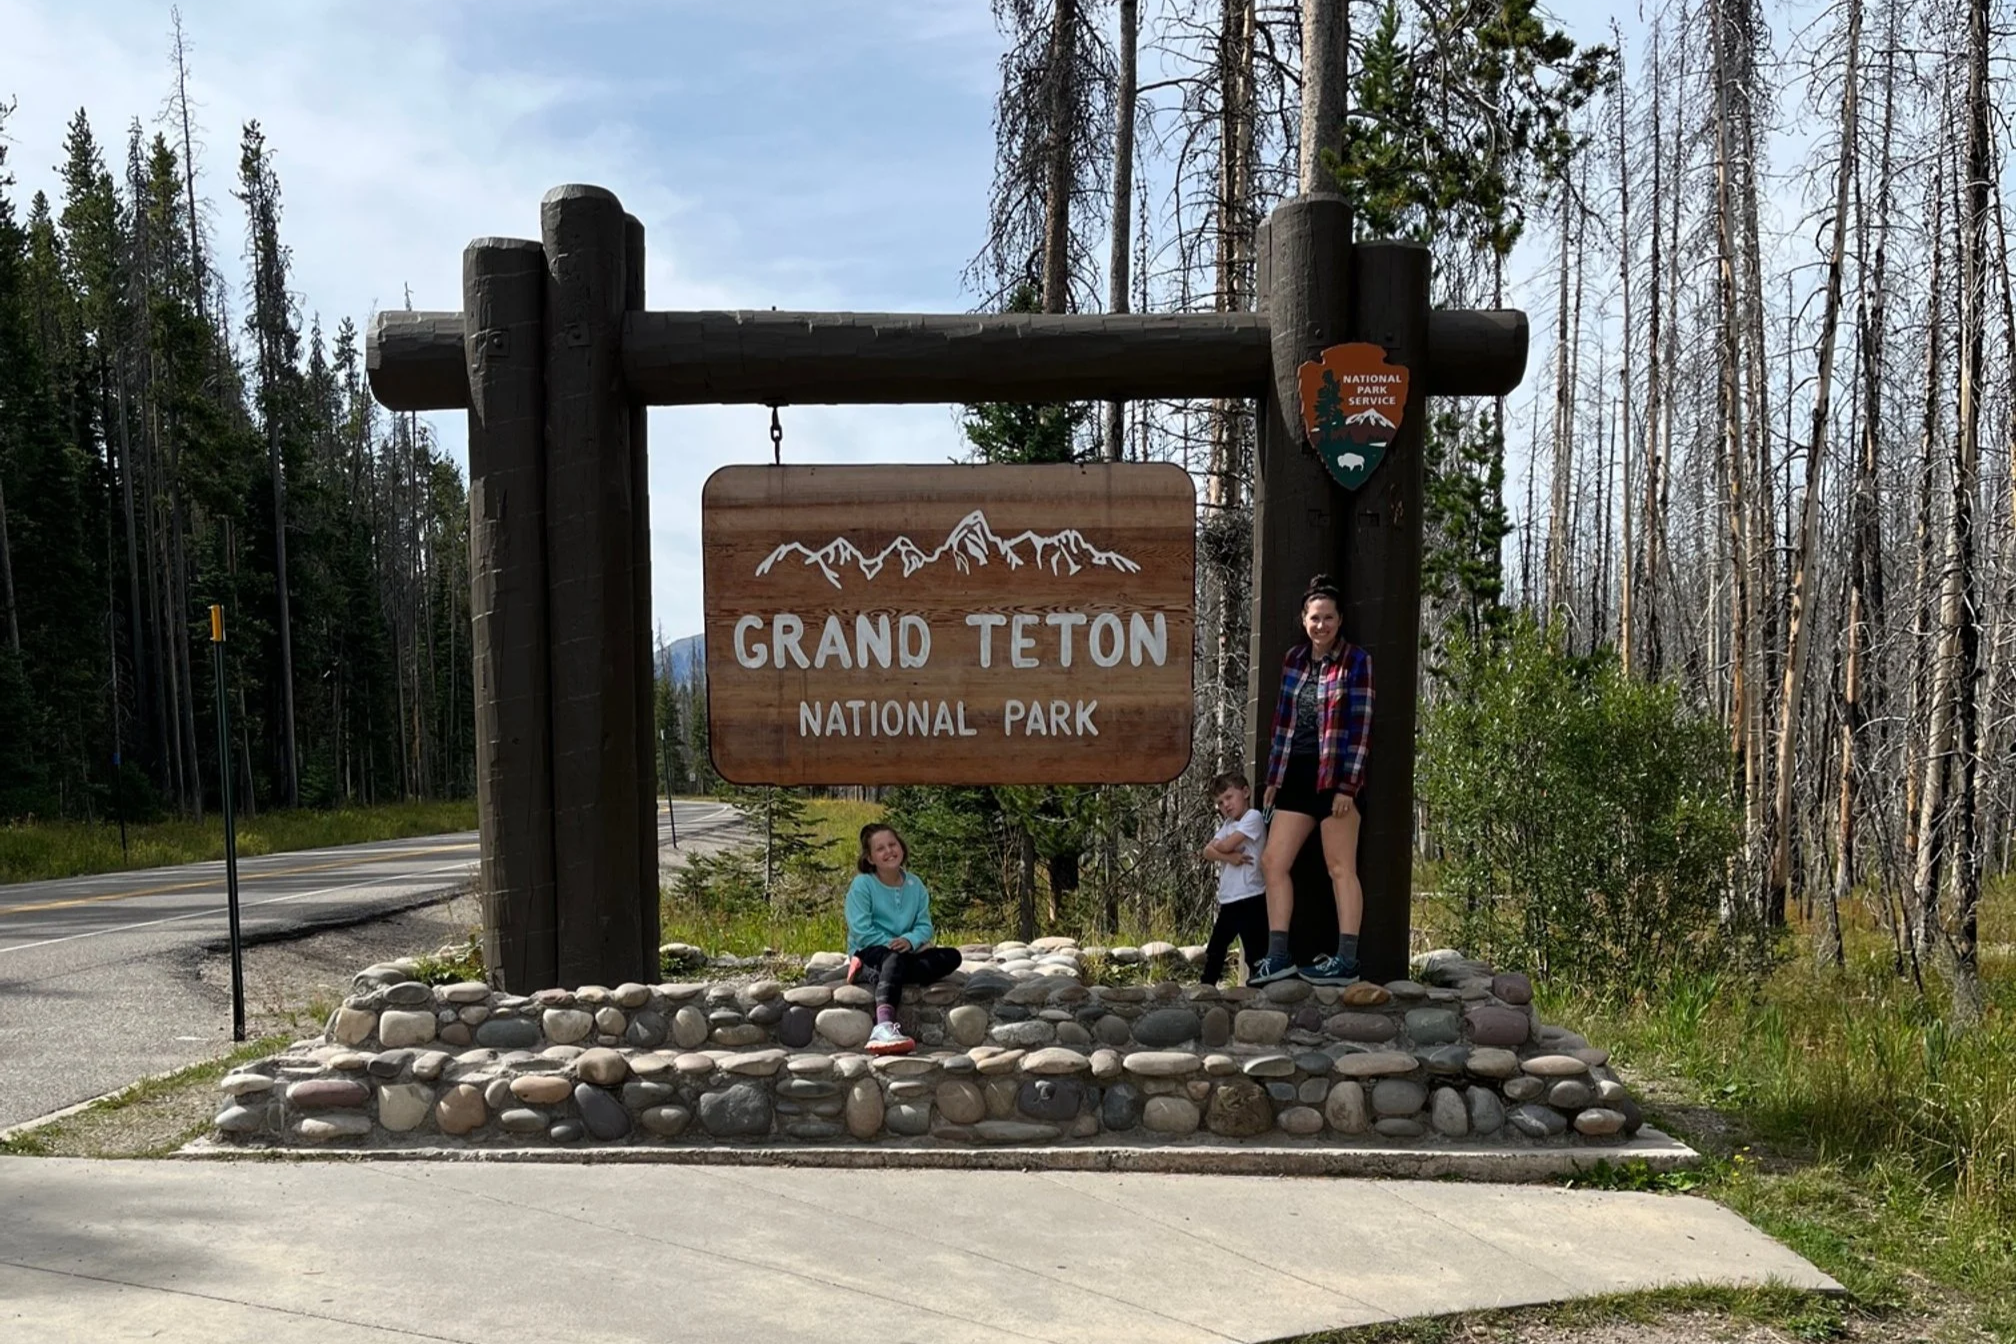
The Camping Kiddos and I at the northern entrance to Grand Teton
Today you'll drive from Yellowstone to Grand Teton National Park. I suggest you get an early start so you'll have more time to explore.
Pack up your suitcase, and head south on the John D. Rockefeller, Jr. Memorial Highway, and enter Grand Teton through the northern side.
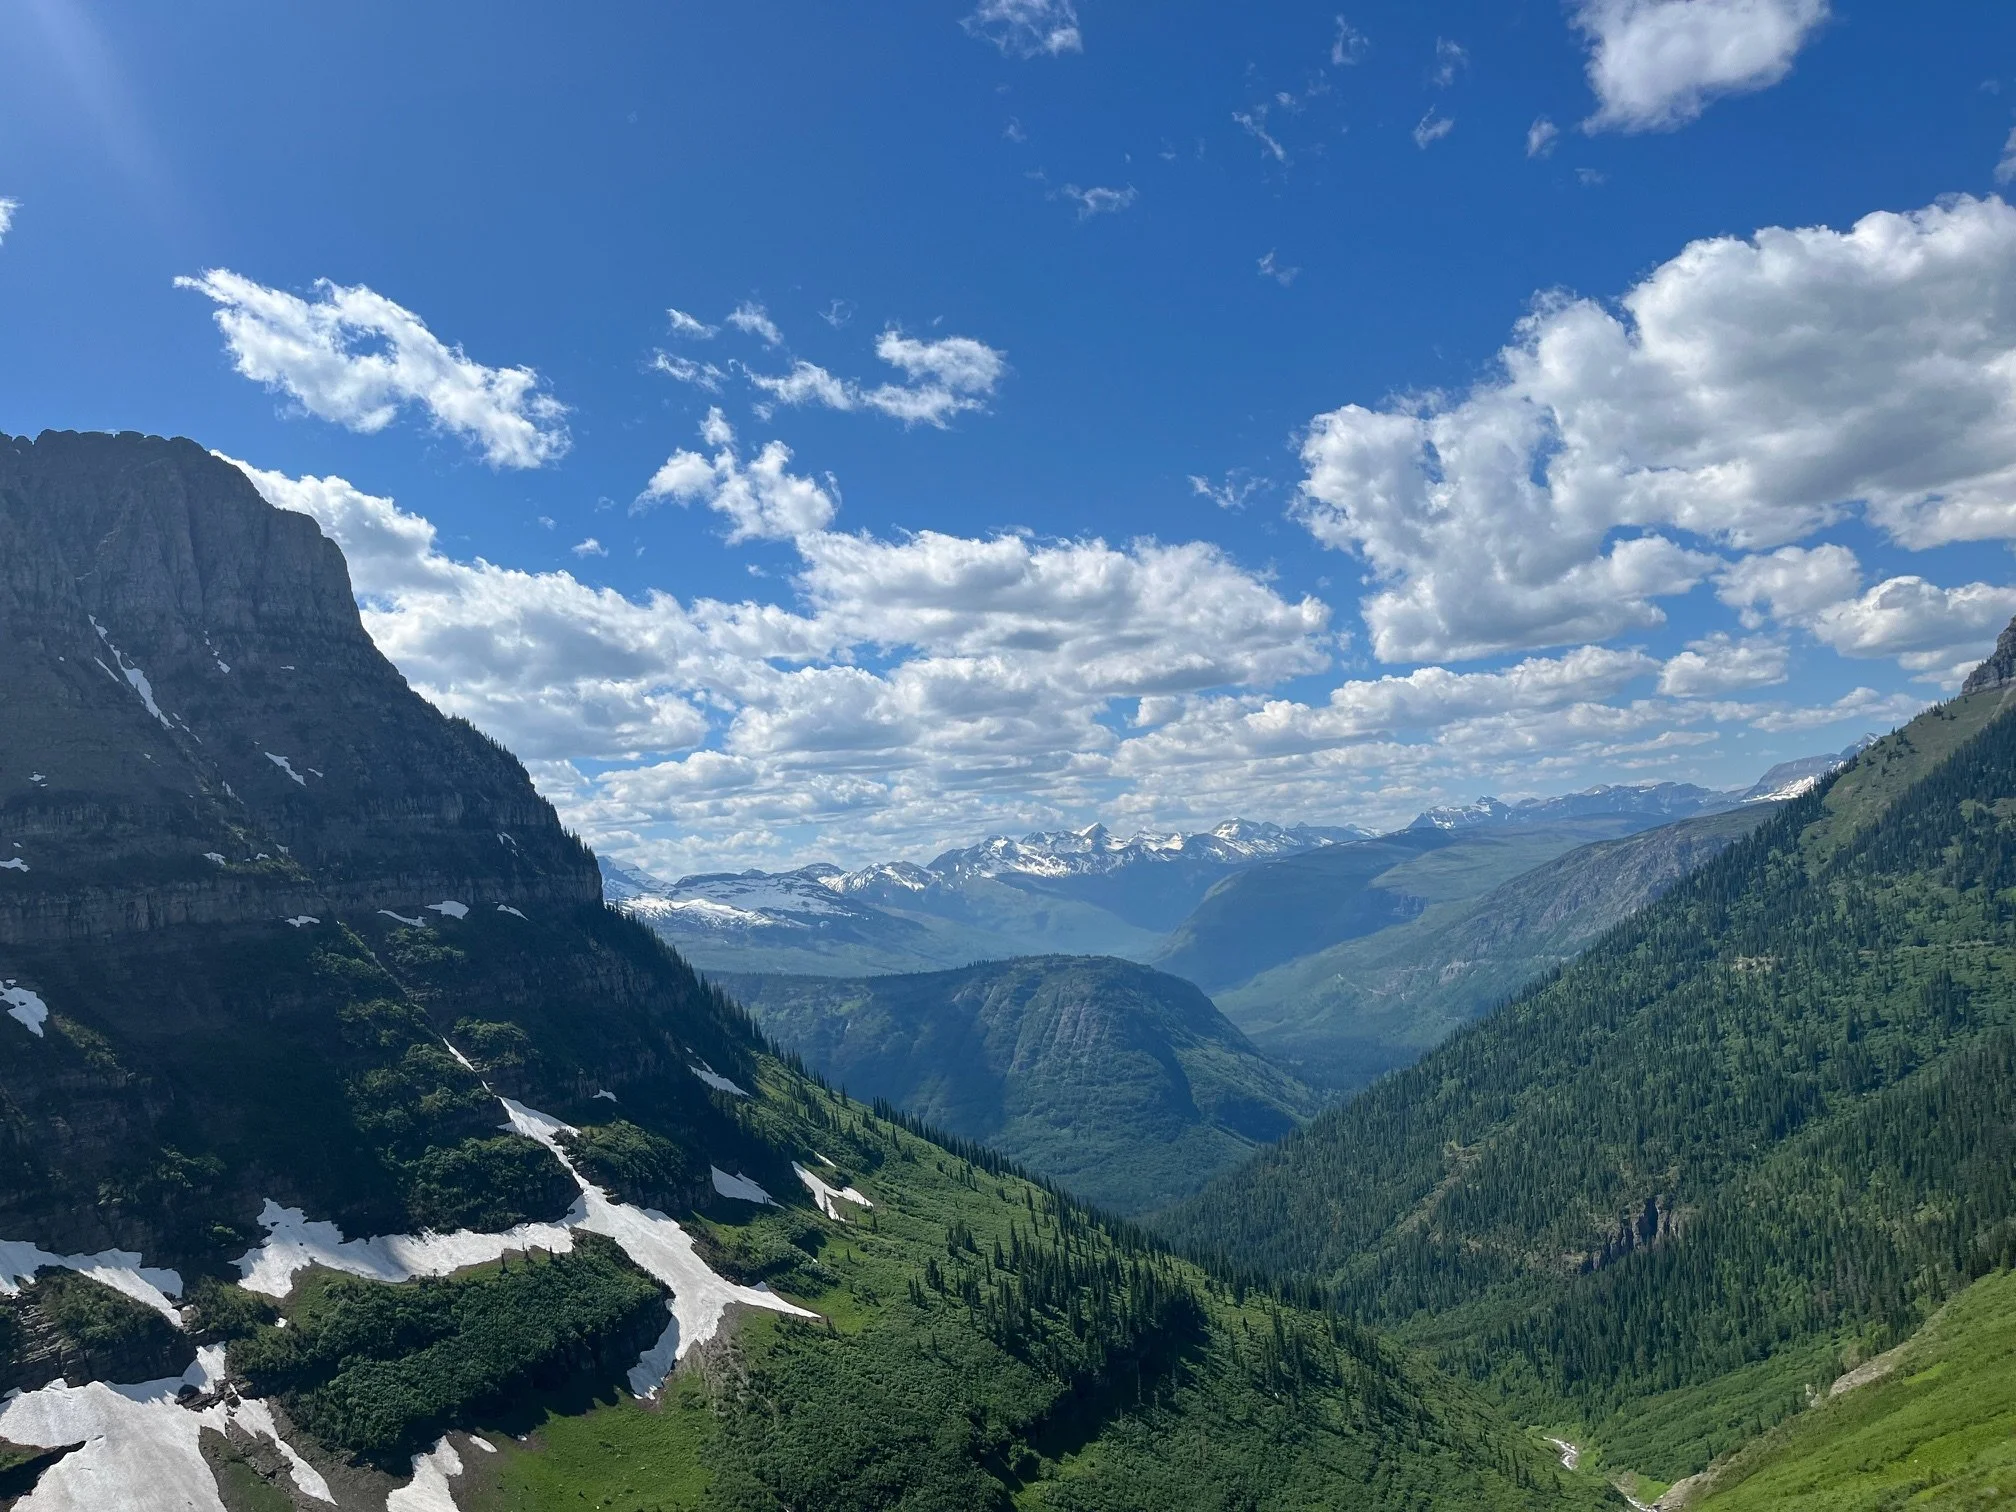
Teton Park Road and Jenny Lake Road Scenic Drives
The Memorial Highway will intersect with Teton Park Road. You’ll want to turn right onto Teton Park Road.
You’ll cross over the Jackson Lake Dam before coming to the turn off to Signal Mountain.
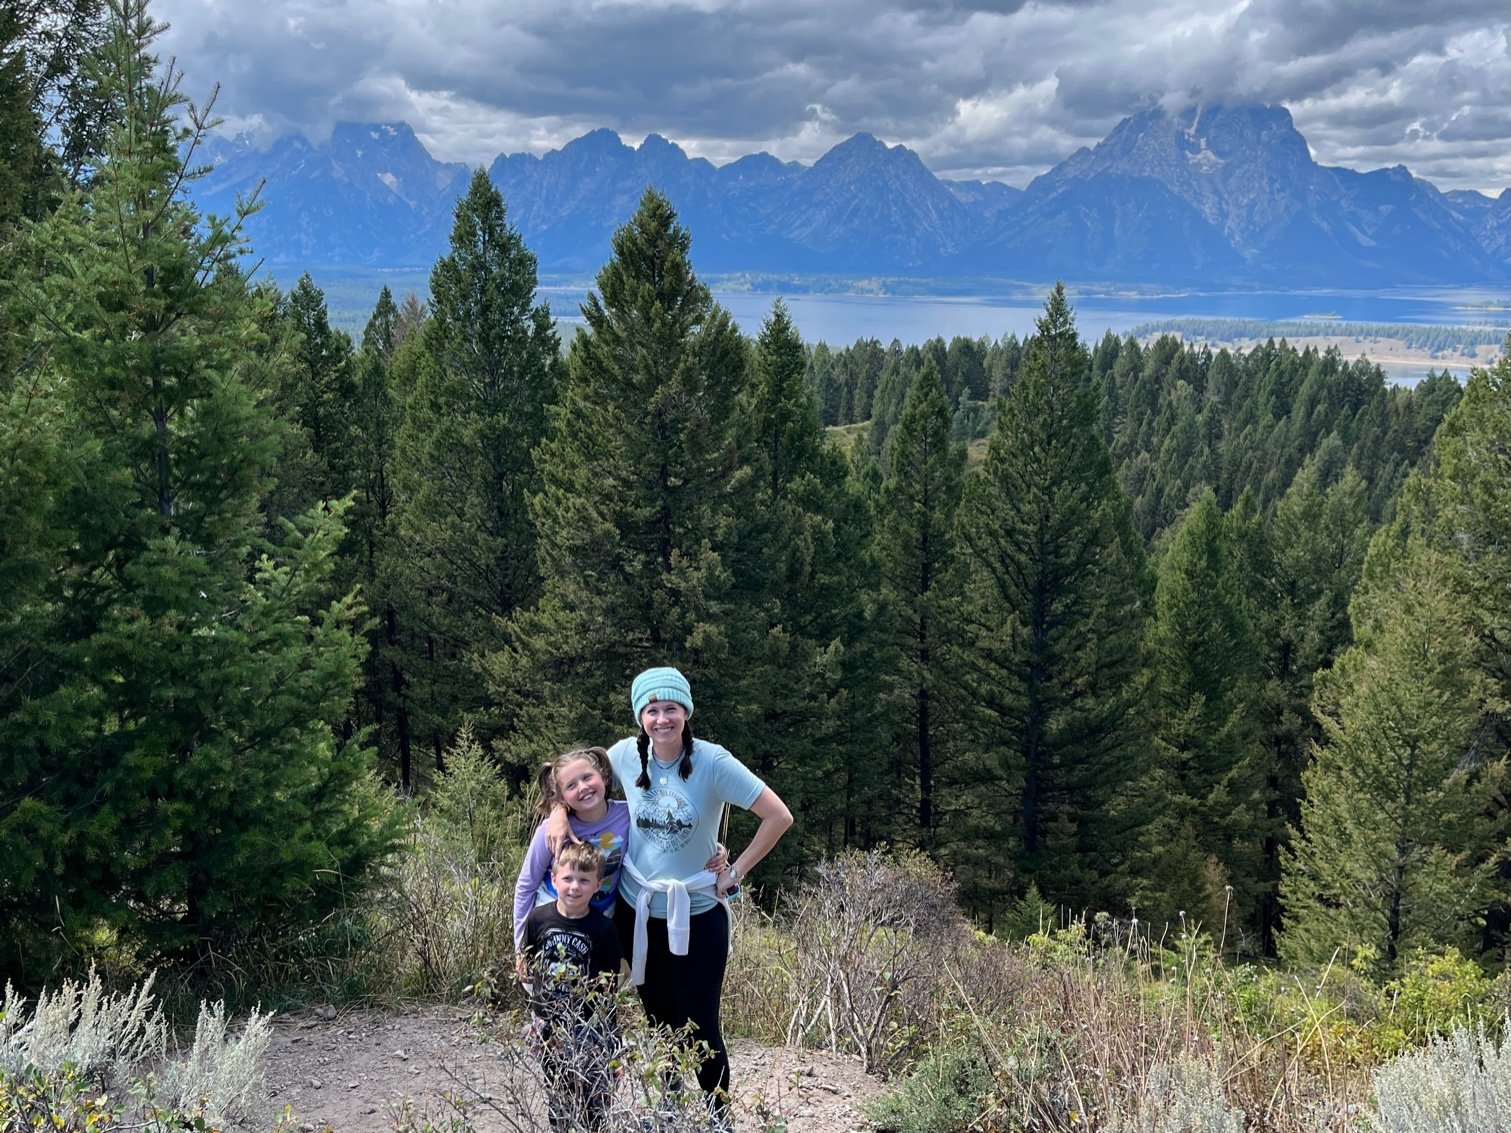
The lower viewpoint on Signal Mountain has some of the best views in the park!
This short side trip is worth your time and will take you up to 2 different overlook points. The first provides breath-taking views of the Teton range and Jackson Lake, while the second gives you a look at the entire Jackson Hole area.
NOTE: Jackson Hole refers to the entire valley, while Jackson is the city in Wyoming at the southern end of Grand Teton National Park.
When you’ve completed your drive on Signal Mountain, turn left onto Teton Park Road until you get to the one-way Jenny Lake Road.
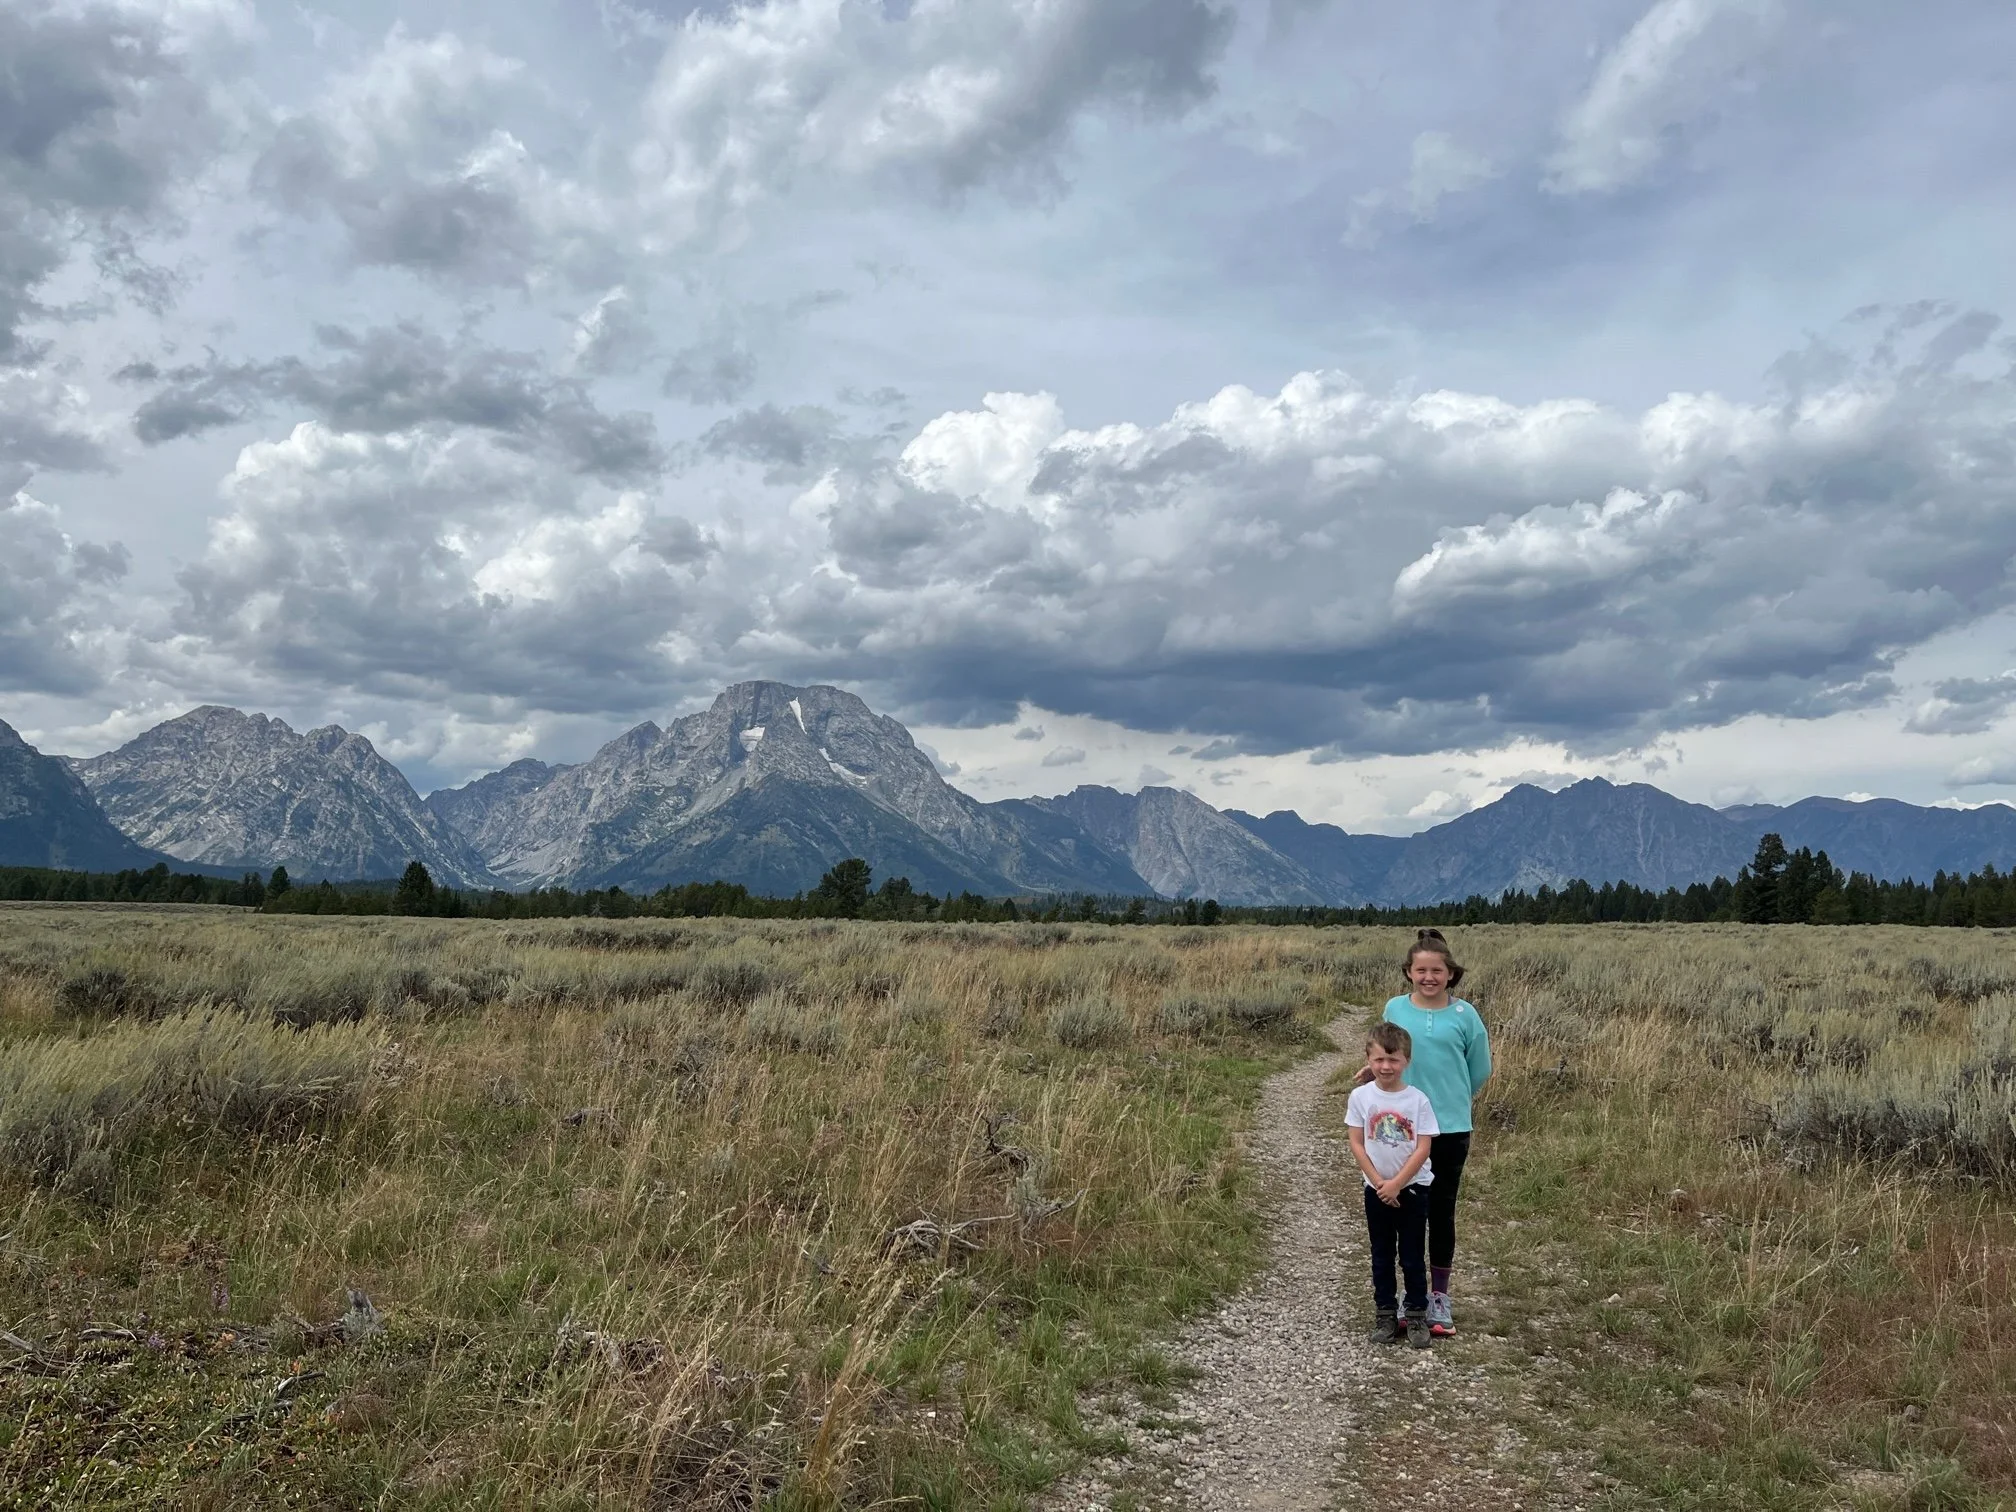
Stop at the Cathedral Group Turnout and walk along the trail through the sagebrush to get a sense of just how big the mountains are. This path eventually connects with the String Loop Trail, which is probably more than you want to get into in such a short itinerary.
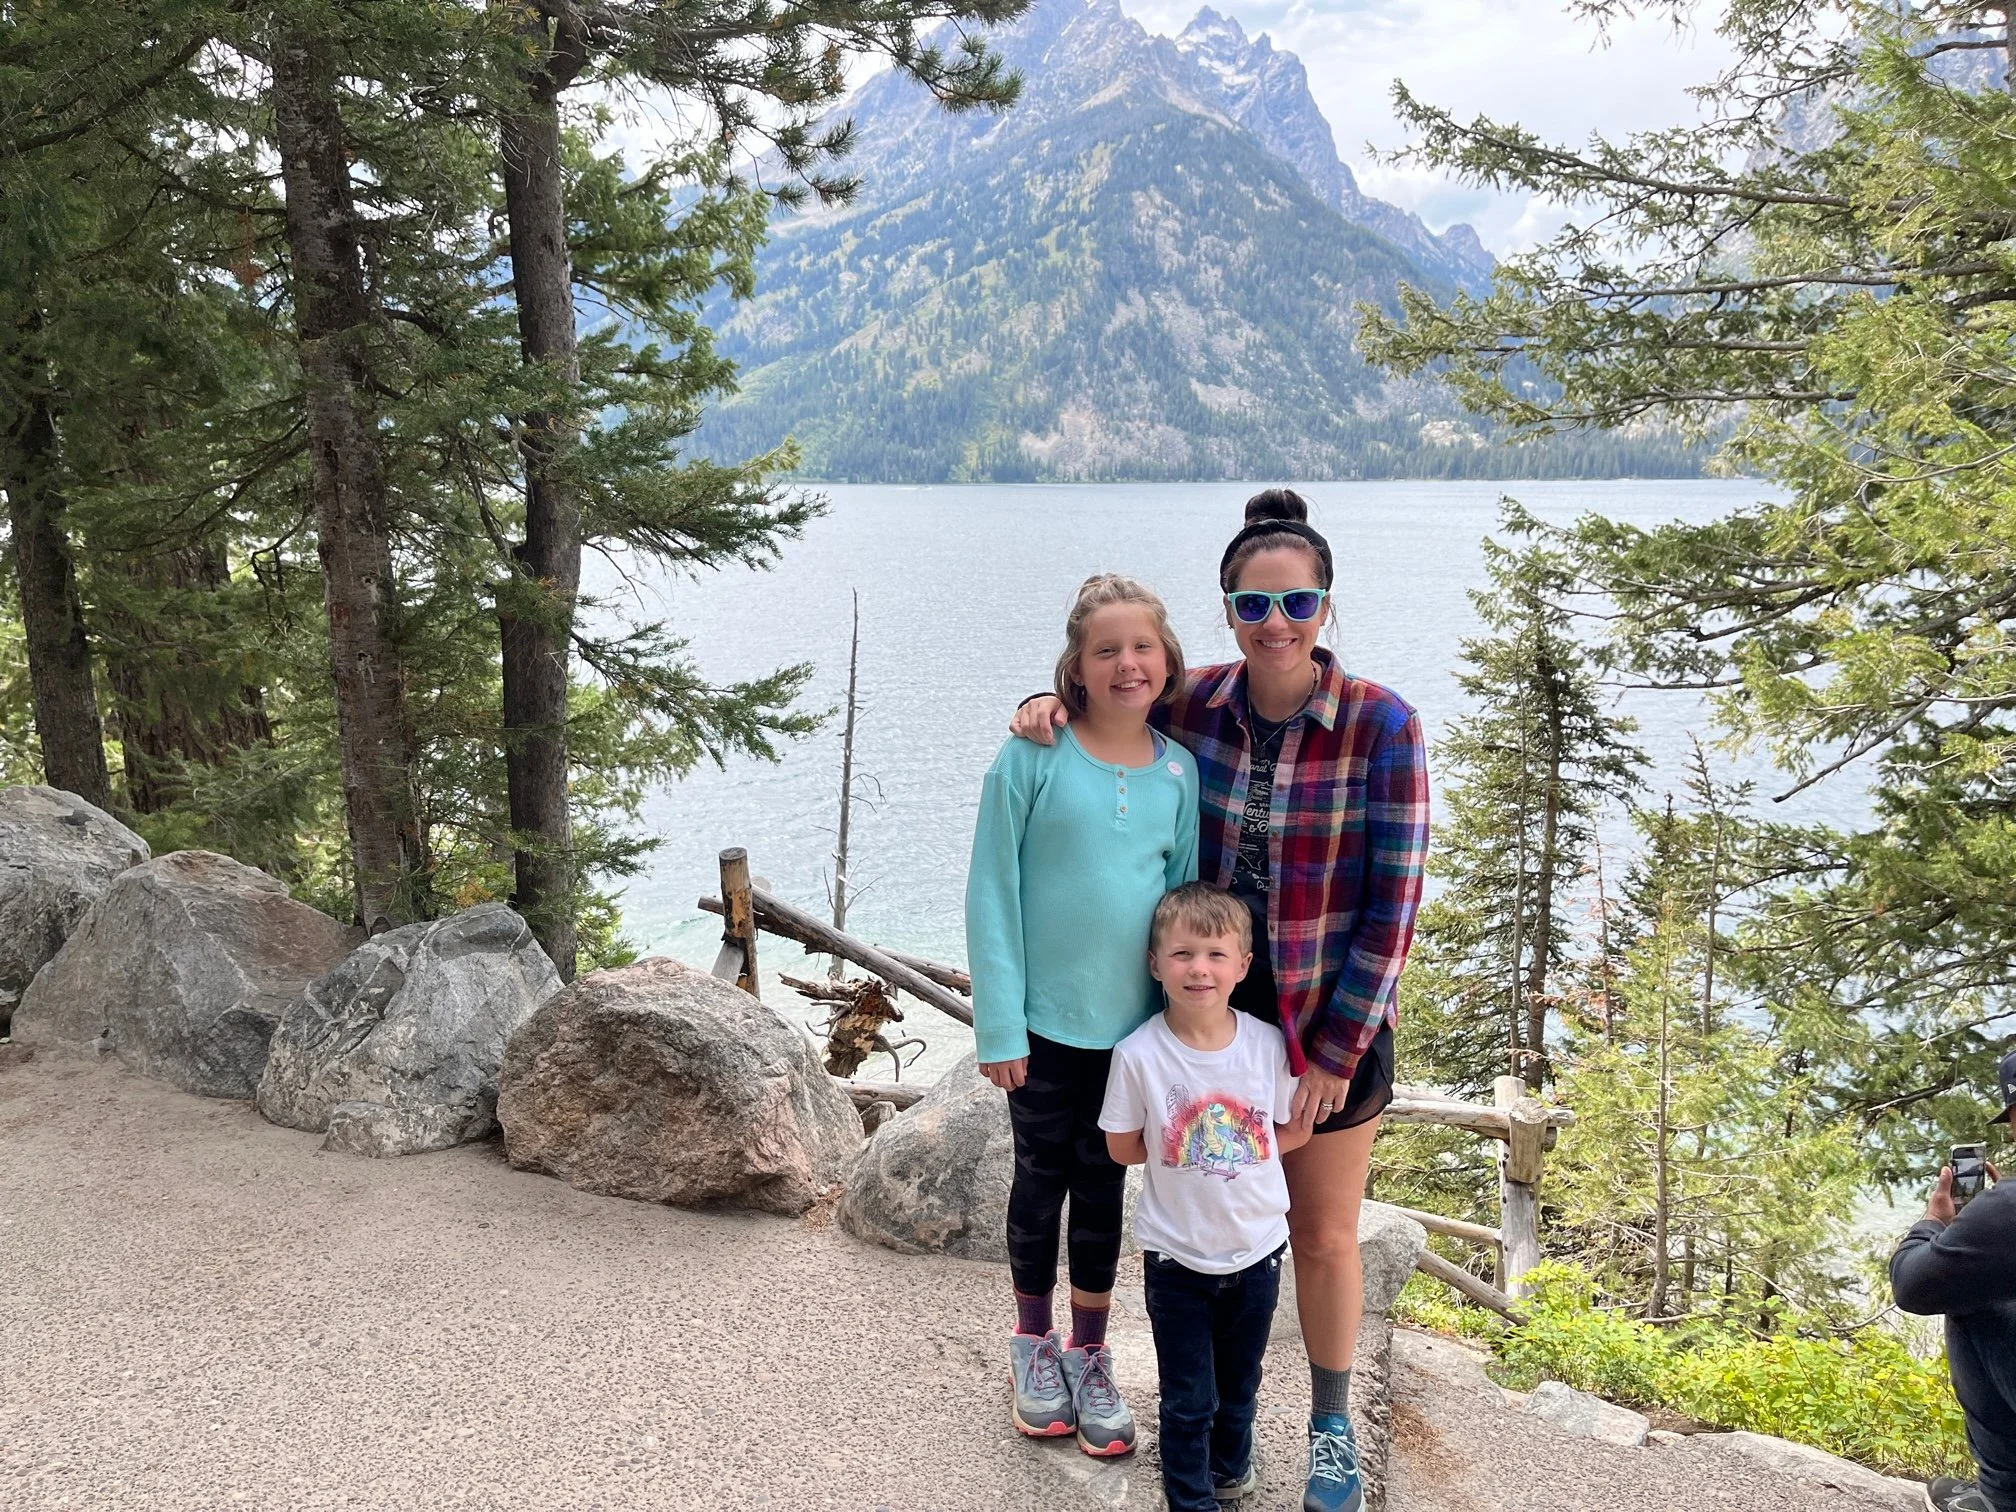
You’ll meander along through the pines and will pass Jenny Lake Lodge. Continue on until you get to the Jenny Lake Overlook, which is worth a stop.
When Jenny Lake Road end, you’ll turn right onto Teton Park Road and head towards Moose. There are several turnouts along this part of the road, but I would hold off on stopping.
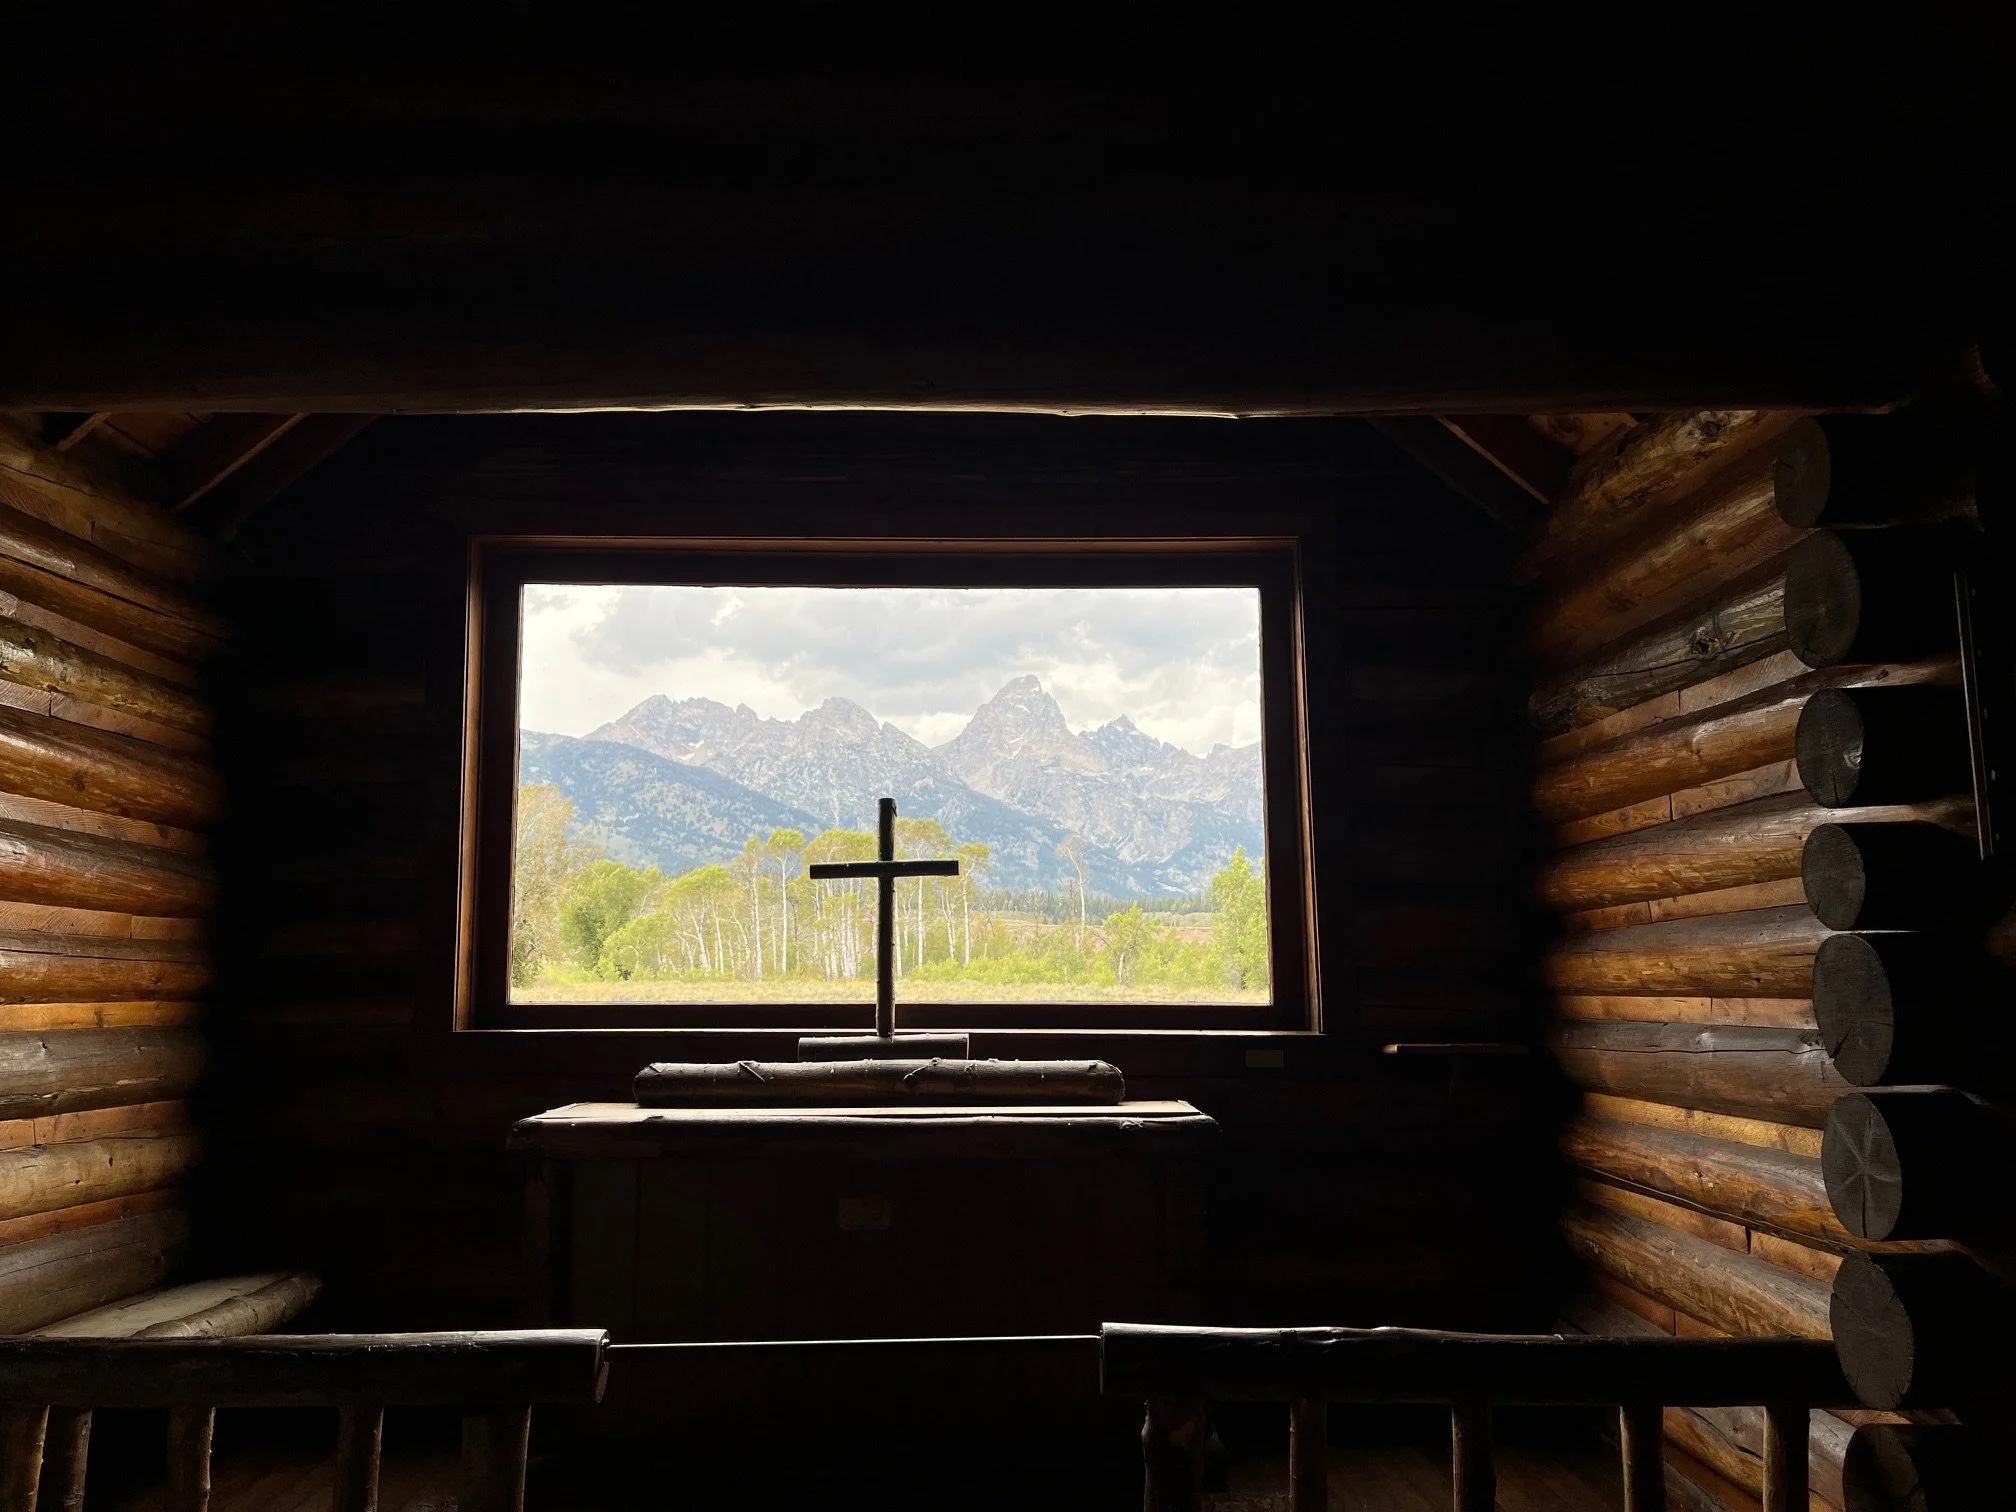
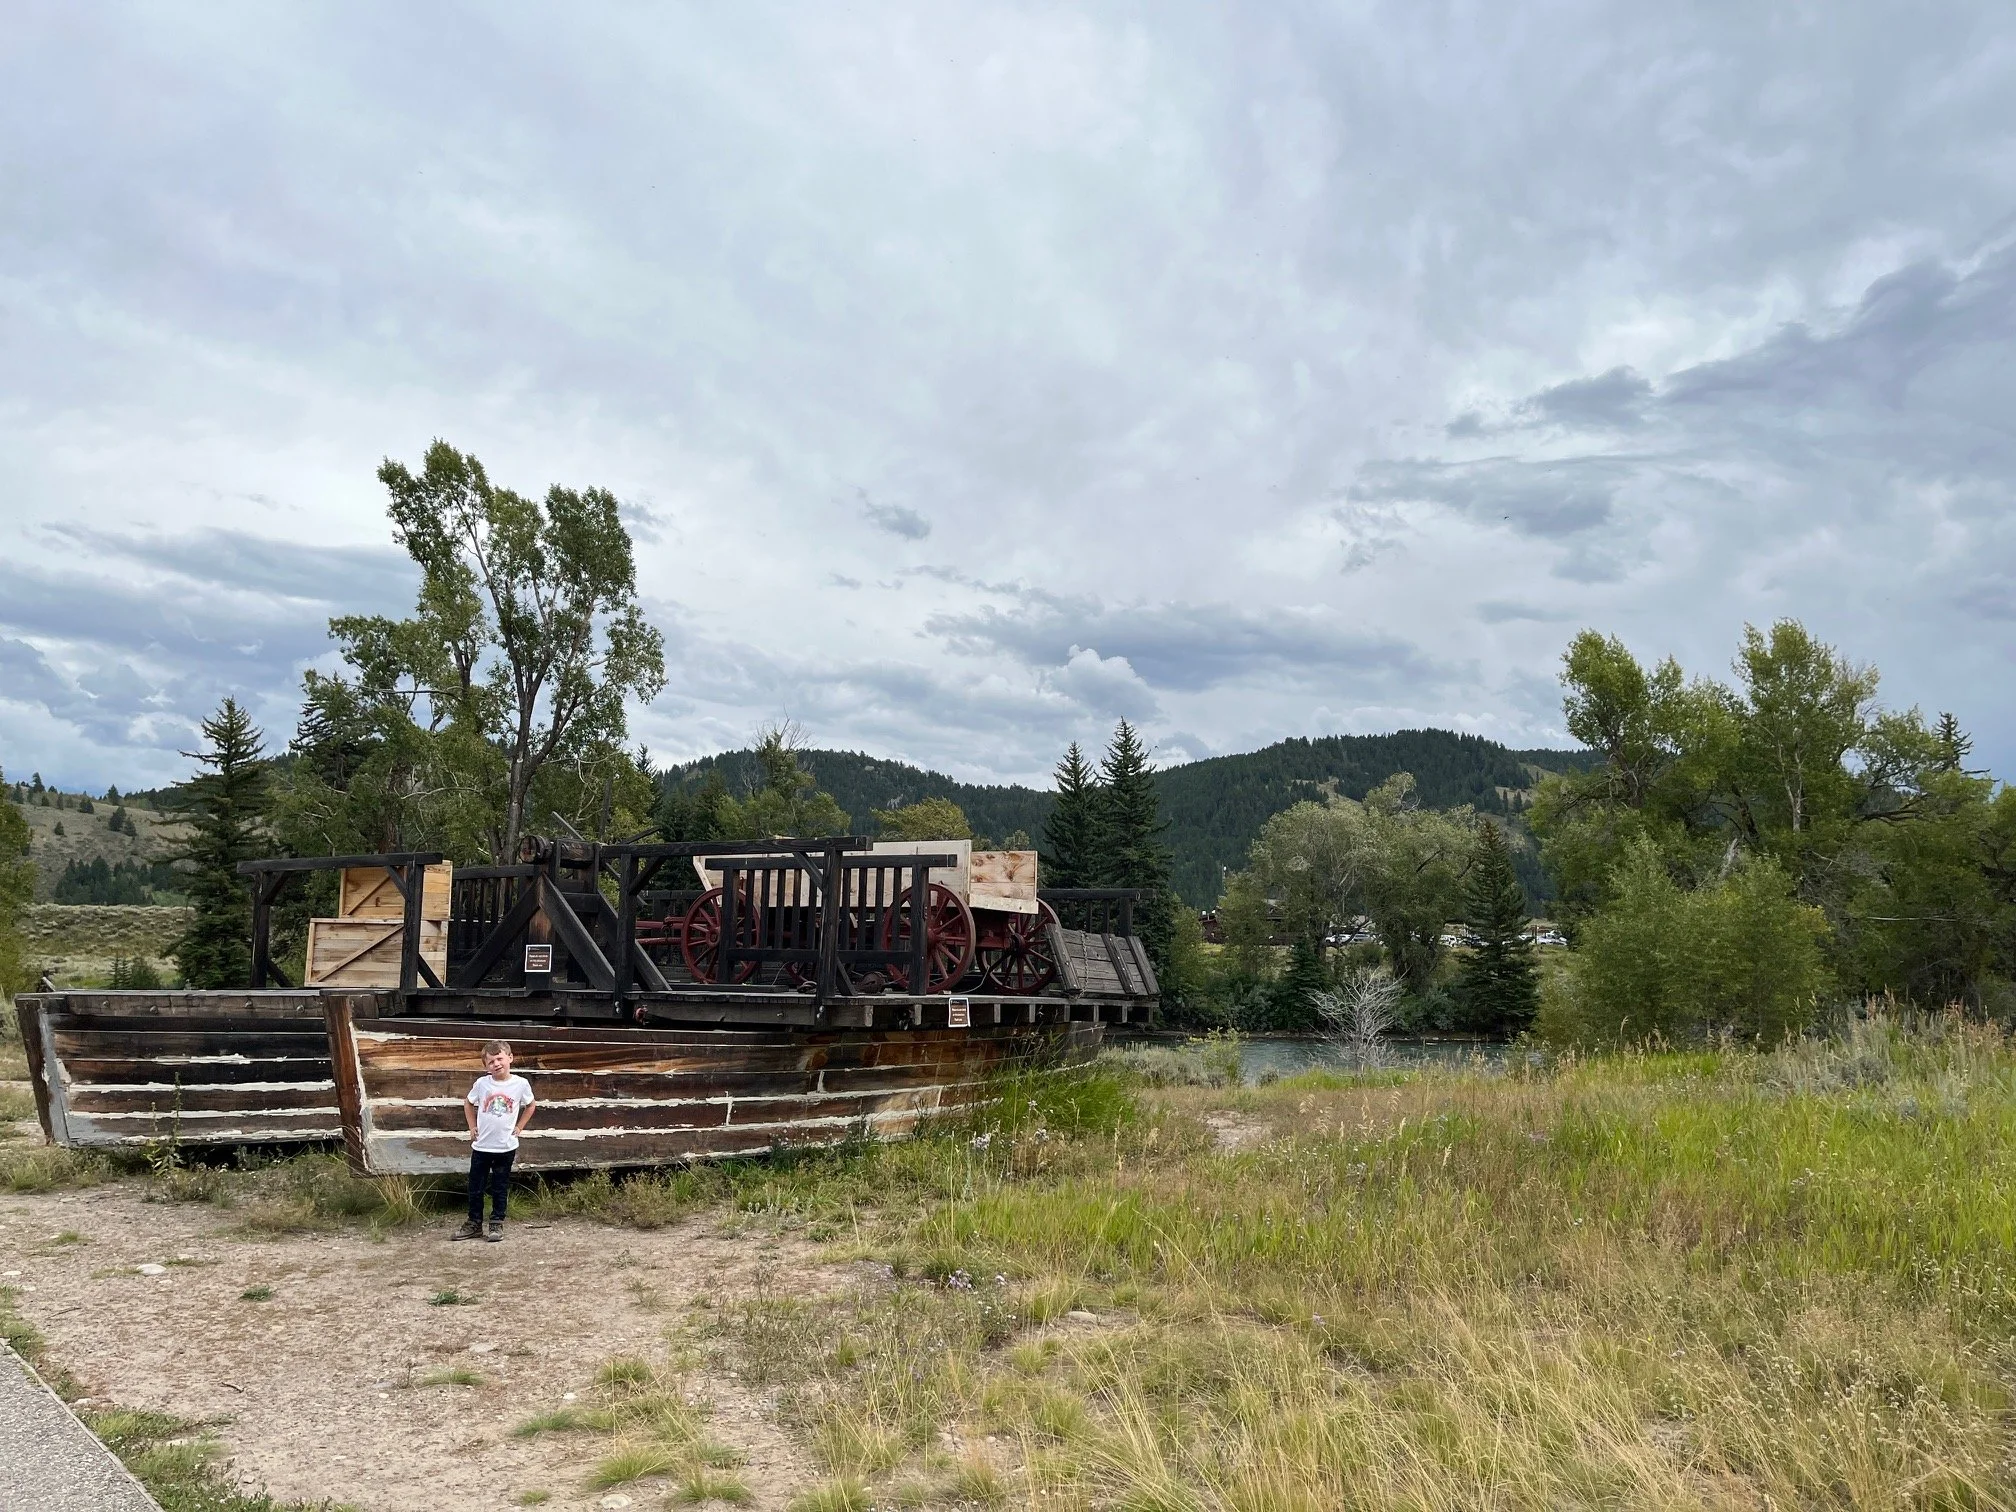
Instead, keep going until you see the turn for Menor’s Ferry and the Chapel of the Transfiguration.
This area of the park includes a short hike around some of the earliest pioneer structures and is a fun visit for both families and history buffs.
>> Read more about the Menor’s Ferry Historic District here. <<
Lunch in Moose
Stop in the tiny group of buildings that is Moose, Wyoming. It’s at the intersection of Teton Park Road and Highway 191/89.
You have two options here:
Dornan’s Chuckwagon, and
Dornan’s Pizza and Pasta.
The Chuckwagon is mostly outdoor seating, so it’s great for a beautiful day. You’ll get burgers, barbecue, fries, and other classic American food here.
Dornan’s Pizza and Pasta is exactly what it sounds like, and serves up fresh pies, salads, and bowls of pasta. You can sit inside or outside on the deck.
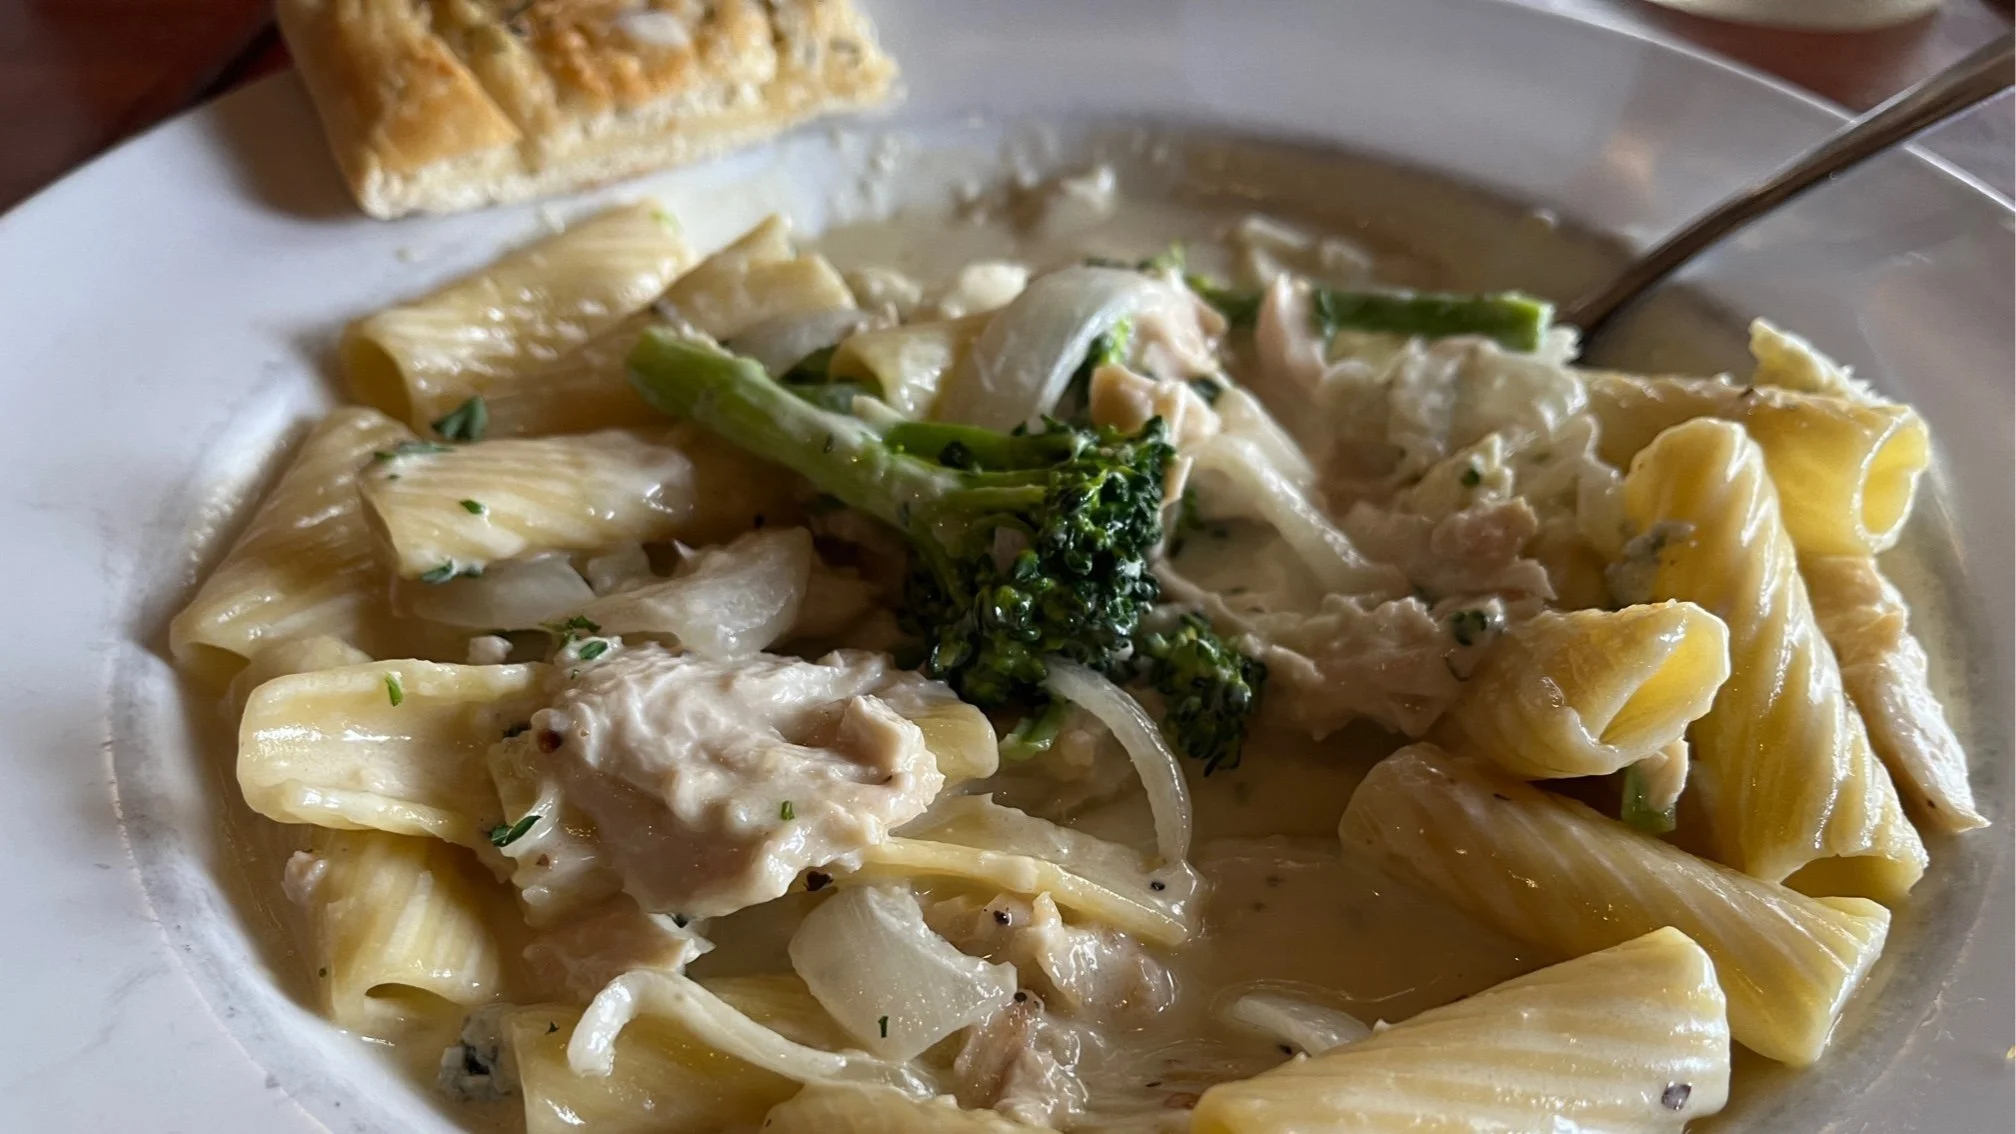
Delicious meal at Dornan’s Pizza and Pasta
Biking Teton Park Road
After lunch, rent a bike and see the park from a new perspective.
While Dornan’s does have bike rentals, the Door2Door Bike Rentals provide better service, in my opinion. Just let them know where you’d like to meet, and they’ll be there with your e-bike, helmet, and map of the nearly 60 miles of bike path in the national park.
Ride up the portion of Teton Park Road that you missed before lunch, stopping at overlooks along the way.
Alternatively, you could bike to the Laurence S. Rockefeller Preserve, but keep in mind that you’ll be on a narrow road that is shared with cars.
Check into your hotel.
If you’d like to stay in the park, return to Dornan’s in Moose to stay at their Spur Ranch cabins. These are conveniently located to everything you’re doing on both of your days in Grand Teton National Park, and to the airport for your departure day.
If you’d rather stay in Jackson, which is 13 miles south of Dornan’s, but has many other options for accommodations and eating, I’d recommend the Cloudveil.
It’s located right off of the town square, so you’re in the heart of everything here.
>> Read my review of the Cloudveil Jackson on my other website. <<
Extend your time here further: The Laurence S. Rockefeller Preserve in the south of the park deserves a half day of its own. If you have extra time in your schedule at this point, plan to time at this beautiful property (once part of the Rockefellers’ private retreat), looking through the interactive senses-based visitors center or doing one of the hikes.
Day 7 - Grand Teton National Park
On the last day of this unforgettable trip, you’re going to do a few short hikes and take in some of the park’s better known sites.
From your hotel, head to the Jenny Lake visitors center. This place can get very crowded in the summer and on weekends from spring until fall, so be here early.
Grab one of the locally made cinnamon rolls in the store, and use their provided microwave to ensure it is warm and gooey.
Inspiration Point and Hidden Falls
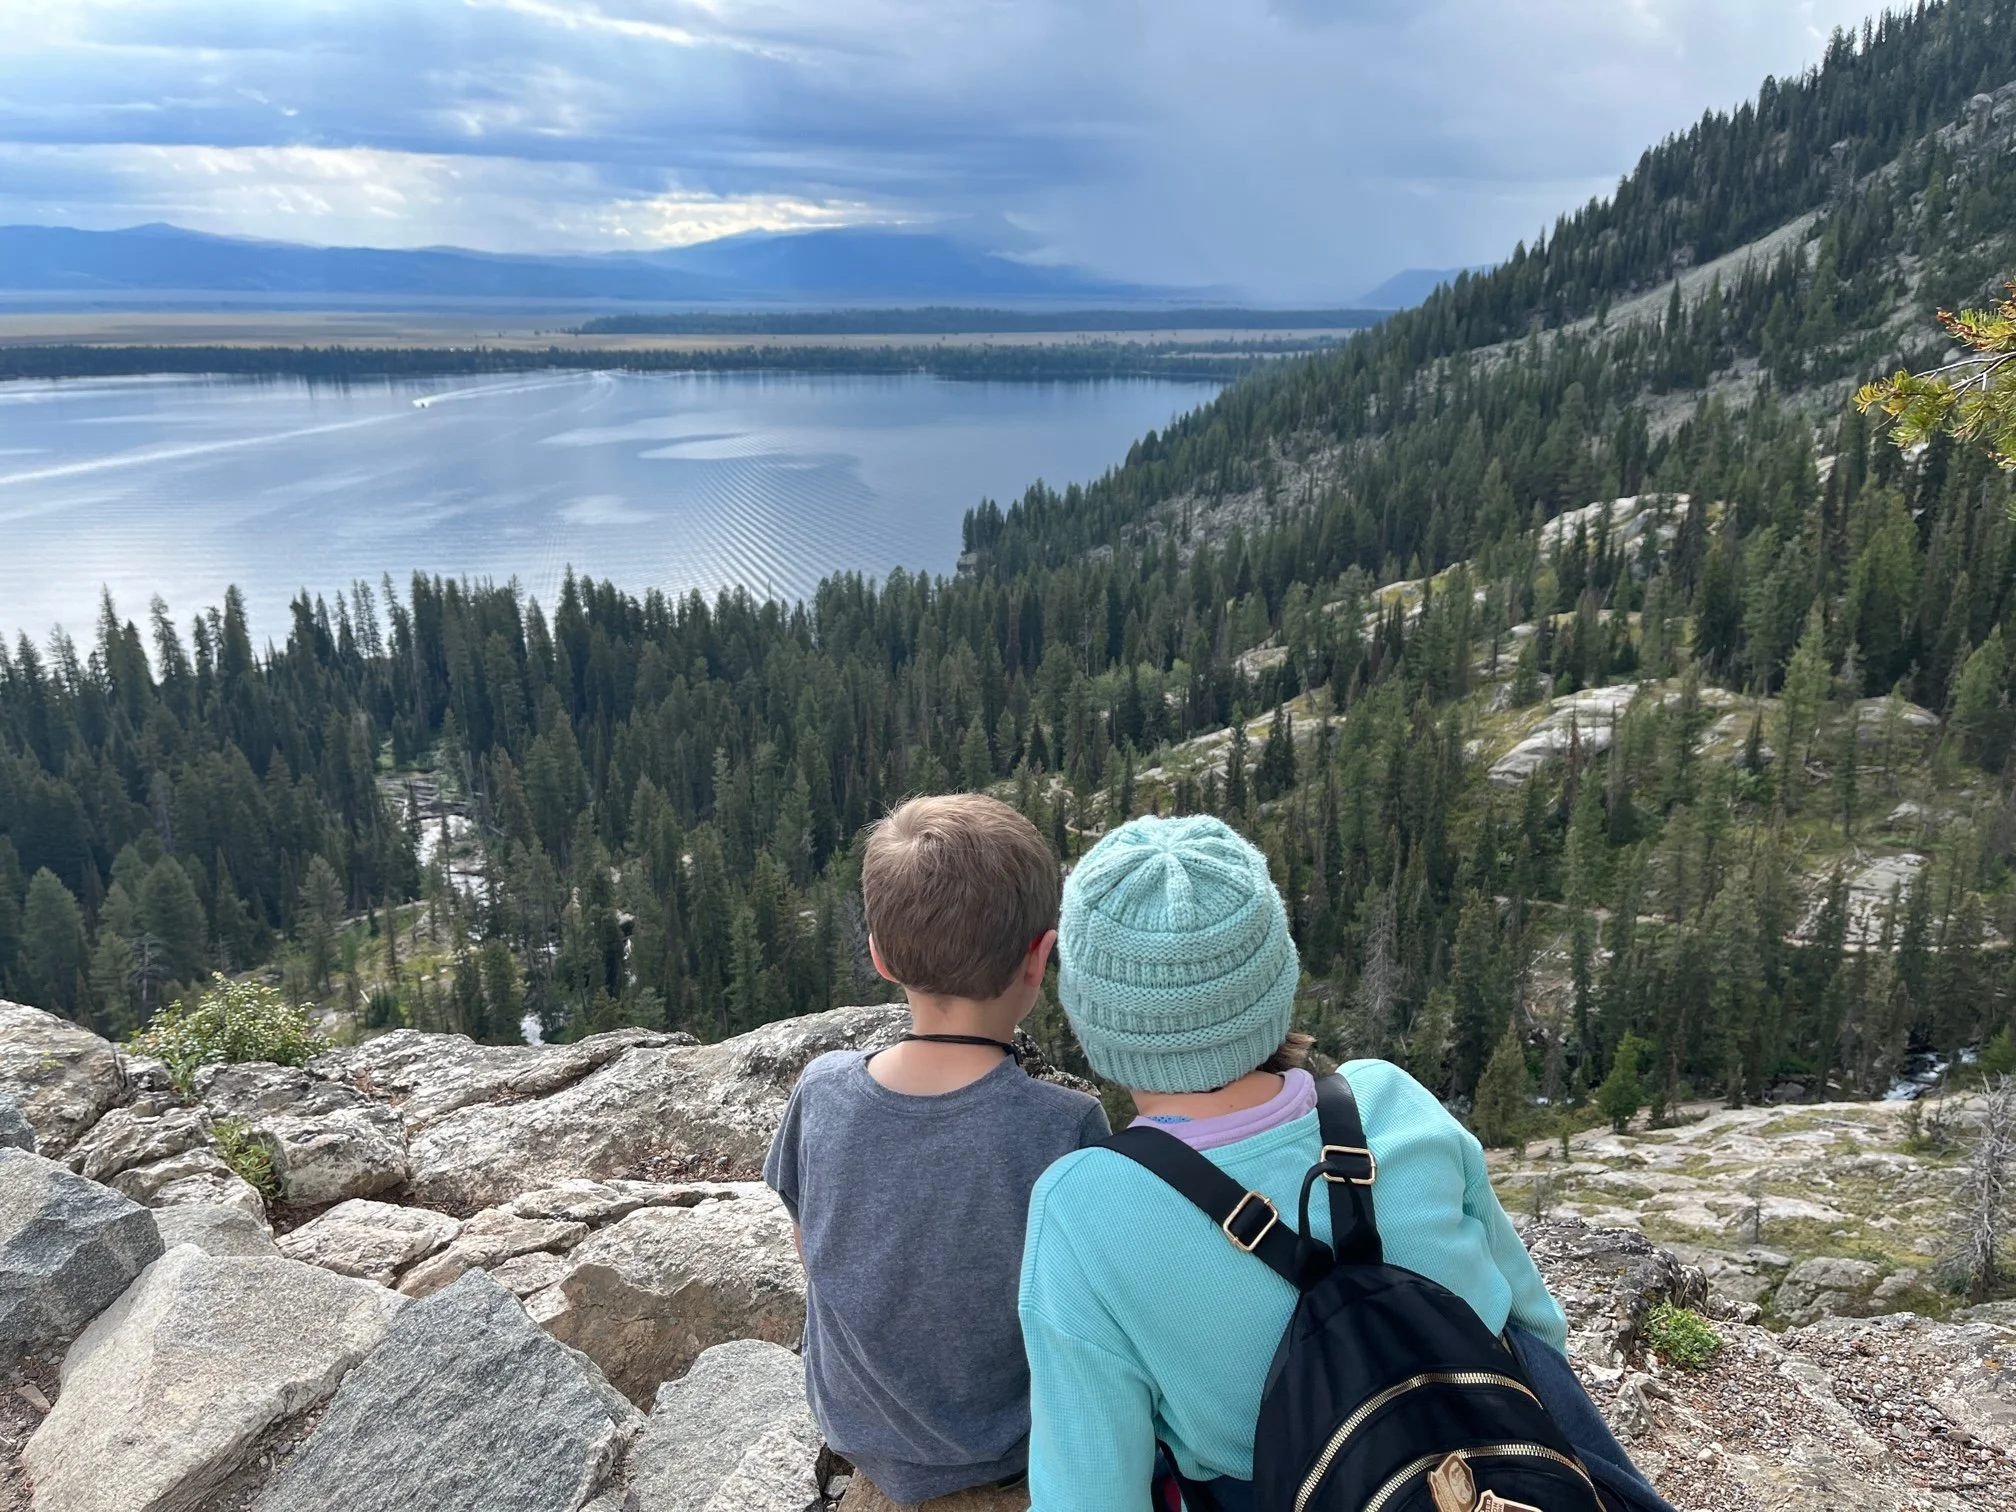
This should fuel you up enough to get up to Inspiration Point over on the other side of Jenny Lake.
You have two options here:
Hike around the edge of the lake for a longer hike, or
Take the boat across the lake and cut off about 2/3rds of the total hike.
My kids loved the boat ride, so lean into that if you’re visiting with your family.
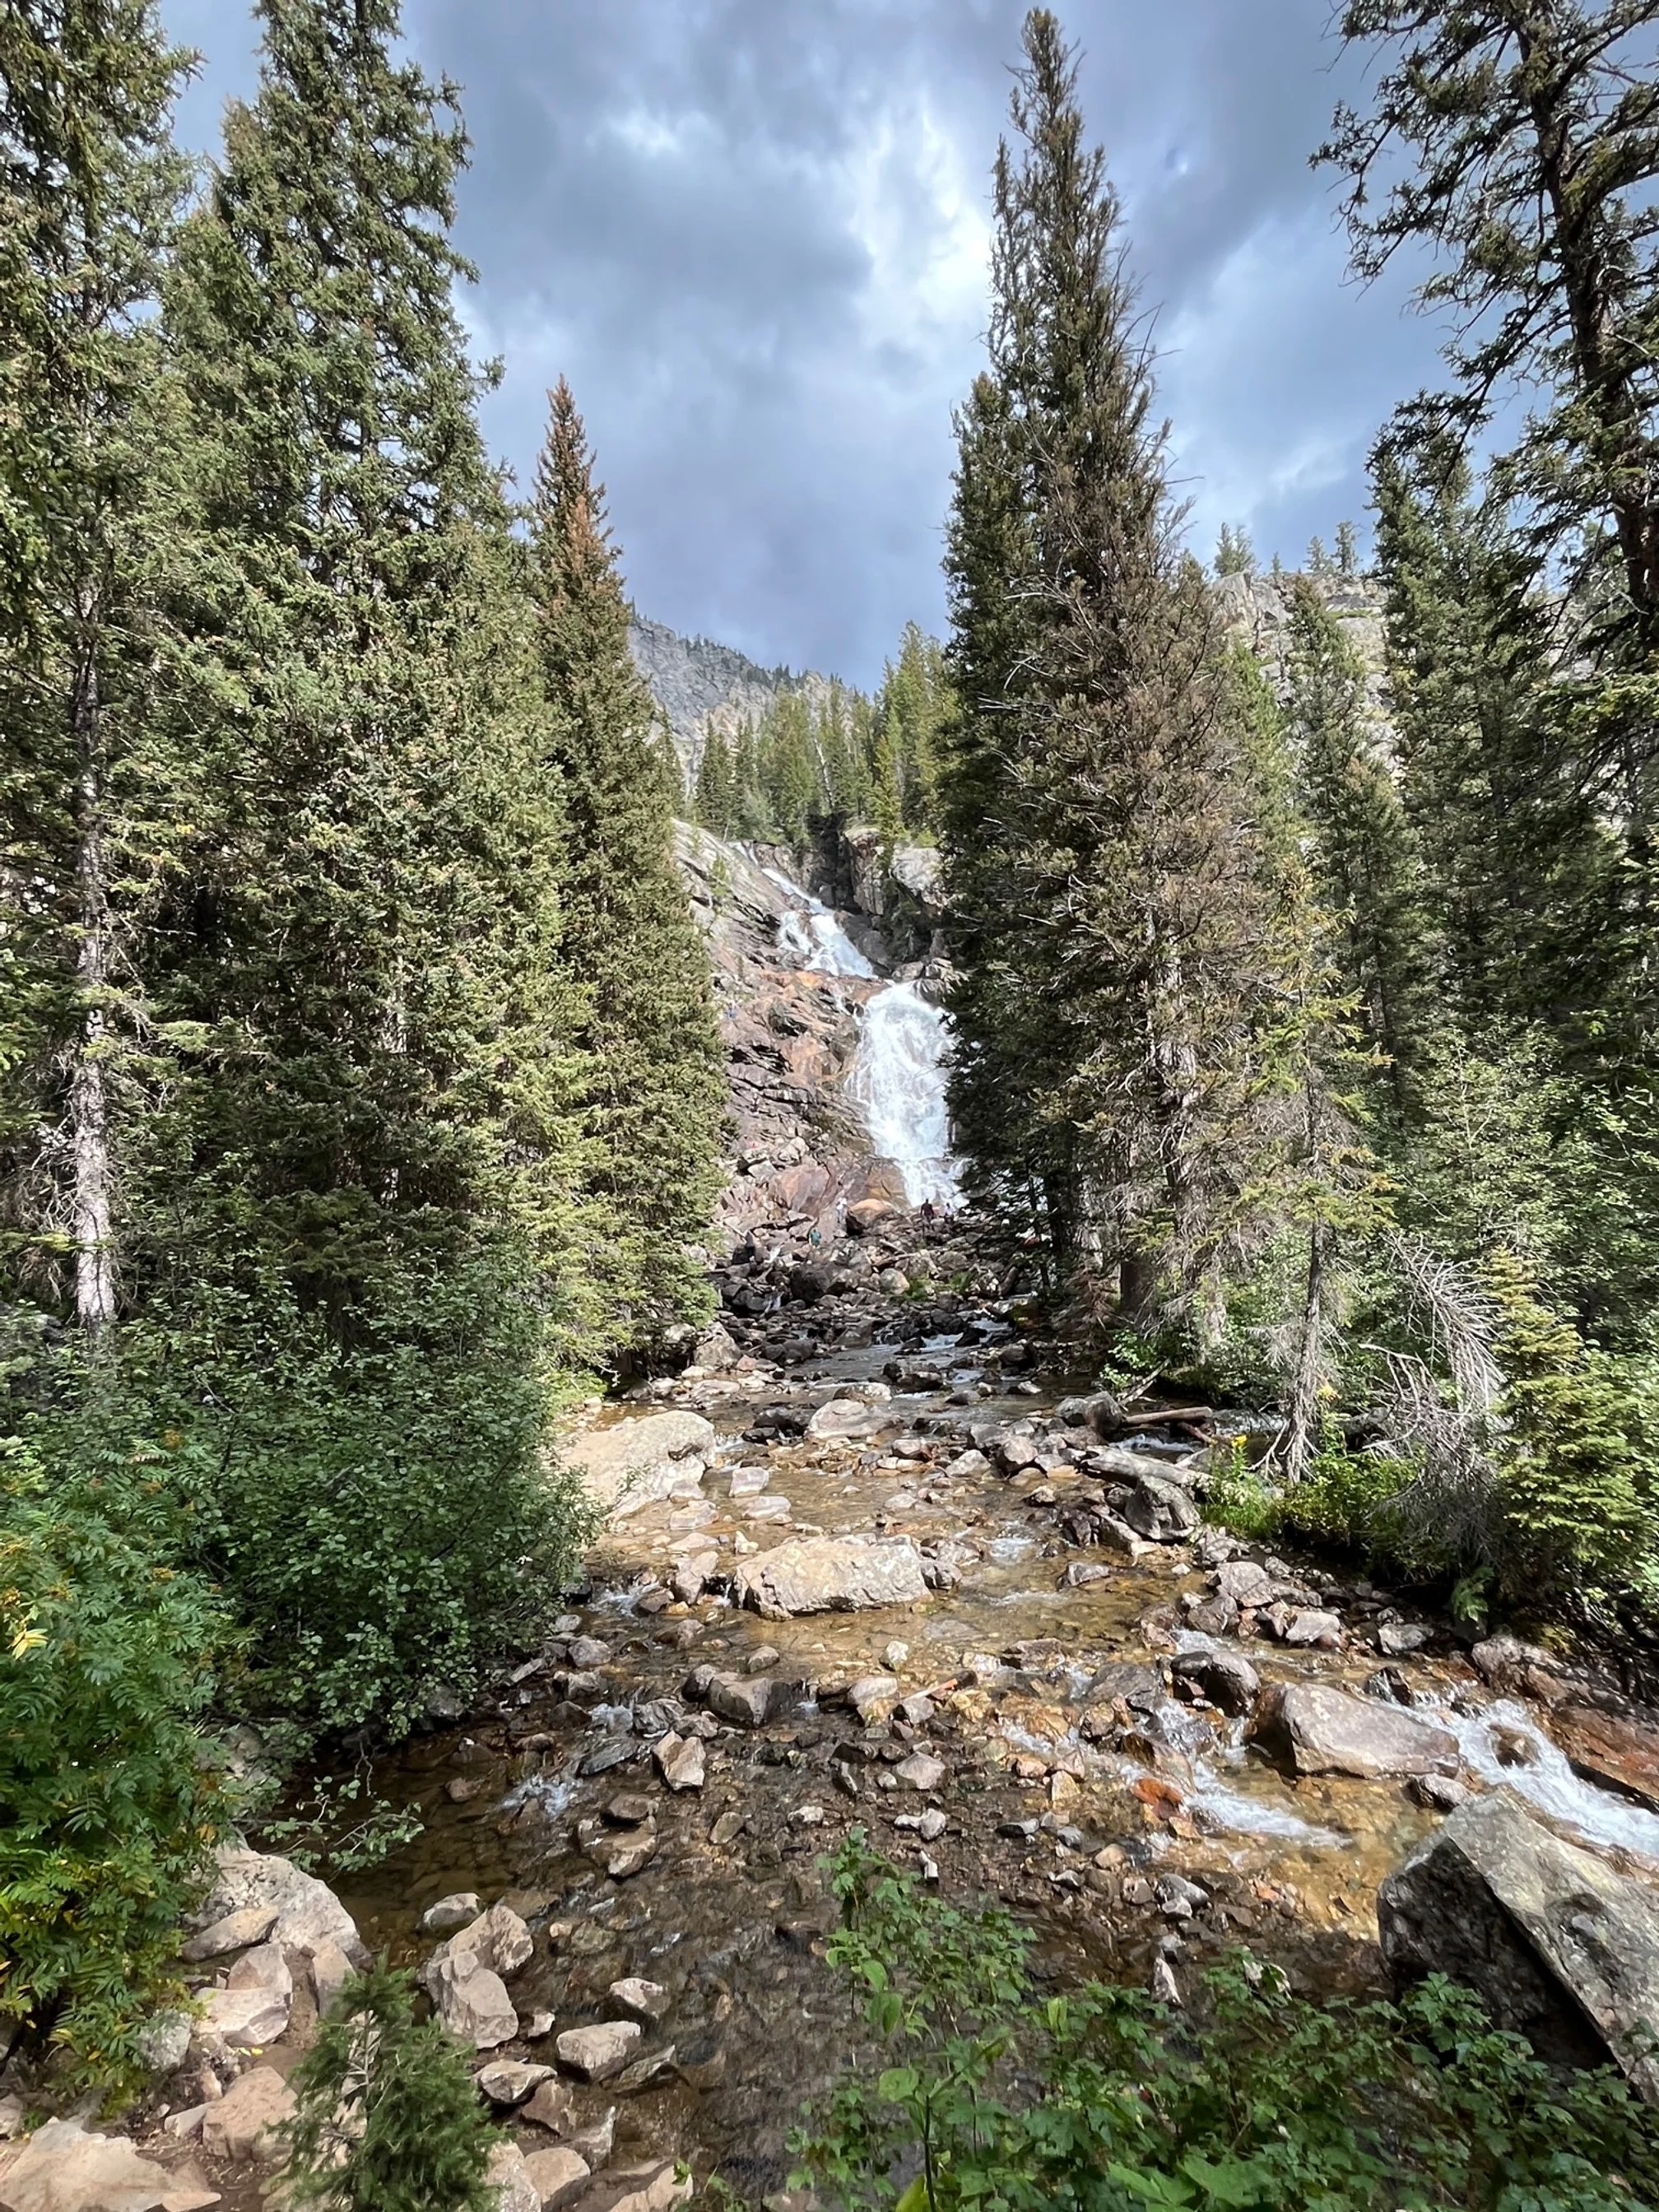
Either way, be sure to stop by Hidden Falls on the way to Inspiration Point. It’s a short spur trail on the way.
>> Learn more about the Hidden Falls and Inspiration Point hike here. <<
When you return to the visitors center, the short Jenny Lake Discovery Trail is another great extension for kids or anyone interested in learning more about the wildlife you’ll find here.
Snake River Float
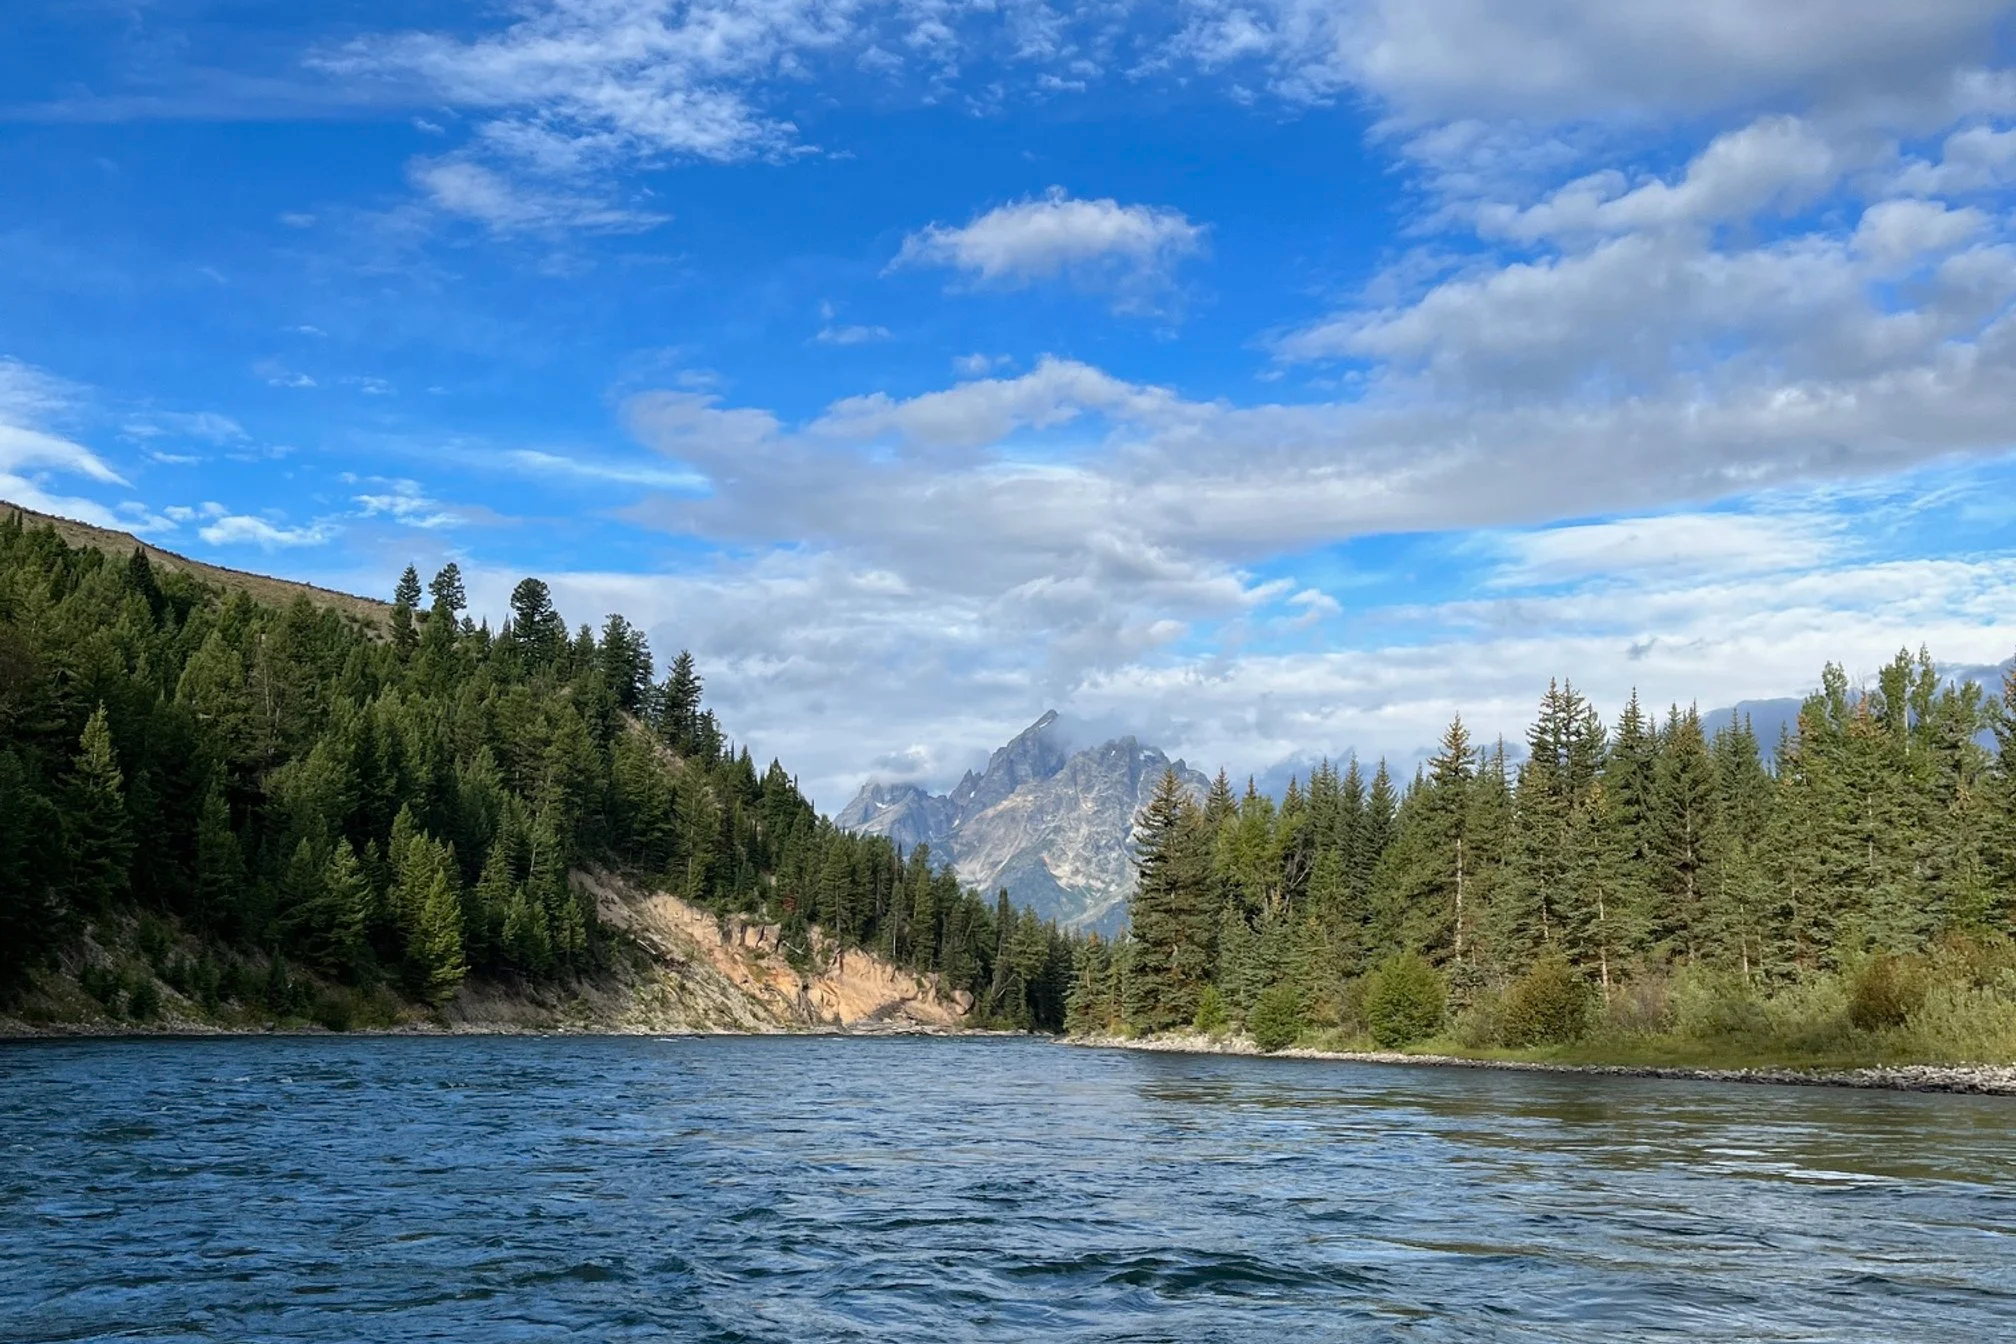
Getting out onto the Snake River is a great way to experience Grand Teton National Park!
From Jenny Lake, it’s time to go on a Snake River float tour!
This river bisects the park, and it is an important part of the park’s ecosystem and history. To truly get an understanding of its impact, you should sign up for a Snake River tour.
There are many local outfitters who provide tours of different lengths and time outlays, including Teton Scenic Floats and Fly Fishing, Wandering Angler, Dave Hansen, and Snake River Park Float Trips.
You can read about our experience on our Grand Teton float trip review here.
Mormon Row
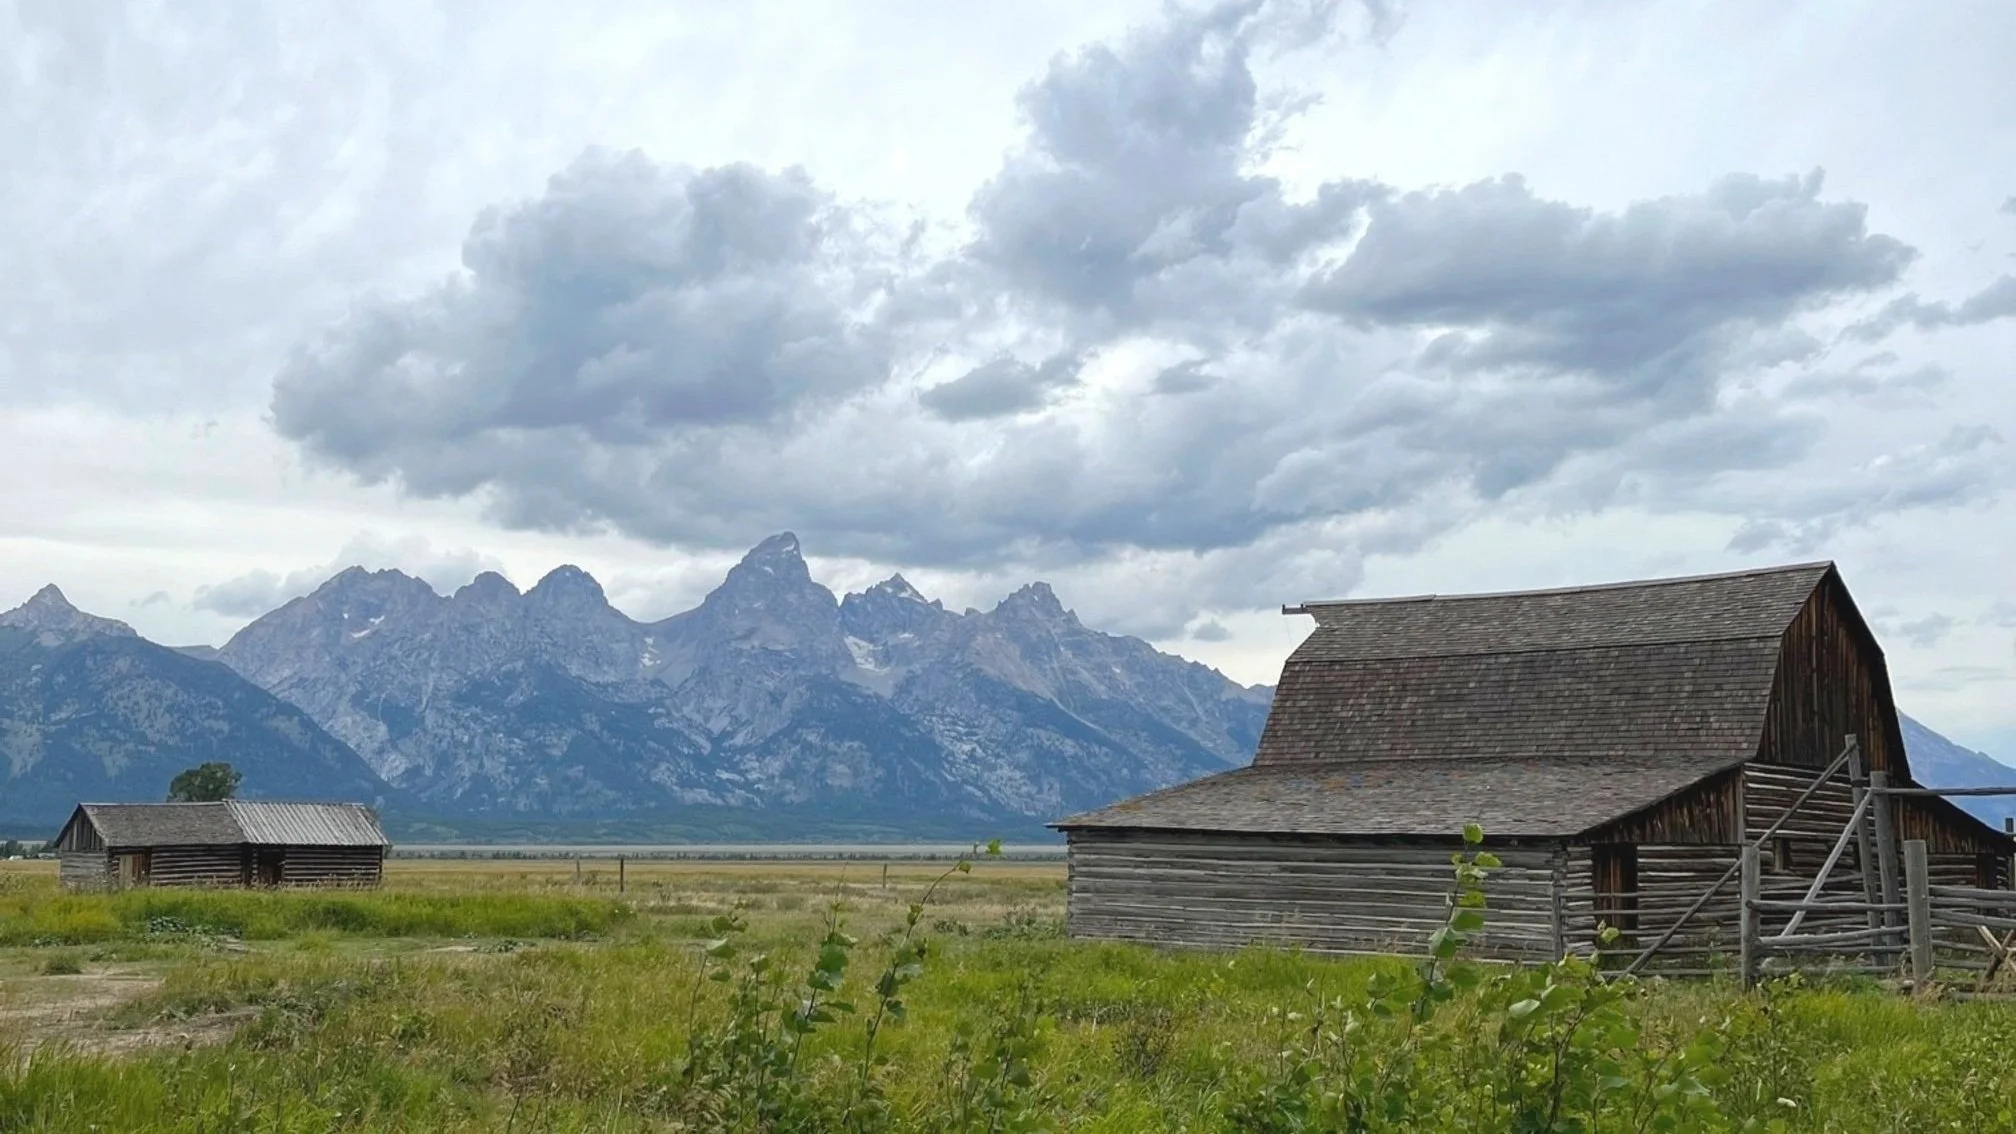
Mormon Row barns
You can’t come to Grand Teton and not visit the famous barns and homes of Mormon Row.
Once the homes of Mormon pioneers, these buildings are now here for visitors to learn about the park’s history.
Walk around, read the interpretive signs, and take your own photo version of the barns with the mountains behind.
Prepare for your departure day.
Jackson Hole Airport is one of the prettiest we’ve ever seen.
Take one last look at the mountains before you head home tomorrow.
Then, head back to your hotel to get your items together so that you’ll be ready for an early morning flight out of Jackson Hole Airport.
Remember, if you’ve purchased your bear spray, you can’t take it on the plane with you. We handed ours over to our river float guide, who was more than happy to have an extra can for his own hiking adventures.
Get dinner in Jackson Hole and pick up any final souvenirs that you need.
Hopefully, you’re coming away with incredible memories and plans to come back very soon!
Extend your time here further: You weren’t able to visit anything in Colter Bay Village, a part of the park that includes my favorite Colter Bay cabins, another visitors center, restaurants, grocery store, laundromat, campground, and great hiking. The Colter Bay Lakeshore Trail is great for all ages and abilities.
If you’d like to do something just outside of the park, don’t miss the gentle giant in Rendevous Park, Thomas Dambo’s Mama Mimi. This troll statue is made from reclaimed wood and recycled materials and is a perfect, easy hike.
FREE Grand Teton National Park Planning Resources!
Visit Grand Teton National Park once, and you’ll fall in love forever. Find out even more about the park, its hiking trails, family friendly itineraries, and area attractions on my Grand Teton planning page.
Things to Know When Planning Your Trip
When to visit Glacier, Yellowstone, and Grand Teton
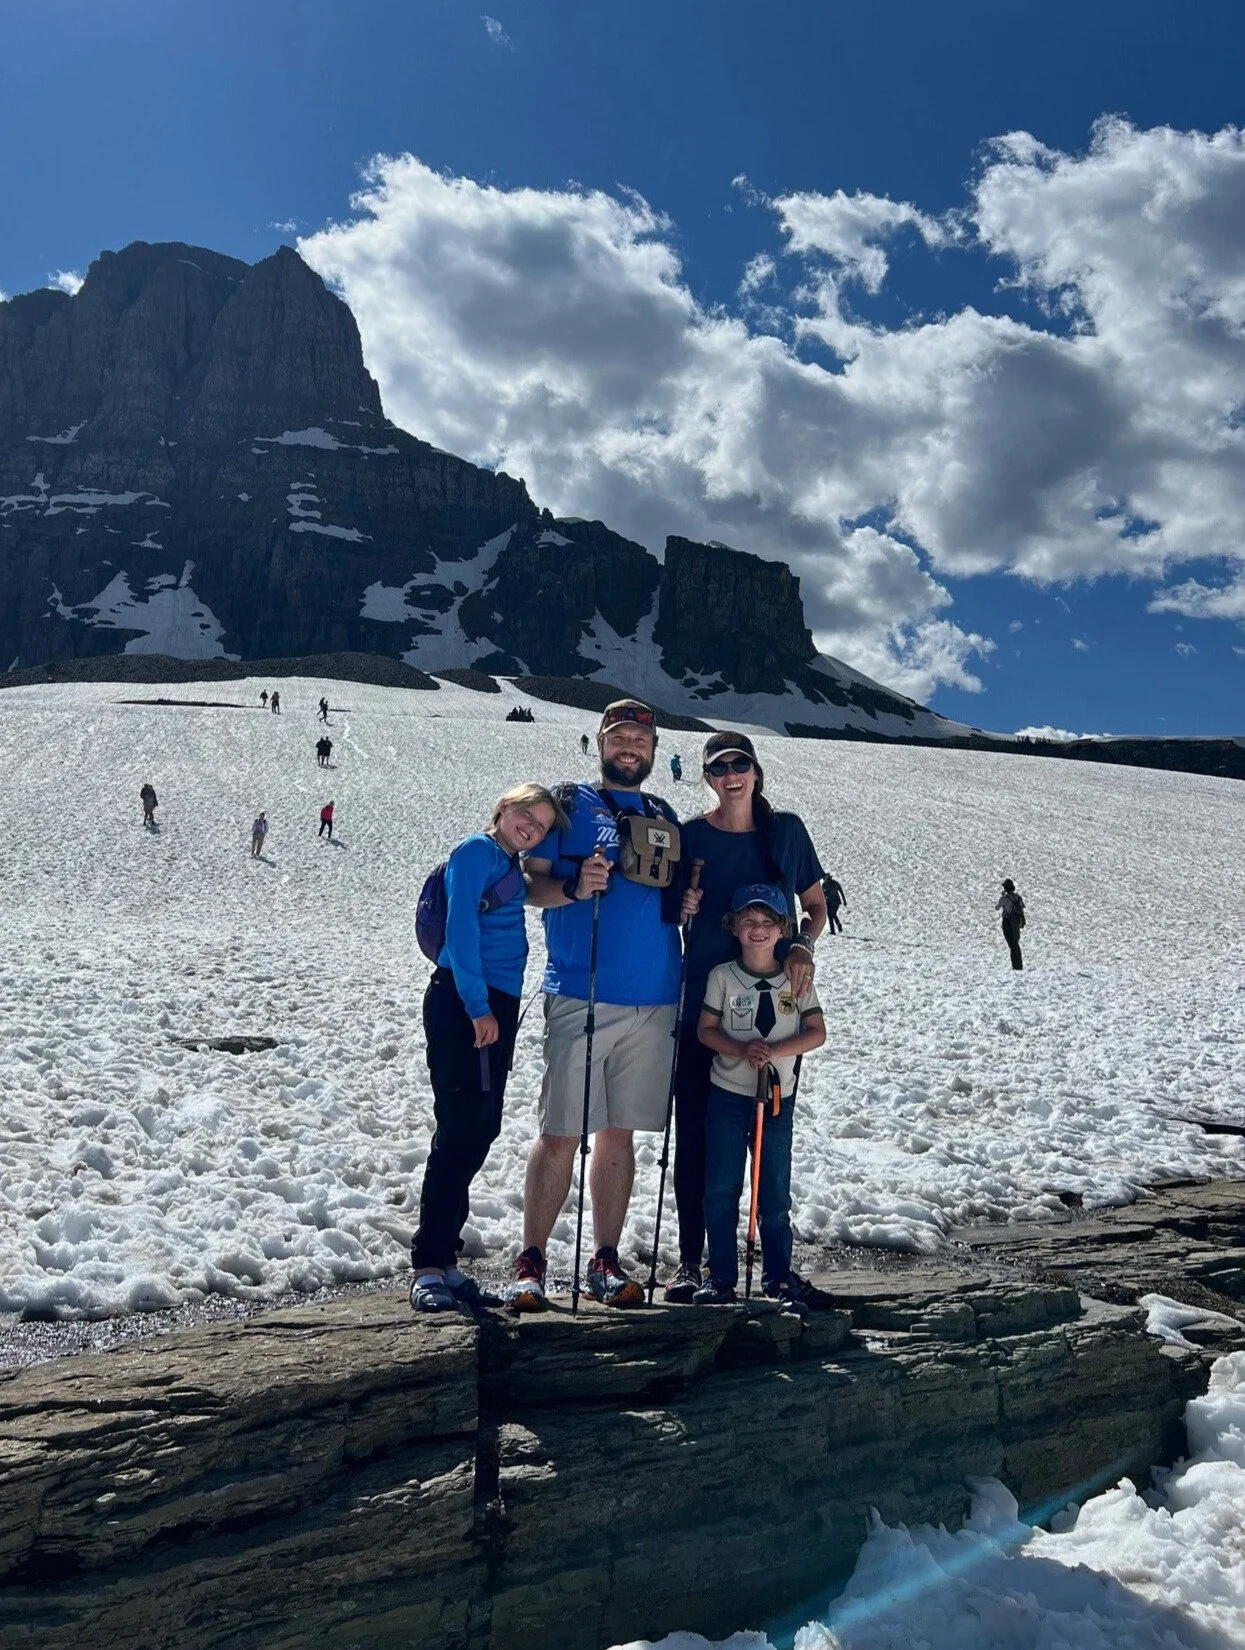
You can find snow on the ground in Glacier (especially near Logan Pass) until well into July!
To do this itinerary in its entirety, you’ll need to visit when all the park roads are fully open.
When the snow arrives, usually mid to late October, many of the roads close down and you can’t access all the areas of the parks.
The roads start opening up again anywhere from late May into June.
Glacier’s Going-to-the-Sun Road can occasionally be closed until late June or even very early July, so keep all this in mind when planning your trip.
During our most recent trip to Glacier, we were watching updates for Logan Pass closely. It only opened a few days before we arrived on July 4th!
In Grand Teton and Yellowstone, you can get snow any time of the year, even in the middle of summer. The weather in Wyoming oscillates wildly, so you can have beautiful, mild weather one day, and then sleet and rain the next.
This makes planning your travel wardrobe tricky. See below for more tips on that.
If you want to be sure you can do everything on this road trip itinerary, plan to do this trip between late June and September.
Start and end locations
As I mentioned earlier, you’ll be starting this road trip in Glacier National Park and ending in Grand Teton National Park.
You could also reverse this itinerary if you wanted and switch the start and end locations.
To save time and be able to do this entire itinerary in 7 days, you’ll need to fly into one airport and out of another if you are not driving to and from.
The closest airport to Glacier National Park is Glacier Park International Airport, right outside Kalispell. For time’s sake, this will be your best option.
To get home, your best bet is to fly out of Jackson Hole Airport which is inside Grand Teton National Park.
America the Beautiful Pass
Since you are visiting three national parks, you should buy the America the Beautiful pass, which gets you into all the national parks and more than 2,000 federal recreation sites for one year.
A one-year pass costs $80. If you were to buy an individual pass at each park, you’d be paying $105 ($35 at each park). So it’s a no-brainer!
If you don’t buy a pass ahead of time, you can sometimes purchase them at the parks, but I would make sure to purchase one beforehand just in case. This will also save you time entering the parks.
TIP: Save even more money by purchasing the America the Beautiful annual pass and AllTrails+ bundle!
Renting a car
If you are flying in for this road trip, you’ll need to rent a car. There’s no public transportation available that will get you into and between all of these places, and you need the flexibility of your own rental car.
I recommend using Discover Cars to book your car rental. You always get free cancellation, they have great prices, and also have 24/7 support if you need it.
What to Pack for your Montana and Wyoming National Parks Road Trip
To make the most of your national parks itinerary, here are some things you should not forget to pack along.
National Park Pass
If you have the America the Beautiful National Park annual pass, make sure you don’t forget it!
They come with a rearview mirror holder so you can hang it up and not have to dig around for it when you enter the park.
The 2026 editions are even going digital for the first time. Finally.
Camera
This is a given, but you are going to be so amazed by all the beauty everywhere, you’ll be kicking yourself if you don’t have a good camera to capture it all.
A good phone camera would work well for most landscapes, but if you want to get some awesome wildlife pictures, you might want something with a zoom lens.
I have the Sony Alpha A6100, a lightweight, mirrorless digital camera. It has interchangeable lens so you can get those wide shots and up close wildlife photos.
Binoculars
Is that a moose or just a stump? If you have binoculars, you won’t have to guess!
We’ve had these Vortex binoculars for several years and they’ve held up great. We took them on all of our travels throughout Montana and Wyoming, and we found ourselves pulling them out all of the time.
I especially love that it comes with a carrying case, which is great when we’re hiking.
Hiking shoes & good socks
If you plan on doing any kind of hiking, I’d recommend hiking shoes or boots rather than sneakers.
I swear by my Altra Timp Trail Runners, which are lightweight and sturdy.
I also love my Keen Newport H2 hiking sandals, but only bring these if you’re visiting these parks in the summer.
Learn about the differences, pros, and cons of hiking boots, trail runners, and hiking sandals here.
The socks you wear with your boots will also make a huge difference in how your feet feel.
The Darn Tough wool hiking socks are the only ones I’ll wear, and they haven’t let me down yet.
Layers
While the national parks can get hot in the summer, you should make sure you pack a variety of clothing, including clothes you can layer.
If you head out early or stay out late, it might be a bit chilly and I’m sure you’d rather be prepared than be cold.
It’s not uncommon to get snow or sleet in any of these parks even in mid-summer, so pack lots of layers so that you can adjust to whichever season is rolling through at any given moment.
Pack a raincoat or poncho so that if you do get some rain, your day won’t be ruined and you can still get out and explore.
Water
More than likely, you’ll be out and about in the parks all day and may not have quick access to a store.
Between the dry climate and the warmer temperatures in the summer, you will want to stay hydrated.
While the visitor centers, hotels, and stores inside the parks do sell water, it will be much easier to just bring lots of water with you so you don’t have to worry about running out or changing your plan to go find some.
Water filter
If you are doing some longer hikes, this is a great option to carry with you in case you run out of water.
We use this water filter when we go backpacking and love it. It’s lightweight and filters water directly from the source into your water bottle or bladder very quickly.
Hiking pack + the essentials
While many of the trails in the parks are well-traveled and you’ll see people frequently, you still want to be prepared.
Bring along a hiking day pack. I prefer my Osprey day pack, but you’ll want to go into your local outfitters and find the best bag for your frame and hiking needs.
Keep it stocked with the 10 essentials for hiking and you’ll be set.
I also carry my Garmin InReach mini wherever I am hiking. If one of my kids or I get hurt, I know I can reach help immediately even with there’s no cell signal.
Sunglasses, sunscreen, and a hat
Nothing can ruin a trip faster than sunburn.
Make sure you protect your skin and your eyes from the sun throughout this trip.
Pack sunscreen, a hat, and a long sleeved sun shirt.
Bug spray
Certain areas of the parks can get buggy, so just be prepared and carry some with you.
Bear Spray
Spotting bears is one of the big things on people’s national parks to-do list, but make sure it's from a safe distance!
If you plan to do some hiking, just make sure you hike with at least one other person and carry bear spray (and have it easily accessible and know how to use it). Pay attention to your surroundings, make plenty of noise, and you’ll be fine!
NOTE: You can’t fly with bear spray so I’d recommend purchasing it or renting it once you arrive if you are traveling by plane.
Here’s a helpful guide to renting vs. purchasing bear spray for Yellowstone, but the information here easily translates to the other 2 national parks as well.
You should also give any other animals that you encounter plenty of space too. Any wildlife can be unpredictable, and you want to keep yourself and the critters safe!
(See below for wildlife safety tips.)
Swimsuit & Towel
If you plan to spend some time at any of the lakes or hot springs, you’ll want to make sure you have a swimsuit and towel along.
We always have one of these Turkish towels in our packs since they are lightweight and dry easily.
Walkie Talkies
She who holds the walkie talkie rules the world.
If you are traveling in a group or even have just one extra car, walkie-talkies are a great item to have, especially in places like these national parks where cell service is spotty or non-existent.
We used these constantly in Glacier National Park when my parents were in one car, and my husband, kids, and I were in a second vehicle. The cell phone service is truly awful in Glacier.
It was better in Grand Teton National Park, probably because you’re closer to the town of Jackson, Wyoming.
Yellowstone National Park’s cell service varies wildly depending on where you are.
Parts, including the Tower-Roosevelt area, have no cell service and no wifi, but others, like the Old Faithful area, have decent service.
Hiking poles
While not a complete necessity, hiking poles are something that I tend to bring along with me on nearly every hike.
In an action packed itinerary like this one, it’s easy to get overtired from being active all day every day, especially if you’re coming from a lower altitude area.
Hiking poles help take some of the stress off my knees, back, and legs, so that I feel much more ready to handle the many trails I’ll want to hike.
And, if you’re my kids, the hiking poles also double as a way to fight off Bigfoot, should you happen to run into him anywhere on this itinerary.
Wildlife Safety in Glacier, Yellowstone, and Grand Teton National Parks
There is so much wildlife in all 3 national parks which is one of the things that makes them so special.
But this also means there are certain precautions you should take when you are out hiking and driving in the parks.
Here are a few things you should know to keep yourself and the animals safe.
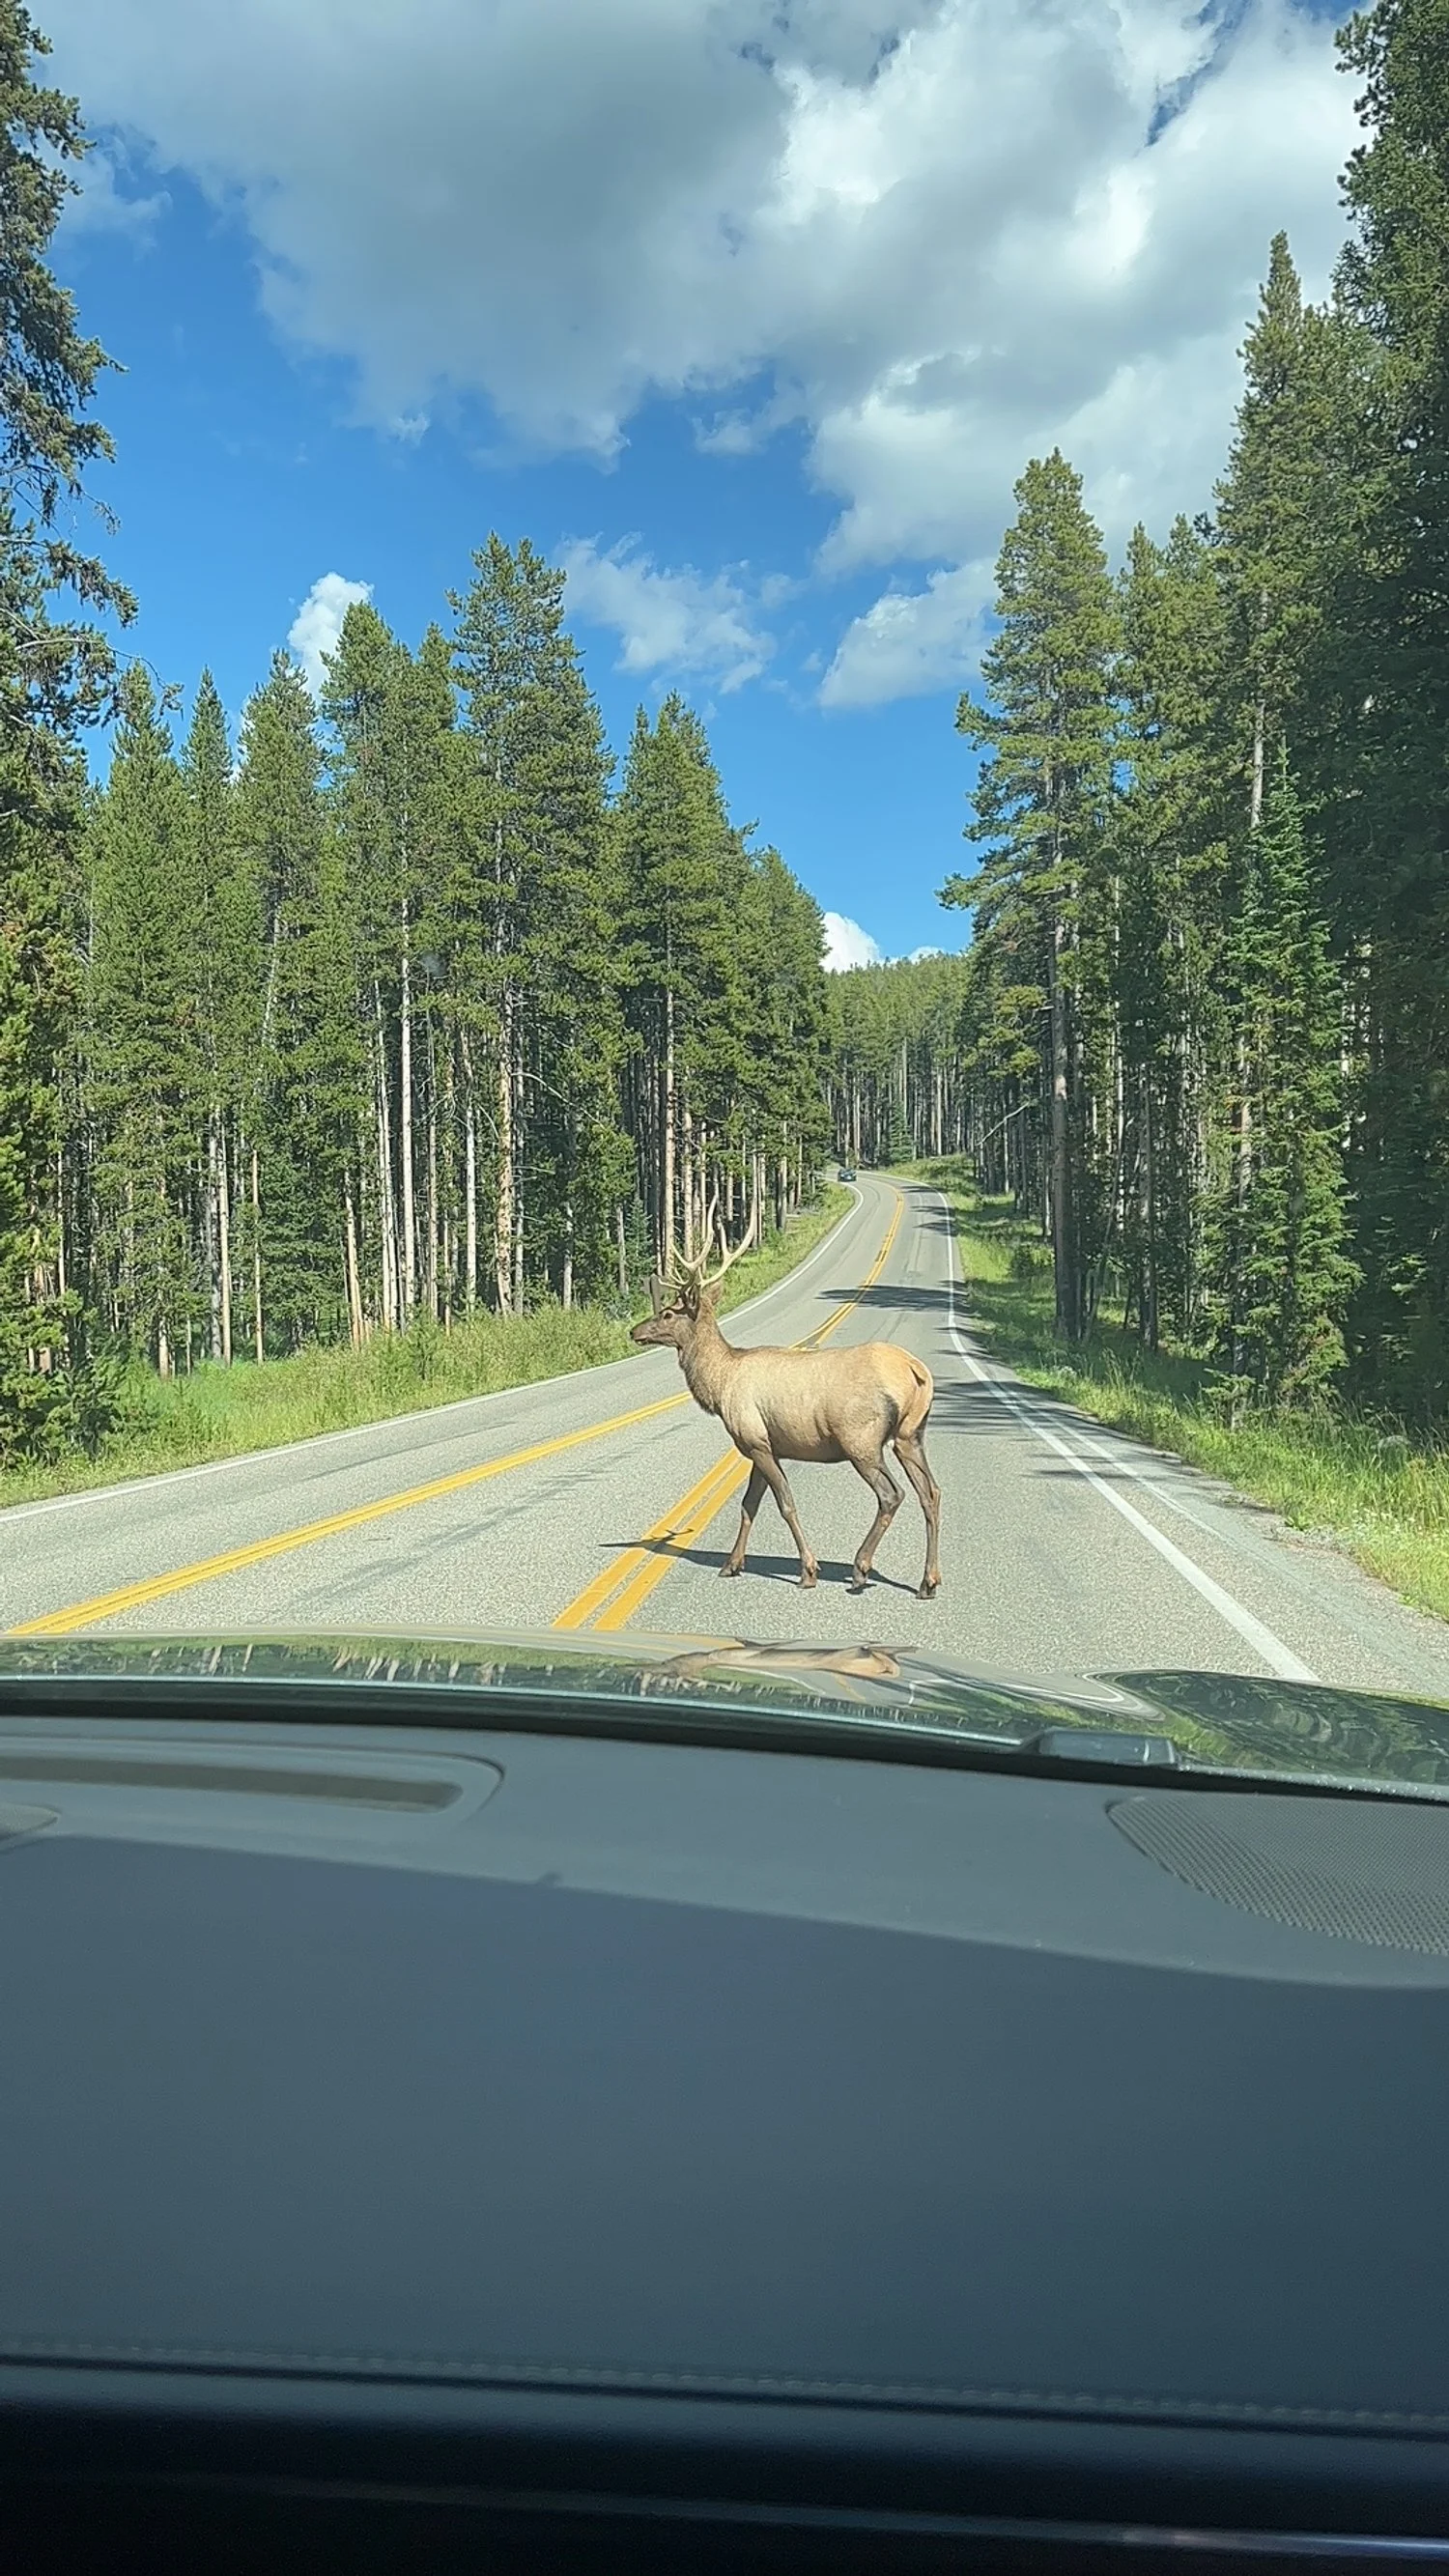
An elk hanging out in the road near Dunraven Pass in Yellowstone
Keep alert for animals while driving
You’ll see stunning views everywhere you drive in the national parks, but you have to make sure you are paying attention and watching the road for stopped vehicles, pedestrians, and wildlife.
A running animal could come out of nowhere, so drive the speed limit and always be alert.
Pull off the road to view wildlife
It’s always exciting to see animals while you are driving around!
If they are crossing the road, you should stop and wait for them to move, but you should always pull off the road as soon as you can to view wildlife and take pictures.
It is much safer for the animals and also for the rest of the vehicles on the road to pull over when you want to look at the wildlife.
This also keeps traffic flowing for those who wish to continue driving.
Do not approach wildlife & keep a safe distance
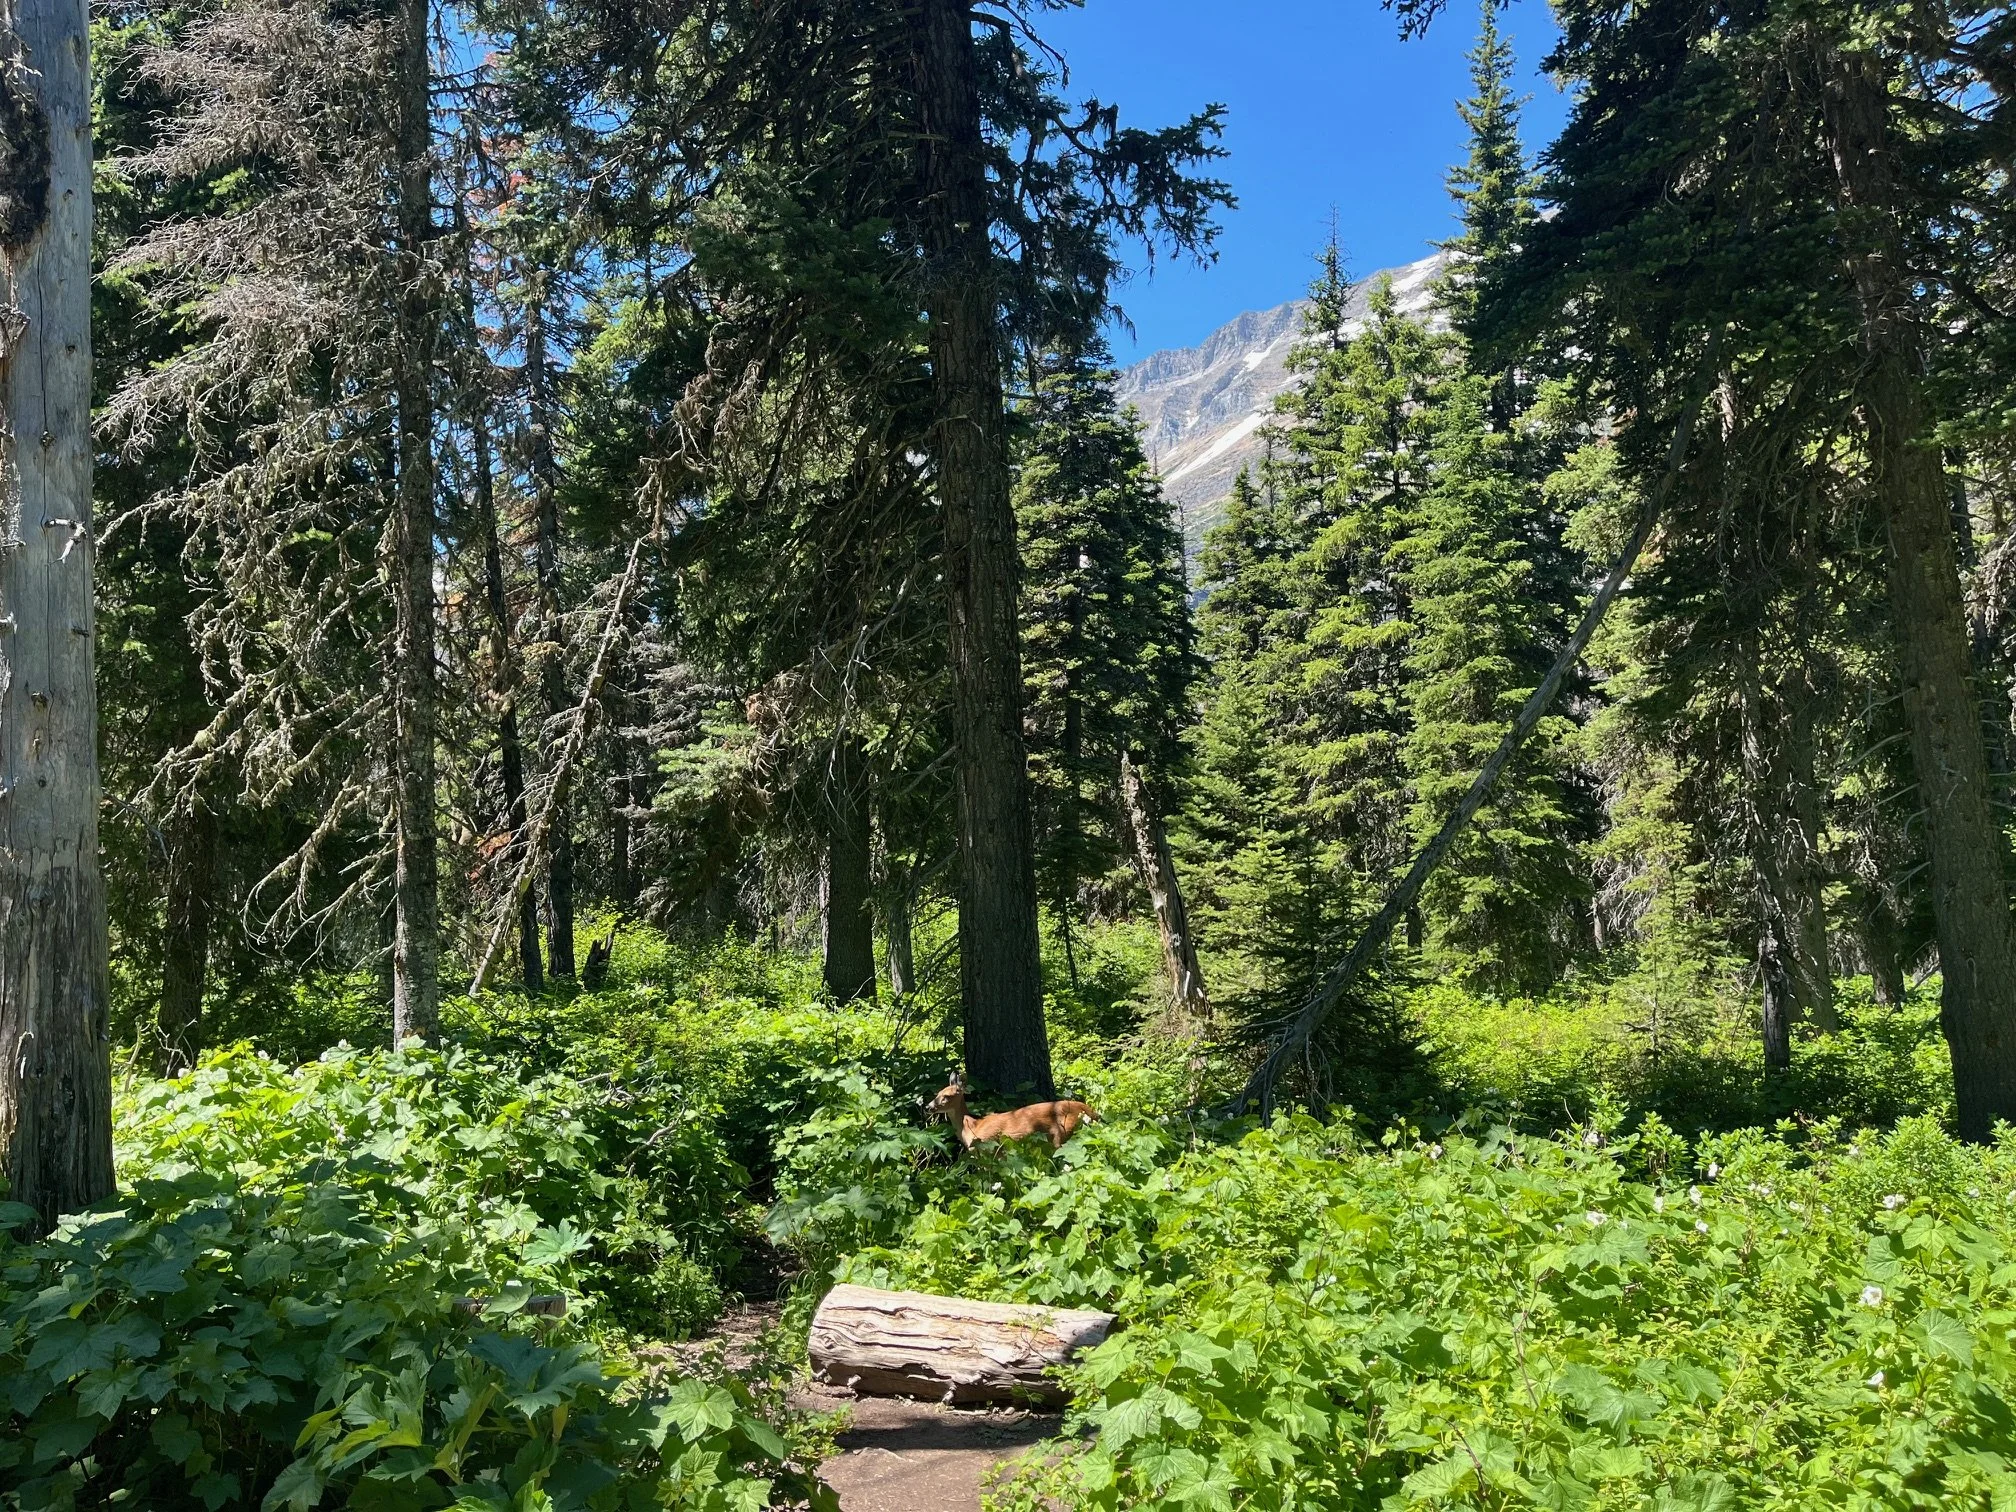
This deer was looking for lunch on the side of the Grinnell Lake Trail in Glacier while we were hiking.
If you are out hiking and see any animals, do not approach them. Keep a safe distance from them, even if that means backing up to give them space.
You should be at least 25 yards away from any wildlife, and even farther, up to 100 yards, from a bear.
To figure out the proper distance, extend your arm all of the way out and make a thumbs up sign. If your thumb completely covers the animal you’re viewing, you’re far enough away.
Even animals like bison and moose, who may not seem threatening or fast, can be unpredictable.
You never want to give them a reason to charge you.
Make your presence known
You never want to sneak up and surprise an animal. Make noise by talking and clomping around.
Some people even wear bells, but as long as you are making your presence known, any wildlife should know you are coming and be able to avoid you.
If you have kids, don’t worry: you’re very likely already making plenty of noise just by having them along! We like to sing my kids’ favorite songs or recite the ABCs or make up dances while we’re hiking.
So far, it’s had a 100% success rate in keeping nearly all wildlife away from us!
Hike in groups
Hiking with at least one other person is always the safest option.
Animals like bears and moose are less likely to mess with a group than with one person. In fact, almost all bear attacks happen to individuals who are alone.
If you do go hiking alone, make sure you are loud, stay on the paths, carry bear spray, and be very alert and aware of your surroundings.
Carry & know how to use bear spray
You never want to use it, but it’s better to be safe than sorry. Carry bear spray with you and make sure everyone in your party knows how it works.
It's also important to make the spray easily accessible. There's no point in having it if you can't get to it quickly.
Store and dispose of food properly
When you are camping or having a picnic, never leave food or anything that smells like food lying around. This could attract animals and cause them to be bolder and approach people and get into things they shouldn’t.
If you are camping, make sure all food is stored properly, either in a vehicle or a tightly sealed box, and never leave anything out when you are not at the campsite. Clean up all food and dishes immediately, and dispose of all trash properly.
If you are out for a hike and eating a meal or having a snack, take everything, even food remnants, back out with you.
Don’t feed the animals
I feel like this one is pretty self-explanatory, but lots of people try to do this anyway. Don’t feed the wildlife.
They are wild and should have a healthy fear of people to keep them and you safe. Don’t tempt them with food.
After all, a fed bear is a dead bear.
Frequently Asked Questions
What kinds of animals will I see in the national parks?
Traffic jam, Yellowstone-style
Yellowstone National Park has the biggest concentration of mammals in the lower 48 states, which means you have the potential to see over 300 different species while you’re there!
Some of those include bears, wolves, moose, elk, bighorn sheep, bison, mountain goats, coyotes, and many more.
Glacier and Grand Teton have similar wildlife but not as many species or in the same vast numbers. There are also many kinds of birds, reptiles, amphibians, and fish you may encounter.
How many days do I need for this road trip?
This national park road trip itinerary is 7 days, which is the minimum amount of time I suggest if you want to hit all 3 parks.
The more time you have the better, but if you have less than a full week I’d suggest cutting out Glacier National Park and focusing on Yellowstone and/or Grand Teton.
See my perfect 5 day Yellowstone and Grand Teton itinerary for suggestions.
How far is it from Glacier to the Grand Tetons?
If you drove from Glacier National Park directly to Grand Teton National Park it would be about 500 miles, which would take you approximately 8 hours without stops.
The drive from the Grand Tetons to Yellowstone is only about 45 miles if you drive along the John D. Rockefeller, Jr Memorial Highway.
Can I do this trip without a rental car?
Short answer: no, you shouldn’t do this trip without a rental car.
No train goes directly from Glacier to Yellowstone. You could take buses, but it would take a very long time (18+ hours) and in my opinion, would not be worth it.
If you do not have your own vehicle and don’t want to rent one, you’re going to have to take a guided tour, which is going to be pricey and less flexible.
But these tours do exist for a reason! You’ll see all three national parks on this guided tour.
Where should I stay in the national parks?
You have plenty of options for accommodations in all the national parks.
All the parks have lodges where you can stay inside the park, and there are many options nearby. I have noted my recommended locations above.
NOTE: No matter where you stay, make sure you plan ahead and book as soon as you can. Places can be booked up very quickly, especially in the summer.
There are also lots of hotels, RV, and camping options outside the parks and the surrounding areas.
If you’d like to stay outside of the park or would like to camp, here are the websites I use to find accommodations:
Booking.com: compare pricing easily, see photos of the property, read reviews, and book directly through website.
RV Life: find and compare campgrounds, get RV friendly routes, and read reviews of properties.
Final Thoughts on 1 week in Glacier, Yellowstone, and Grand Teton
Grand Teton, Yellowstone, and Glacier National Parks are all stunning and worth spending as much time as you can.
With one full week, you can get a good overview of them all so you know exactly what you want to spend time doing on your next visit.
Because trust me, you'll want to go back!
Of all of the places that we’ve visited, these three national parks are the ones my kids ask to revisit the most regularly.
You get everything in one trip: soaring mountains, pioneer history, rushing rivers, valleys and plains, sparkling lakes, and winding scenic roads.
This trip is so great, in fact, that you’ll probably spend the rest of your life comparing every other trip to it.